Wood Veneer Kitchen Cabinets (Pros and Cons)
Here’s our resource to wood veneer kitchen cabinets including what they are, pros and cons, how it is used, types, cabinet doors, and the best veneer cabinet installation tips.
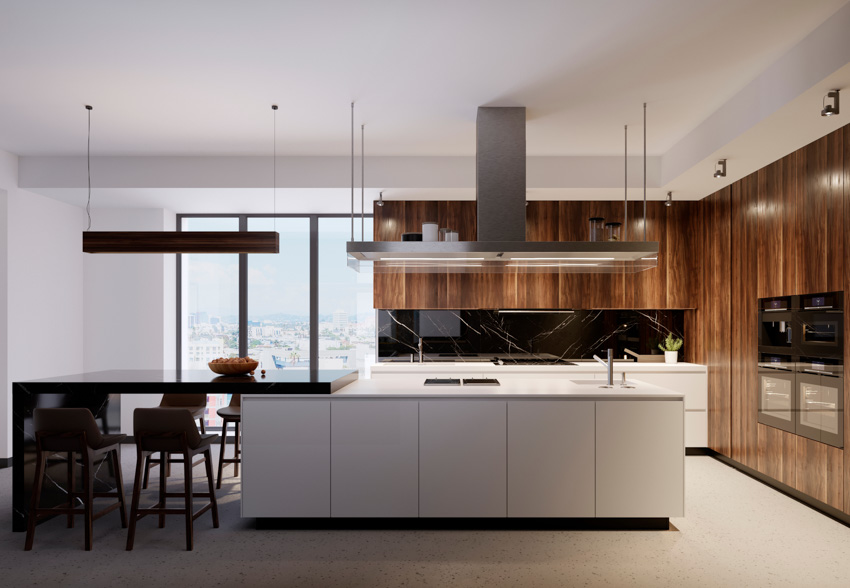
If you’re getting ready to remodel your kitchen, a veneer kitchen could be a very attractive option for you. Wood veneer kitchen cabinets are a great way to bring warmth and elegance to your kitchen without the high price tag.
A veneer cabinet looks just like a real wood cabinet except it’s made of a high-quality, durable resin. The resin is then hand-painted with a mixture of natural pigments and dyes to give it the look of real wood. This is why they’re one of the most popular interior design materials used today, so they aren’t just for cabinets.
This cabinet material brings in the same aesthetics of solid wood but they just happen to be so much more budget-friendly at the end of the day.
They’re exciting to use for interior design as there are plenty of possibilities depending on how creative you are. Here’s everything you need to know about wood veneer cabinets and why they work.
What Are Wood Veneer Cabinets?
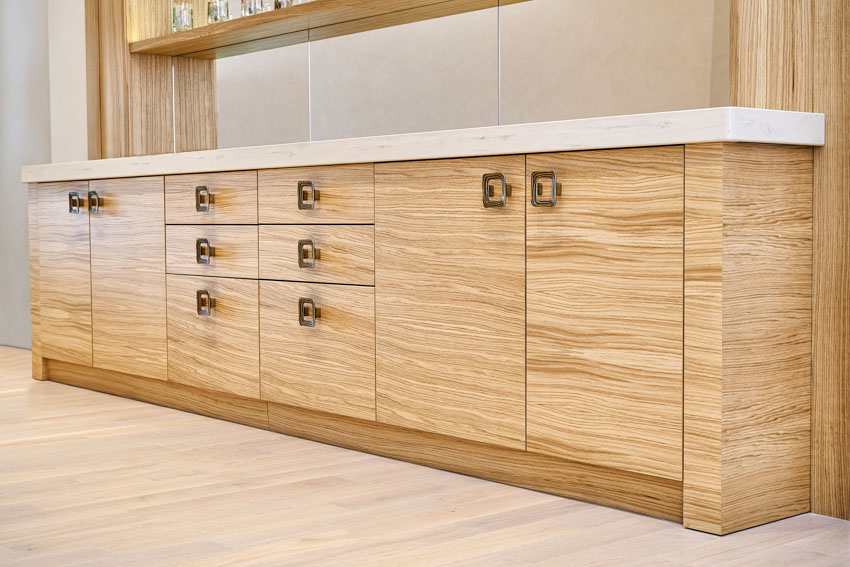
Cabinets are really important elements in the kitchen space. Bringing wood veneers into the equation can help you easily and economically elevate them. You won’t have to worry too much about having them leave a dent in your budget.
Cabinets can have a great influence on how your kitchen looks and feels at the end of the day. Kitchen cabinets can be made of different types of materials from class, from steel to wood. But the most common among them would have to be wood. And wood or wood-like cabinet materials can be easily dressed up with the use of a thin wood material.
Wood veneers are very thin layers of wood that have been mechanically stripped from the main log. They are usually made from hardwood or wood that has great aesthetic value, veining, and patterns.
As they’re very thin, they’re usually used as an outer layer to wrap around particle boards and other types of engineered wood. They’re pressed and glued to these boards to create flat panels. They usually apply to cabinet doors but it’s common to see an entire cabinet shelf wrapped in veneer for uniformity.
These cabinets will cost you less than actual solid wood but they are just as durable and they look just like the real thing. They get to mimic how solid wood looks like because they’re two sheets of real wood glued together with the particle board.
Although nothing quite beats the durability of real wood, they come at a close second and are far better options than laminate kitchen cabinets.
Although nothing quite beats the durability of real wood, veneered cabinets, together with matching countertops, sink, and faucet, come at a close second and are far better options than laminate kitchen cabinets in your renovation project.
They are often sturdy enough to be sanded, stained or painted to change their appearance. Since they have a different inner core, they are also much lighter than solid wood.
And of course, they’re easy to maintain and clean. Should your veneer surface have any damages further down the road, you can simply rip them right off and get them replaced without ever replacing your main cabinets. This is similar to substituting damaged items in your house with new, functional products.
Wood Veneer Cabinets Pros And Cons
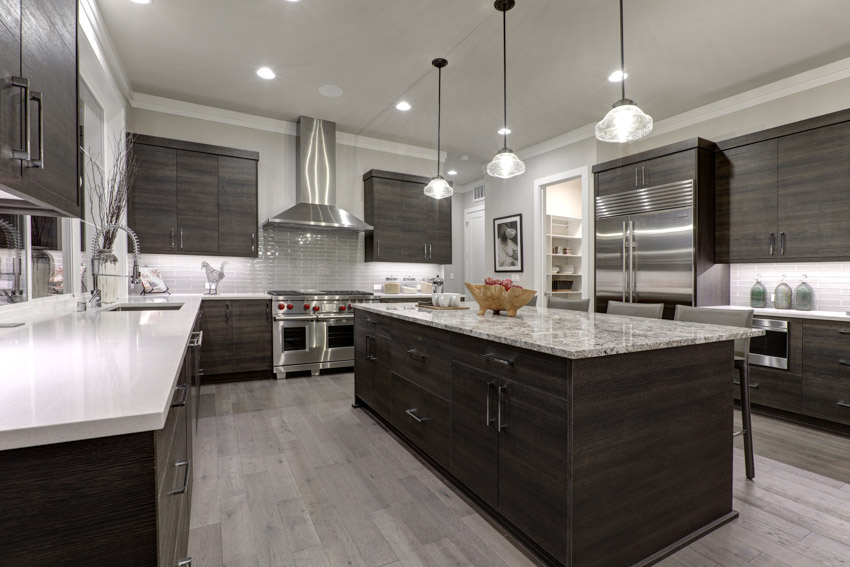
Wood veneer cabinets are revolutionary. They look and feel just like natural wood cabinets, an asset people often look for, but they just happen to cost less.
This means that you have a bit more room to move around in as you can reallocate other chunks of the budget for your kitchen remodel for other elements to improve the space further.
Pros Of Wood Veneer Cabinets
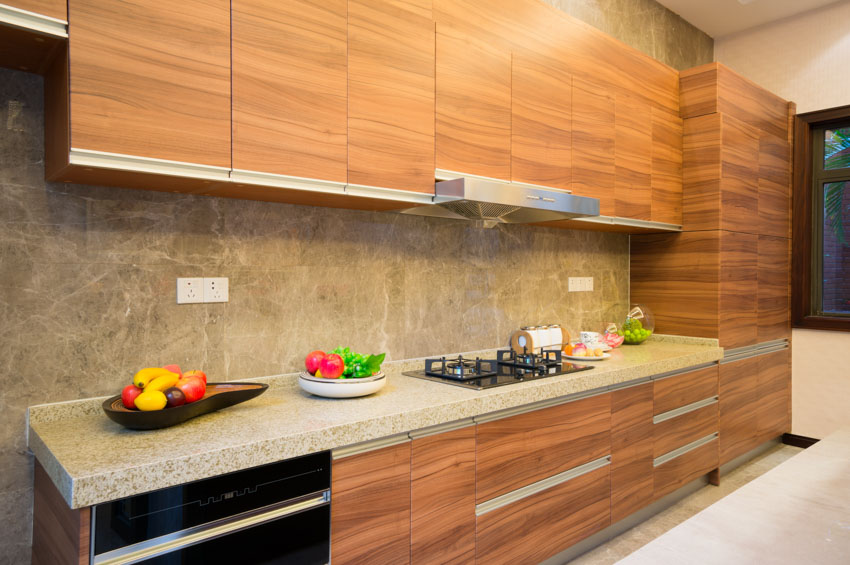
Looks just like natural wood but at a lower cost: They provide the aesthetic qualities and colors of natural wood, but at a lower cost. As real wood is hard to come by these days, it makes sense to use it sparingly.
These cabinets are made of a thin slice of wood that can be glued onto an engineered substrate like MDF (medium-density fiberboard) to create the finished product. See pictures of MDF cabinets here.
You get more design options with your cabinets: Every single veneer sheet is different from any other. Each tree has its unique qualities and each stripe within veneer sheets will be different. This adds that exclusive touch to your kitchen cabinets.
As opposed to laminates, most types of wood used for this purpose are also sustainable (because they’re made of renewable natural materials).
You can also easily customize your varnish shades from light to dark, just as you normally can with natural or real wood. You get finishes that look so much smoother and more uniform. This can make your veneered cabinet doors appear timeless.
Wood veneers add to the structural strength of your cabinet doors: On top of the fact that they make your cabinet doors look great right off the bat, adhering to them can also increase strength and durability.
This is particularly true with weaker materials such as MDF, HDF, and other similar engineered wood that may be susceptible to water. This means that you can reinforce those materials enough to resist warping, breaking down, and so much more. Read more about HDF cabinets on this page.
They’re very eco-friendly: This material is not only environmentally friendly, but it is also something that is can be reused or repurposed.
Once they have served their purpose, or once they start to break down, they can be crushed and turned into chips or pulp that can be repurposed into engineered woods or fiberboards.
They’re a smarter way of utilizing wood in general: This is because thin layers of wood are being used as opposed to chunks of real and solid ones. A single log can create maybe a couple of furniture pieces or so but when turned into veneer, it can cover plenty of furniture pieces.
They’re all natural: These cabinet doors and boxes are still wood. This means that what you’re bringing to your kitchen cabinets are still natural and organic materials. Each piece carries the individual beauty of the grain, just as with solid wood.
They’re mainly nontoxic and safe. This is of particular importance for your cabinets given the fact that they are going to be around food or food materials almost all the time since they’re in the kitchen.
Laminates, on the other hand, may have toxic adhesives that may emit VOCs or volatile organic compounds. These compounds may be released into the air, and inhabitants of the home may end up breathing them in. Moreover, laminates might also contain melamine, which could be harmful in certain instances.
Cons Of Wood Veneer Cabinets
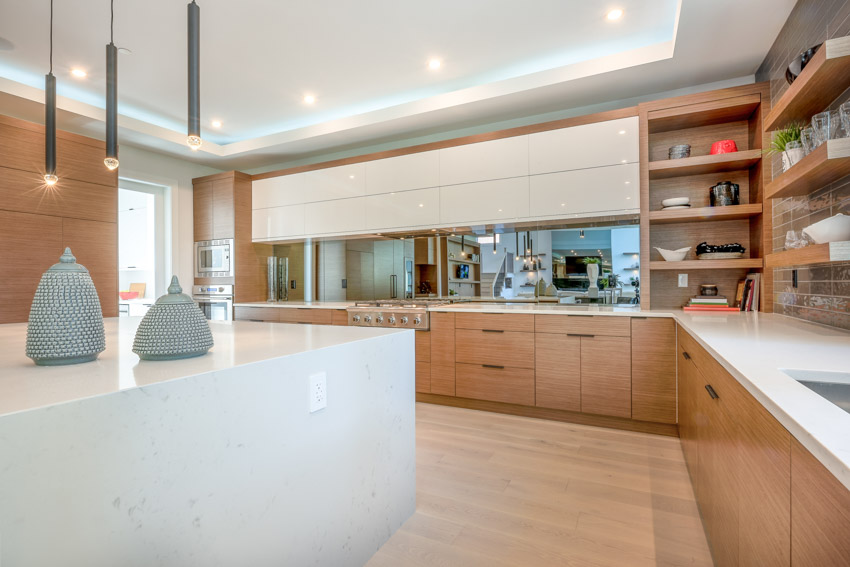
Prolonged water exposure can lead to water damage: Due to their thinness, can be prone to water damage if they were left unsealed or unprotected. Applying some sealant on the surface of your veneers can help prolong their life span, especially in wet conditions.
Its proper installation requires professional work: Unlike laminates, veneers require a technique for them to be applied properly on your cabinet doors. There are variables such as air gaps that need to be removed in between the veneer sheets and the mainframe cabinet doors for the finish to be perfect.
Another thing is that the sheets require acclimation before they get installed. They need to be at room temperature for at least 48 hours. This way, any changes in humidity won’t cause the material to shrink or expand and eventually chip and crack once they’re already installed on the cabinet doors.
Wood veneer cabinets require more maintenance: If you want to get optimal results, you need to go out of your way to polish your cabinets all of the time. Not only is this great aesthetically, but this is also great when it comes to increasing strength and durability.
Once damaged, they cannot be repaired: Solid wood cabinet doors can be easily repaired by sanding them several times, then reapplying the stain or paint.
It doesn’t work the same way for veneer cabinets though. Once they’re damaged, they’re done. They can’t be repaired and the best thing you can do is rip them out and get them replaced.
Wood Veneer Cabinet Doors
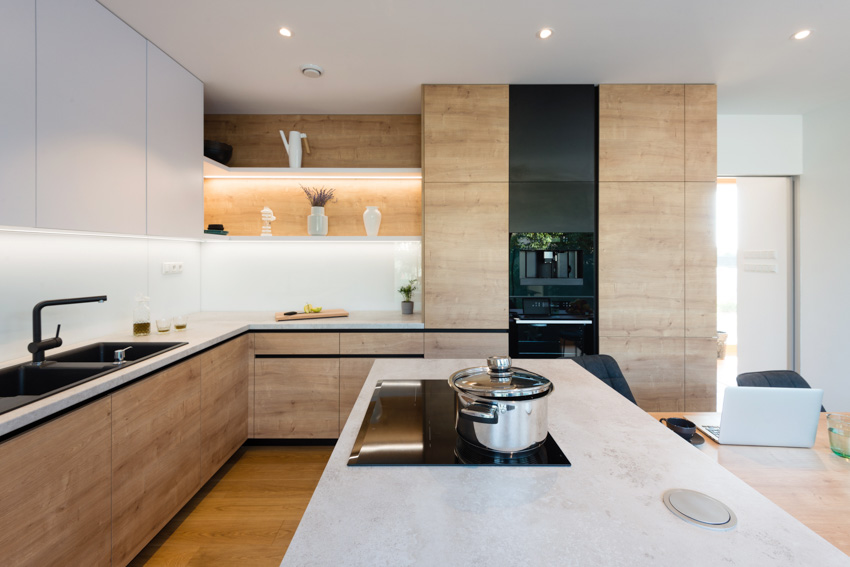
Opting for wood veneer cabinet doors is an easy and fast upgrade. They can be done in just one day, they can mimic the look and feel of natural wood.
Depending on what type of material you work with; they can be very beautiful. And you get all of these advantages at just a fraction of the cost or even less of how much solid wood cabinet doors will cost you.
Wood Veneer Panels For Cabinets
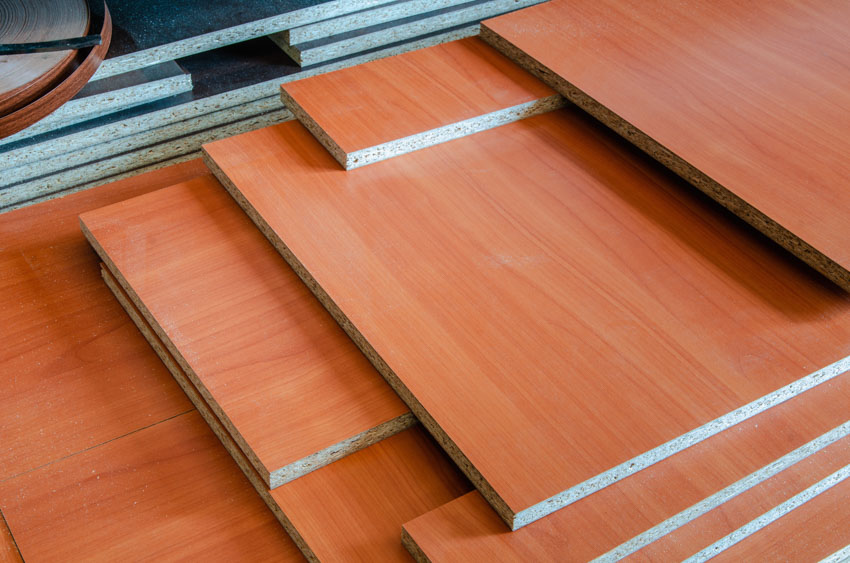
Wood veneer is a material that is made by using a thin layer of wood that has been sliced and then glued to another surface. This process can be repeated to form different levels of material. It is a great way to get a variety of wood in one piece of wood, without having to use many different types of wood.
Wood veneer panels are a little more unique. How the cabinet doors are made is that the main substrate such as a particle board or plywood, MDF, or HDF board, is bonded with a thin layer of veneer.
The veneer is usually made out of different types of hardwood. They are premade panels and are usually sold in varying thicknesses. The thickness is usually dictated by the type of substrate that’s being used in the first place.
If you plan on completely replacing entire cabinet doors instead of just refacing them, it might be best to go with panels for ease of use and convenience.
This way, the bulk of the work will be on just the installation of the panels themselves. You wouldn’t have to work on the actual act of bonding the veneer sheets to the substrate.
Wood Veneer Sheets For Cabinets
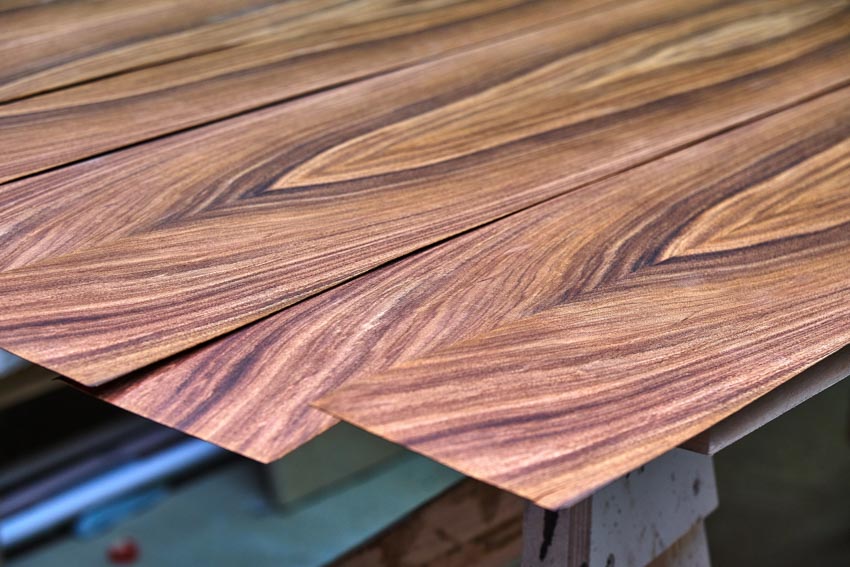
Wood veneer sheets for cabinets are the same as panels for cabinets but with a lot less thickness. This is because these are usually made from plywood. These are usually used to make backsplashes in kitchens and bathrooms.
Veneer sheets are usually only ¼ inch thick but modern technology-enabled tools that can produce or manufacture veneer sheets that are up to 1/90 inch thick. Finished veneer sheets have unique patterns.
This is oftentimes attributed to the angle of the cut used to make them. Some have stripes or rays, some have the iconic “cathedral” pattern, and others may have unique and usual patterns that you might appreciate once seen on your cabinet doors.
Self Sticking Wood Veneer For Cabinets
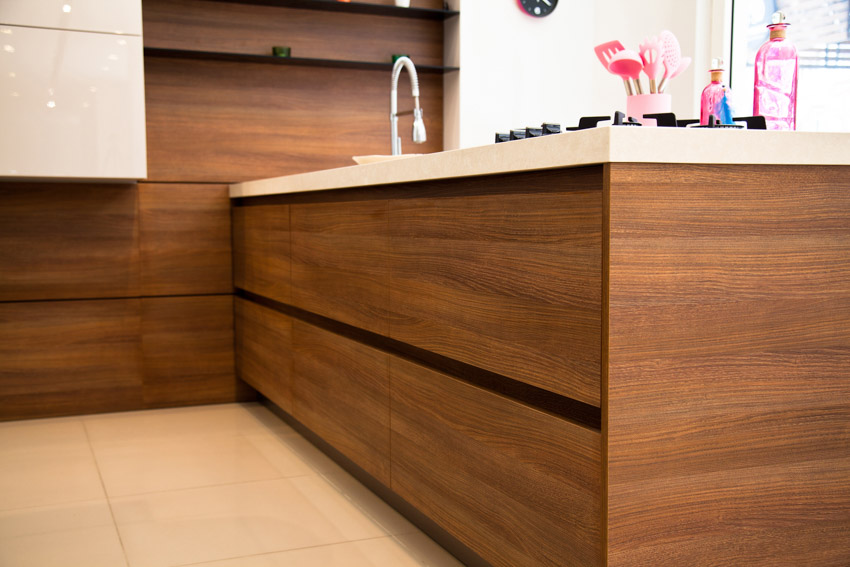
A wide variety of inexpensive self-adhesive wood veneers is available that can be applied to the surface of cabinets. This type of veneer can be used to change the color of a kitchen cabinet or make an old cabinet look new again.
The type of wood that is used for the veneer ranges from oak to mahogany to walnut. This type of veneer is typically 1/8 inch thick and usually comes with a protective coating on both sides. This coating can be peeled off before installation.
If you’re in a rental space, trying to work with the lowest budget possible, or just not committed yet to upgrade your kitchen cabinets; this is a great temporary option.
It isn’t as durable as actual wood, but it should get the job done just fine and as a quick and easy solution to an aesthetic problem with your cabinets.
How To Install Wood Veneer
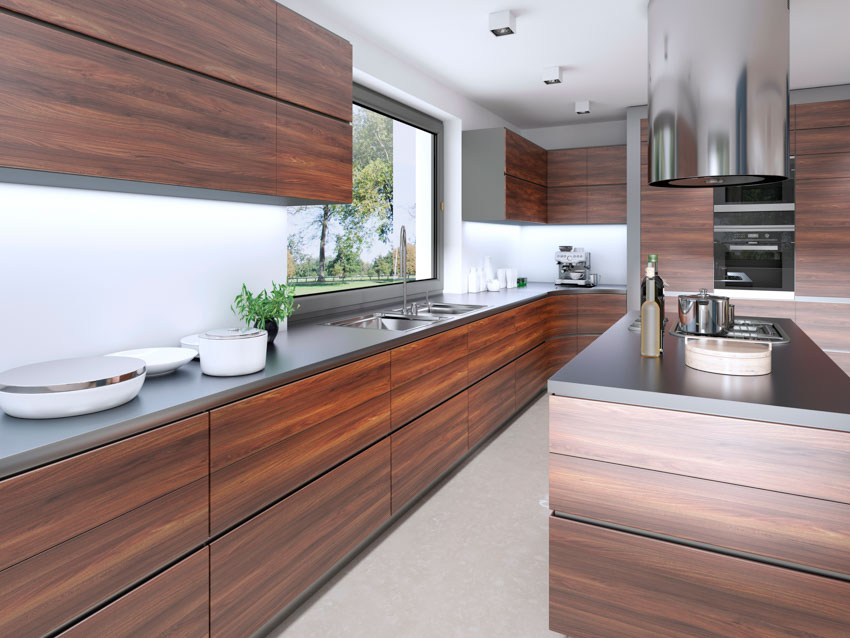
In the spirit of a full disclaimer, you should know that unless you are highly skilled with woodwork, or borderline professional, you should not attempt to install wood veneer on your own at all. It’s a difficult task and a bit of an exact science.
However, these days, there are plenty of tools and supplies that can enable a decent woodworker to go through the process of installation properly.
Here are some easy tips to help walk you through.
• Cut your substrate according to the shape and size that you need: The substrate is the material that you’re adhering to the veneer.
In the case of cabinet doors you’re repurposing, there might be no cutting involved and you just might need to clean it up by dry scrubbing them or taking out a sander to get rid of the damages.
• Mark out and isolate the section of the veneer pattern that you would like to use: Make sure that you use a cardboard template to help make it easier while you’re at it. This way, your veneers are cut identically and will match your substrate’s shape exactly.
Once you have your cardboard template, lay it on top of your veneer and leave a half-inch allowance on all sides. This is so that you’ll have clean edges.
• Once all of those elements are ready, prep your contact cement: Apply a coating of contact cement on both the substrate and the back side of your veneer. (Extra tip: Thoroughly mix your contact cement before application for better effectiveness).
• Adhere the substrate to the wood veneer: Make sure that you do this very carefully since you only have one go at this. Contact cement can be extremely tacky so if you mess up the alignment, you might need to redo it with a different sheet altogether.
• Using a veneer roller and lots of pressure, roll the air bubbles out by starting at the center and working your way outwards: Go over the edges with a smooth blade to make sure that the veneer completely adheres in those spots as well.
Turn your covered substrate upside down and trim off the excessveneer material with a razor or sharp blade. Give it enough time to cure and dry before installing the cabinet doors.
Wood Veneer Cabinet Refacing
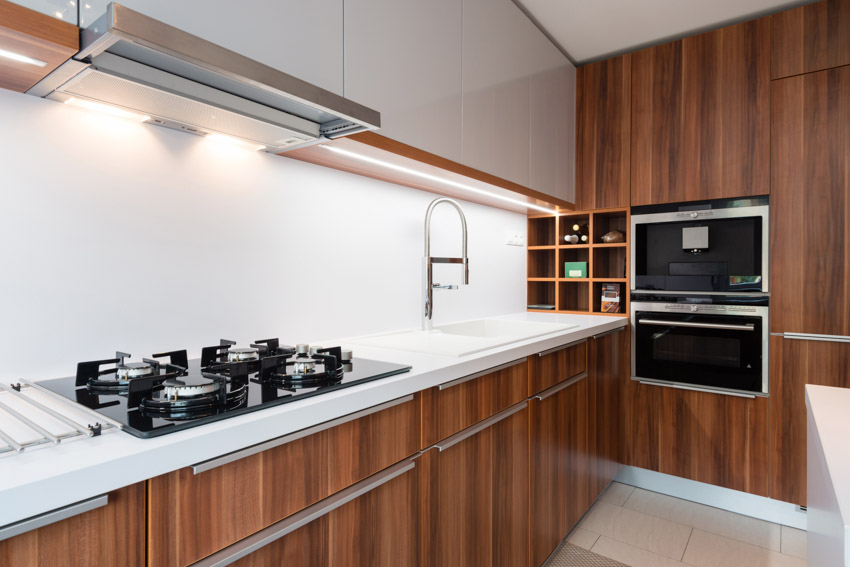
Refacing a cabinet is an alternative to rebuilding the cabinet. Rebuilding a cabinet can be a long process and will involve taking the cabinet apart. This process can be expensive and time-consuming.
Refacing an existing cabinet is a less expensive alternative to rebuilding the cabinet. It can be done in two parts. The first part is sanding and staining the existing cabinet and the second part is installing new doors, drawers, and hardware.
The second part will vary in cost depending on the quality of doors, drawers, and hardware that is used. Read more about refacing kitchen cabinets here.
How To Apply Wood Veneer To Cabinets
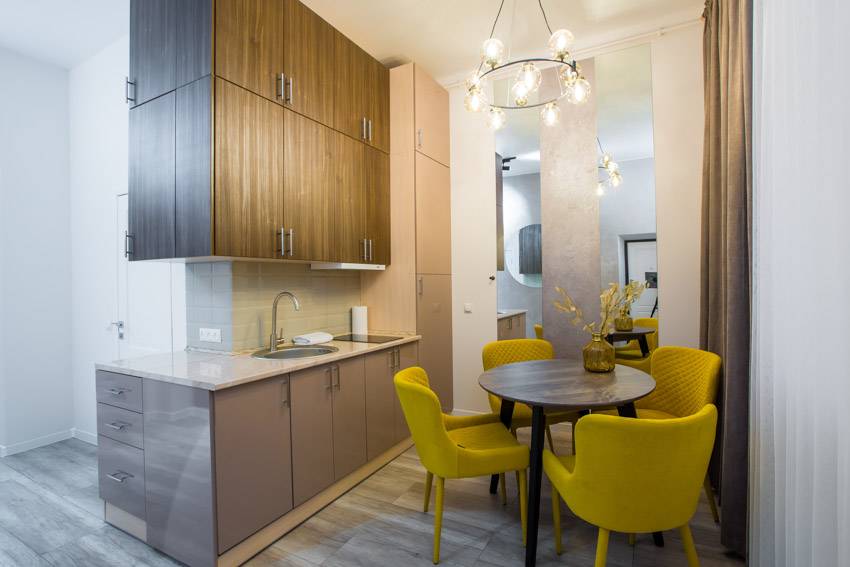
• Start by removing the cabinet doors, the moldings, and the rest of the hardware pieces installed: You can replace the different types of cabinet hardware pieces if you’re going for a total renovation upgrade, or you can keep and reinstall them.
Just make sure that they’re kept in a safe place when you dismantle the cabinet doors so that you don’t have any missing pieces.
• Feel the surfaces out: Any dents, depressions, or concave markings need to be patched up with some putty and sanded down so that you have a smooth and uniform finished surface before you get your veneers installed.
You mustn’t use a power sander on this project. Manually sand it down with some grit sandpaper instead. Cabinets can be delicate and you don’t want to end up damaging any areas with a power tool.
• Remove the debris and wipe it down with a soft damp cloth: Make sure that you don’t soak the wood out, just enough dampness to give it a thorough clean. Follow through with a dry rag. If the wood is waxed, apply some ammonia to remove it.
• Cut out your wood veneer matching the size of your cabinet doors and any other areas that you might want to cover or wrap: You can repurpose your old cabinet doors or you can cut out new panels altogether.
You need to make sure that your material is measured with a half-inch allowance so that you can wrap the edges as well. Any excess can be easily trimmed off with a sharp blade or razor.
• Apply some contact cement: Apply this material on both the main cabinet panels and the back side of theveneer that you’re installing.
Roll the air bubbles out with a veneer roller, and allow everything to cure and dry. Don’t forget to trim out the edges. Once everything is properly dry, you can now reassemble your cabinet elements.
How To Remove Wood Veneer From Cabinets
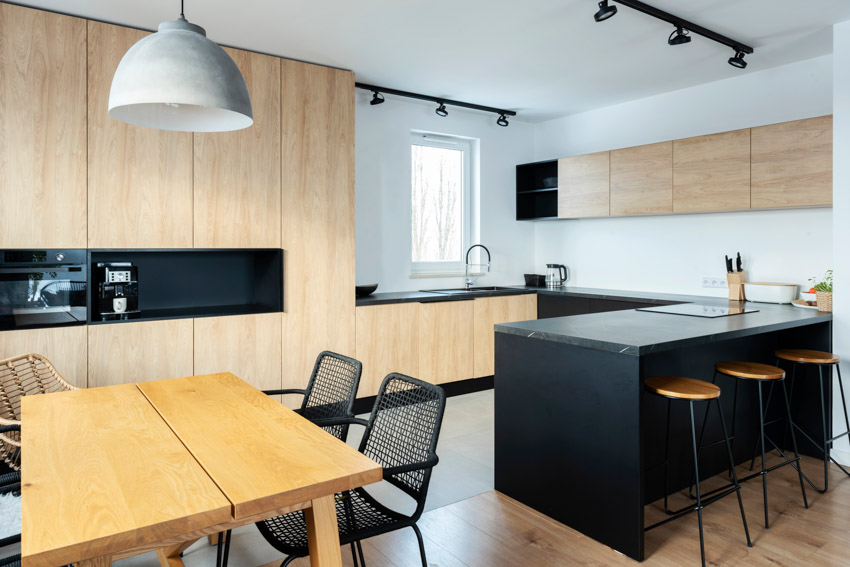
Removing wood veneer from your cabinets is ridiculously easy to do. Once the veneer has been damaged, there’s no way around getting it fixed. You will need to have it removed and replaced with a new one.
Here are some fast tips on how to easily and safely rip them out with the products and items needed.
• Apply a soaked (but slightly squeezed-out) wet towel on the surface.
• Grab a hot iron appliance and set it at its highest or hottest setting. Run it over the wet towel’s surface that’s directly on top of your surface. The heat and the humidity will make the veneer lift, making it easier to remove.
• Use a metal scraper to separate the veneer from its main substrate gently. Keep repeating the wet towel and hot iron technique as you see fit until all of the veneers have been removed.
• Sand the wood down and clean it out properly to prep it for the next step in your remodeling process.
Can You Paint Wood Veneer Cabinets
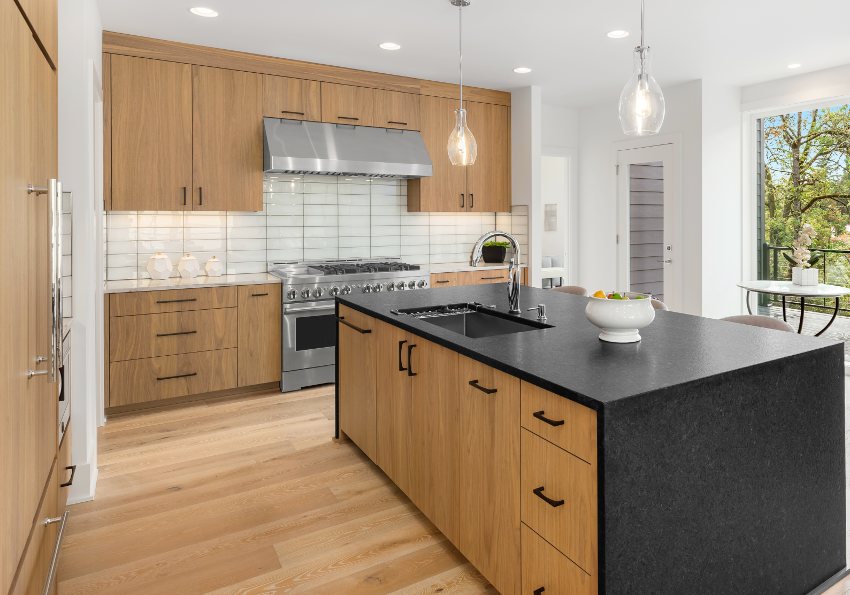
You absolutely can paint this material. Wood veneer cabinets can be treated pretty much like any other type of wood surface that can be painted on as long as it doesn’t have any damage to it and it’s in perfectly good condition.
The key to the success of any painting job is always in the prep work so make sure that you sand it down, get rid of all the dust and debris, and use a primer that’s adhesion-friendly.
Taping off areas such as granite backsplash, stone countertops, appliances, wall tile, sink, faucet, and other hardware finishes will save a lot of time in cleanup later on.
As an added tip, acrylic paint is one of the best types of paint products to use on your veneer cabinets. This is because they don’t have to absorb into the veneer for the color to stick.
How To Clean Wood Veneer Kitchen Cabinets
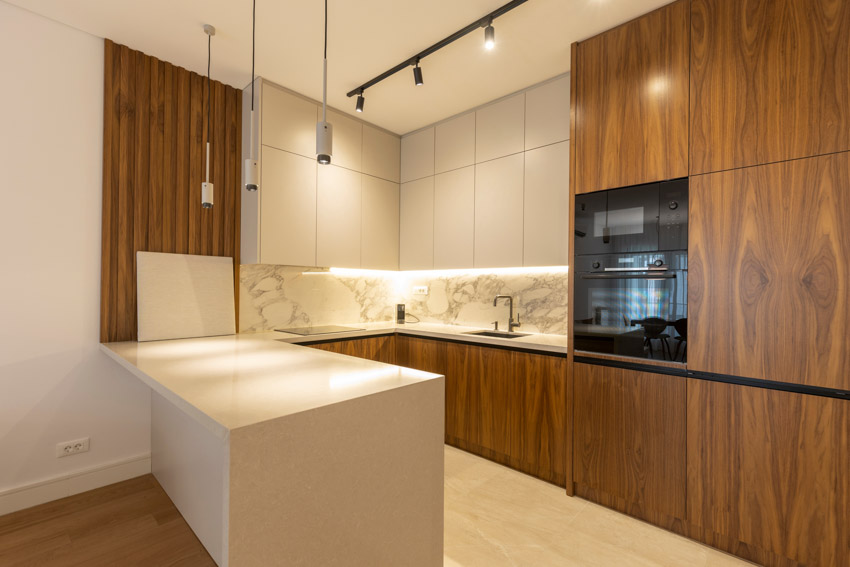
Cleaning wood veneer kitchen cabinets is as simple as it gets. All you need are two types of cloth: a wet one and a dry one.
Soap the wet cloth with some water and mild soap and use it to wipe the dust, grease, grime, and whatever other particles might accumulate on your kitchen cabinets.
Make sure that you follow through with a dry cloth immediately after. Any residual moisture may potentially damage the surface, so you have to be careful with that. And that’s it. You’re done cleaning your wood veneer kitchen cabinets.
Did we cover all of the information needed, or are there any unanswered questions regarding cabinet storage designs? Share your thoughts and tips in the comments below. See more related content in our article about plywood kitchen cabinets on this page.

