Kitchen Cabinet Refacing Process and Design Options
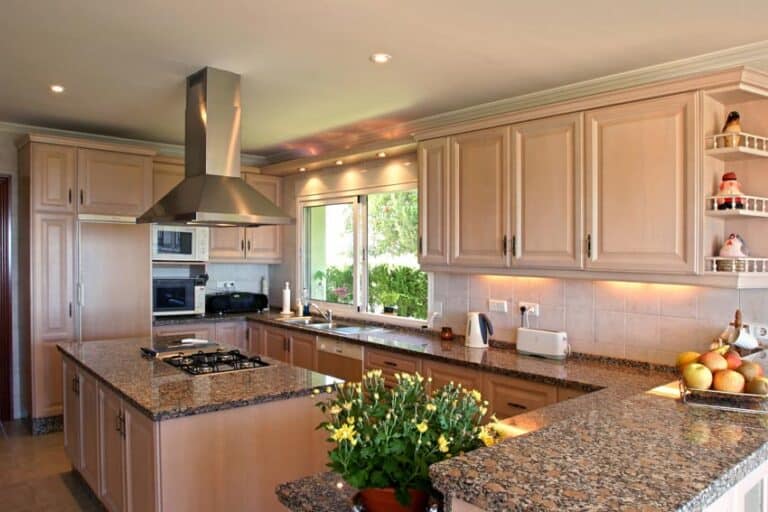
Everyone agrees that the heart of a home is the kitchen, regardless of size and other attributes. This area is communal, where the family eats and congregates, and where friends and guests spend time and hang out with their loved ones. The heart of the home needs to look its best. One of the quickest and most surefire ways to upgrade a kitchen is refacing its cabinets.[toc]
What Is Kitchen Cabinet Refacing?

Refacing is a way to give a homeowner a brand-new look to their cabinets. It can include a unique color, an eye-catching pattern, and updating their door style without removing the existing boxes. When refacing a cabinet, one only removes the existing doors and drawers or molding. The actual boxes are left untouched. However, the craftsman can cover it with a laminate or veneer to match the new door or the drawer front.
A common myth about refacing is it is not a permanent solution. Some people also think refacing is a cheap, temporary fix. However, refacing experts use many high-end products that improve the durability and aesthetics.
Refacing does not only involve painting the surface or applying a new decorative element. It also strengthens the furniture’s inherent characteristics by replacing the hardware, including hinges, handles, and drawer pulls. See the types of kitchen cabinet hinges here.
Refacing Cabinet Doors
Many businesses specialize in refacing. That is why it is advisable to have a professional do the refacing. Still, crafty DIY homeowners who are determined to do it on their own can resurface their cabinets. However, one must realize that some contractors might do things a little differently. Nevertheless, the refacing process is constant. Before anything else, these are two factors a homeowner has to consider:
Cost of Materials
Homeowners must research and inquire about the cost of materials before purchasing. If one makes a mistake in using thermofoil cabinets, it should not be a problem because the material is easy and inexpensive to replace.
On the other hand, errors when choosing a wood veneer can increase the overall project cost. Read about different kitchen cabinet materials here.
Cabinet Structural Integrity
The cabinet’s structural integrity is another consideration. Homeowners must assess whether refurbishing it makes sense or replacement is a more appropriate option.
Now that we got the points out of the way, here are the steps to refacing this part of your kitchen.
Step. 1. Order Supplies, Doors, and Drawer Fronts
Ordering new cabinets is now a hassle-free process. One can purchase refacing materials from hardware stores and specialized companies with an online presence.
Anyone can order the right size, the desired wood finish, and many more materials needed for their resurfacing project at their fingertips.
Of course, visiting the hardware store and ordering door fronts, wood veneers, and hardware from a supplier is also an option.
Step 2. Remove Doors or Fronts, and Drawer Pulls and Handles
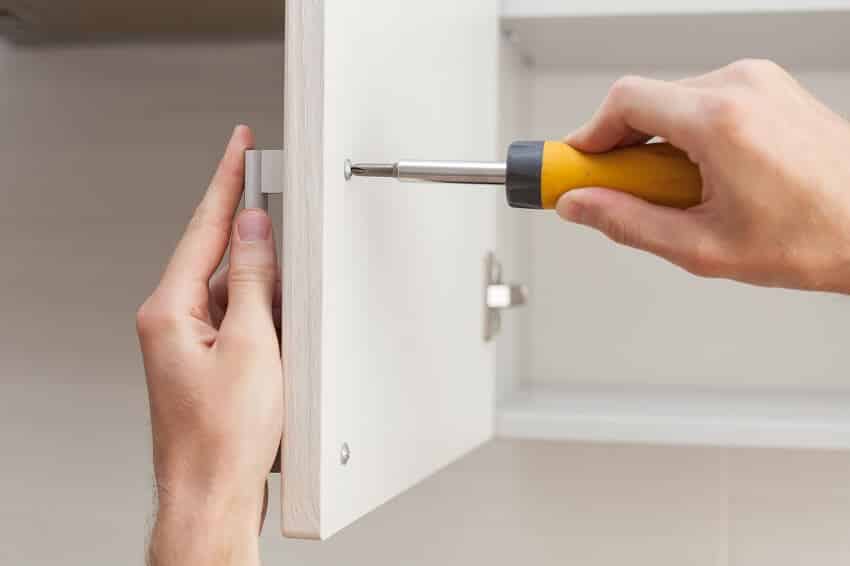
Homeowners must empty the contents and secure them in a safe place. They can then start removing doors by unscrewing them with a drill.
They need to be sure to keep the hardware and components in a Ziploc or store them in one place. Homeowners might need them again for the next steps.
Step 3. Sanding the Surfaces
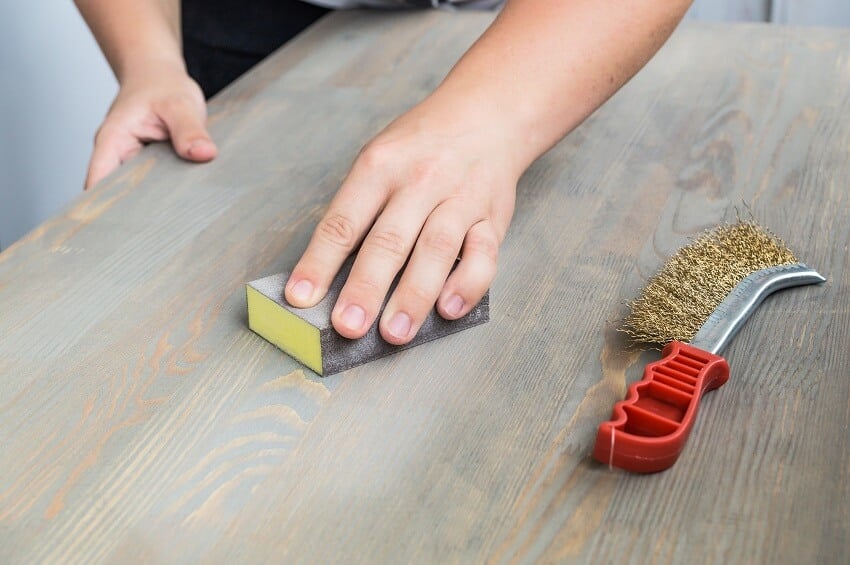
The next step is to sand down the surfaces that will receive the veneers using fine-grit sandpaper. A smooth surface ensures proper veneer adhesion. DIYers can also use an oscillating sander for large sections, such as the front and back of the cabinets.
Step 4. Cleaning the Cabinets
The best way to clean cabinet boxes is using a mixture of Trisodium Phosphate (TSP) and warm water to wipe down the surfaces.
Homeowners can pick up a bottle of TSP at any hardware or paint store. It is crucial to wear gloves when doing this step because TSP can cause skin irritation, especially if one has an open wound.
DIYers must focus on wiping the corners and areas where grease can build up. To check if the cabinet’s surface is ready for the next step, wipe a clean white cloth on the surface and check if the fabric is free of any dirt or smudges.
Step 5. Application of Veneers
After completing the cleaning phase, homeowners are ready to apply the veneers or any RTFs. Refacing requires only veneer or RTF application on the cabinet’s front, leaving the boxes untouched. Some homeowners may also choose to cover the top area, but not the bottoms.
Applying edge banding is suitable for cabinets with exposed edges, giving them a cleaner and more polished look. Use a veneer application tool to smooth the veneer or the Thermofoil on the surface.
Step 6. Installing Doors and Drawers

DIYers must be careful when installing drawers and doors. Check if the hardware requires replacement to ensure a more secure mounting to the frame. It will also help if homeowners ensure the correct alignment of the different components to guarantee a good-looking and fully functional cabinet.
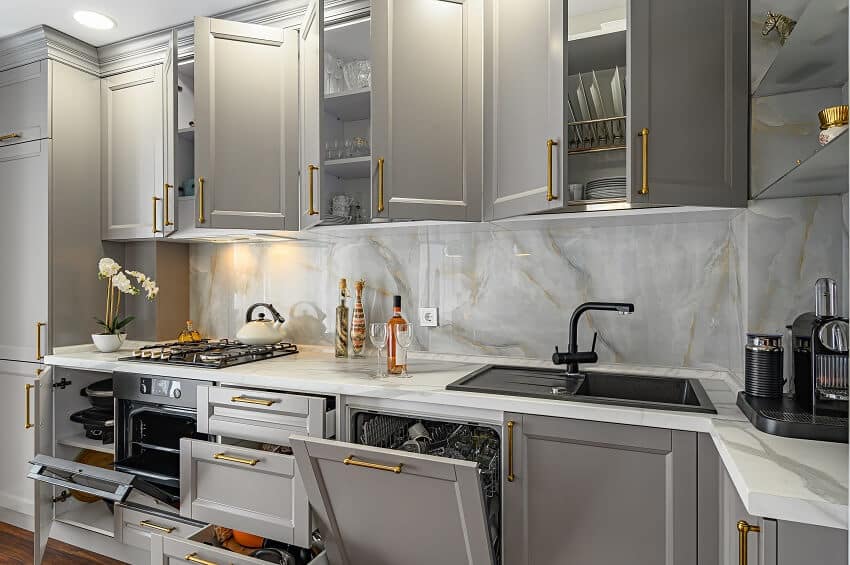
Step 7. Adding Cabinet and Drawer Hardware
Many homeowners consider this step the most fun. They get to choose from an array of knobs and handles to add to their newly veneered cabinets. It is another inexpensive way to give the homeowner’s kitchen a whole new personality.
Drill holes for the hardware, then insert the hardware fasteners and screw on the back.
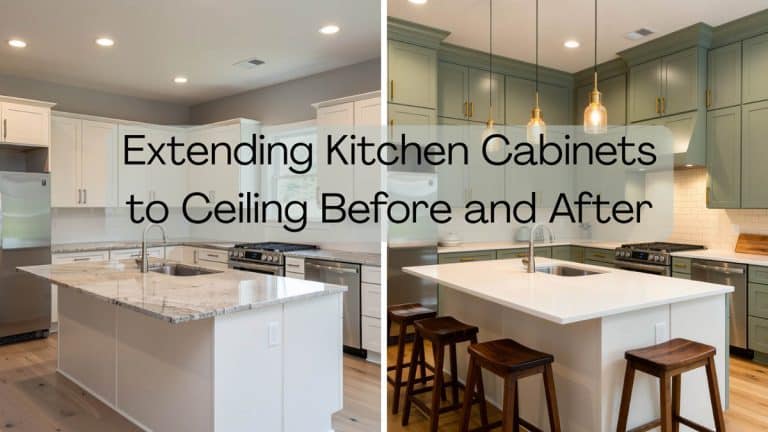
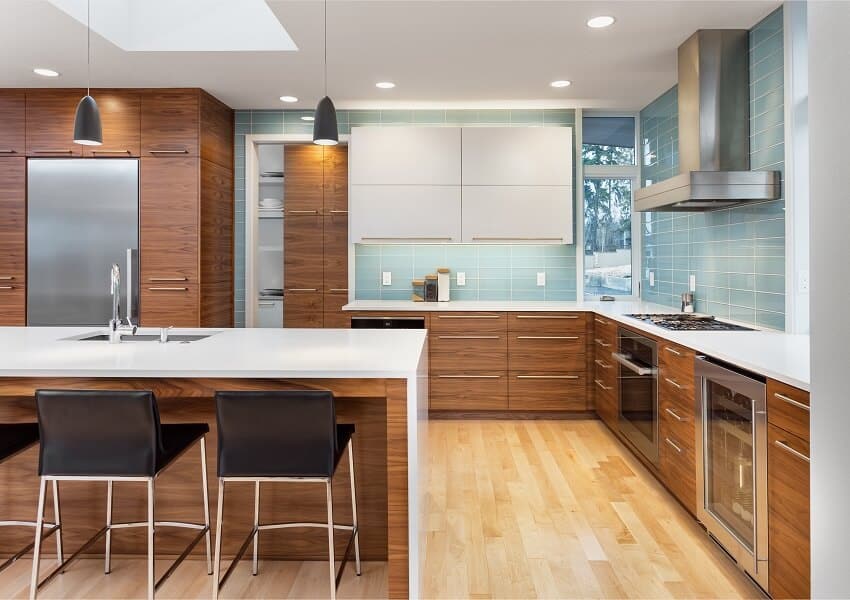
Reface vs. Replace Cabinets

Most homeowners want to freshen up their cabinets with a refacing or a fresh coat of paint. However, there is also the option of totally replacing them.
In this part, we factor in the pros and cons and help the homeowners decide between refacing or replacing their cabinets.
Deciding between these two choices often comes down to how much homeowners like the look of their current cabinets and drawers or if their boxes are in great shape.
Refacing is the better option if they want them just the same, and replacing could be done if a total overhaul of their kitchen’s blueprint is what they are after.
An essential factor to consider is budget. Refacing is the cheaper option, seeing it only costs a third of the price of replacing each cabinet.
With replacement, the cost depends on many factors. It can include the quality of products and the size of the homeowners’ kitchen.
A dedicated DIYer can reface cabinets with thorough research and using power tools. Homeowners can also hire an expert if they have the budget for it.
On the other hand, replacement entails several considerations, including precision cabinet leveling and handling of the materials.
When to Reface
• When the boxes are sturdy and in a stable condition
• When there is a lower budget allocated
• When it is for a remodel, contrary to a home construction
• When the current layout requires no change
When to Replace
• When the cabinet boxes are in a bad shape
• When there is a more significant budget allocation
• When constructing a home
• When doing a complete kitchen remodel
Another meaningful aspect to consider is the impact of either method on the environment. Fewer materials will be filler for landfills if a household chooses kitchen refacing.
On the other hand, replacing cabinets can lead to repurposing or recycling of recovered materials.
Refacing Cost
Project cost is one of the principal points that differentiate refacing from replacing. Refacing is generally more cost-effective than replacement unless the household plans to undergo substantial kitchen upgrades.
Average Cost to Reface An Older Cabinet
Getting a professional to reface the cabinet can set a family back by at least $1,000 and as much as $9,000. The project cost depends on the size and chosen materials for the project.
For example, a typical 12×10-foot cabinet can cost a homeowner $1,000 to $3,000 using a laminate. If the homeowner chooses natural wood veneers, the project cost can reach $2,500 to $6,000. High-end and large-scale refacing projects can cost anywhere between $7,000 and $9,000.
One must also consider the cost of door handles, knobs, hinges, and other hardware, which typically runs around $2 to $5 apiece. More luxurious products can cost between $20 and $50 each.
Cost of Refacing Cabinets vs. New Cabinets
To compare, a complete overhaul of old cabinets will cost the homeowner $4,000 to $5,000 for stock cabinets with standard styles.
For semi-custom cabinets, they should expect to shell out $8,000 to $10,000. Families that want full-on custom-made cabinetry can spend $16,000 to $20,000. Read more about our kitchen remodel cost guide to help you create a spending plan for your remodeling project.
Is It Worth It?

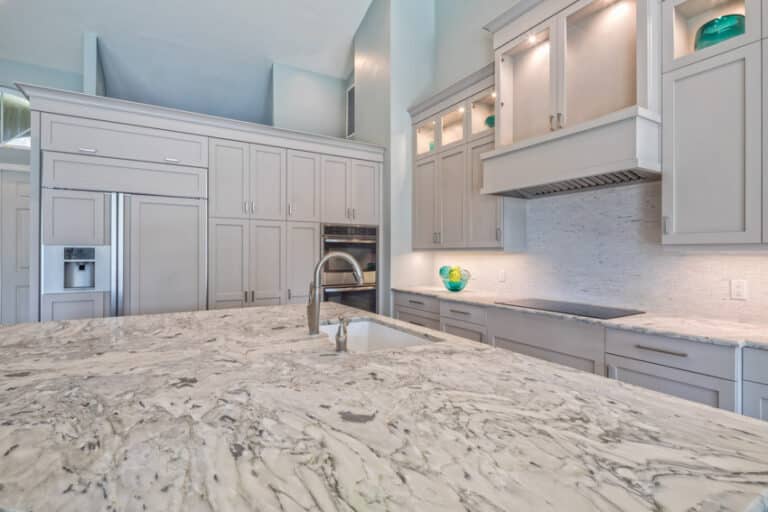
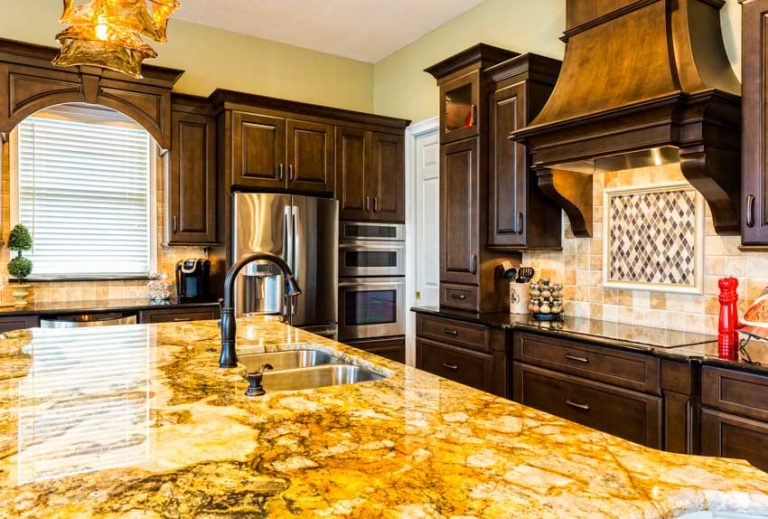
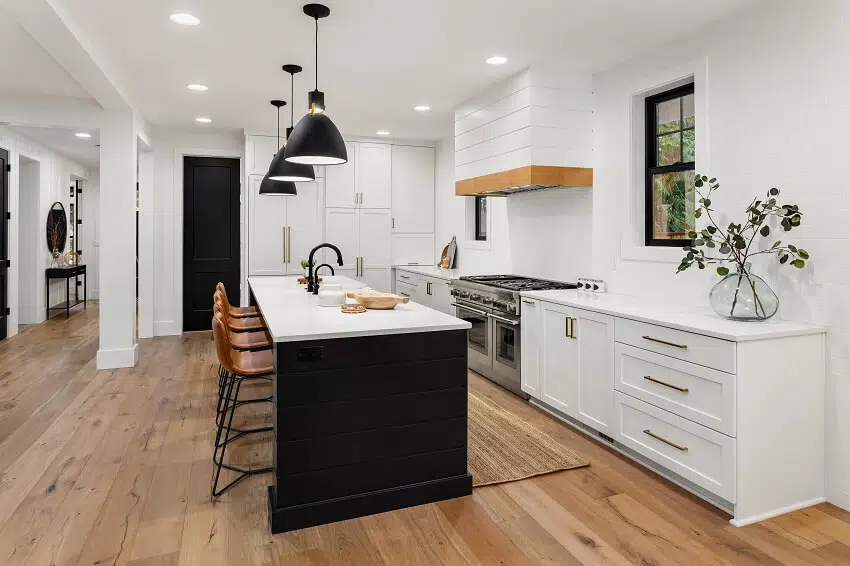
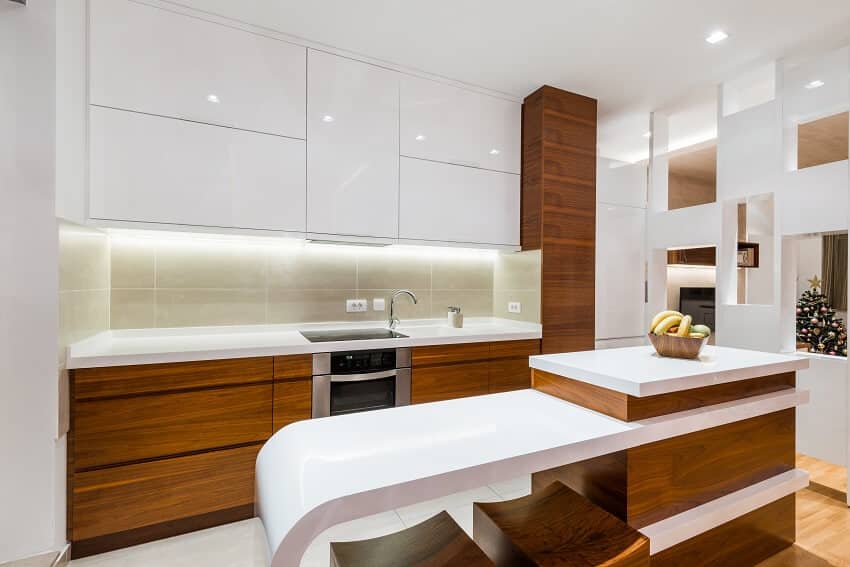
Refacing is a worthy project for homeowners who want to give their kitchen a much-needed facelift. Homeowners can replace bright yellow shelf doors with a more sophisticated black-dyed wood veneer without breaking the bank.
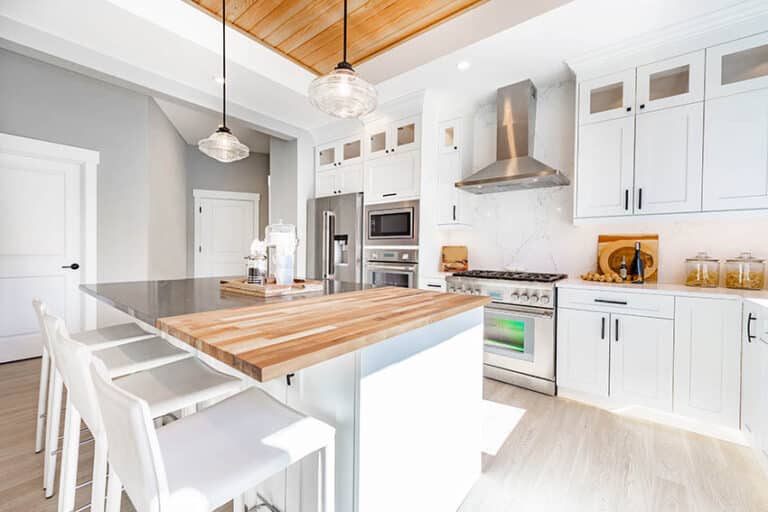
Homeowners can even customize cabinet boxes to add new features, such as a wall cabinet pantry, a wastebasket cabinet on the counters, or even a shelf for wine racks. They could even add pegs and moveable slats to their drawers for added organization.
Refacing also will take three days to a week max, while remodeling could take the homeowners up to six to eight weeks.
Ultimately, homeowners must analyze various factors, including kitchen layout, cost, and the kitchen cabinet’s current state. It is up to the homeowners to decide whether to reface or replace.
Visit our guide to kitchen cabinet styles for more kitchen improvement ideas.
To showcase highly specific designs, some images on this website use advanced AI-generation software to illustrate ideas and room inspiration. See our editorial policy to learn more.