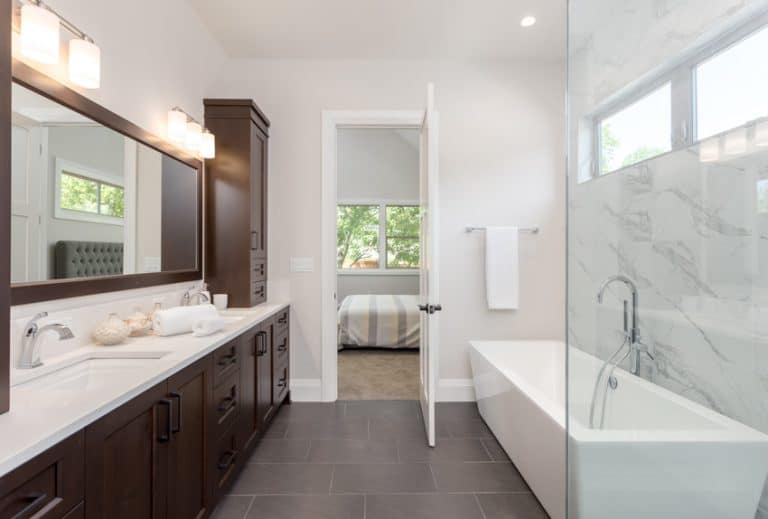
15 Mistakes When Installing Vinyl Plank Flooring

Vinyl plank flooring, the thicker and more durable version of vinyl flooring, is an affordable alternative to install in any part of your home. With numerous designs available, you can even get a vinyl plank floor that looks like real wood or opt for a marble or natural stone pattern. This makes it easy to match your floors with your existing elements and create a seamless and immediate transformation for your interiors. But like any other flooring material, mistakes when installing vinyl plank flooring can happen, especially if you’re doing the installation yourself. This article lists the common mistakes in installing LVP or Vinyl Plank Flooring and how to avoid them.
Skipping Subfloor Preparation
A floor is an expansive area like walls, and imperfections, such as an uneven surface, can be noticeable. Floors are usually the first area someone glances over when entering a home.
Having a well-prepared subfloor makes a good vinyl plank installation long-lasting and looks good. Skipping subfloor preparation can lead to serious damages, eventually leading to more repairs.
You need to fix any loose or damaged connections in concrete, plywood, OSB-oriented strand board, gypcrete, or whatever type of subfloor you have. Also, make sure that the subfloor is free from moisture.
For instance, concrete or cement backer boards can install a waterproofing wood flooring membrane to prevent moisture from seeping through the subfloors. Another major concern to address is to make sure you have a perfectly leveled floor. Use a leveling compound to fill in depressed areas.
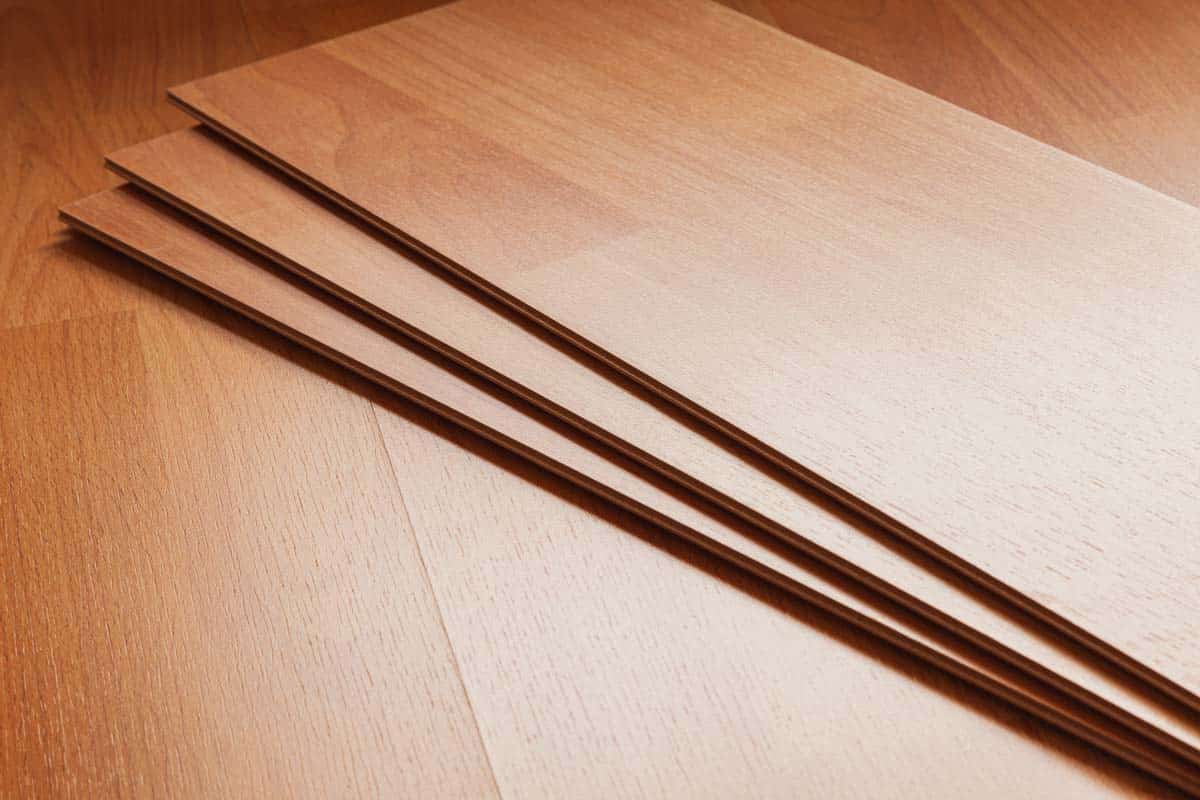
Not Acclimating the Flooring
After receiving your vinyl plank flooring, you’ll need to leave the material on the job site to allow it to acclimate or adjust to the temperature conditions of the site. Like natural wood, vinyl floors can expand and contract but not as much as real wood.
Solid vinyl is the best and most expensive flooring. The thickness of the flooring also is a good clue to its quality; trucker materials have more vinyl and are therefore more durable. – Home Improvement By Creative Publishing International Editors, Creative Publishing International, 2001
Regardless, you’ll need to remove the vinyl wood floors from their packaging and lay the planks parallel in a dry area on the site for around a day or two. Don’t forget to check for the manufacturer’s instructions on acclimating the vinyl plank floors, as each product has varying compositions.
Order the product in advance because you’ll need to acclimate the floors for several hours. It is also recommended to get all the vinyl floor planks needed in one delivery so the planks can acclimate simultaneously.
Not Checking for Level

How well leveled your substrate will translate through the top material you use. Connecting the planks on uneven floor surfaces can be difficult since they have interlocking edges.
But even if you have successfully connected the planks, furniture or foot traffic pressure can end up with damaged planks since the LVP strip will bend and crack with the pressure. This can be unsightly flooring. Eventually, you’ll need to replace the whole system.
To check for levelness:
• Use a level or straight board of the subfloor.
• Correct the level by sanding or smoothing areas or using a leveling compound.
• Double-check the level again after placing the moisture barrier or applying a waterproofing sealant.
Ignoring Layout and Planning
Vinyl plank flooring is a straightforward installation, but you must plan ahead and add contingency measures to ensure a smooth and correct installation.
Factors such as the time frame, number of planks to order, what area or corner of the room to lay out your first plank, removal of obstructions such as moldings or a door jamb, etc., should be considered.
Your time frame should include the delivery time of materials, acclimating time, preparing the substrate, and curing time for wet applications.
Add at least 5% from the total of vinyl plank flooring needed so you have an available batch of planks for any VPF floors that may get damaged during the installation. Any planks left can be stored to be used in the future to replace damaged floors.
Incorrect Staggering of Seams
First-time installers of vinyl plank flooring may not consider staggering their seams and trying to lay out the planks like the stretcher bond pattern common in bricklaying. This can raise issues with the overall structural integrity of your flooring and is likely not an aesthetically pleasing surface. Staggering of seams or the end joints is when laying out the planks with the end joints in an offset pattern.
The correct layout should have each succeeding end joint at least 6 to 8 inches offset from the previous end joint, and each end joint should not fall parallel to any adjacent seam. So, you end up with distributed end joints that will expand and contract evenly.
While not necessarily the weakest points in a flooring system, the seams are areas susceptible to developing gaps or separation. Distributing these points will allow more even acceptance of load pressure and material movement, preventing the development of a weak area in a floor surface.
Not Using Expansion Gaps
Providing a few millimeters of room for the vinyl planks to expand is sometimes overlooked by installers, which can lead to future buckling or cracking of the floors. These expansion gaps (usually 3 to 6 mm or 1/8 to ¼ inch) are assigned around the room’s perimeter and away from any vertical structure, such as the column, door jamb, or built-in cabinet.
Don’t forget to install transition strips between two different types of flooring material. The transition strip type depends on the flooring system’s materials but usually has an aluminum or metal frame where the floor material is securely fastened.
The top finish can match one type of floor material to blend seamlessly between the floors. The transition strips are not only for aesthetic purposes but serve as a safety measure to prevent someone from tripping on the edges of the flooring.
Forgetting Underlayment
Another common mistake in installing vinyl plank flooring is forgetting to place an attached underlayment. Placing a continuous material surface between the subfloor and the vinyl planks will make your flooring installation more structurally stable, with additional functions depending on the type of underlayment you choose.
Cork underlayment, for instance, effectively reduces sound from stepping on the vinyl floor and can also buffer sound below the floor if you have another room below the area. Cork and foam underlayment can add insulation to the room as well.
Since vinyl plank floors are close to plastic material, it doesn’t receive pressure well like wood since the natural material has much more flexibility and can distribute the impact or force evenly. The rigid material will need an underlayment to transfer the impact or tension applied. This makes the vinyl plank flooring more comfortable to walk on, even under extended periods.
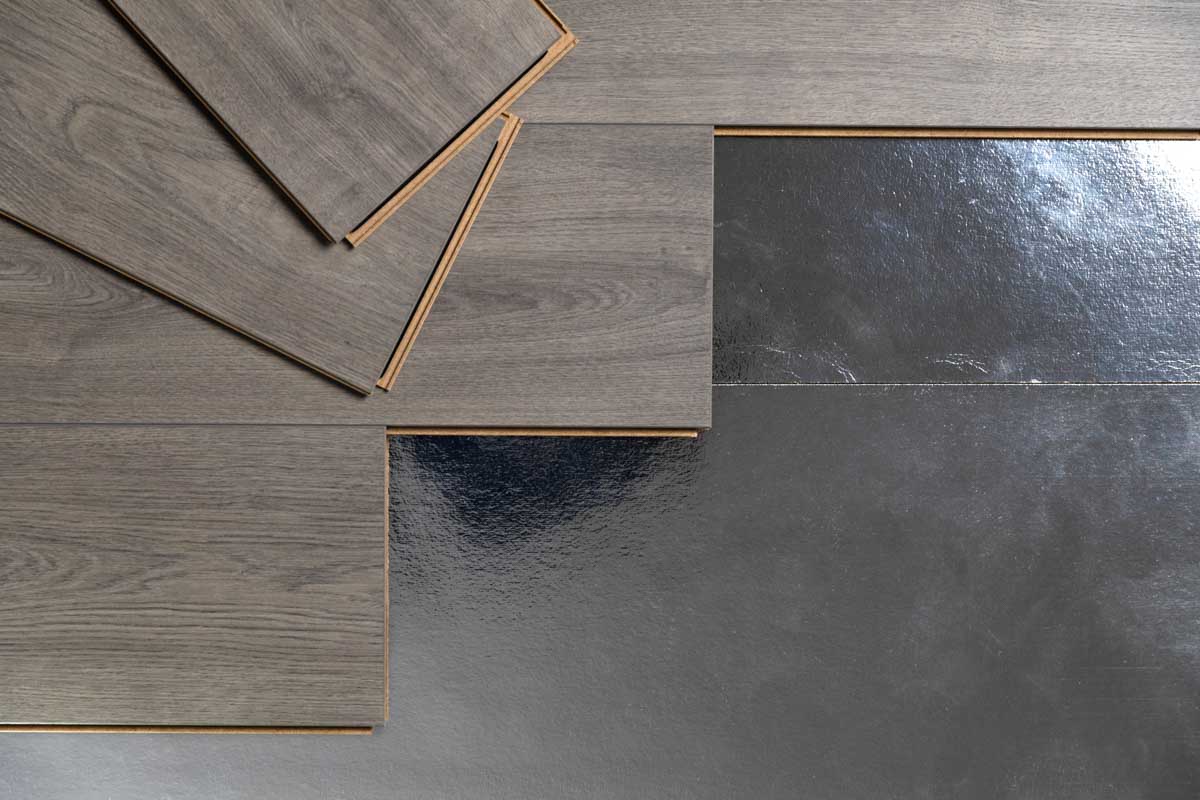
Poor Cutting and Measuring
Precision is important in laying out modular materials like vinyl plank floors, as a minor misalignment can affect the other planks. This starts with using the right tools for specific tasks. You can use a wall trimmer to cut vinyl along a straight wall. Utility, concave, or scissors are best for cutting custom shapes.
Also, know the measurements of your materials and required measurements for expansion gaps, staggering, etc., beforehand. This gives you an overview of how you would lay out your planks and ensure the workflow, minimizing errors as you install your flooring.
The standard planks usually come in 36 and 48 inches and are 4 to 12 inches wide. It also helps to have good lighting in your work area to minimize measuring errors.
Nailing Through the Flooring
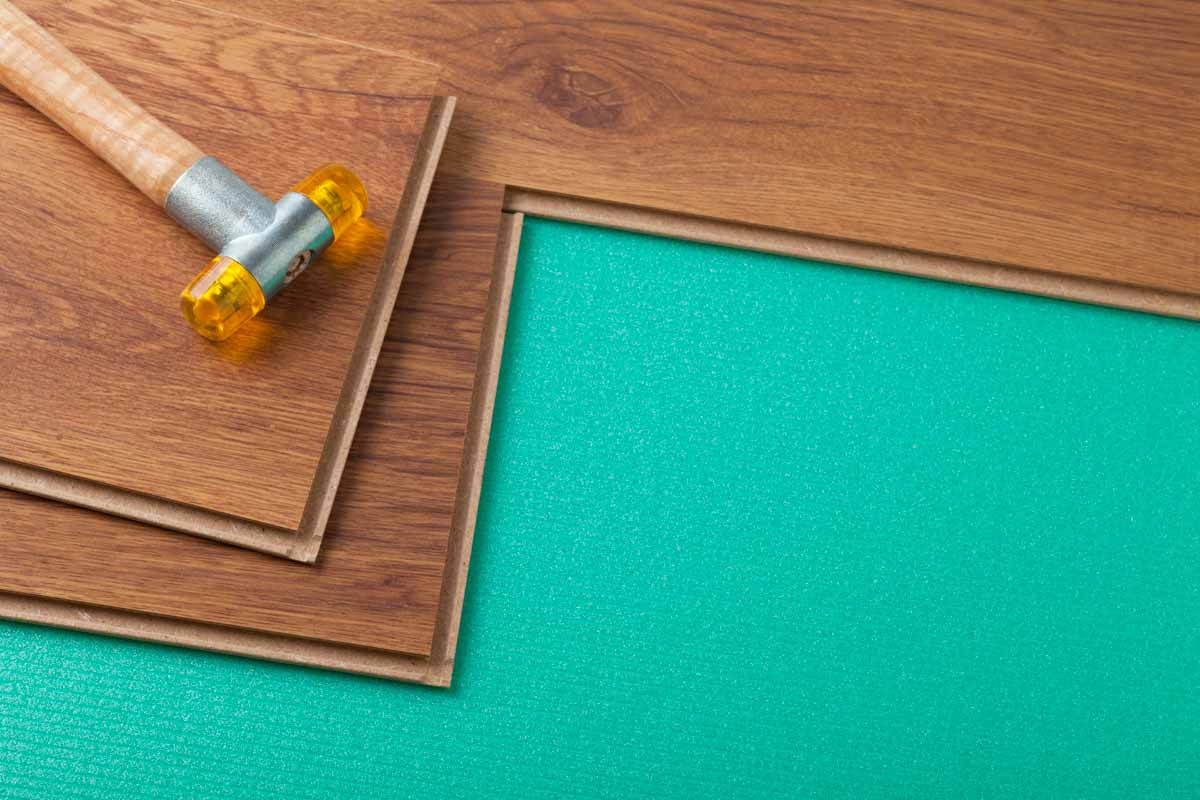
Some homeowners are tempted to nail down the flooring because of their similarity to typical hardwood or engineered wood planks. Doing this can compromise the structural integrity of the vinyl material and the whole flooring system.
Aside from creating areas where water can seep through, nailing down the vinyl planks causes rigidity that prevents the floors from expanding and contracting during temperature changes.
Vinyl floor planks are typically installed without attaching to the subflooring and rely upon underlayment. The traction between the materials allows a floating installation, making material expansion and contraction better.
If you are concerned with the vinyl planks from detaching or misalignment during use, some vinyl plank floors are glued down using the recommended adhesive by the flooring manufacturer.
Not Following the Manufacturer’s Instructions
Take time to read and follow the manual with the vinyl plank floor packaging. This can save you time and money and ensure better performance from your product.
There are many vinyl plank flooring product variations with different designs and features. Each vinyl plank flooring may have the basic layers but with varying manufacturing processes and components that may behave differently from other vinyl plank floors.
Not Using Proper Tools
Not using the recommended tools can damage the floors and lead to various issues, including damage to the floors and a less-than-optimal installation outcome. For instance, it is recommended to use a flooring cutter when cutting a straight edge on a vinyl plank.
It is efficient and causes less damage to the material. Concave knives, utility knives, scissors, and jigsaws are best for creating unusual shapes, typically to accommodate a door jamb or floor outlet.
Also, use tools that can help the installation be more precise, such as using spacers to maintain a uniform gap between the perimeter of the floor and surrounding walls.
Ignoring the Direction of Planks
Always plan on the orientation of your vinyl planks. If unsure of which direction of the planks to install, check the manufacturer’s guidelines. If you have a vinyl plank that simulates wood, you must assess the grain pattern and its appearance in the desired orientation.
Another factor to consider is the direction of traffic flow. If you have a long hallway with entryways end to end, it might be best to install the planks lengthwise or along the length of the hallway. This minimizes the damage to the material as foot traffic goes along with the longer side with shorter end joints.
Using Wrong Adhesive

Always check the manufacturer’s recommendation when securing your vinyl plank flooring system using an adhesive. There may be recommendations for specific types of underlayment or subfloor since each material behaves differently.
For example, a cement-based subfloor or underlayment will need masonry adhesives but, at the same time, will adhere to the type of vinyl backing you have.
Using the right adhesive for your flooring will ensure that the floor backing adheres well with your subfloor or underlayment, preventing movement or misalignment. Some adhesives can damage the plastic material, so ensure the adhesive is made for the flooring product.
You may also be concerned with the VOC content of your adhesive, as most wet applications will have fumes released during and after installation. So, check for the material specifications of the adhesive you are using.
Rushing Through the Job
Like any other home improvement activity, planning is critical to the success of a task. Planning the different aspects of the installation will make a smooth and efficient installation, saving you more time and money in the long run.
Moreover, the cliched saying of measuring twice and cutting once should be applied when installing wood floor finishes. This saves you on materials and prevents further issues once installed.
If your assessment concludes that installing vinyl plank flooring might be difficult for you, it might be best to get professional help.
Overlooking Door Frames and Transitions
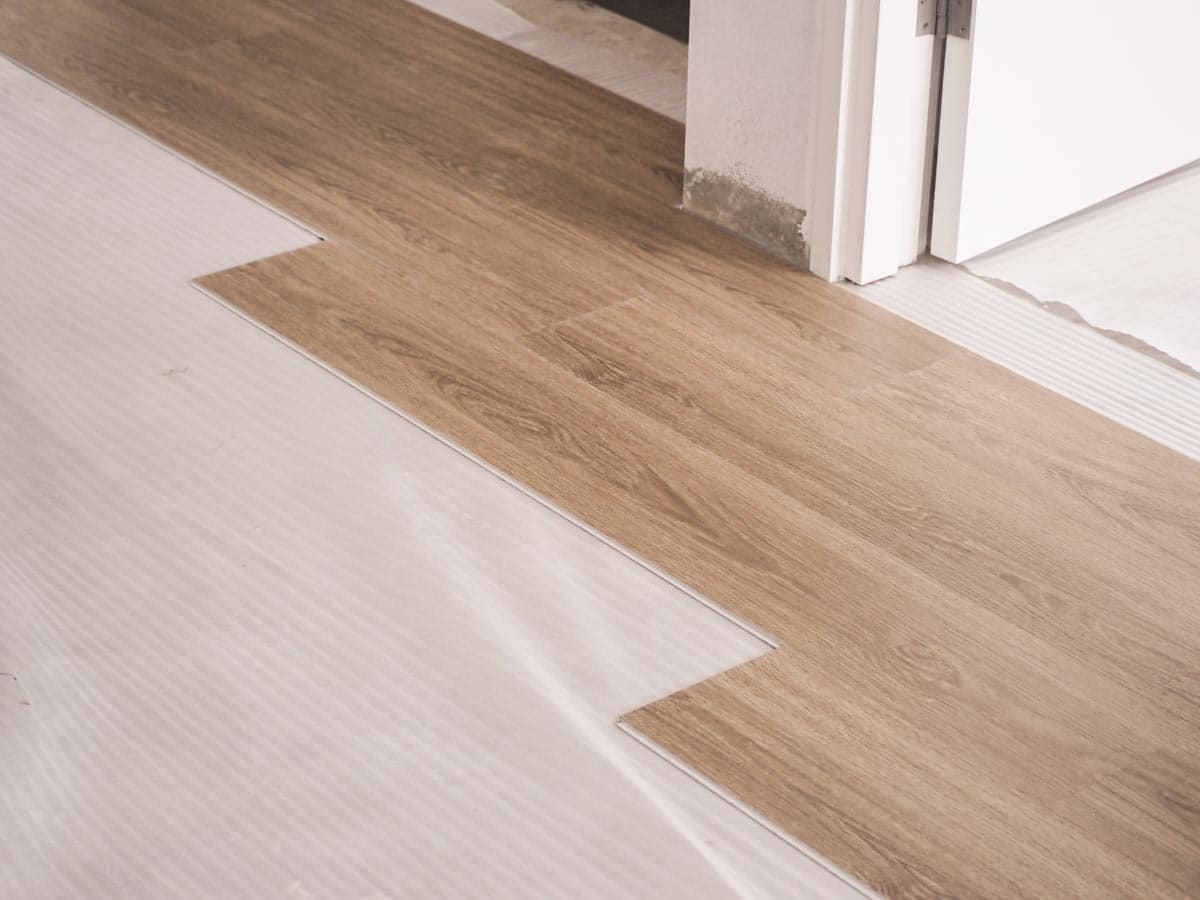
To prepare the area, you should not forget to remove the door frames or jambs, transitions, and base moldings around the area. Removing these details may be tedious, especially if you’ll need to preserve them to be reinstalled after the vinyl plank flooring is laid out. If you remove door frames and jambs, you can use a saw or oscillating tool to cut the door jamb.
Cut just above the height of the flooring that will be installed. Use a small piece of the vinyl plank floor so you can use the smaller piece to check if the thickness will snugly fit into the cut.
Transitions allow a seamless change of flooring material and prevent an awkward look while ensuring that the floor edges do not protrude, which may cause an accident when tripped on.
Installing Vinyl Plank Flooring
Here is a video showing how to install vinyl plank flooring
See more related content in our article about foam back vs cork back vinyl flooring on this page.
To showcase highly specific designs, some images on this website use advanced AI-generation software to illustrate ideas and room inspiration. See our editorial policy to learn more.