Wood Floor Finishes (Types & Pros and Cons)
Below, we’ll take a look at different types of wood floor finishes, the pros and cons, share different finishing products, and give you some tips on how to apply coats of finish.
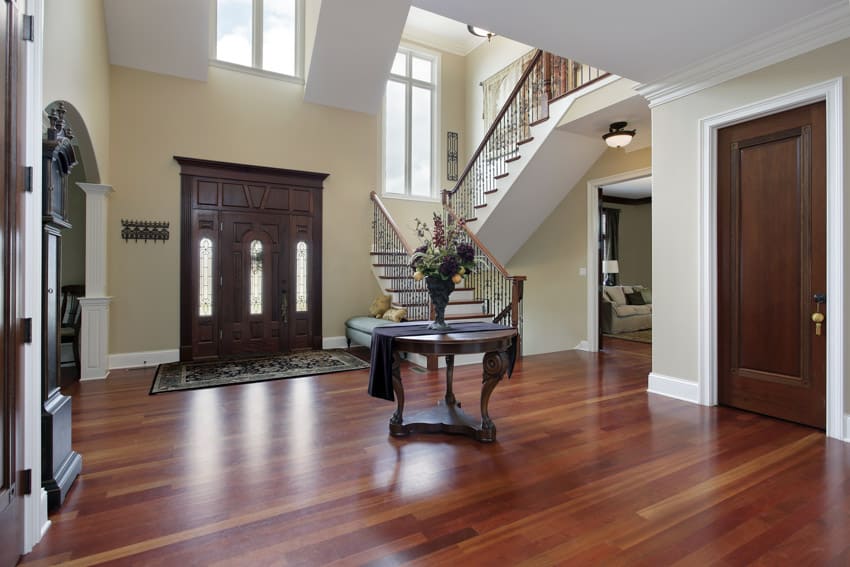 Wood floors add warmth and character to a home and with so many different types of floor finish available, it can be overwhelming trying to decide which one is right for you. A proper finish will bring out the best in your wooden floors while protecting them from wear and tear.
Quick Look at Wood Floor Finishes:
| Water-Based Polyurethane | Oil-Based Polyurethane |
| Floor Wax | Shellac |
| Moisture-Cure Urethane | Acid-Cured Finish |
| Aluminum Oxide | Penetrating Oils & Sealers |
Types & Uses of Wood Floor Finishes
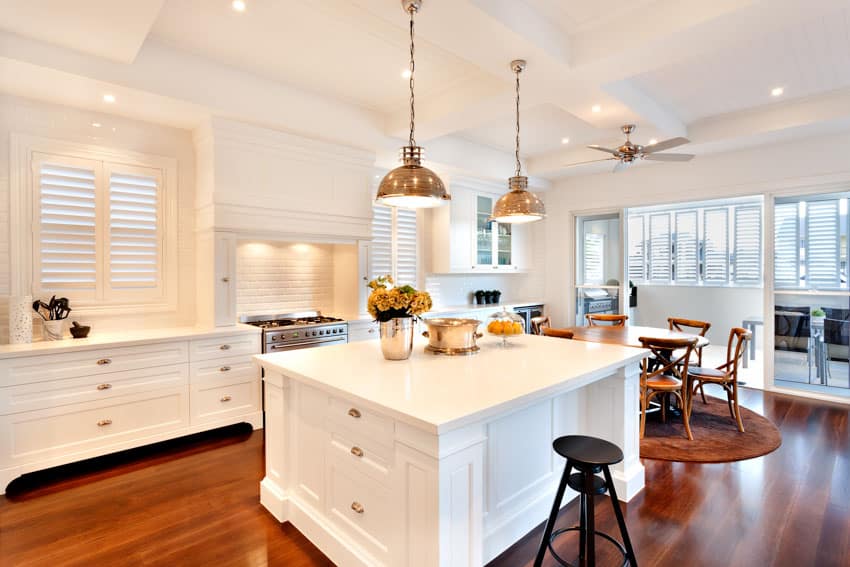
When choosing wood finishes, it’s important to consider the type of flooring you have, its amount of usage, and the level of reflectiveness you want. Some finishes work better for high-traffic areas or rooms with more moisture vapor and humidity.
For example, a glossy finish has a high shine that is best suited for floors that will be regularly cleaned and maintained, while an oil-based polyurethane finish is thicker and better suited for floors that get a lot of foot traffic.
Oil-based wood floor finishes are popular since they provide a natural shine that resists scratches and dirt and protects against moisture. This type of finish is easy to apply, and it can be used to hide minor imperfections in the wood’s surface.
When choosing a finish it’s important to mention volatile organic compounds (VOCs). These chemical compounds may be released into the air as gases from certain solids or liquids, such as paints, cleaning products, furniture, and even some types of flooring. We will cover VOCs in detail later in this article.
Selecting the right type of wood floor finishes can help keep your hardwood floors looking beautiful. Next, we’ll discuss the most popular types, their uses, and some of their advantages and disadvantages.
Water-Based Polyurethane
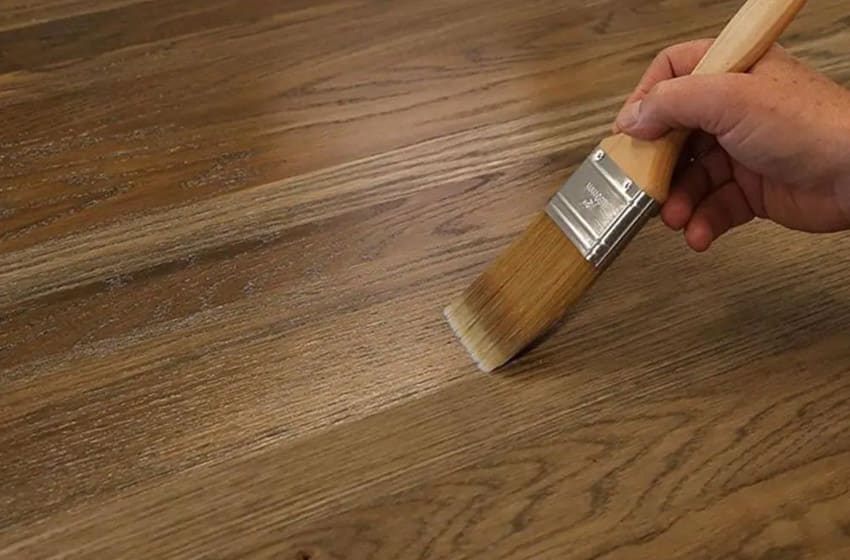
Water-based polyurethane is the perfect choice for wood floor finishes when looking to go green while enhancing the quality of the floors. Not only does it offer excellent durability and protection from wear & tear and damage caused by moisture or UV rays – but its low emission levels make it a great eco-friendly option.
It’s easy to apply with minimal fuss, doesn’t contain strong odors (so you won’t be bothered while curing), and dries quickly in comparison to traditional products. It also provides glossy or matte finish options.
Another advantage of water-based polyurethane is that it has fewer VOCs present than standard polyurethanes available in today’s market. Allergy sufferers will appreciate a product with fewer VOCs present.
If you’re looking to give your floors a warm, natural sheen that resists scuffs and scratches for years look no further than water-based polyurethane.
Not only will it make your wood floors beautiful and inviting, but because of its eco-friendly advantages, the easy application process, and durability – proper care can ensure they maintain their aesthetic long into the future.
Advantages of Water-based Polyurethane:
Low odor: Water-based polyurethane has a much lower odor than oil-based products, making it more pleasant to work with and easier to apply indoors.
Fast drying time: Because water evaporates quickly, water-based polyurethane dries faster than oil-based products. This means you can apply multiple coats in one day and finish your project sooner.
Easy cleanup: Water-based products clean up easily with soap and water, whereas oil-based products require solvents like mineral spirits or paint thinner.
Less yellowing: Over time, oil-based finishes can yellow or darken the wood they’re applied to. Water-based products are less likely to have this issue, so your finish will stay clear and bright.
Disadvantages of Water-based Polyurethane:
Less durable: Water-based polyurethane is generally considered less durable than oil-based products. It may not hold up as well in high-traffic areas or on surfaces that are exposed to moisture.
More expensive: Water-based polyurethane tends to be more expensive than oil-based products, which may make it less appealing for larger projects or those on a tight budget.
May require more coats: Because water-based polyurethane is thinner than oil-based products, it may need more coats to achieve the same level of protection and shine.
Oil-Based Polyurethane
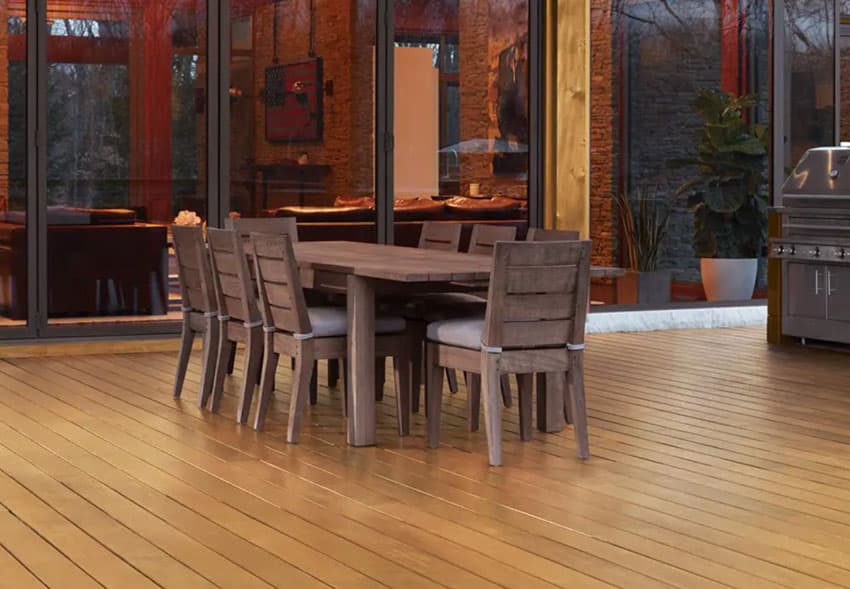
Oil-based polyurethane is a great choice when it comes to wood flooring. Not only does its glossy finish resist dirt and abrasions, but it also has superior water resistance and durability – perfect for high-traffic areas like kitchens or bathrooms that see more action.
Oil-based polyurethane provides an effective protective coating that helps guard against wear while still delivering gorgeous results with either gloss or satin sheen.
Plus, you can get the job quickly done thanks to how easy it is to apply with either brush or roller, drying just as fast afterward. It’s an ideal refinishing solution because oil-based polyurethane gives your existing wood floors deep protection by penetrating deep into the grain of the wood. This helps to prevent water from seeping into the floors and causing warping, buckling, and other damage.
When it comes to durability, oil-based polyurethanes can protect your wood floor for up to 8 years with regular maintenance such as regular sweeping, mopping, and prompt spillage response.
However, do bear in mind this type of product takes longer than its water-based counterpart to completely cure. This means that furniture must be moved away from the area until it is completely dry, which can take up to 3 days.
When it comes to oil-based polyurethane finishes, one major drawback is their flammability. They are not the best choice for places like kitchens or fireplaces that may have a potential for sparks or open flames as well as areas where there is a lot of heat.
Another drawback is an oil-based polyurethane has significantly more VOCs than a water-based solution. Oil-based polyurethane is a resin petrochemical that may cause breathing problems or degrade indoor air quality. These chemicals will produce the worst fumes as they are drying. If in doubt, use a water-based material instead.
Overall, oil-based polyurethane finishes are good if you want an exceptionally durable and long-lasting finish for your wood floor. They provide superior protection against wear and tear while also giving your floor a beautiful, glossy finish. With proper precautions and maintenance, this type of finish can provide you with a beautiful, glossy floor for years to come.
Advantages of Oil-based Polyurethane:
High durability: Oil-based polyurethane is generally considered more durable than water-based products. It can hold up well in high-traffic areas and on surfaces that are exposed to moisture.
Less coats needed: Because oil-based polyurethane is thicker than water-based products, it may require fewer coats to achieve the same level of protection and shine.
Lower cost: Oil-based polyurethane tends to be less expensive than water-based products, which may make it more appealing for larger projects or those on a tight budget.
Water resistance: This type of finish is highly water resistant (not waterproof) and can help protect the flooring from spills or moisture.
Disadvantages of Oil-based Polyurethane:
Strong odor: Oil-based polyurethane has a strong odor (Check the product for lower VOC components to minimize) that can be unpleasant to work with and difficult to apply indoors. Proper ventilation is essential when working with this product.
Longer drying time: Because oil takes longer to evaporate than water, oil-based polyurethane dries slower than water-based products. This means you’ll need to wait longer between coats and finish your project over several days.
Yellowing or darkening: Over time, oil-based finishes can yellow or darken the wood they’re applied to. This can be especially noticeable on lighter woods like pine or maple.
More difficult cleanup: Oil-based products require solvents like mineral spirits or paint thinner for cleanup, which can be messy and time-consuming.
Floor Wax
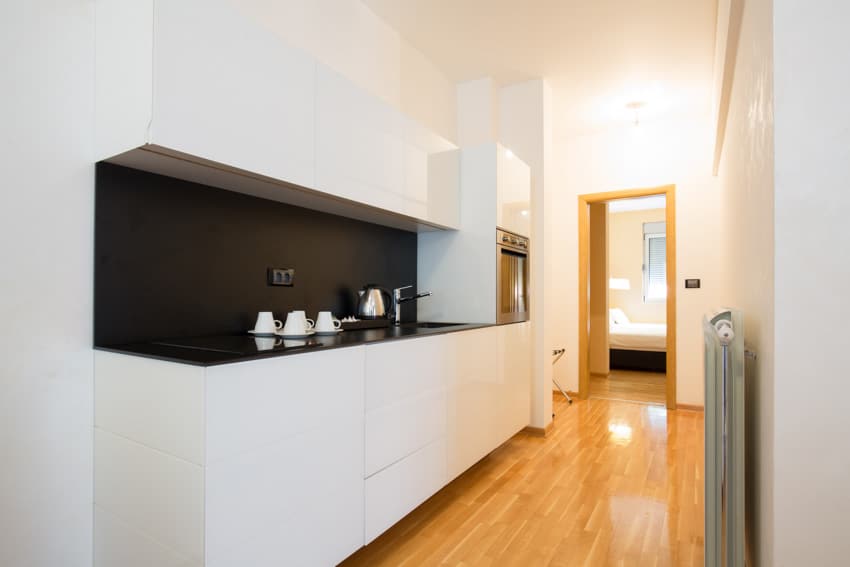
Waxes are available in both paste and liquid forms and must be applied regularly to maintain the desired level of protection. The type of wax you choose for your wood floor depends on the type of finish. For oil-based finishes, paste wax is used.
Natural-based floor wax is generally free of harmful VOCs. However, check the type of material to ensure it meets your needs.
Applying a thin coat of paste wax with a soft cloth is best, and then buff it out with a polishing machine or buffer. For water-based finishes, liquid waxes are typically used. Again, it’s best to use a soft cloth and buff out the wax afterward. With proper care and attention, you can maintain your wood floors with a beautiful shine for years to come.
Advantages of Floor Wax:
Natural look: Floor wax offers hardwood floors a natural, matte finish that enhances the beauty of the wood grain.
Easy to apply: Applying floor wax is relatively easy and can be done with a mop or applicator pad. It’s a good option for DIYers who want to tackle their own flooring projects.
Protective coating: Floor wax forms a protective layer over hardwood floors that helps prevent scratches, scuffs, and other damage.
Affordable: Floor wax is generally less expensive than other types of floor finishes, making it a good choice for those on a budget.
Slip-resistance: Floor wax can help a wood surface from being so slippery, which can especially benefit moisture-prone areas.
Disadvantages of Floor Wax:
Requires frequent reapplication: Unlike polyurethane finishes, which can last for years without needing maintenance, floor wax needs to be reapplied every few months or even more frequently in high-traffic areas.
Can be slippery when wet: Because floor wax doesn’t penetrate the wood like other finishes do, it can create a slick surface when wet. This can be dangerous if you have young children or elderly people living in your home.
Difficult cleanup: Removing old layers of floor wax can be difficult and time-consuming. It often requires using harsh chemicals and aggressive scrubbing techniques that can damage the wood underneath.
Susceptible to stains: Floor wax isn’t as resistant to stains as other finishes like polyurethane. Spills need to be cleaned up immediately to avoid staining.
Shellac
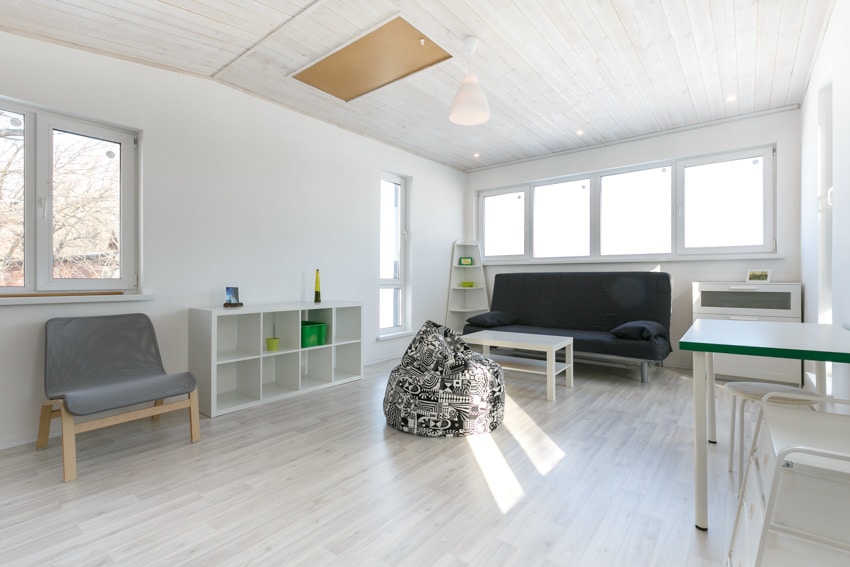
With shellac, you don’t need to worry about your floors suffering from spills or moisture. And it’s immune to mildew and mold – perfect for bathrooms, kitchens, and any space where extra humidity is an issue.
It also applies quickly and easily with no specialized tools needed – plus, there are plenty of color options from light to dark available so you can match the existing flooring. Finally, its super quick drying time means you can enjoy your wood flooring’s new look without the long wait.
While shellac does offer great protection properties and could save money in refinished floors down the road, it’s not as hard-wearing as other options such polyurethane or varnish, so it may require extra care when moving furniture around. Its lack of UV resistance means direct sun exposure might cause some fading over time.
Plus, shellac does come with an added cost compared to other finishes – however, in comparison with full-on refinished costs, this might still prove more money-savvy.
When it comes to VOCs, there is some off-gassing with the application of this product. However, it is a fast-drying material. After it cures, the smells from off-gassing should dissipate rapidly.
Overall, shellac is an excellent choice for wood floor finishes. It is easy to apply, looks great, and offers many benefits over other types of finishes.
Advantages of Shellac:
Fast-drying: Shellac dries very quickly, which makes it a good choice for those who need to finish their projects quickly.
Easy to apply: Applying shellac is relatively easy and can be done with a brush or applicator pad. It doesn’t require any special equipment or skills.
Enhances wood grain: Shellac gives hardwood floors a warm, amber glow that enhances the natural beauty of the wood grain.
Good adhesion: Shellac adheres well to a variety of surfaces, including wood, metal, and plastic.
Natural product: Shellac is a natural polymer made from the lac beetle that is a renewable resource.
Low toxicity: Shellac is made from natural materials and doesn’t contain harmful chemicals like some other finishes.
Disadvantages of Shellac:
Not as durable as other finishes: While shellac provides some protection against scratches and scuffs, it’s not as durable as polyurethane or other modern finishes.
Susceptible to water damage: Because shellac is soluble in alcohol, it can be damaged by exposure to water or high humidity. This makes it less suitable for use in wet areas like kitchens or bathrooms.
Requires frequent reapplication: Like floor wax, shellac needs to be reapplied every few months or even more frequently in high-traffic areas.
Challenging to apply: Shellac is fast drying and can be difficult to apply correctly.
Difficult cleanup: Removing old layers of shellac can be difficult and time-consuming. It often requires using harsh chemicals and aggressive scrubbing techniques that can damage the wood underneath.
Moisture-Cure Urethane
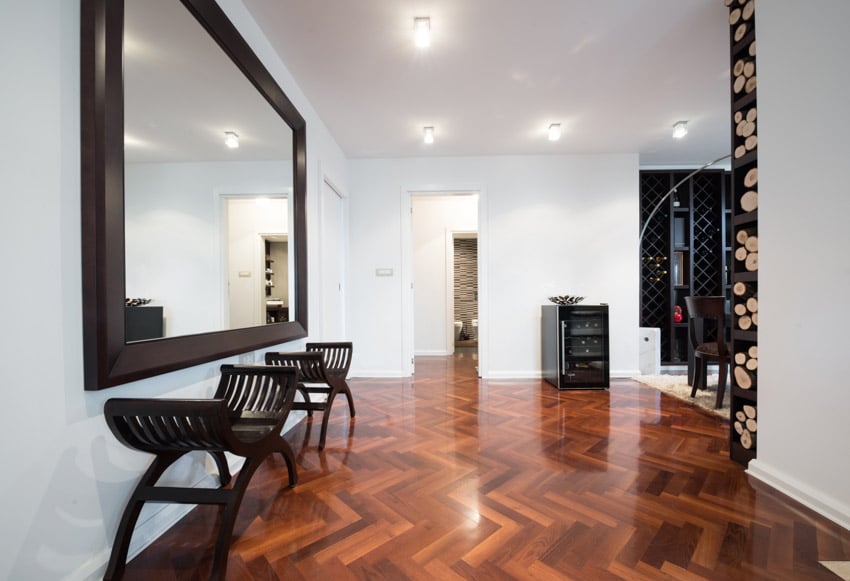
Another benefit of moisture-cure urethane is its quick drying time, which means it doesn’t need extended curing time, making it an increasingly popular option for wood floor finishes.
If you are looking for a durable and moisture-resistant finish for your wood floors, consider moisture-cure urethane. It is easy to apply, exceptionally durable and provides superior protection against wear and tear and moisture. It is the perfect choice for wood floor finishes in both commercial and residential settings.
On the downside, a moisture-cure urethane generally is not VOC compliant. Check with the specific manufacturer to see the number of VOCs per application to determine the level of exposure.
Advantages Moisture-cure Urethane:
Extremely durable: Moisture-cure urethane is one of the most durable finishes available. It can withstand heavy foot traffic, spills, and other common types of wear and tear.
Water-resistant: Unlike shellac and floor wax, moisture-cure urethane is highly resistant to water damage. This makes it a good choice for use in kitchens, bathrooms, and other areas where moisture is present.
Fast-drying: Moisture-cure urethane dries quickly, which means you can finish your project faster than with other types of finishes.
UV-resistant: Some moisture-cure urethanes are formulated with UV inhibitors that help prevent fading and discoloration caused by exposure to sunlight.
Low odor: Many moisture-cure urethanes have a low odor compared to traditional oil-based finishes.
Disadvantages Moisture-cure Urethane:
Difficult cleanup: Removing old layers of moisture-cure urethane can be difficult and time-consuming. It often requires using harsh chemicals and aggressive scrubbing techniques that can damage the wood underneath.
Longer curing time with strong fumes: While it dries, it will off-gas a strong odor for up to 30 days while it dries. It may continue to have a smell for some time.
Toxicity concerns: Some moisture-cure urethanes contain harmful chemicals (VOCs) like isocyanates that can cause respiratory problems if inhaled. Proper ventilation is essential when using these products.
Expensive: Moisture-cure urethane is generally more expensive than other types of finishes like shellac or floor wax.
Requires skill to apply: Applying moisture-cure urethane requires skill and experience. If applied improperly, it can result in an uneven finish or other defects.
Acid-Cured Finish

When the two components are combined, they trigger a chemical reaction that causes the coating to dry quickly and form a hard, durable surface. Acid-cured finishes are known for their exceptional durability and resistance to chemicals and abrasion, making them popular choices for high-traffic areas like floors and countertops.
However, they can be difficult to apply and require careful handling due to their high levels of volatile organic compounds (VOCs) and potential health hazards associated with exposure. When applying this finish it’s important to use proper respiratory equipment, such as a full-face respirator.
In addition, it could take in excess of 30 days for the odors of an acid-cured finish to dissipate. For the wait, one is rewarded with excellent floor protection and a high luster finish.
Advantages of an Acid-cured Wood Finish:
Extremely durable: Moisture-cure urethane is one of the most durable finishes available. It can withstand heavy foot traffic, spills, and everyday wear and tear.
Water-resistant: Unlike shellac and floor wax, moisture-cure urethane is highly resistant to water damage. This makes it a good choice for use in kitchens, bathrooms, and other areas where moisture is present.
Fast-drying: Moisture-cure urethane dries quickly, which means you can finish your project faster than with other types of finishes.
UV-resistant: Some moisture-cure urethanes are formulated with UV inhibitors that help prevent fading and discoloration caused by exposure to sunlight.
Low odor: Many moisture-cure urethanes have a low odor compared to traditional oil-based finishes.
Disadvantages of an Acid-cured Wood Finish:
Difficult cleanup: Removing old layers of moisture-cure urethane can be difficult and time-consuming. It often requires using harsh chemicals and aggressive scrubbing techniques that can damage the wood underneath.
Long-lasting fumes: The fumes from the application of this finish can linger for weeks, and it may make a room unlivable until the smell dissipates.
Toxicity concerns: Some moisture-cure urethanes contain harmful chemicals like isocyanates that can cause respiratory problems if inhaled. Proper ventilation is essential when using these products.
Expensive: Moisture-cure urethane is generally more expensive than other types of finishes like shellac or floor wax.
Requires skill to apply: Applying moisture-cure urethane requires skill and experience. If applied improperly, it can result in an uneven finish or other defects.
Aluminum Oxide
Aluminum oxide finishes are commonly used in high-traffic areas like commercial spaces and homes with active families or pets. They are available in both water-based and oil-based formulations, with water-based versions being more environmentally friendly due to their lower VOC content.
While aluminum oxide finishes can be more expensive than other types of finishes, they offer superior protection against wear and tear, scratches, and stains, which can save money on maintenance and refinishing costs over time.
Advantages of Aluminum Oxide Wood Finish:
Durability: Extremely hard and abrasion-resistant, making it highly durable.
Does not need frequent refinishing: Once applied, the finish forms a hard layer that is long-lasting, reducing the need for frequent refinishing.
High level of protection: Provides excellent protection against wear and tear, scratches, and stains.
Selection: Available in both water-based and oil-based formulations. Water-based versions have lower VOC content, making them more environmentally friendly.
Resistant to UV radiation: Protecting your wood floors from being discolored by sunlight is an often overlooked part of finishing. Applying this finish helps reduce this discoloration and helps maintain the original, natural look of the wood grain.
Disadvantages of Aluminum Oxide Wood Finish:
Expensive: It can be more expensive than other types of finishes. This finish is not as easy to apply as other finishes and requires careful attention to detail during application.
May need expert installation: May require professional application due to the skill needed to adequately apply.
Can look like plastic if not applied properly: It can create a slightly plastic-looking finish that some homeowners may not prefer if applied too thick. This can obscure the natural look of the wood and is even more noticeable in particular types of wood.
Difficult to repair: While many finishes can be repaired easily by sanding and refinishing, this type may need the help of an expert floor finisher.
Penetrating Oils & Sealers
This type of finish can enhance the natural beauty of the wood by bringing out its natural color and grain pattern. Penetrating oils are made up of natural oils such as tung oil or linseed oil, and they protect the wood by penetrating deep into the pores of the wood. They are easy to apply, but they do require regular maintenance to keep them looking their best.
Sealers, on the other hand, are made up of synthetic resins that form a protective barrier on top of the wood. They are more durable than penetrating oils and require less maintenance over time. Sealers come in both water-based and oil-based formulations.
Both penetrating oils and sealers can be used alone or in combination with each other to achieve the desired look or level of protection for your wood floors. However, it’s important to note that these finishes may not offer as much protection against scratches or wear as harder surface finishes like aluminum oxide.
Advantages of Penetrating Oils and Sealers for Wood Floors:
Brings out the wood grain: Enhances the natural beauty of the wood by bringing out its color and grain pattern.
Deep wood penetration: Penetrates deep into the wood, providing protection from within.
Easy to use: Penetrating oils and sealers for wood floors are easy to use because they can be applied with a brush, roller, or cloth, and they don’t require special equipment or extensive preparation before application.
Can be used with other products: Can be used alone or in combination with each other to achieve a desired look or level of protection
Natural product: Some penetrating oils are made with natural ingredients, making them more environmentally friendly
Disadvantages of Penetrating Oils and Sealers for Wood Floors:
Limited level of protection: May not offer as much protection against scratches or wear as harder surface finishes like aluminum oxide
Harder to maintain than other types: Requires regular maintenance to keep them looking their best
No UV protection: May darken over time, altering the appearance of the wood. Some types may actually increase damage from UV radiation.
Not as moisture resistant as other types: Can be more susceptible to water damage than surface finishes like polyurethane.
Volatile Organic Compounds (VOCs)
They can also be a source of dangerous VOCs or volatile organic compounds which are released into the air and can be a risk to your health. Long-term exposure has been linked to damage to vital organs like the liver, kidneys & central nervous system.
Formaldehyde is the most dangerous of these as it is a known human carcinogen, meaning it increases your risk of developing cancer. If inhaled in large enough concentrations, it can cause respiratory problems, eye irritation, skin rashes, and even trigger asthma attacks in people with sensitive systems.
Xylene is an aromatic hydrocarbon compound that is colorless and flammable. Exposure to xylene can cause skin inflammation, headaches, dizziness, confusion, and loss of muscle coordination. Studies have also shown that this substance has potential effects on the environment.
Toluene is found naturally in crude oil and is used for manufacturing paints, lacquers, and floor finishes. It is a clear, colorless, water-insoluble liquid that, when exposed to air, becomes a vapor that can irritate the skin, eyes, and respiratory tract and cause systemic toxicity by inhalation. It is also known as methylbenzene, which is used to manufacture benzene, urethane raw materials, and other organic chemicals.
Benzene is an industrial chemical found in crude oil and a major component of gasoline. It is produced naturally by volcanoes and forest fires and used to make plastics, resins, synthetic fibers, rubber lubricants, dyes, detergents, drugs, and pesticides.
Exposure to benzene can cause anemia, weaken the immune system, and increase the risk of developing leukemia with long-term exposure. Inhaling benzene vapors can damage reproductive organs and cause infertility.
Studies show that ethylbenzene may cause cancer in humans, such as tumors in the kidneys, lungs, and liver. A person can come in contact with ethylbenzene from skin contact or inhalation of floor finish products containing this type of solvent compound. Short-term effects after exposure to ethylbenzene include skin and eye irritation, and inhaling ethylbenzene can irritate the nose and throat. Ethylbenzene is a reactive chemical that is highly flammable making it a dangerous fire and explosion hazard.
Styrene is an organic compound that is a by-product of benzene which is a colorless oily liquid and has a sweet smell in low concentrations. High-level inhalation of styrene may cause fatigue, concentration problems, dizziness, headaches, drowsiness, a feeling of intoxication, and changes in color vision. Research shows styrene can be a possible human carcinogen.
Acetone is an organic compound with low toxicity, but it is a highly volatile and flammable colorless liquid. When inhaled in moderate to high concentrations, it can harm the nervous system and may cause headaches, dizziness, nausea, and vomiting. When it comes to skin contact, it may cause nose, throat, and eye irritation. Acetone evaporates easily when exposed to air, and it is a solvent that dissolves in water.
Before you purchase your wood floor finish, double-check the labels for any hazardous chemicals like methylene chloride or ethylene glycol. Make sure you read up on usage instructions when applying. Use a face mask and gloves to protect yourself from potential exposure. Additionally, keep children and pets away from the work area until the finish has completely dried.
It is also important to regularly maintain your floor finishes to reduce VOC levels, as dirt and other debris can trap these compounds in the finish. Vacuuming/mopping your floors regularly and sealing them at least once a year will help keep unwanted VOCs from accumulating.
There are many manufacturers that offer non-toxic wood finishes with low or no VOC content, like water-based polyurethanes and natural oils that are safer for your health and the environment.
Oil-based Vs Water-based Finishes for Wood Floors
On the other hand, oil-based finishes often require more time and money for application, and they release volatile organic compounds (VOCs) into the air during curing and afterward.
Water-based wood floor finishes are popular due to their easy application process, quick drying time, and low VOC emissions.
They provide a durable layer of protection against scratches and stains, although their protective qualities may not be as long-lasting as those of oil-based finishes. Water-based products are easy to clean just by using soap and water.
Both oil- and water-based wood floor finishes have their pros and cons. Whether you choose an oil- or water-based finish, it is important to prepare the floor properly beforehand with sanding and cleaning and apply a primer before applying the finish.
In any case, using a high-quality product will provide optimal results and longevity for your wood floor’s finish.
How to Choose a Wood Style Floor Finish
We asked interior designer Maria Bott how she chooses a wood floor finish for her clients, and here is her response:
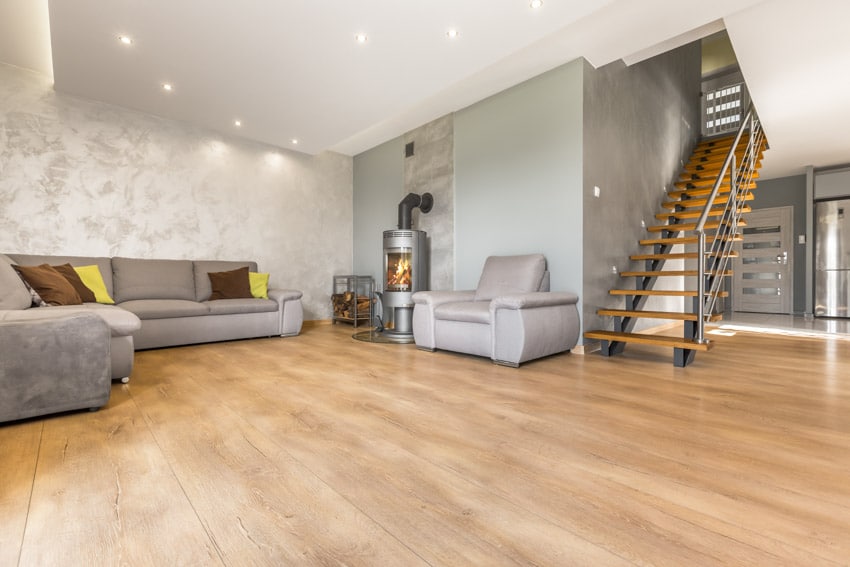
Textures are particularly important since they contribute hugely to the ambiance of the place. I have observed that it is often that floors and floor finishes are not given the equal importance it deserve as part of a design concept.
I would like to emphasize that flooring increases the aesthetic appeal of any home and, with the right floor finish, can provide the protection they are intended to perform.
Remember, flooring is a large element that influences the visual and tangible perspective of any space. Application of the right floor finish will affect the overall feel of a space, for example, smooth surface flooring tends to make the space look modern and adds an in-vogue tone to the design scheme.
However, there are certain design concepts that call for a rustic style; therefore, rough textures will offer a more natural and homier atmosphere and can make the space feel warm and intimate.
Many of my clients prefer wood floors because they are more inviting, cozy, and comfortable having this flooring material in their homes – and I totally agree. Be that as it may, there is always the challenge of knowing the best floor finish to use for wooden flooring to make it last for years.
For instance, parquet-style flooring often requires a polyurethane coating finish. An oil-based polyurethane finish is the most traditional treatment for parquet since it gives a natural and classic look to the wood.
However, it offers less UV protection that changes the color of the floors quicker, and re-application is required more often than lacquer-based. I recommend a matte lacquer finish for parquet floors since it looks more like an oil or wax finish but has the component of slowing down the discoloration effect on the wood from sunlight better than an oil-based coating finish.
It is more resistant to scratches while still giving an elegant and natural look with a less glossy surface finish.
Moreover, deciding on the type of floor and finish to use is an important choice to make since it implies cost and it is not something that can easily be replaced in an impulse once applied to wood flooring. Safety issues are also vital to keep in mind when evaluating the pros and cons of floor finishes.
Floor finishes should comply with the characteristics appropriate to the foot traffic and withstand daily wear and tear due to furniture movement, pets, and the lifestyle of the homeowners. It should also conform to the aesthetic appeal and its purpose in line with the design scheme.
Finishing Tips for Floors Made of Wood
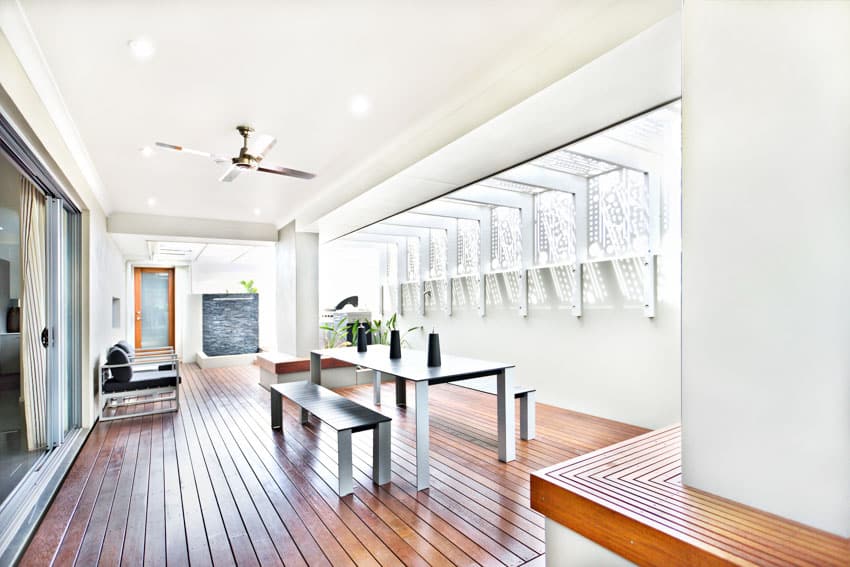
Tip #2: Take off the molding or baseboards so you can get to every part of the floor. Make sure you label both the wall and the molding so you can easily put everything back together.
Tip #3: Make sure to clear the area of furniture, rugs, and curtains, and seal off vents and doors with plastic sheeting to stop dust from spreading around the house.
Tip #4: Using an orbital sander for DIY is a great tool to use since it will minimize damage to your floors.
Tip #5: Safety first. Make sure to wear all the necessary PPE, too, like earplugs, gloves, goggles, and a respirator to deal with any particles that get into the air.
Tip #6: Start with rougher grit sandpaper, such as 60 grit, when sanding your hardwood floors. Then, move up to 100 or 120 grit for a smoother finish.
Tip #7: Once you’re done sanding, use a vacuum and cloth to make sure you get rid of all the dust before applying the finish.
Tip #8: Think about which color stain you want to use – darker shades will make dirt and dust more visible. Decide what kind of finish you want, such as acid-cured, water-based, or polyurethane, plus the level of sheen. Satin is usually the first choice as it offers sheen without the maintenance of glossier options.
Tip #9: Apply the stain in small sections at about 3 to 4 feet sections of flooring at a time, going in the same direction as the grain of the wood for an even finish. Use a staining sponge or lambswool applicator, and avoid using a paintbrush and roller.
Tip #10: For the best results, make sure to put on at least two coats, leaving about 8 hours for each coat to dry. If you’re using oil-based polyurethane, it’ll need at least 24 hours before you can walk on the floors with socks, 4 days before you can bring the furniture back in, and 2 to 4 weeks before spreading your area rugs and start setting up your area.
How to Apply Finish to Wooden Floors

Floor wax application requires applying it in small sections at a time making sure to spread it evenly for the best coverage.
Allow each section of wax to dry thoroughly, then buff it out with a polishing machine. It is best to apply two coats of wax for extra protection and increased luster.
Applying moisture-cure urethane to a wood floor requires that the floor surface should be sanded and vacuumed thoroughly to remove any dust particles or dirt.
The urethane should be mixed properly according to the manufacturer’s instructions and applied with a paint roller in a thin, even coat. After the first coat has dried, a second and sometimes third coat may be applied for added protection against wear and tear.
When it comes to applying penetrating oils and sealers, it is important to ensure that the surface of the wood is clean and free from dirt, dust, and debris in order to ensure that the penetrating oil or sealer is applied evenly and penetrates all of the pores in the wood.
We recommend using a brush with soft bristles to avoid damaging the surface of the wood, as well as a quality lint-free cloth for buffing.
Regular vacuuming and sweeping will help to prevent dirt and dust accumulation, while waxing or polishing every four to six months will help keep the finish looking its best.
It is also important to remember to never wet mop the wood, as this can cause damage and strip away the protective sealer.
How Many Coats of Finish to Apply on Wood Flooring
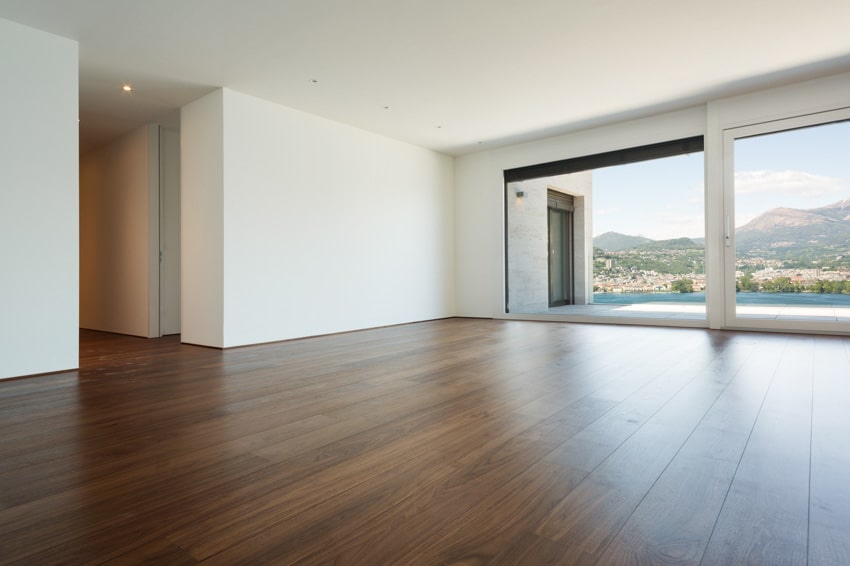
Typically, two to three coats are recommended for wood floors. However, exotic or porous hardwood species may require more coats to ensure adequate protection. If you’re using a high-gloss finish, four or more coats may be necessary.
Before applying any coating or finish, it’s crucial to prepare the floor properly by sanding it with an orbital sander using 120-grit sandpaper followed by 220 grit. This helps ensure proper adhesion and maximum protection. After each coat is applied, wait at least 24 hours before applying another one.
Ultimately, the number of coats you apply is up to you. But if you take time to prepare the floor adequately and use high-quality finishes as recommended by the manufacturer, two or three coats should suffice in most cases. You can always apply more if desired but make sure to follow instructions carefully and allow ample time between each coat.
How to Fix Scratches On Finished Wood Boards
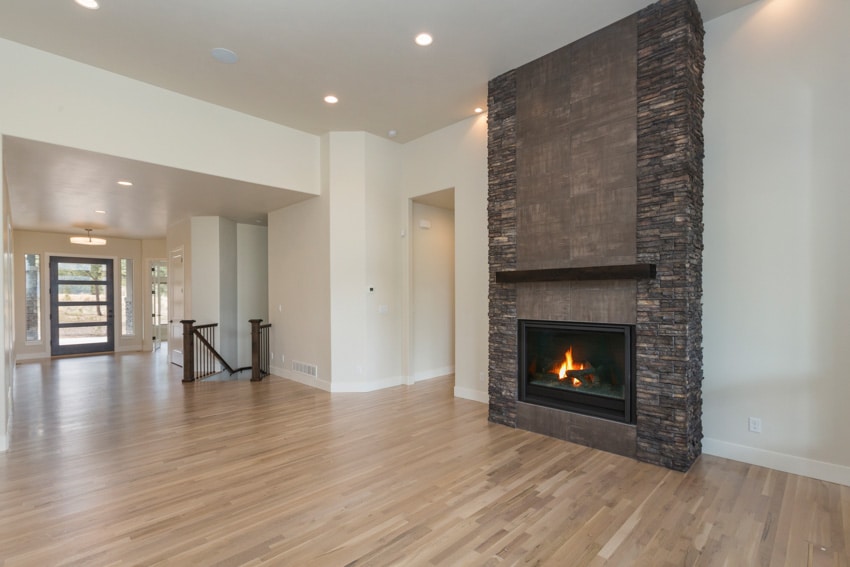
Determine the type of finish on your wood floor. If it is an oil-based finish, you will need mineral spirits and some steel wool.
Start by applying a small amount of mineral spirits to the scratch using a cotton pad.
Rub the steel wool over the scratch in a circular motion until it is gone, then use another cloth to wipe away any remaining residue from the mineral spirits.
If you have a polyurethane finish, you can apply paste wax to the scratch. Make sure you use a paste wax specifically made for polyurethane floors otherwise it may not work.
Start by applying the paste wax to the scratch and buffing it in a circular motion until the scratch disappears.
If none of these repairs can fix your scratch, then you may need to contact a professional. There are a variety of products available for scratch repair, but they may require more technical knowledge than you possess.
A flooring specialist will be able to determine the best way to restore your wood floor and make it look brand new. No matter how serious the scratches on your wood floor are, there is likely a solution that can restore its beauty.
With a little patience and the right materials, you should be able to fix the scratches yourself. If not, don’t hesitate to contact a professional for help.
See more related content in our article about the different types of floor tiles on this page.


