The Hidden Dangers Of Mold In Air Ducts And How To Stop It
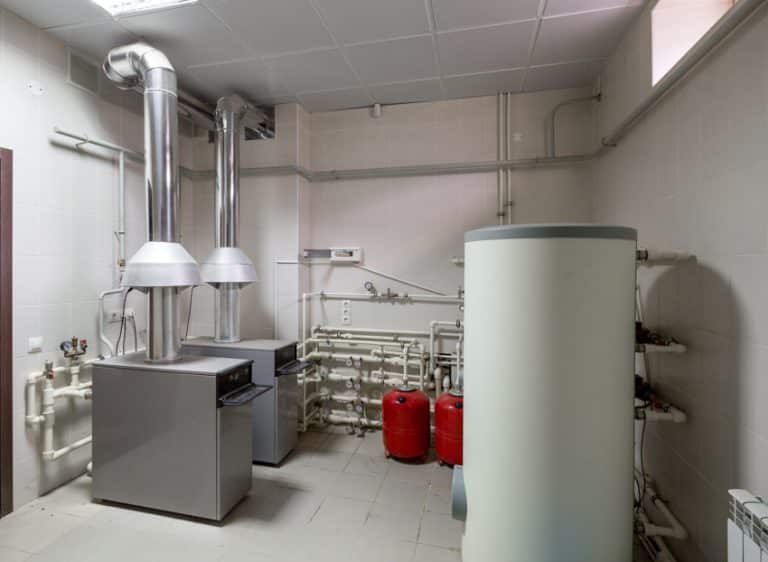
Without an adequately operating air conditioning system, it can be tough to get by during the summertime. The heat and humidity sap all of our strength, stopping us from working productively. However, owing to HVAC systems, we can take advantage of this hot season and get moving. Sadly, high levels of humidity during the summertime can potentially harm your HVAC unit. Mold growth in air ducts can be exacerbated by a hot and humid climate. Mold can grow clusters within the duct works regardless of the intent of such systems. Thus, you must begin taking safety measures before you find yourself in danger. This article will guide you on how to properly deal with mold in air ducts. [toc]
Types of Mold In The Air Ducts
The mold present in the air ducts is especially deadly for babies, little youngsters, the elderly, pets, and anybody with a weak or damaged immunity response.
Mold often penetrates an air duct system whenever there is a consistent presence of moisture or dampness in the vents. If an air conditioning unit becomes infested with a mold strain, it will frequently propagate throughout the air duct structure.
If there is a low area in your ducts where moisture might accumulate, mold will ultimately be drawn to it. Take into account your air ducts; these are the ideal environments for mold to develop since they are gloomy and undisturbed, and if it is there, they will persistently develop as long as there is moisture.
The mold that can attack your air ducts does not come from one source. In actuality, different types of mold can grow in your air ducts.
Here are some of the molds that can grow in air ducts.
• Mucor Mold: This mold typically develops in air conditioning systems. It is often disseminated from the air conditioner unit throughout the home’s whole air ductwork. It is highly hazardous and must be removed as soon as possible.
• Acremonium Mold: This widespread type of mold that normally attacks air ducts develops over months to years. It has a white chalky look and tends to accumulate near damp areas of your ducts.
• Alternaria Mold: This is another very frequent air duct mold variant. It resembles a velvet-like cloth and is commonly brown or green. This mold variant normally demands a continuous supply of water from the air ducts. Hence, ducts that are in persistent contact with water grow Alternaria mold.
• Aspergillus Mold: This type of air duct mold can appear in a variety of ways, making detection challenging, unless you have a highly focused vision. It is usually discovered near air duct leaks and can appear in different colors like white, yellow, or brown.
• Stachybotrys Mold: This black mold is extremely poisonous. Although it is easily identified visually, it usually develops deep within air ducts, making it relatively tough to find. With abundant wetness, it is likely to proliferate quickly.
• Fusarium Mold: This mold variant is frequently discovered in air ducts that have been grievously destroyed by water breaches or excessive dampness. It has been shown to migrate beyond the air ducts and onto external walls that are susceptible to constant moisture or condensation.
• Ulocladium Mold: It is one of the most uncommon kinds of mold discovered in air ducts. It is usually observed in the appearance of black multilayered substances in bathroom or kitchen nooks. Ulocladium is often extremely tough to handle and henceforth necessitates professional help.
Mold Symptoms
Unpleasant and Musty Odor Releases When the HVAC System is Turned On or Off: A musty odor is the first sign that mold is present in the air ducts. Because the space within the vents is not quite noticeable at first, detecting mold growth by foul odor would be the first approach.
When your air conditioning system is turned on or off, a mildew-like stinky odor should immediately alarm you. Because air circulates through ducts, an undesirable and putrid smell can permeate throughout all of your rooms.
Although a musty odor does not always indicate the occurrence of mold, it does pinpoint the reason for mold formation. Moreover, in general, mold in air ducts is commonly encountered by an unpleasant or musty smell. In many circumstances, you will be able to smell it before you actually see it.
You Are Experiencing Allergy-Like Symptoms: If you experience irritation in your nose, throat, or eyes whenever you turn on your HVAC system or enter an air-conditioned area, the air duct may be contaminated with mold.
Mold spreads by spores, which are microscopic particles that are completely undetected by our eyes. Mold spores can cause health problems to anyone who is subjected to them.
If the air you breathe is contaminated with mold, you might experience headaches, difficulty breathing due to congested nose, irritated eyes, sneezing, coughing, and skin rashes.
Once you get allergy-like symptoms when you switch on your air conditioning unit and they disappear when you turn it off, you must inspect your air ducts right away. The longer you wait to address the issue, the more severe your symptoms will become.
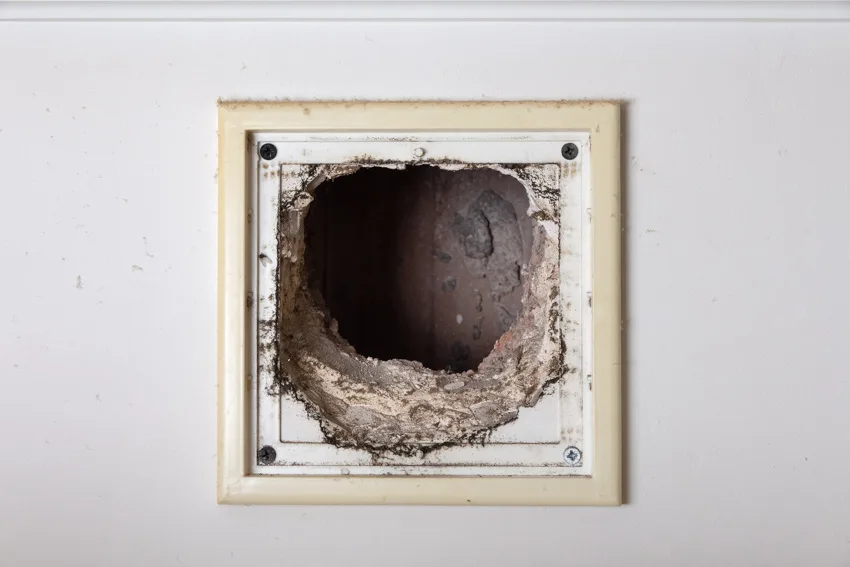
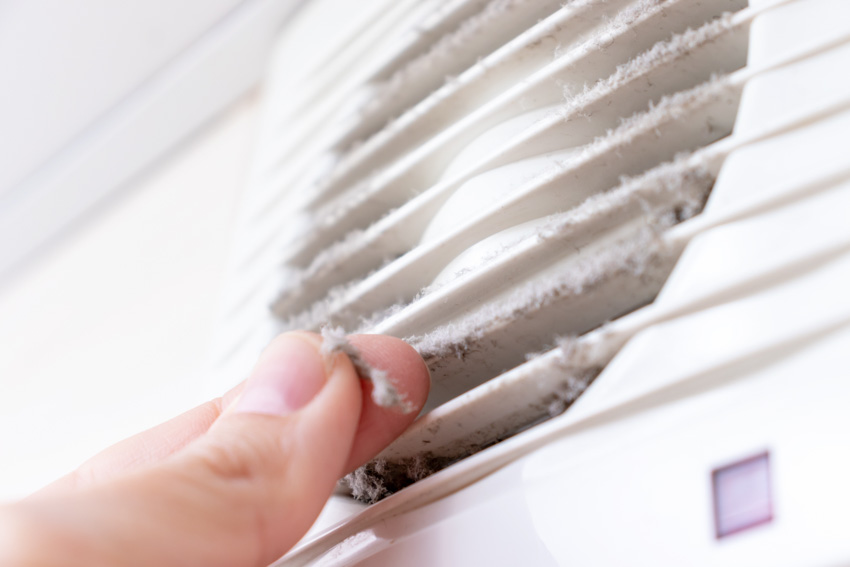
The Mold is Already Visible: You may not see apparent areas of mold growth there and then. But once you see a substantial amount of mold in your air ductwork, the infestation is likely to be severe.
This is why you should regularly inspect your input ducts, vents, and discharge pans since they create an attractive habitat for mold growth. As aforementioned, mold spreads through the air in the appearance of spores, which cannot be seen with our bare eyes.
Furthermore, if you notice any apparent indication of mold, it signals that you have to solve the problem as soon as possible. At this stage, it is quite important to call a specialist who can handle the situation and ensure it does not reoccur.
You Are Feeling Nauseous: If you begin to feel nauseous whenever you switch on your air conditioning system, it could be an indication of mold growing within your air ducts. Headaches, drowsiness, or unexplained tiredness may accompany nausea.
If you observe any of these symptoms, it generally implies that mold has already developed within your air conditioning unit and that you must have it examined as earliest as possible.
Mold Health Problems
Severe mold in your air ducts can lead to several health problems. The symptoms may differ from individual to individual, and they may also be affected by the period of inhalation or contact as well as the volume of spores breathed.
Mold-related health issues may include:
• Eyes that are itchy or uncomfortable
• Persistent sneezing and coughing
• Headaches and fatigue
• Skin rashes
• Discomfort to mucous membranes of the nasal passages
• Breathing difficulties
• Concentration problems
• Nausea
• Vomiting
• Diarrhea
How To Test for Mold
Locate the Origin of the Mold By Yourself: Locating the cause of the mold can be difficult. The majority of the time, the origin may be linked to water leaks. Detect any leaks that might be inside your air ducts or the HVAC system alone. Once discovered, you should seek professional assistance to resolve the problem.
Hire an Expert to Do Mold Testing: Even though you can test the mold manually, do-it-yourself mold-testing tools and techniques are not always completely dependable and exhaustive enough to guarantee that there is no mold in your ducts. If necessary, hire a professional to test and address the mold in your air ducts.
Consult the Nearest Mold Removal Services if Necessary: If the mold test comes back positive, you will need mold eradication or water damage repair services. You have to ensure the HVAC system is turned off during this operation. This drastically reduces the possibility of mold growth.
These mold removal services will take the correct processes and regulations to remove mold efficiently and properly, and they will have the necessary instruments and gear. This renders it simple to eliminate mold effectively without putting yourself or your family at risk.
How To Get Rid Of Mold In Ducts
If you detect mold in your HVAC system, it would be wise to avoid using your air conditioner since it may encourage the mold to spread even more to other areas of your home. It is indeed ideal to deal with the situation as soon as possible to reduce damage, health risks, as well as costs. You must be appropriately clothed before beginning a DIY mold cleanup project. Because breathing in mold can cause a variety of health problems, you must use a safety mask with filters.
Wear protective gloves throughout the mold removal process and avoid touching a contaminated area with your naked hands. You must also wear eye protection to keep mold spores out of your eyes.
Here are the steps on how you can get rid of mold by yourself:
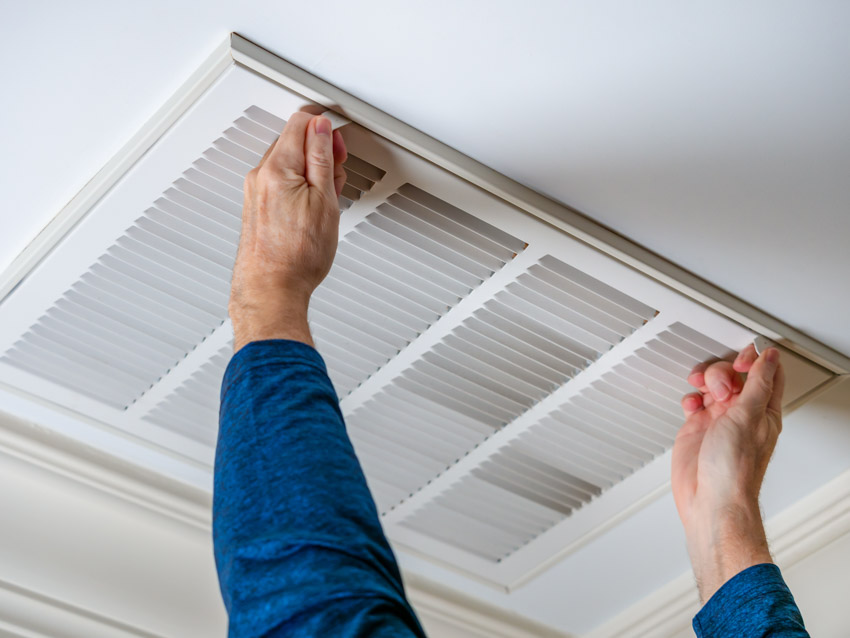
• Step #1: Turn off your HVAC system and ensure it is not receiving energy from the master circuit.
• Step #2: Afterward, detach the air duct covers.
• Step #3: To prepare a cleaning mixture, dissolve a soap or dishwashing soap in water. You can also include a tablespoonful of baking soda.
If the surface you are trying to clean is non-porous, you can use a solution of one-part bleach to sixteen-part water. Immerse the air duct covers for 15 minutes in the cleaning solution.
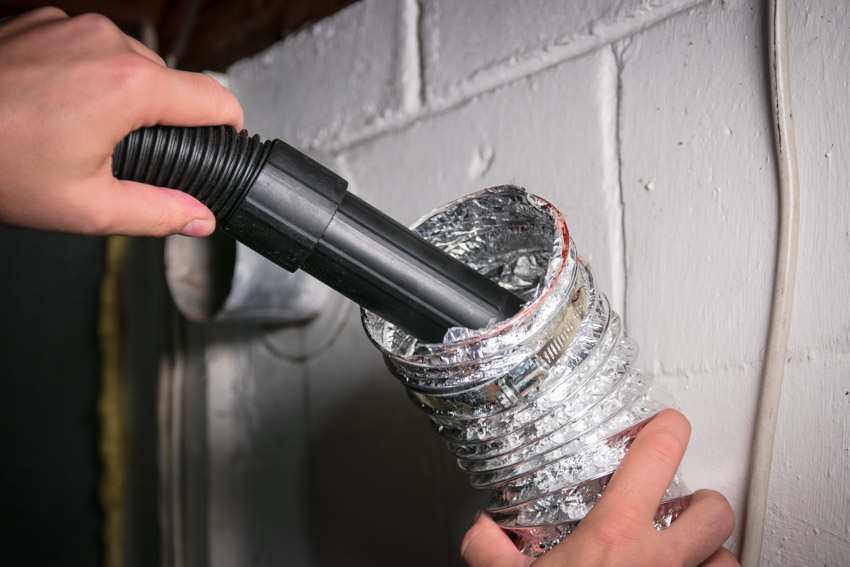
• Step #4: Furthermore, clean the space within the air ducts with a vacuum that is incorporated with a HEPA filter.
• Step #5: Clean the surface of the air ducts with your cleaning solution and a towel. To access the deeper parts within your ducts, you might have to use a mop.
• Step #6: Scrape out any mold, detritus, and grime from your ducts with a scouring brush. Make sure that your brush is well-functioning and has a truly abrasive scrubbing material.
• Step #7: Use a clean and dry cloth and wipe the interior of the ducts until dry. You must ensure that the area has been thoroughly dried and that no moisture remains within.
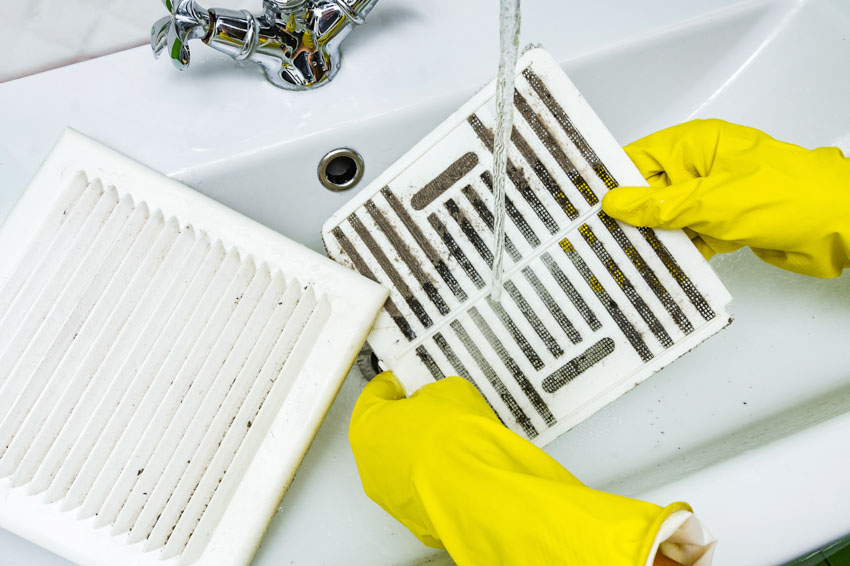
• Step #8: Additionally, clean the air duct coverings with water. Dry them afterward, and reinstall them using a screwdriver. You may also want to replace the covers if they have been in operation for a very long time already.
• Step #9: After cleaning, throw away any towels or scouring brushes that have come in contact with mold.
However, if the damaged area is massive and there is a significant portion of noticeable mold, without a doubt, you are in serious need of hiring a professional rather than handling the problem just by yourself. Mold can be extremely hazardous, and meticulous cleaning is sometimes essential to prevent serious harm to your HVAC system.
Further Tips For Getting Rid of Mold
Although mold eradication is not always a do-it-yourself project as it is very risky, preventative precautions can be implemented ahead of time. This involves cleaning the drip pans routinely as well as regularly inspecting for leaks throughout your pipework and in locations where moisture is rampant.
If necessary, you may choose to seal these spots. You should also think about getting a dehumidifier. You can operate it in areas where mold can grow persistently. You can also consider installing a whole house dehumidifier to combat the growth of mold in these areas. Alternatively, you can invest in hiring experts who are well-trained in checking and removing mold in air ducts to make sure that your HVAC system is functioning properly and safely.
Mold Cleaning And Maintenance
If your HVAC ducts are not currently affected by mold, or if you have finished duct cleaning and want to prevent it from happening again, there are quite a few things that you can execute.
Once you incorporate these measures into your customary HVAC cleaning and maintenance regimen, your air ducts will be free from the mold for an extended duration.
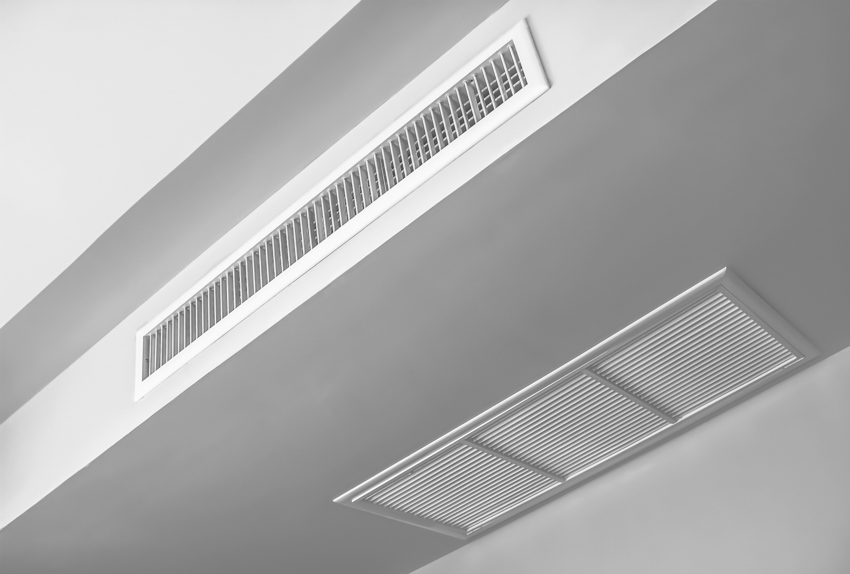
Make Use of High-Quality Air Filters: Air filters are essential for preventing dangerous pollutants from entering your living space. They should be cleaned every 2 weeks. Furthermore, it is advisable to change them every 3 months.
Always Ascertain that You Are Cleaning the Drip Pans Consistently: You should inspect the drip pans on your HVAC system consistently. Water can accumulate in drip pans and serve as a breeding ground for mold growth. Always ensure that they are clean and dry.
Keep an Eye for Leaks to Avert Mold Growth in Air Ducts: You have to regularly keep an eye on leaks in the air ducts and seal them. Any leaks in your ceiling or roof might potentially cause duct damage and mold growth. You should address any leaks in your home without delay.
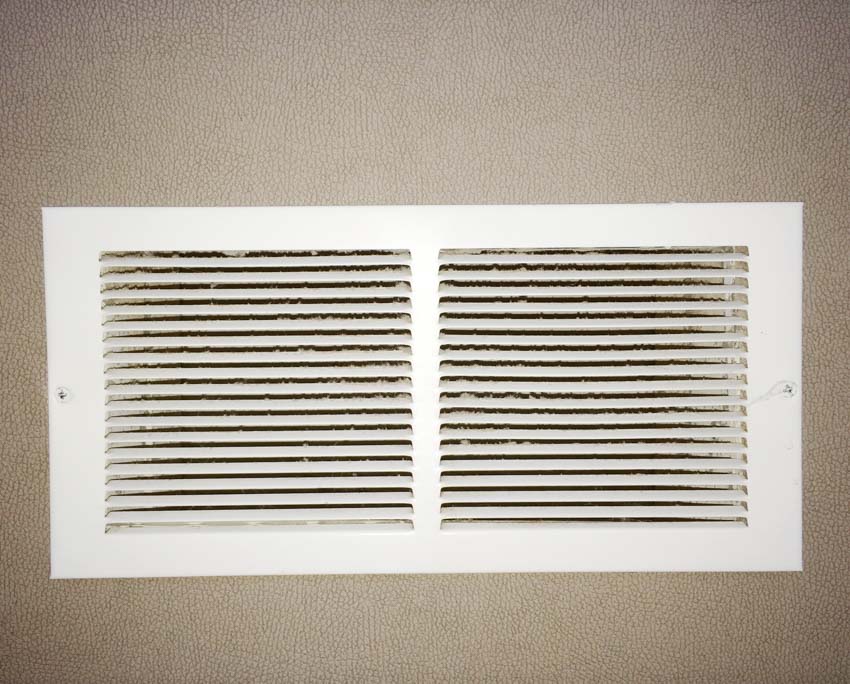
Never Miss Out on Inspecting Your Air Ducts: Because the air ducts are enclosed, you cannot see what is going on within. As a result, any mold growth there may go undiscovered. Whenever you change or clean the air filters, always inspect the air ducts for any indications of mold. If you see any wet areas, dry them out right away.
Aside from that, you can utilize EPA-certified (EPA means Environmental Protection Agency) mold growth blocker solutions while following the recommendations of your HVAC manufacturer. To eliminate dangerous pollutants within the ducts, UV lights or ionized types of air purifiers can also be installed.
Spray To Kill Mold In Ducts
As previously stated, musty odors might develop in your home’s air duct if mold is present. One thing you can use to combat those awful odors is Lysol spray.
And according to several user experiences, this spray can also progressively kill mold spores. However, this spray will only work properly after getting your air ducts cleaned. Here are the steps for using the Lysol spray:
• Step #1: At your thermostats, turn on the air distribution fan. You do not have to operate cold air; simply turn on the fan just to distribute the air through your air ducts.
• Step #2: If you have not changed the air filters within the past 6 months, activate the air return vents. On the filters, you might observe a gray, hazy film.
This is keeping air out of your unit, which not only costs you funds by letting your unit operate twice as hard, but also prevents clean air from passing through your ductwork.
• Step #3: Pull the air filter back against you and liberally spray Lysol into the duct. Spray at least 10 to 15 pumps into each outlet; repeat this process for every air intake vent in your home’s ductwork.
Hydrogen peroxide is also effective when it comes to killing mold. It is safe to use on a variety of surfaces, such as clothes, bathroom essentials, and even air ducts. It is an effective mold killer, particularly in solutions containing more than 3% hydrogen peroxide.
Take note: when doing this, apply the safety precautions mentioned earlier such as wearing protective eyewear, masks, gloves, and clothes. Anyhow, here are the steps for using this mold killer:
• Step #1: Fill a spray bottle partly with an unadulterated 3% hydrogen peroxide solution.
• Step #2: Using a spray bottle, spray the infected area with the mold-killing solution and let it settle for 10 minutes. The hydrogen peroxide will eradicate the mold during this process.
• Step #3: Afterward, scour the area with an abrasive cleaner to remove all mold and let the hydrogen peroxide diminish the mold.
• Step #4: Finally, dry the area with a dry towel.
See more related content in our article about mold in crawl spaces on this page.
To showcase highly specific designs, some images on this website use advanced AI-generation software to illustrate ideas and room inspiration. See our editorial policy to learn more.