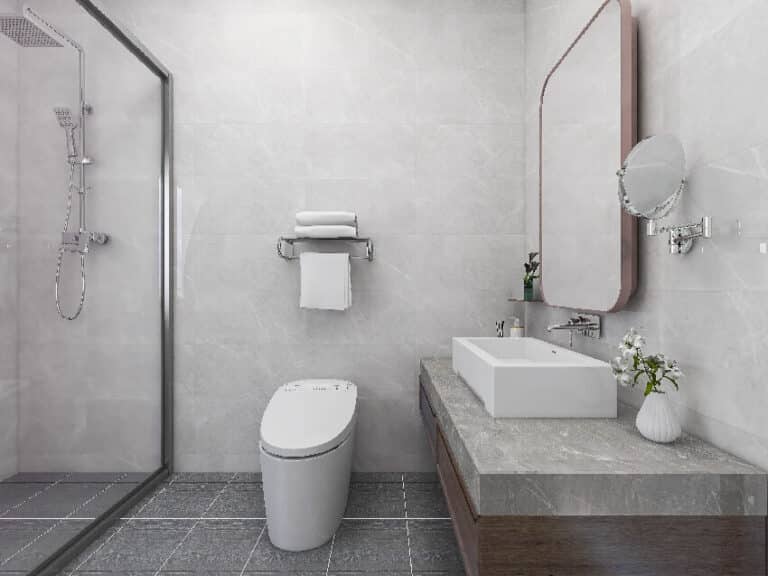
How To Install Waterproof Wood Flooring for Bathrooms

Waterproofing wood flooring in the bathroom is essential to keeping your floor looking beautiful. Sealing the wood can make it easier to clean up water spills and provide stain resistance. This can help prevent water from seeping and settling, which can pose serious damage to your flooring. Waterproofing also protects wood flooring from the expansion and shrinkage caused by water spillage.
Before you consider wood flooring for the bathroom it’s important to know your options. For the most maintenance-free flooring option most homeowners use ceramic or porcelain tile. There are even many types of wood look floor tile that looks like natural wood and provide superior waterproof protection at a cheaper price. Vinyl flooring is another type that also provides a low maintenance option and is more slip-resistant. Read more about the best type of flooring for the bathroom here.
If you absolutely do want solid hardwood floors in your bathroom, keep in mind that water is so prevalent in bathrooms, and it’s probably the most humid area of your home; so you need to make sure that the wood flooring is installed perfectly. This means that wood flooring should be installed with zero gaps to prevent moisture from seeping in. Here are our installation steps to ensure the surface is protected.
Step #1 Use Site Finished Wood Flooring
We highly recommend you perform on-site finishing for your hardwood floor rather than install pre-finished flooring. Site-finishing will fill the seams between the wood flooring with a coating that will effectively block moisture from seeping into the core from the top side, but you have to make sure that the water will have to be wiped away eventually. Usually, wooden floors, which are lacquered or varnished, have some water resistance built in.
Some products on the market can be applied to wood flooring to help protect it from water. However, standing water should always be mopped up and dried as quickly as possible to avoid damage.
Step #2 Clean the Area
When preparing the wood floor for the use of a waterproofing product, make sure that you first repair any damage on the wood floor and carefully and completely clean the floor. Take out all clutter and furniture and clean it completely free of dust.
Step #3 Sand & Clean
The next step is to sand the wood flooring. The sanding process takes a lot of time, you need to do the sanding right to get a good end result – patience is the key. When you sand your wood flooring, always start along the edges using a rough grit sandpaper and then move on to using a finer grit. After you have sanded the whole area, you need to again clean and vacuum the floor.
Step #4 Apply Wood Primer
In applying the primer, we recommend an epoxy water-based primer for waterproofing. Use a paint roller or brush when applying primer to get even strokes. To ensure that your bathroom is fully proofed, also coat about 8 inches of the wall with primer and waterproof sealer. Make sure that the primer is mixed thoroughly and apply it according to the instructions on the label then let the primer dry for at least four hours.
Step #5 Fill the Gaps with Silicone
Once the primer has dried, you can start filling the cracks with silicone, this seals the gap between floor and wall as well as other cracks in the floor. This step ensures that all cracks and gaps which can attract moisture are totally sealed off. Typically, it will take 24 hours for the primer and silicone to dry off thoroughly.
Step #6 Apply Waterproofing Sealer
Now, you are ready to apply the waterproofing product. We recommend waterproofing about half a foot to 8 inches off the floor on the wall to ensure complete waterproofing and reduce the risk of damage. Start waterproofing by applying the waterproofing agent to the wall; once completed, apply the agent to the floors.
It is important to read and follow the manufacturer’s instructions on the label. When using polyurethane waterproof sealer, choose a product that is oil or water-based. This type of sealer will protect the natural shine of your wood floor.
Step #7 Apply Multiple Layers
Make sure you apply no less than three layers, allowing each coat to dry thoroughly before applying the next layer. Check for any bubbles or wrinkles in between coats; should there be any bubbles or wrinkles, you need to sand them away before applying the next coat.
For this process, it’s a good idea to use a wool mop or a thick natural material to get good floor coverage and help create a smooth application. Use a brush towards the end of the process to achieve a nice and even finish.
Tips: Remember, when applying the waterproof product, always work towards the door to avoid being trapped in the middle of the bathroom. We also recommend that it is best to waterproof your wood flooring on a warm, dry day so that the floor can dry quickly and evenly.
Make sure that your bathroom is properly ventilated to minimize the humidity. Take note that primer and waterproofing agent will take longer to dry when humidity is high. Always promptly mop up all spills and avoid water flooding, as it can still damage the wood flooring regardless of how carefully you apply a waterproofing product to the wood flooring.
The bottom line is that waterproofing is a great way to ensure your floors are well-maintained and stay free from moisture damage for years to come.

