Using Vertical Shiplap For Your Interior Designs & Options
Any space can benefit from adding character and a touch of rustic allure with shiplap, regardless of whether it is left unfinished, painted or stained. However, one popular question is if horizontal or vertical shiplap is the better option.
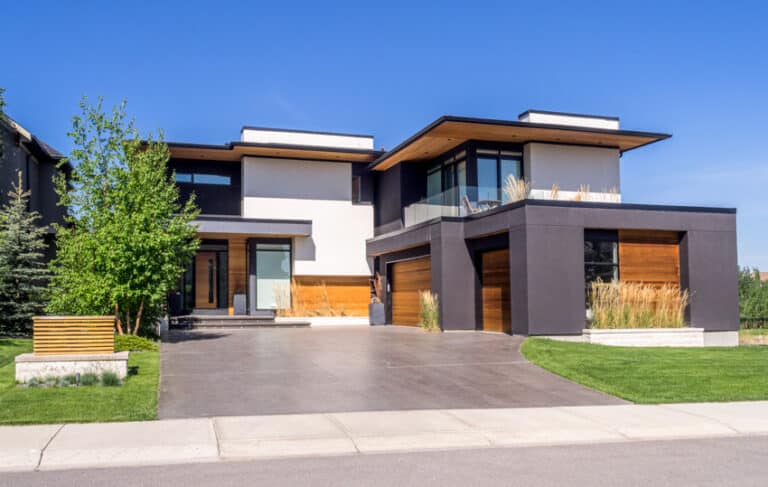
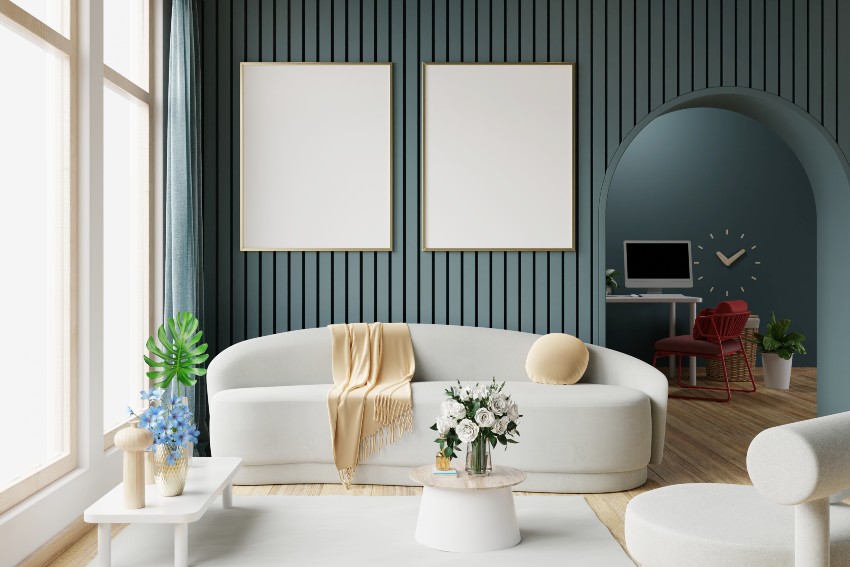
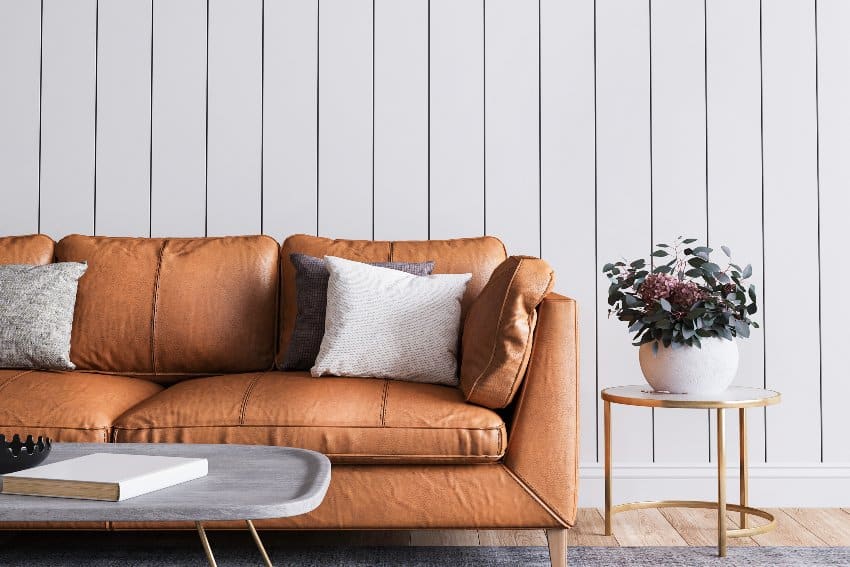
Try your hand at DIY vertical shiplap if you are seeking a home improvement project that is both simple and affordable. It will give your house a fresh new look right away. The sleek look of the shiplap installed vertically is the perfect complement to the contemporary farmhouse home.[toc]
Using Vertical Shiplap Designs
You can achieve a vintage and rustic appearance by installing the shiplap vertically. A vertical design is an excellent option whether you want a more conventional, mid-century, or contemporary look for your space’s decor.
The appearance of vertical shiplap has stood the test of time. It can resist the ebbs and flows of what is popular in interior design, provided that it is applied wisely. Therefore, the vertical style is the best option if you want a design feature that can endure the test of time instead of being on-trend.
It might be deceiving. It gives the illusion that the room is higher than it is. Installing vertical board paneling is an excellent option for creating the optical appearance of taller ceilings in a space lower than the average ceiling height.
In addition, the lines of the vertical shiplap can assist in counterbalancing the lines of the horizontal elements in a room, like shelves, tables, worktops, paneled kitchen islands, and other similar details. Paneling installed at an angle is an excellent technique to create visual harmony in a space that otherwise features a preponderance of horizontal lines.
When you install shiplap vertically, it is a one-of-a-kind alternative to horizontal placement. Because it isn’t common, the vertical orientation is the way to go if you want to add a wow factor to your shiplap.
A horizontal placement rather than vertical does not have the same qualities. It gives the appearance of something entirely different. Remember that the installation process may be slightly more challenging than horizontal shiplap (though still DIY-friendly).
The use of a vertical positioning is a unique design option. Suppose you like to go against the trend and experiment with something unusual. In that case, the one-of-a-kind quality of vertical orientation is a clear selling point for you.
There’s debate about how long this installation process has been around. In an episode of her design show “Fixer Upper” in 2013, Joanna Gaines decided to keep a home with a shiplap façade exposed rather than covering it up. Since then, shiplap has transitioned from being a standard external paneling component to a contemporary interior design trend.
Shiplap Paneling
V-joint paneling is typically on interior walls as a magnetic element that adds character and texture. Its practical use in the past was replaced mainly by its ornamental use.
You would need help distinguishing between shiplap and tongue and groove paneling based on their appearance alone. Shiplap is quite similar to tongue and groove paneling.
Vertical placement is a process that may be crafted from various materials and has an L-shaped lip on both sides of the overlapping section where the panels meet.
Tongue and groove, on the other hand, is a style of paneling constructed using various materials to create an indentation and a protrusion at the location where the groove panels interlock. This sort of paneling is also known as tongue and groove.
They used to waterproof ships with V-joint paneling. It is distinguished from other types of wood paneling by the rabbet (groove) cut at each board’s top and bottom. This design allows the panels to overlap one another and create a watertight seal.
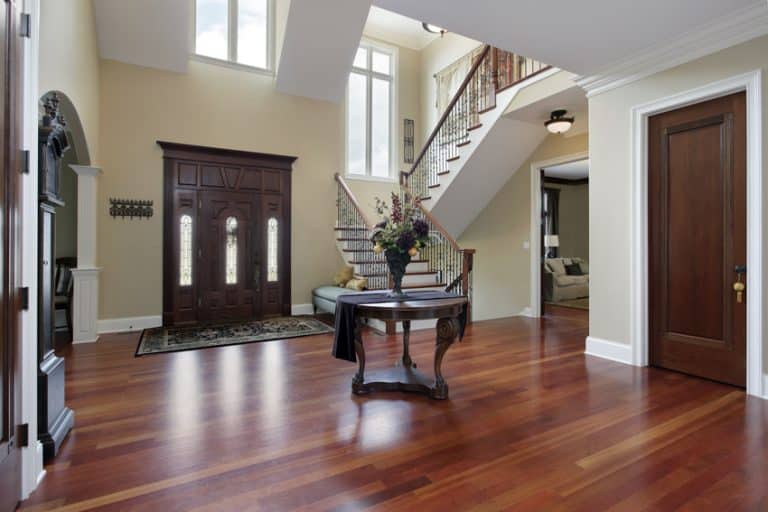
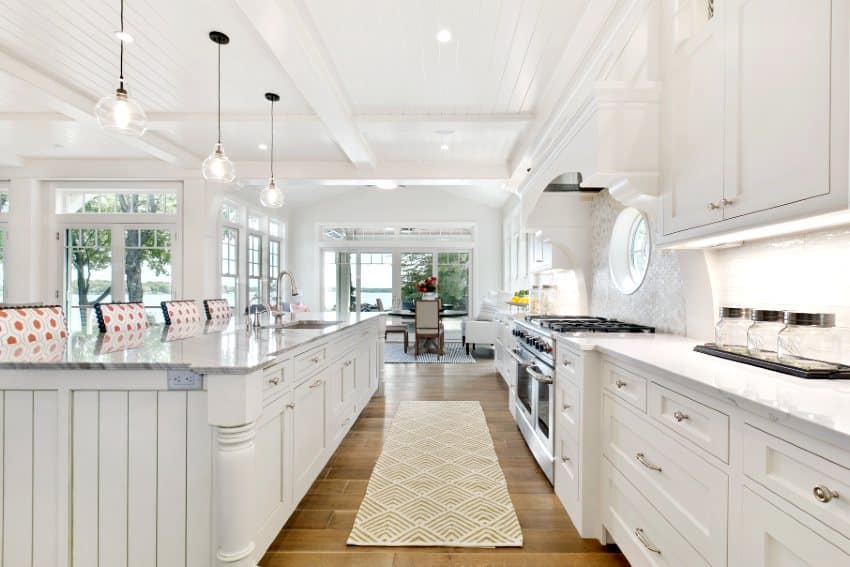
Shiplap Walls
Vertical shiplap will work to your benefit if the ceilings in your home are lower than average height. The gap lines will assist stretch your walls and provide the illusion of more enormous walls and higher ceilings.
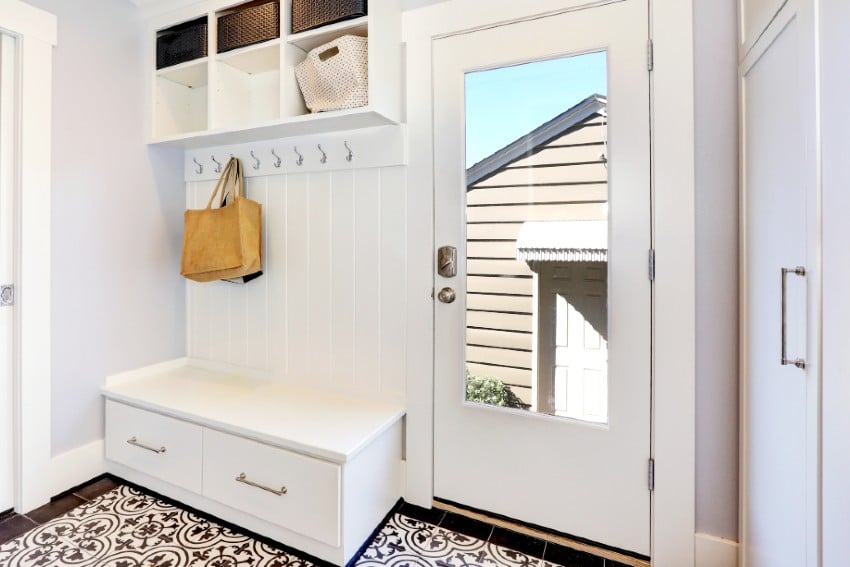
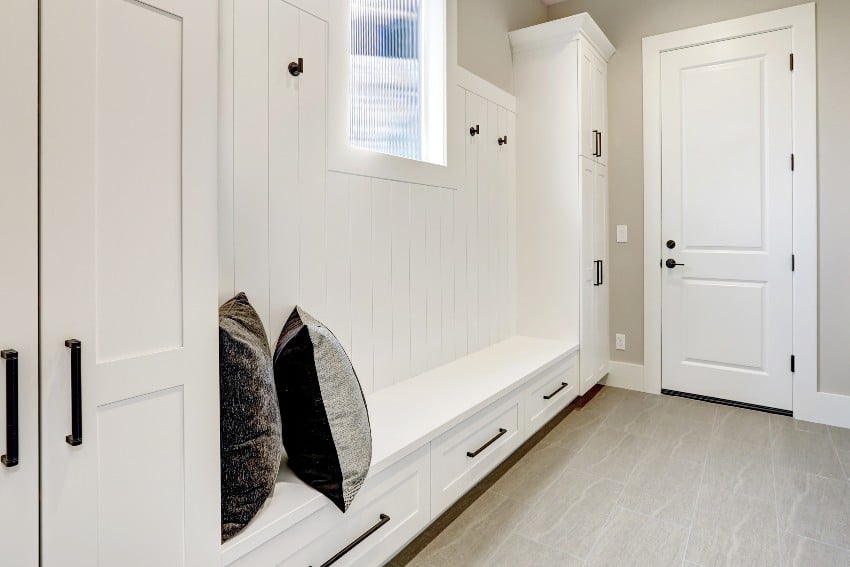
This design is beneficial if you live in a home with lower ceilings. Using vertical V-joint paneling as wainscoting in a mudroom area or on a kitchen island is a great touch that adds visual interest.
Vertical lines create the idea that ceilings are taller than they are, which contributes to the overall effect of making a room appear larger than it is. Vertical beadboard, which has more of an antique appearance, can be a good fit with features that are more rustic or period in style.
Shiplap Half Wall
Using vertical paneling for only part of a wall rather than the entire wall is a fantastic option. This partial option is excellent if you still want to use something other than beadboard for the whole wall.
It is also possible to provide a more creative area to paint the higher divisions. You can add even more design elements to your developing space.
Shiplap Accent Wall

Adding a wall accented with a vertical paneling is an excellent (and inexpensive) method to create a focal point in a room. It also provides texture and aesthetic appeal to the overall design. In addition, if you have even the most fundamental do-it-yourself skills, this is a project you can complete on your own.
Adding vertical paneled walls to your doorway is a fantastic way to bring character and texture to the space. They may be painted in any color, allowing you to perfectly complement the color scheme of the rest of the room.
This feature is an excellent option for you if you want an accent wall in your home that is unique compared to the rest of the decor in your house.
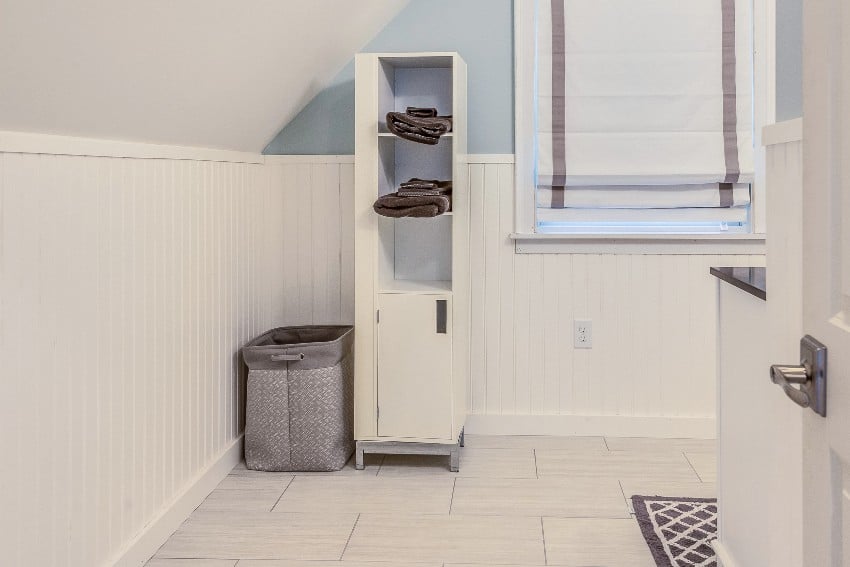
Shiplap Bathroom
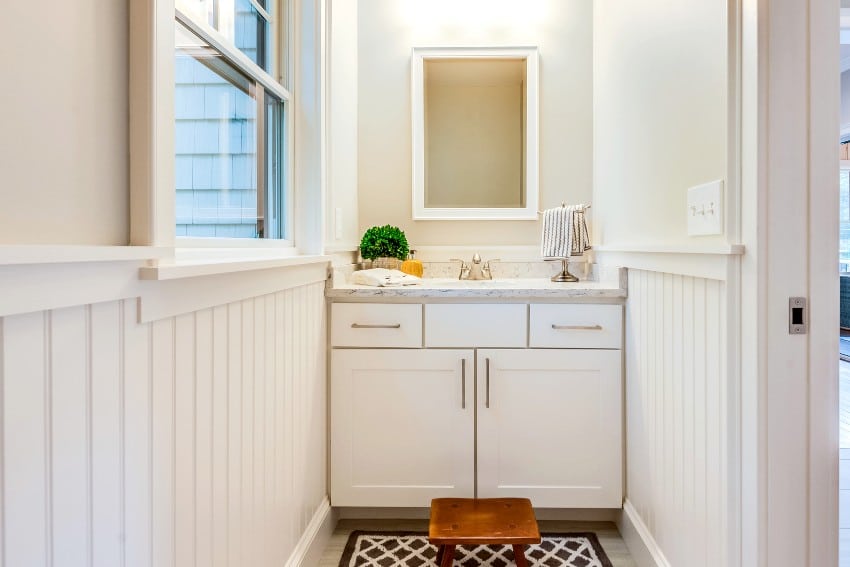
We are huge fans of how vertical shiplap can provide the illusion of higher ceilings when installed floor to the top. This application works particularly well in more compact areas, such as powder bathrooms or washrooms on the main floor.
Additionally, it adds some architectural character and intrigue to these plain areas, which would not otherwise have either.
Shiplap is a beautiful addition to almost any bathroom. You can use this in various ways, including an accent wall on the ceiling or a partial wall. See our gallery of shiplap bathroom ideas here.
Shiplap Fireplace
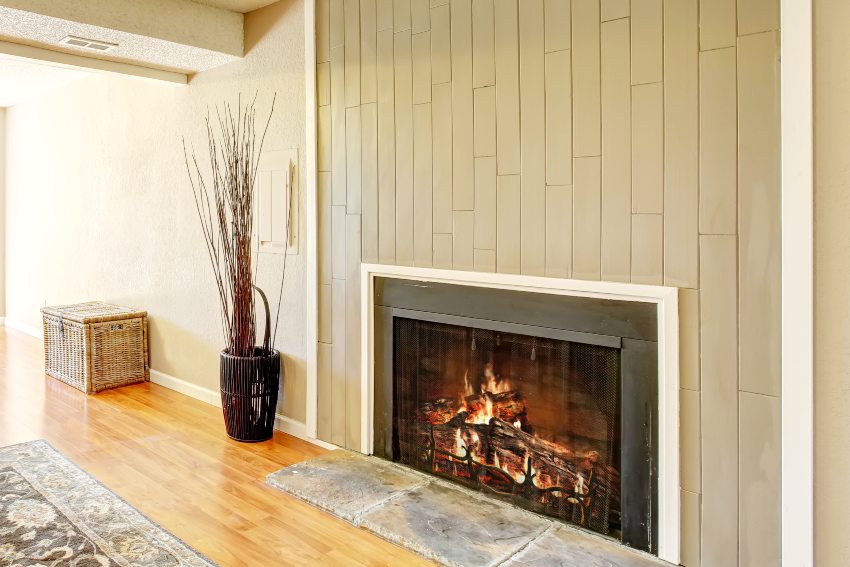
A striking fireplace, which serves as a significant focal point in the room, can instantly elevate the look of your home. You can add much visual interest to your room by installing a contemporary fireplace made of vertical shiplap.
With its more laid-back and adaptable aesthetic, a shiplap fireplace is compatible with various home design styles. It works well with many materials used for the fireplace surround.
White shiplap, a wonderful neutral hue for most homes, is a terrific choice for farmhouse, classic, transitional, and contemporary interiors. It is also an excellent choice for exteriors, especially in coastal areas.
Depending on the style that you want to achieve, it is simple to combine with other rustic components, such as bricks that have been lime-washed, a mantel made of wood beams, or stone cladding.
Vertical shiplap fireplace walls painted in black, gray, or other daring hues are also becoming increasingly popular in today’s design world. The fireplace’s status as it enhances the room’s primary focus by using a shade that stands out from the others.
The use of dark colors in the room also adds a sense of drama and melancholy to the environment. On the other hand, a panel with a natural wood tone finish has a distinctly rustic character that lends an atmosphere of coziness.
To complete the look, you may install a vertical shiplap in your fireplace surround. This extra measure guarantees total safety if you follow the applicable safety requirements. Each state has its regulations on fire prevention and the materials that must be in use around buildings.
Shiplap Backsplash
Vertical shiplap is a beautiful way to give your kitchen more personality and allure. Consider installing it. It is straightforward to put over previously laid tile and adds interest while maintaining a clean and simple appearance from a design perspective.
Under cabinets or behind open shelving, a shiplap backsplash is a beautiful design choice. It can be used in a lot of ways and is classic.
Will shiplap backsplash become damaged if water gets on it?
This question is common, and the most effective response is to get high-quality paint that can seal the shiplap and ensure it remains watertight. Inquire with the paint provider in your neighborhood about the type of paint that works best for shiplap backsplashes. If your board backsplash gets wet at any point, you should rapidly wipe it dry with a dry towel.
Make sure that when you hang it, there is a space between the counter’s top and the bottom of the boards. Doing so will prevent it from sitting squarely on top of the counter.
If a gap in the V-joint paneling is closed with caulk, the water will not come into contact with the wooden V-joint paneling but rather with the caulking.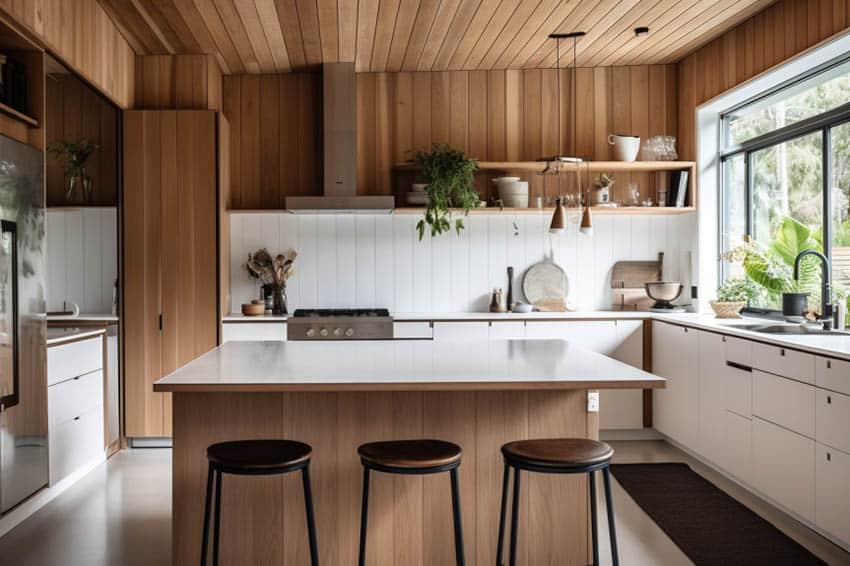
Here are a few tips for installing a vertical shiplap as a backsplash:
Purchase boards that are straight and have few to no knots.
To stop moisture from collecting on the bottom of the V-joint paneling boards, hang the panels above the counter and caulk the gap.
If water splashes up on them, rapidly wipe them off, and use the proper paint to ensure that they won’t absorb moisture.
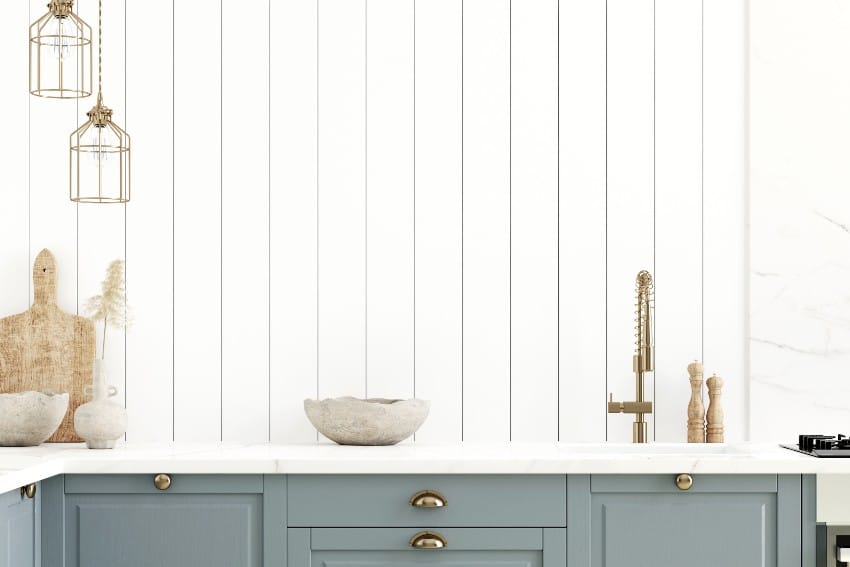
Shiplap Kitchen Island
You can add a vertical paneled kitchen island to your house to add texture and interest to the surface. It’s also a quick hack to make the room feel cozier and more charming.
Typically, boards are cut in the shape of a saw, allowing them to overlap and resemble a milled board, with one plank covering the next. Using this method prevents cracks or gaps between boards over time that result from wood expanding and contracting in response to changes in humidity.
Just remember to choose the right sort of tongue and groove panels by considering how much use and abuse your island receives. If there is much traffic in the area or you have children, you might use wood board panels rather than MDF.
Measure the height and length of your island before deciding whether to cover it with beadboard or reclaimed wood to determine the required materials. You can fasten a vertical V-joint paneling to a kitchen island in a few different ways.
You can attach the boards with a nail gun and fill the nail holes with filler before being painted over. Or you could glue the boards together with something like Liquid Nails.
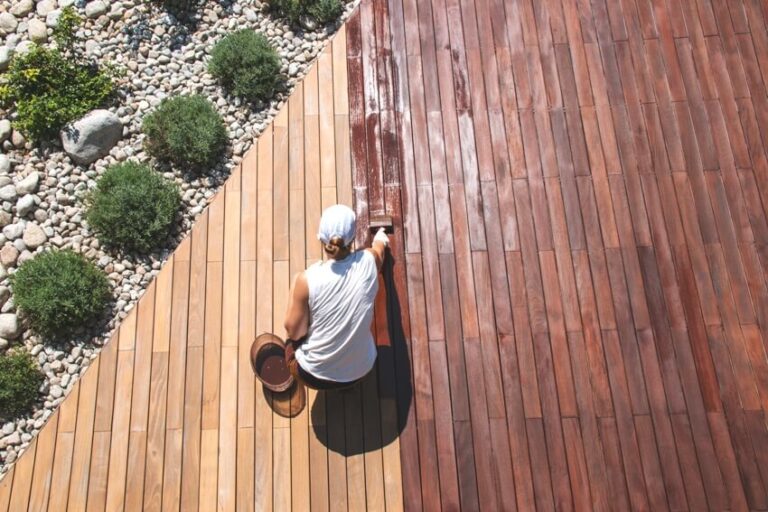
Shiplap Siding
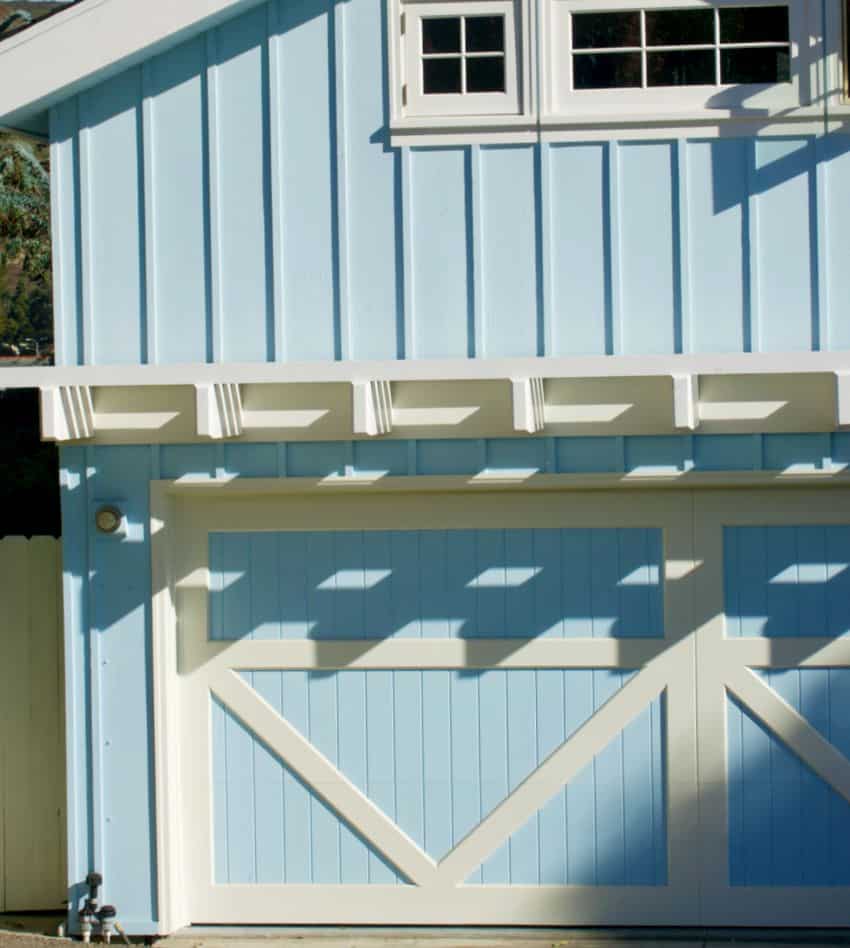
You can achieve a flush finish with shiplap siding by using either genuine or engineered wood to create panels with tight seams that fit together. Each board has a rabbeted groove along its edge, designed to fit snugly into the groove of the board adjacent to it. You will get a finish that is both smooth and exceptionally impervious to water.
Vertical V-joint paneling siding has flush joints, a significant advantage over clapboard. It is pretty straightforward to install, and many prefer the smooth finish. This vertical design offers additional protection from the elements it provides for your exteriors.
Because it can absorb the natural movement of wood that occurs when the temperature changes, V-joint paneling is an excellent choice for usage in harsh and cold environments. Because the joints rarely open or buckle, it is common in homes, outbuildings, and sheds. It can withstand all types of weather.
Vertical beadboard has several obvious benefits, one of which is that it is effortless to put up. The installation grooves come with a design pre-rabbeted into the edges of the wood.
It would be best if you stacked the boards on the other. Alternatively, if you want to create a vertical installation, you can stack them on top of each other.
Vertical V-joint paneling siding is most frequently constructed from cedar, redwood, pine, white fir, and engineered woods. You can also use other types of wood. It would help if you considered your finances while making your decision, as natural wood is typically more expensive than engineered wood.
Many finishes are available, and the one you choose will primarily dictate the overall appearance you want to achieve. You can choose a smooth finish for a more contemporary look or go for a more rustic look by having the wood rough-sawn. You can often purchase boards in widths ranging from 3 to 10 inches.
Farmhouse Shiplap Planks
V-joint paneling is a popular choice for wall paneling among interior designers and homeowners because of its hand-crafted appearance, its classic appearance, and the quick visual interest it provides. It was first developed as a technique to waterproof ships.
Still, by the early 1900s, it had also found its way into homes and barns. It is now virtually indistinguishable from the farmhouse and rustic design styles.
Dust accumulates on all horizontal surfaces, including the gaps between the V-joint planks, and this is no exception. Installing the panels in a vertical orientation is a simple solution to the problem.
This trick will do wonders to reduce the dust that gathers and is a more stylish way to display V-joint paneling. You can make your paneling look even more modern by omitting the whitewash and instead painting the planks.
V-joint paneling installed vertically makes the room appear larger and taller. This design element highlights any vertical lines in a room.
Hence, if your home already features wonderful industrial vertical windows, you can follow the chimney lines to highlight what your property already possesses. Before installing your beadboard, you should have researched to determine what style would complement your room the most effectively.
Shiplap Wallpaper
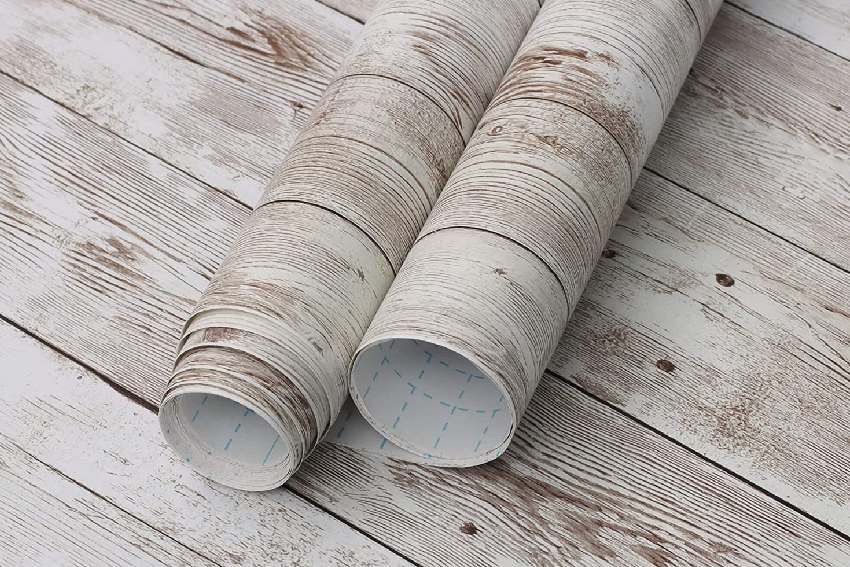
Paneled wallpaper will not fool anyone, to tell you the truth, and we will be honest with you about that. Close up, it seems like imitation paneling wallpaper, but it has a more natural appearance when viewed from a distance.
If, on the other hand, the color and the texture of the lines that V-joint paneling provides appeal to your senses, then you should give this a try. Wallpaper with a textured beadboard pattern might be an excellent happy medium to choose if you don’t want to do any damage to the walls.
The installation of the V-joint paneling is a relatively laborious process. Taking measurements of the boards, making trips to Home Depot, and cutting are all part of the process. Wallpaper made to look like paneling is a removable temporary solution you can experiment with in your home without making a significant commitment.
Installing vertical V-joint paneling wallpaper is very similar to conventional wallpaper in terms of the technique. Because it does not require any wallpaper paste or adhesive to be applied, you can peel it off and stick it anywhere you want it to go.
You can try this if you have a long open wall in your home with very little trim or if you want a detachable temporary solution for your home.
If you were seeking a way to personalize a place you rented or looking for a solution to decorate your home for a shorter period, this would be an excellent option. A long flat wall is an ideal surface for displaying it.
Have you tried any of these design patterns or materials in your home? Share your experience below in our comments to share your tips and thoughts.
To showcase highly specific designs, some images on this website use advanced AI-generation software to illustrate ideas and room inspiration. See our editorial policy to learn more.