Polyurethane Kitchen Cabinets (Finishes & Application)

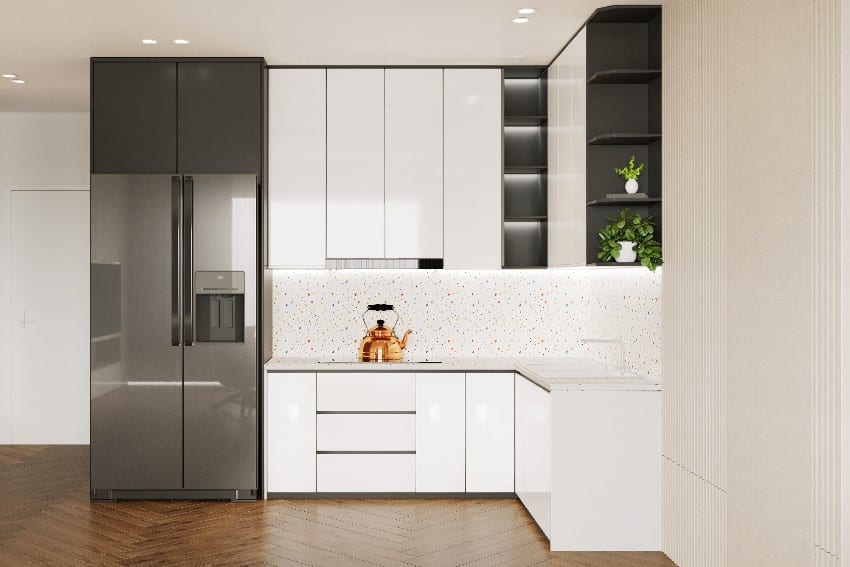
Consider Several factors when building or renovating your kitchen. In today’s world, a kitchen is just as crucial for the overall value of a home as it is for its functionality in cooking and hosting guests. Kitchen cabinets with polyurethane finish are one of the most popular options for a kitchen remodel. It doesn’t matter how large or small these kitchens are or what color they are; the one thing that can ruin an otherwise flawless arrangement is an inappropriate finish.
Because it is difficult to settle on such a significant material choice – after all, the kitchen surfaces determine the character and allure of the entire room – we will discuss the benefits of polyurethane kitchen cabinets.
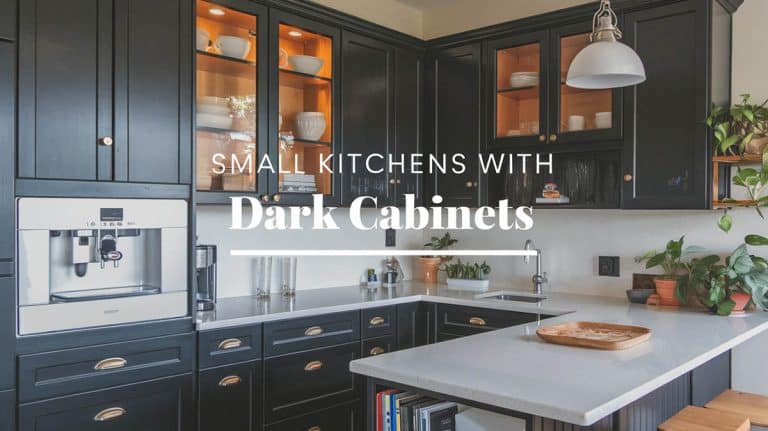
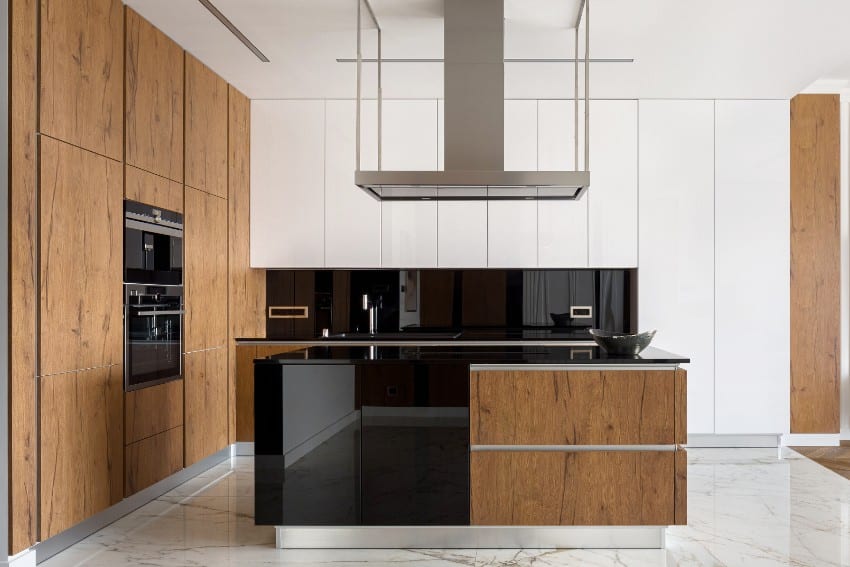
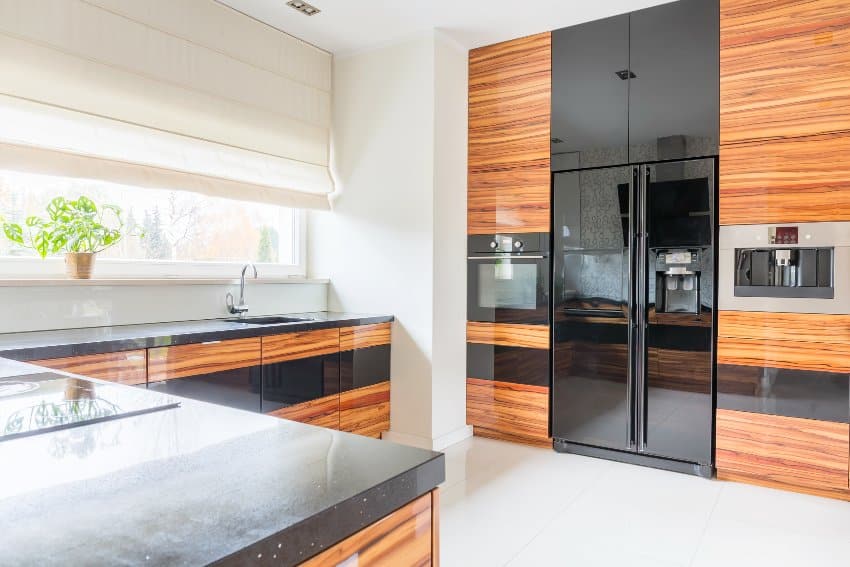
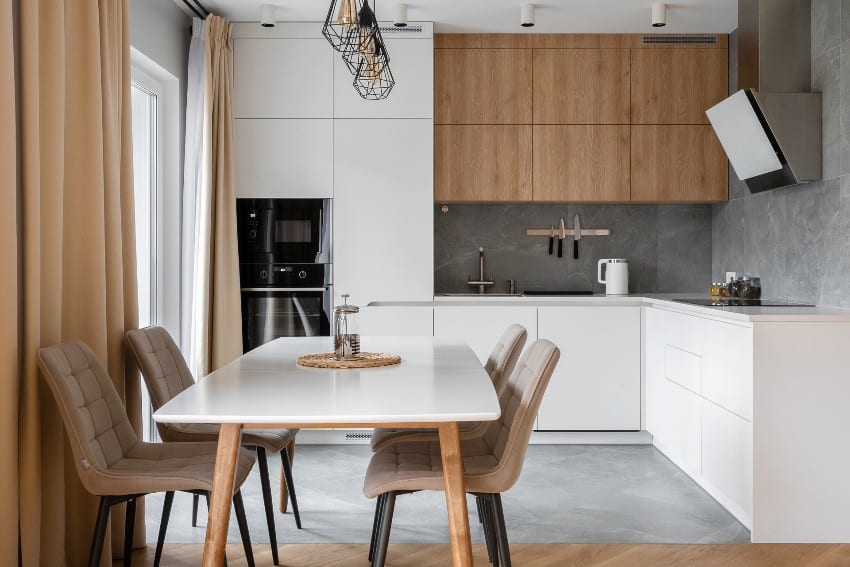
Polyurethane Cabinet Designs
This kind of coating applied to kitchen furnishings like cabinetry and benchtops is the finish. Natural materials such as stone and timber are on one end of the spectrum, while manufactured products such as polyurethane kitchens, laminate, and melamine are on the other. And because there is such a wide variety of options, it is pretty simple to let oneself become distracted by the wide assortment of possibilities and lose sight of the bigger picture.
When selecting a finish for the cabinetry in your kitchen, you should always consider a few essentials first.
Intentional use, or the primary activities in your kitchen (cooking, entertaining, storage, etc.)
Household demographic: who currently lives here or is likely to move here in the future (family with children, an older couple, university students, etc.)
Interior design – which finishes will complement the aesthetics of the interior the most?
Budget: The sum of money that you set aside to spend for your kitchen remodel project.
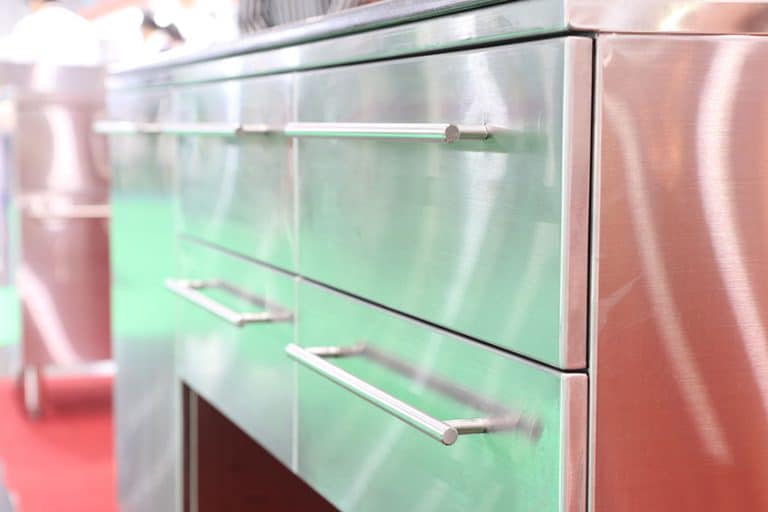
Preparing this kind of finish in the kitchen takes many hours, explicitly utilizing a painted coating. The finish applied to polyurethane kitchen cabinets provides a protective coating similar to the paint found on automobiles. This finish comprises paint and a hardener, providing a protective coating.
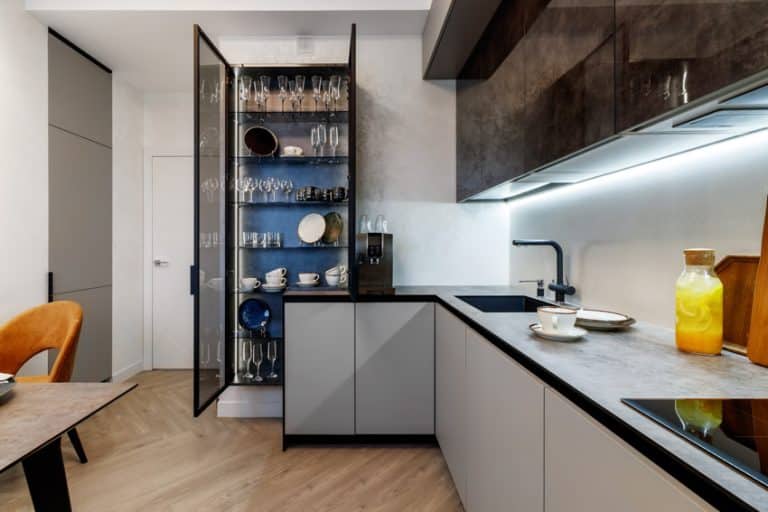
Design flexibility
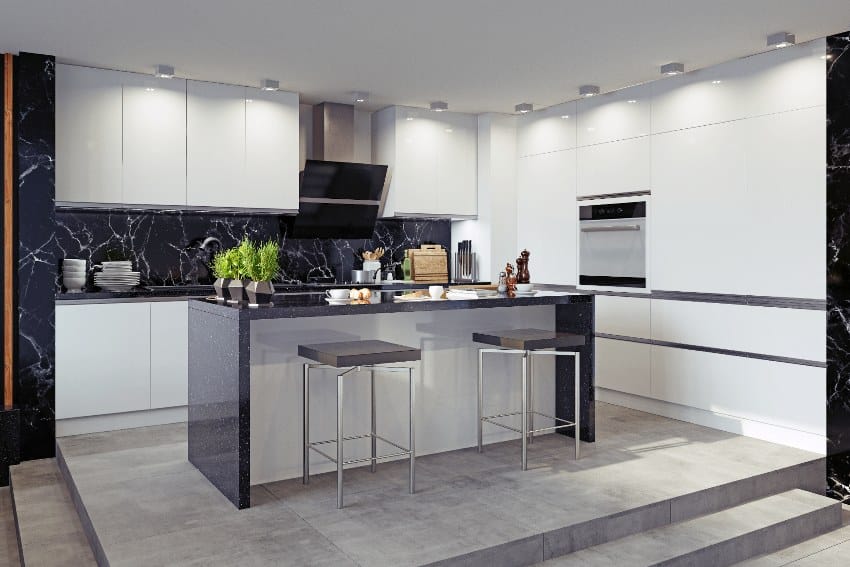
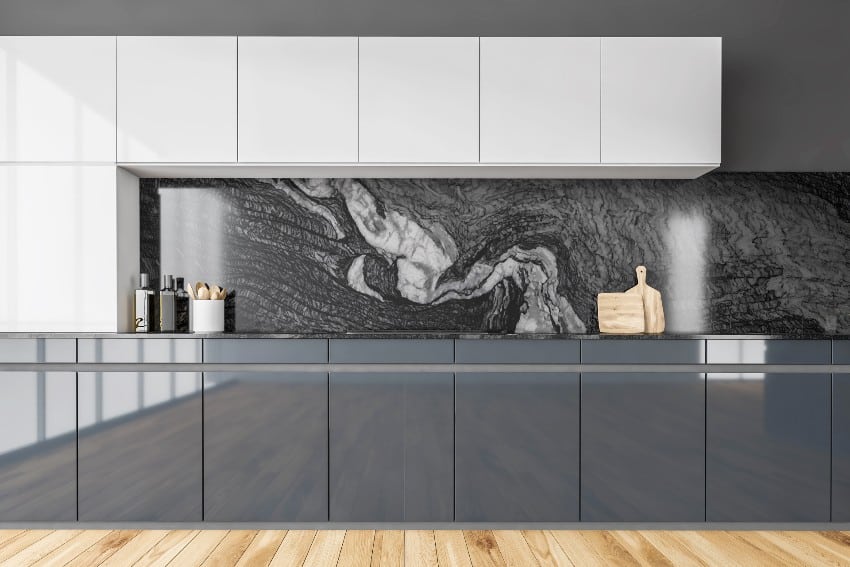
Matte, satin, semi-gloss (also referred to as “sheen”), and high gloss are the four main types of finishes found on polyurethane kitchen cabinets. High gloss is also sometimes referred to as “shine.”
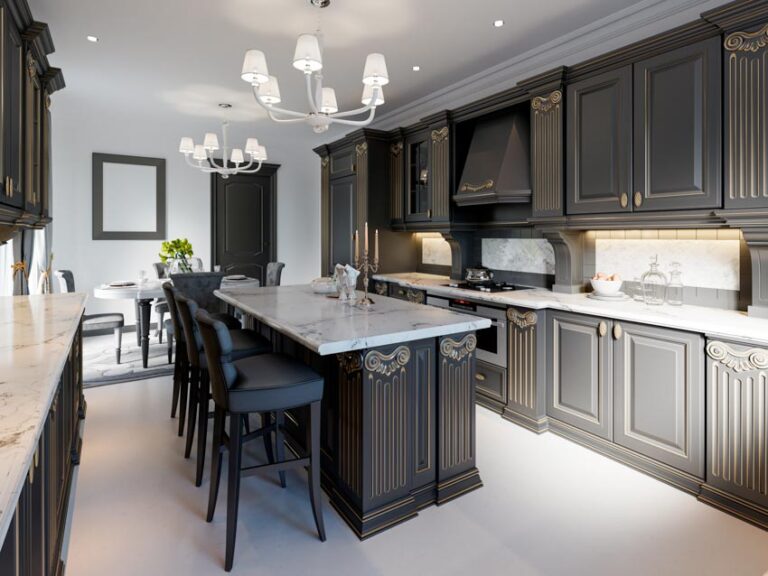
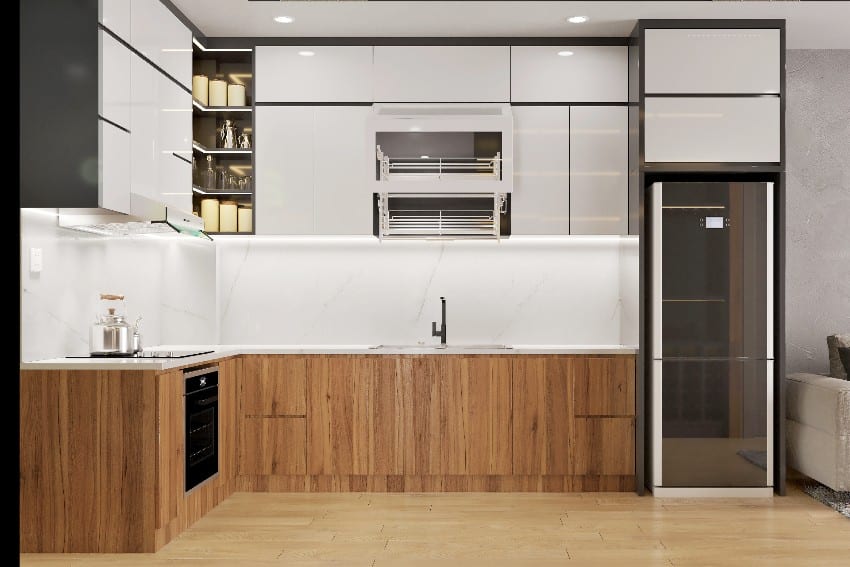
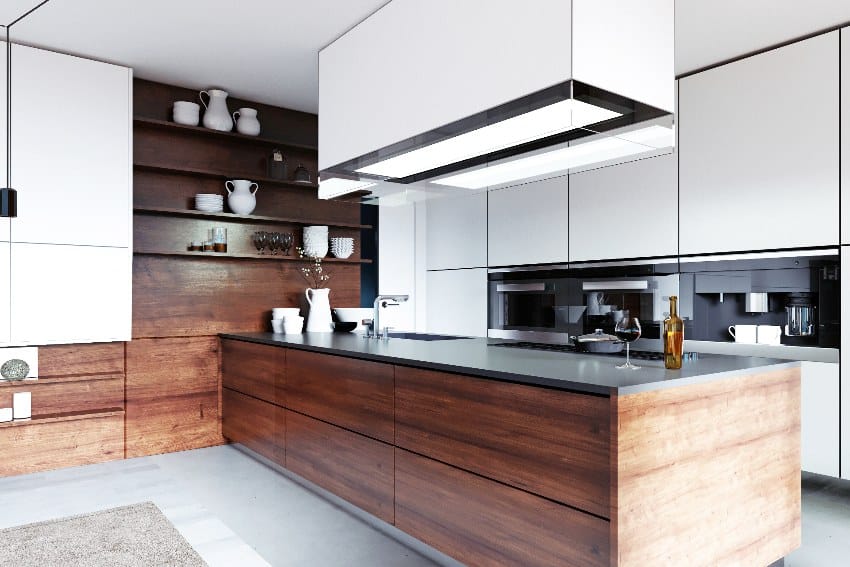
These finishes each provide their aesthetics that are suitable for different types of kitchens, generally ranging from modern to traditional high gloss for the most ultra-modern designs.

When it comes to the door profiling of this material, there are also countless choices accessible. Because the coating covers the top and the bottom, you can apply it to objects of any form or size.
There is no issue whatsoever with achieving a look characterized by Shaker-style furniture, farmhouse chic, or ultra-slick glossiness. The painted finish does not have any join lines anywhere in it.
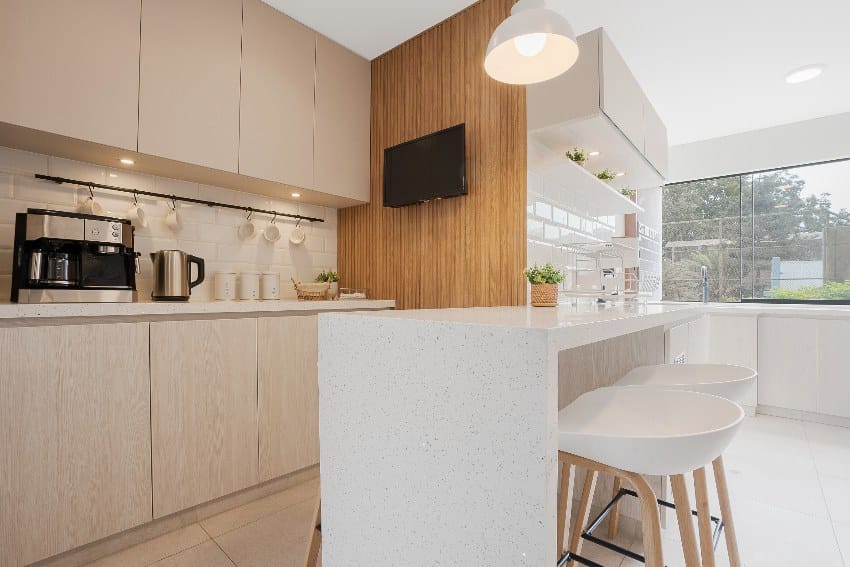
There is no limit to the color options available for polyurethane kitchen cabinets. Because it is a painted coating, this kitchen finish can be matched with an existing color or mixed to create an entirely new color.
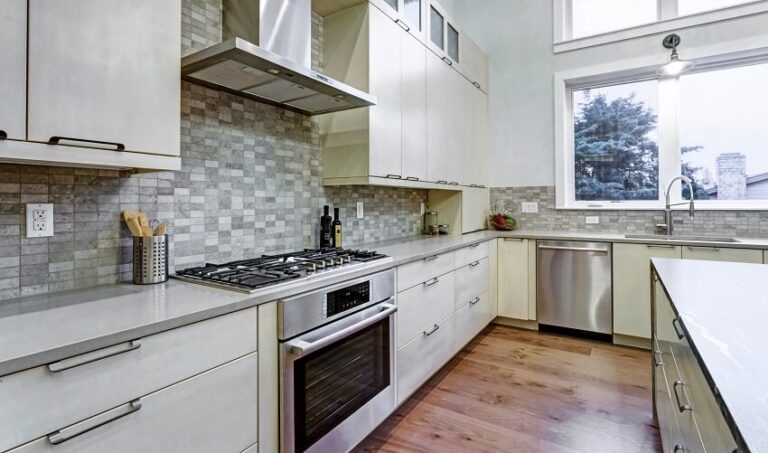
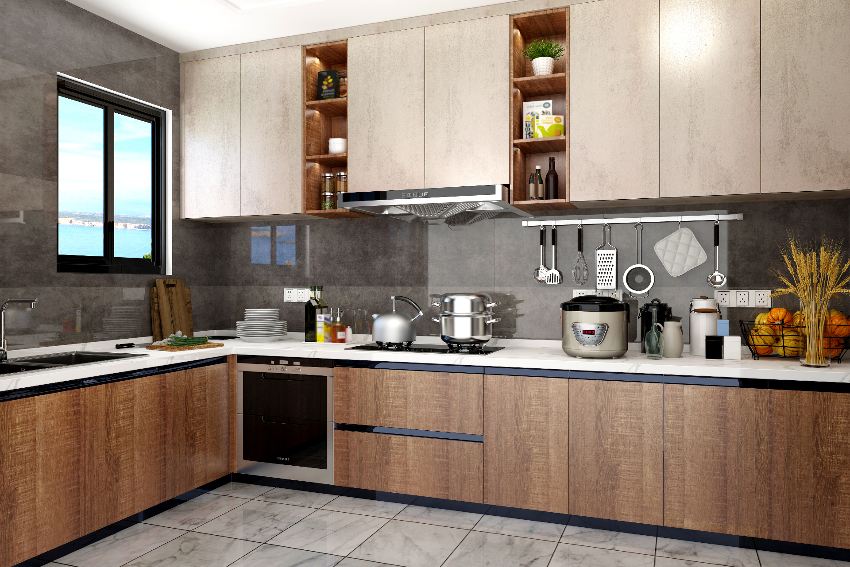
Durability
The longevity of a kitchen constructed from this finish is likewise very high. Kitchens constructed out of polyurethane offer excellent resistance to chips and scratches.
Basically, polyurethane is liquid plastic, which is the major reason this finish is used on floors. – Creating the Perfect Wood Finish with Joe L Erario, Joe L’Erario
If you have the misfortune of getting any bumps and bruises on the coating, the area may easily be re-sprayed at a small expense, as opposed to replacing an entire cabinet or door.
It saves you a lot of effort and money. This coating is also almost totally UV-resistant, which means there is a low probability that the coating will fade or change color in the future. It is because the coating is almost entirely UV-resistant.
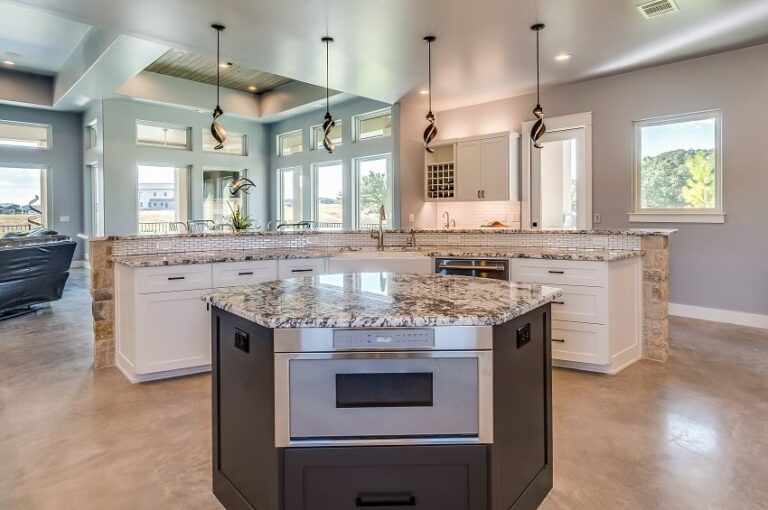
Maintenance
The upkeep and cleanliness of these kitchens are a piece of cake. Fingerprints, smudges, and other marks are easily removable from polyurethane kitchens by wiping them down with a damp, clean cloth. This kitchen finish are impervious to most substances.
Cost
Compared to alternative kitchen finishes such as laminate or melamine, the initial investment for this kitchen finish is slightly higher than it would be for either of those other options.
The cost you outlay at the beginning may save you dollars down the road, as the durability and longevity of a polyurethane kitchen are generally outstanding. The durability of this kitchen finish is generally excellent.
Best Polyurethane For Cabinets
Suppose you are familiar with the most reputable brands of PU available on the market. You can quickly apply it in high-traffic areas and on your kitchen cabinets to produce a tough and durable coating. Here are the best options that we’ve come up with thus far.
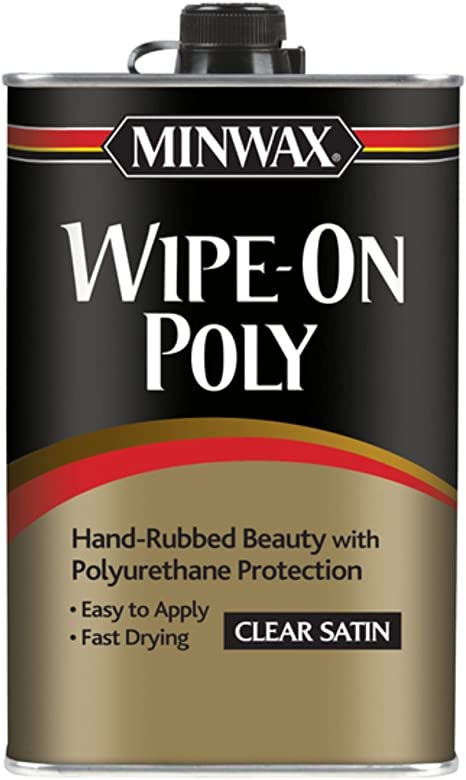
Minwax Fast-Drying Polyurethane
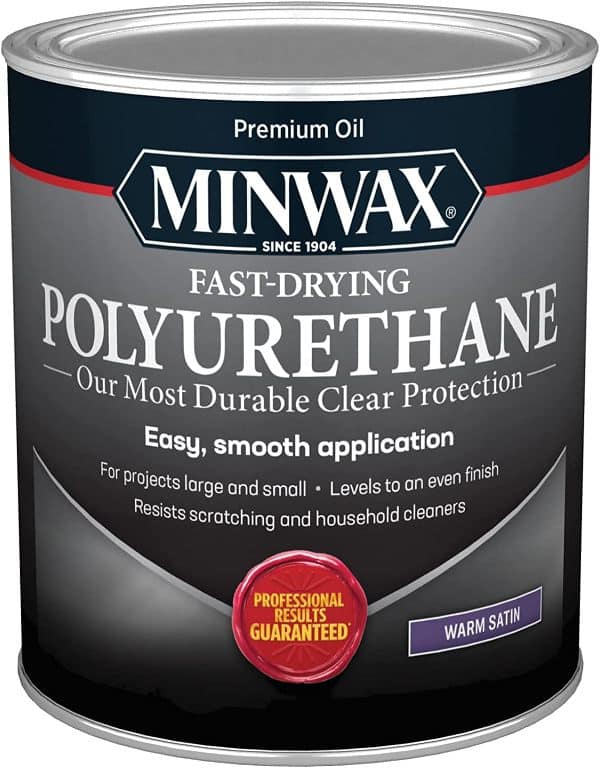
See Minwax Fast Drying Polyurethane Protective Wood Finish at Amazon [Sponsored link]
Pros
• Any interior wood surfaces get added strength and protection that lasts a lifetime.
• You may apply it to both finished and unpainted wood quickly and easily.
• It is incredibly robust and resistant to abrasion.
• Because it takes this coating an average of around twelve hours to dry, you need to ensure that the surface will not be disturbed in any way during this time frame.
• Because it is so hazardous, you can only use the Minwax fast-drying PU in a room with adequate ventilation. Otherwise, there is a risk of asphyxia.
• In addition to this, because it is combustible when it is in liquid form, you must keep it away from any open flames.
Water Based Polyacrylic Finish
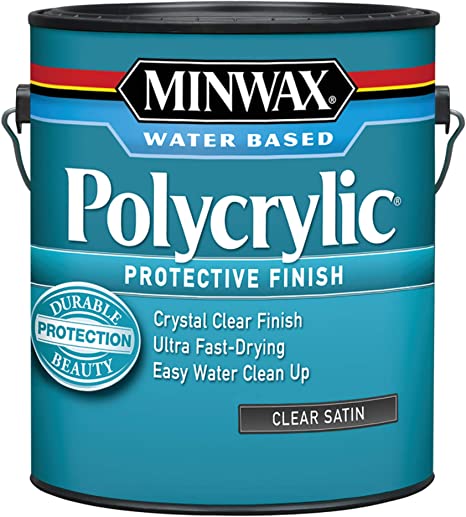
Another water-based protective coating typically seen in satin and high gloss finishes is a polyacrylic finish. It’s easy to apply Because its application process involves a roller or a sprayer. It works best on wood furniture.
Pros
• A finish that is water-based polyacrylic is more affordable, which is one of the reasons why buyers choose it.
• Customers can anticipate it to last very long as it is long-lasting and durable.
• In addition, it provides you with a transparent finish, which wonderfully works when applied to surfaces with a simple and lighter color.
Cons
• The application of this protective finish may be challenging due to its runny consistency.
• It dries exceedingly quickly, making applying it to more extensive surfaces challenging.
• An excessive amount of finish on darker shades can give the appearance of being milky.
Wipe On the Polyurethane finish
Compared to the more traditional method of applying polyurethane with a brush, applying it with a wipe-on variant is noticeably less complicated.
You can apply wipe-on PU with the assistance of a cotton rag in a very straightforward manner. This method enables you to spread the appropriate quantity of finish uniformly across the surface of your kitchen cabinet, and you will obtain dependable results in a concise amount of time.
Pros
• It is optimally suited for use on the slimmer, vertical surfaces of kitchen cabinets.
• It is simple to apply, and you can round and carve surfaces with it in a short amount of time.
• The brush-on method of applying polyurethane may take longer to dry, but the wipe-on method is superior.
Cons
• The technique is notorious for being untidy and notoriously expensive.
• When spraying polyurethane, you need more coats applied than the brush-on PU type.
• If not handled correctly, the soaked-in PU rags present a severe risk of starting a fire.
Brush-on Polyurethane
The primary characteristic of brush-on polyurethane with two coats is the ability to provide enough protection. Applying this one-of-a-kind finish without leaving brush marks or drips is one of the most challenging undertakings.
Because it is possible to achieve the best-looking finish by applying it on horizontally flat surfaces, many people prefer it over many other types of finishes.
Drying time is typically between four and six hours; however, if you wait until the following day to apply each coat after allowing the previous one to dry completely, you will achieve the best possible results.
Pros
• This one is more original and organized than the wipe-on polyurethane method.
• There is a requirement for a less number of coats here.
• Compared to the wipe-on PU method, this one is quicker to apply.
Cons
• Between coats of paint or stain, the surface of the cabinet needs to be sanded down and made smooth.
• It can leave streaks and drops on the surface of the cabinet.
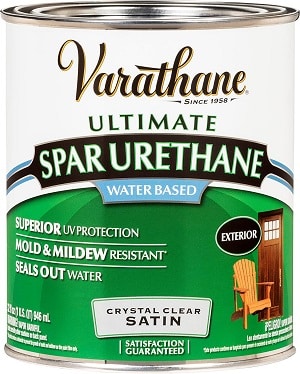
Varathane Ultimate Polyurethane
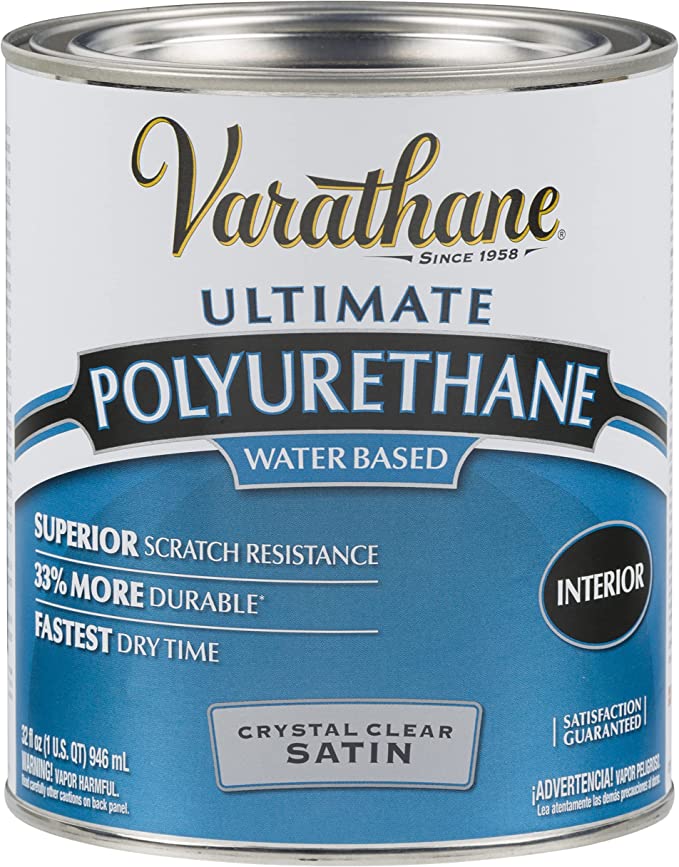
According to the most recent research, it is one of the most often used glossy-finish polyurethanes because it offers outstanding scratch resistance and fast curing for almost half an hour.
Additionally, the topcoat of this Varathane Ultimate Polyurethane will protect the wood from damage caused by scratches and stains.
Pros
• When dry, it produces a superb quality finish and offers outstanding value.
• In addition to this, it is water-based, which is convenient.
• The non-yellowing coating is also resistant to scratches and will maintain its lovely appearance over time.
• Because of its excellent UV absorbers, the wood gets protection from harm caused by the sun.
• In addition, cleanup is a breeze; all you need is soap and water.
Cons
• You end up with a top coat that is extremely thin, which, in turn, makes it difficult to add further layers.
• In addition, a much clearer finish is only appropriate for some applications.
• It won’t be able to impart a deep sheen to your kitchen cabinets.
Deft Interior and Exterior Satin Amber Hue Colored Polyurethane
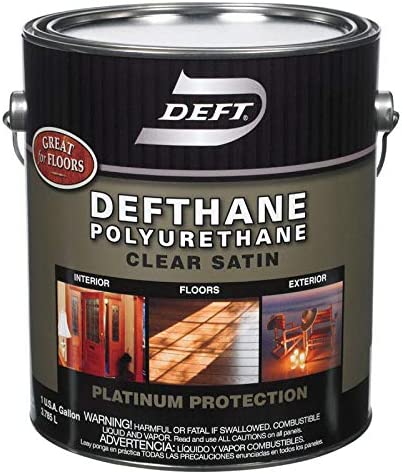
Because it is best formulated to work on finished, unfinished, stained, painted, and lacquered wood, Deft Interior and Exterior Satin Amber Hue Colored Polyurethane is an excellent and popular oil-based PU that you can purchase.
You may buy it because it is available for purchase. Because of this, it is significantly more dependable and practical since you do not need to be careful about the protectant you are using scratching the surfaces of your kitchen cabinets.
Because of its ability to absorb ultraviolet (UV) rays, which prevents potentially damaging sun rays from reaching the surface, it is an excellent material for use in the construction of outdoor furniture.
Pros
This multi-talented, ultra-protective best composition is best for use in indoor, exterior, and maritime environments.
• It is often sold in containers measuring one quart in capacity.
• Its solution contains exceptional UV protection.
• However, it is an excellent choice for wood used indoors or outdoors.
• Buyers won’t have any trouble affording it.
Cons
• Available in highly diminutive sizes
• On the other hand, drying it out takes a very long time.
• In addition to that, there is a faint odor of chemicals.
Rust-Oleum Triple Thick Polyurethane
According to purchasers, one of the most prominent characteristics of this Rust-Oleum Triple Thick Polyurethane is that this matte-finish solution only requires one coat, which results in time and money savings.
This finish dries to the touch in two hours and is designed specifically for use inside. It is also easily accessible and comes in a can that is almost 32 ounces in capacity.
The buyer has provided positive feedback regarding the product, praising its self-leveling recipe for its ability to produce an even coat. In addition, it is the ideal recipe for a speedy cleanup.
Pros
• It is the most effective method for the least amount of money.
• Mold and mildew are not able to quickly and efficiently grow on it.
• This option is ideal for your kitchen cabinets when Presented in a shiny finish.
• It is lovely because it is resistant to water and ultraviolet light.
• Appropriate for protecting the wooden surfaces of your outdoor furniture, kitchen cabinets, and other items.
• The use of this recipe will give you increased durability.
• In most cases, the PU will be dry in less than two hours.
• The most sought-after weather and UV-resistant formulation are available in three distinct finishes.
• On the other hand, it will last for quite a long time.
• Because it costs less than $15, it is the most affordable option.
Cons
• It is typical for it to turn yellow as it ages.
• Most of the time, it will leave streaks on the surface of the kitchen cabinets.
Exterior: Spar Urethane
The polyurethane formula, Spar Urethane, is used quite frequently to construct kitchen cabinets. Because it absorbs ultraviolet light, it will shield the finish and the wood from the damaging effects of the sun’s rays.
During production, a unique combination of oils and resins is used, which gives it the ability to bend beautifully in response to the natural expansion and contraction of the wood surface.
When the finish looks dull after a year, you can usually recoat it. For your kitchen cabinets, it is readily available in various sheens, including gloss, semi-gloss, and satin, as well as oil-based and water-based formulations.
Pros
• The most outstanding ultraviolet blockers are typically included in it, which helps to decrease the effects of graying and fading caused by the sun.
• It is often considered the most effective protective barrier against precipitation and moisture.
• Because it contains certain oil ingredients, the finish can expand and contract with the wood as the temperature changes.
• It works wonderfully on interior and exterior surfaces, such as doors, windows, trim, kitchen cabinets, and outdoor furniture.
Cons
• Using spar urethane often results in a yellowish hue to the kitchen cabinets.
• Large outside surfaces like decks and siding are not ideal places for it.
Can You Paint Over Polyurethane Cabinetry
Yes, you can paint over polyurethane if the surface has the proper prep work before you begin. Because paint does not adhere well to polyurethane in its natural state, the paint may flake off if you omit this step.
It is possible to paint directly over polyurethane cabinets. After removing everything around the kitchen cabinets, please clean them with mineral spirits or a combination of soap and water. Scuff up all the areas you intend to paint, and then use a primer before you begin painting once the surfaces have been well-cleaned and allowed to dry.
Use a stepladder to complete this task and access all of the levels of your kitchen cabinets. You might apply the primer and paint using a roller to the flat surfaces, and you could use a paintbrush for the differently shaped portions.
Without any preparation, painting over polyurethane will likely result in paint that peels off immediately. Scraping the paint from the surface won’t need much effort. When a simple fingernail runs over the paint’s surface, most people discover that it glides off.
The resins in the wood can change the project’s overall color, which is another issue with painting directly over polyurethane. They may appear orange or yellow if they rise through the finish and your final coat of paint. You may prevent this issue by using the proper priming and paint.
Cleaning Polyurethane Surfaces
Numerous cleaning agents can’t penetrate polyurethane, and keeping its aesthetic appeal is extremely simple. You may typically clean a polyurethane finish with smudges or exhibiting prints by wiping it down with a moist cloth and then drying it with a lint-free cloth. It saves time and is simple to keep up in fantastic condition.
• Test the finish to ensure it is genuinely polyurethane before performing any polyurethane furniture maintenance on your cabinets. Other finishes look similar to polyurethane but respond to cleaning agents differently.
You should rub some boiled linseed oil into the wood. It has a hard finish if it beads up.
• Apply a small amount of acetone, which is present in nail polish remover, in a small, circular motion to an inconspicuous area. After a short while, lacquers break down, and varnishes, shellacs, and other coatings become sticky.
Polyurethane repels acetone, which will bead up like water. Use lacquer furniture or finish care to clean your cabinets if you discover they have a different finish.
• Using a dry microfiber cloth, keep your cabinets well-dusted. Use a firm nylon brush to remove built-up dust or highly dusty spots from the cabinets. Gently scrub the cabinet’s grooves. To eliminate the dust, make quick, soft strokes.
• You can remove dust in crevices gently with a small toothbrush. Another method for cleaning dust off cabinets is to use a vacuum with a brush attachment.
• Remember that you are washing the finish, not the wood, when you clean anything with a polyurethane coating. Reduce the amount of wax and furniture polish you use on polyurethane cabinets since they can accumulate over time and cause issues.
You can remove much grime, filth, and grease with a damp cloth, but for more difficult grime, you might need to use different cleansers.
• You can remove most smudges and dirt with mineral spirits and a clean cloth. You can also use a spray bottle with water and vinegar to remove oily stains and filth from your cabinets. Whether you’re cooking or the cabinet gets much use, grease can get all over it.
• The polyurethane is not harmed or abraded by vinegar’s breaking up of the grease. Because vinegar has a similar cleaning effect to glass cleaner, it can remove any buildup and won’t affect the finish the way other cleaners do.
Grease and dirt, particularly those located around knobs, can be removed by rubbing alcohol applied sparingly to a clean, dry cloth.
• One of the finest ways to remove stains from a polyurethane cabinet is to massage the stain away using a microfiber sponge. This method makes it simple to remove stains like permanent markers and crayons.
• Sand the stained area with fine-grit sandpaper to remove the stain if it causes the polyurethane to get discolored. Reapply a coat of polyurethane after using a tack cloth to remove the residue dust. Allow it to dry before sanding and reapplying if necessary.
• If the stain is on the door, remove and refinish it to get a uniform appearance if it splatters or covers a sizable region. Refinish that side if the staining is on the cabinet itself.
How To Apply Polyurethane To Cabinets
Daily exposure to heat and humidity can distort kitchen cabinetry or encourage the growth of mold and mildew. Although a polyurethane coating on kitchen cabinets offers dependable protection, many homeowners hesitate to do it themselves.
DIY aficionados shouldn’t be intimidated by the task because it is simple and requires little planning, equipment, or money. Polyurethane can enhance any kitchen cabinet’s elegance, offering long-lasting protection.
You have to ensure that the paint on the cabinets is completely dry before applying the polyurethane to them. It could take a very long time, depending on the type of paint that you use. Before applying a second layer, some people recommend waiting at least one full day or up to 24 hours before applying a second layer.
The curing process could take as long as two weeks in some instances. It should be ready for the polyurethane coat as soon as it cures and is dry to the touch. When it comes to the wait time, the standard advice is to wait as long as possible.
In the event that you do not wait for an adequate amount of time, the polyurethane coating will not function as expected. Instead of forming a barrier against the paint, the polyurethane will become thoroughly incorporated into it. Therefore, it will develop a rough appearance and lose its ability to withstand damage.
You need to take scuff sanding as another step in prepping. Sanding a surface very gently to get it ready for a finish is what we call this technique. The sanding tool can cut through the surface if the paint has enough time to dry.
Instead, it will make it look smeared! Give as much time as you can spare if you don’t want to avoid repeating the process. You can proceed with the procedures without addressing an issue you could have avoided.
1. Remove a cabinet door with a flathead or Phillips screwdriver, then set it on the drop cloth. The ideal way to apply polyurethane to cabinets is horizontal to avoid drips and runs that could detract from the final product’s appearance.
2. You should apply mineral spirits on a lint-free cloth. Wipe off the cabinet door with a towel to achieve a smooth, even surface and get rid of any dust. Allow the door to dry for 30 minutes.
3. Using a stir stick, thoroughly blend the polyurethane. During use, occasionally stir as well.
4. To remove any extra polyurethane from the container’s side, delicately dab the foam brush into the material.
5. Long strokes should be used, going against the grain of the wood. Each succeeding stroke should overlap the one before it To retain a moist edge. Work quickly enough to keep the polyurethane from sticking to the wood.
6. Following the instructions on the polyurethane container, give the first coat three to four hours to dry completely. After it has dried, softly sand it with a fine-grit sandpaper.
7. To eliminate any dust generated by sanding, wipe the cabinet door with a lint-free cloth.
8. Long strokes and a wet edge are the perfect strategies for applying the second coat of polyurethane. Give this coat three to four hours to dry completely.
9. Check for any faults or flaws. If discovered, lightly sand, clean, and reapply polyurethane. For most kitchen cabinets, three to four coats of polyurethane must achieve a tough, long-lasting finish. Once you accomplish the desired coating, sand, wipe, and apply polyurethane.
10. Put the door back on the cabinet.
How Many Coats Of Polyurethane On Cabinets
At least two coats of oil-based polyurethane are the standard for finishing any wood. The initial layer serves as a primer and a sealant; the subsequent coat is the finish coat.
Because the finish fades off so fast with water-based polyurethane, the recommendation is to apply a third coat if dirt or lint gets into the wet finish and sand between each layer to remove it.
Lacquer Vs. Polyurethane
Polyurethane is a thicker and more lasting sealer than lacquer, but it takes longer to dry than lacquer. It is the primary difference between the two. Lacquer is a thin finish that dries quickly and penetrates the wood but is also prone to chipping and cracking because of its fragility.
In a nutshell, polyurethane is a finish that cures, while lacquer is a finish that dries.
Polyurethane is the material you should use if you want something that is long-lasting and offer you various alternatives for its appearance. This finish is effectively simply a kind of liquefied plastic until it is cured on your furniture, floor, or other high-wear areas such as tabletops, banisters, and cabinets in your home.
Shellac Vs. Polyurethane
Shellac is superior to polyurethane in protecting kitchen cabinets, so you should consider using it if you want your kitchen to be more environmentally friendly. The product provides your kitchen cabinets with a finish that is colored like amber and makes them resistant to water.
Shellac is a natural finish obtained from the lac bug; it gives the wood a warm tone and adds depth to the grain. (The drying time is thirty minutes)
Polyurethane is a synthetic finish with either a water- or oil-based formulation. Its composition comes from plastic resin. (The drying period for water-based products is two hours, whereas oil-based products take six hours)
Acrylic Vs. Polyurethane
Acrylic is a long-lasting substance that will not lose its attractive appearance in your kitchen cabinets for many years. Because it is also resistant to scratches, consistent wear and tear will not be a problem. The gloss and luster continue to be present even after many years. Additionally, they are not affected by UV light or dampness.
There is no rival when it comes to the subject of durability. Polyurethane is far more durable than acrylic and will continue to look good for a more extended period, particularly in locations prone to dents and scratches (kitchen cabinets are a prime example).
If you opt to work with acrylic for cabinets, on the other hand, the range of colors from which you can choose will be significantly more extensive. Visit our gallery of high gloss black kitchen cabinets for more related content.
To showcase highly specific designs, some images on this website use advanced AI-generation software to illustrate ideas and room inspiration. See our editorial policy to learn more.