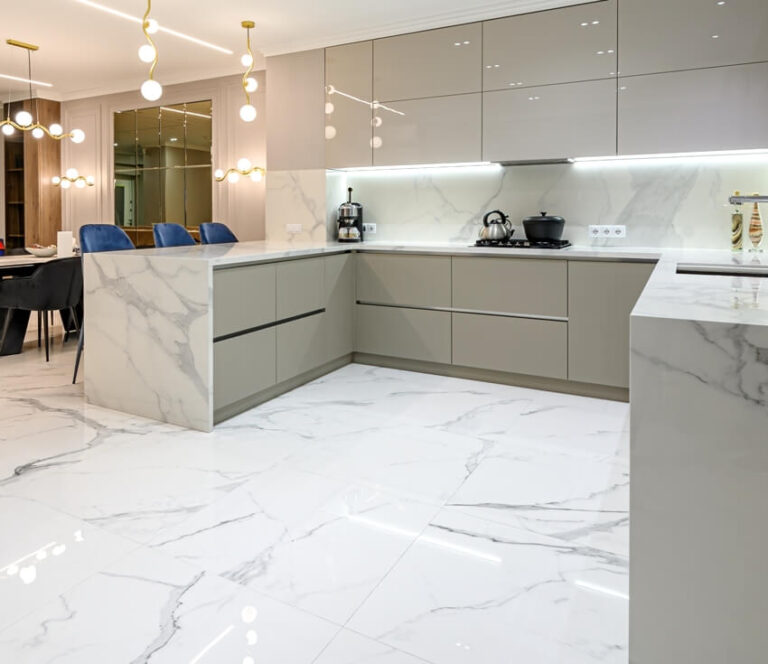
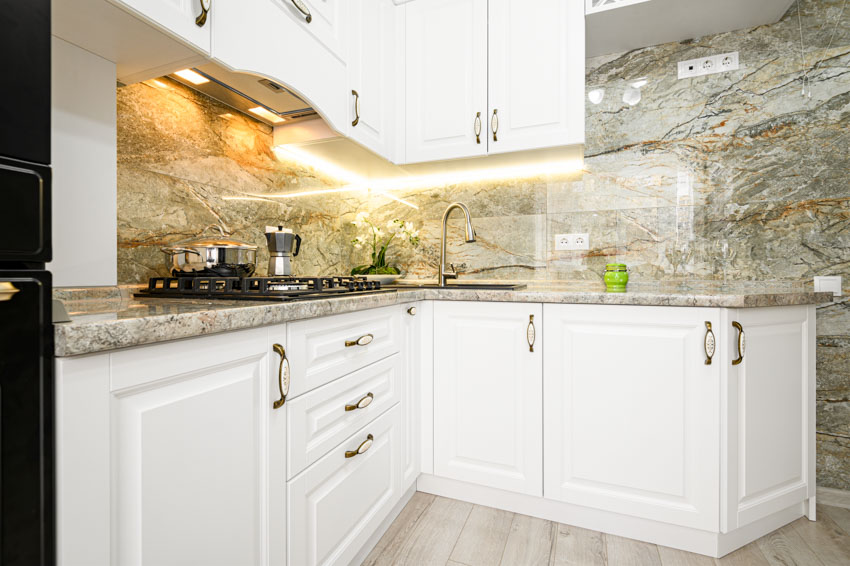
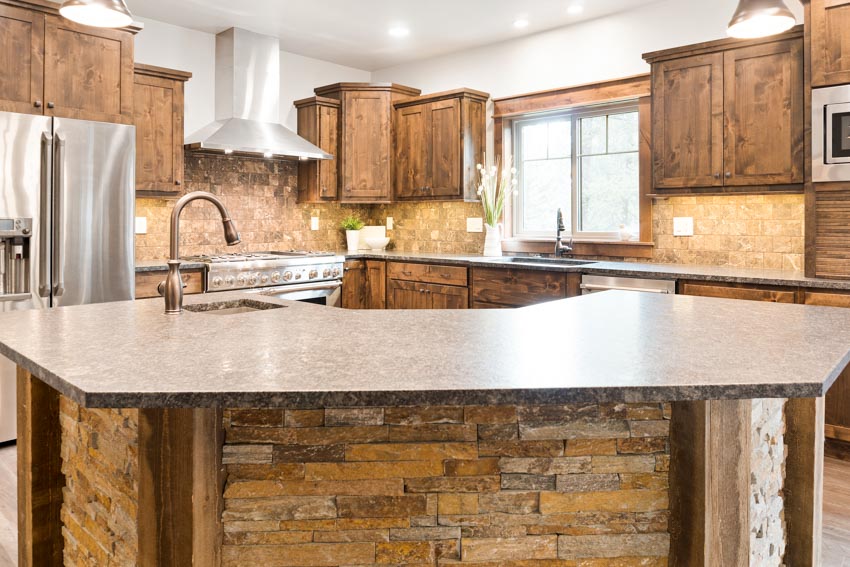
How To Clean Stone Backsplash (Materials & Tips)
See how to clean stone backsplash including the materials you will need, cleaning steps, and the best way to remove grease from a kitchen backsplash.
But it’s still not an impossible feat. With the right steps to follow, you can successfully clean this kitchen element without too much drama. Here are the different steps on how to clean this kitchen fixture. [toc]
Step 1: Gather All the Materials You Will Need
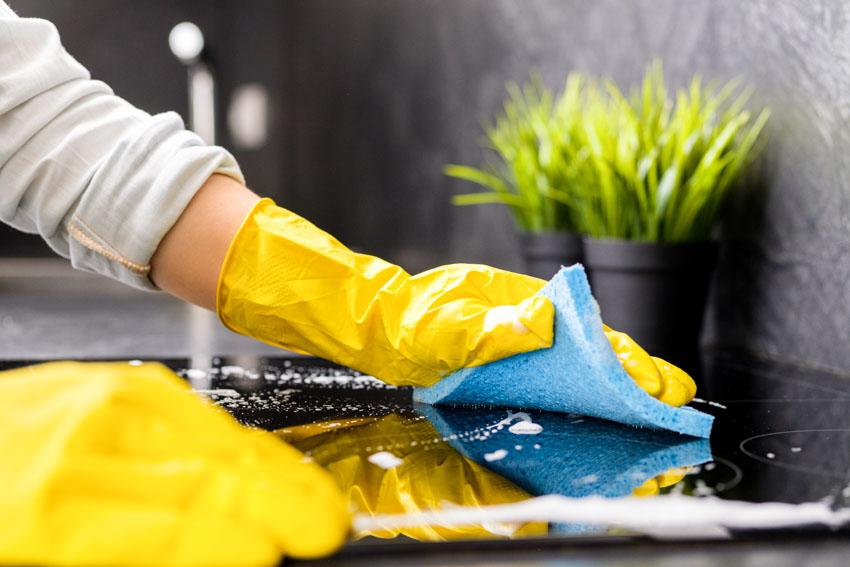
• Brush: You have the option of either choosing a soft-bristled toothbrush or a scrub brush, depending on what’s available and what you’re comfortable using.
• Dish Soap: Go for something milder when choosing a dish soap because this material can be sensitive, and some harsh cleaning products can damage the material.
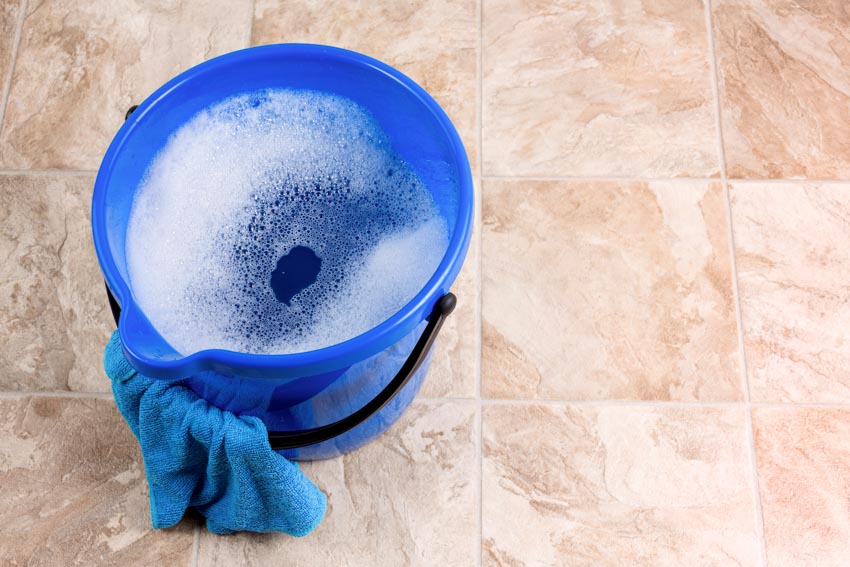
• Bucket: You need a container to mix dish soap and water together, so make sure to choose a bucket big enough for this purpose and that you can actually carry the bucket!
• Water: More than just getting mixed with dish soap to create the cleaning solution, you will need clean water to rinse everything away.
• Clean rag: Prepare two or more clean rags to help you in cleaning stone types of kitchen backsplash. You will need a clean rag to help you rinse and another clean but dry rag to help you wipe the surface dry.
You can add more tools you can use, especially if there’s a new innovative brush or cleaner that will make the cleaning much more convenient and easy to complete.
Step 2: Mix Your Hot Soapy Water Solution
In this way, if the cleaner you chose is actually too harsh and ends up damaging the kitchen element, you can live with it since it’s out of sight in the first place. And make sure to let it completely dry before moving on.
To be on the safe side, you can choose cleaners specific to the material itself. If you have a granite backsplash then get a granite cleaner. The same logic applies to a limestone backsplash and other types of natural stone materials. This will make your choice simpler and more straightforward.
Step 3: Start Washing Your Backsplash
This type of kitchen element has small crevices, where grease easily accumulates and builds up, which can make it harder to thoroughly clean. A scrub brush or a soft-bristled toothbrush can really get in between the tiles, grout, and other crevices. So if you want a variant that’s easier to clean, choose a less textured tile with a smoother surface like a granite backsplash.
Among the common backsplash mistakes is being negligent in cleaning it, leading to the growth of unwanted substances. Make sure to inspect it entirely and check out if you miss any spot when your scrub on it.
Step 4: Thoroughly Rinse The Stone Backsplash
Step 5: Dry Your Stone Backsplash
To help you better in your cleaning tasks, here are simple tips to take into account:
• Set your cleaning schedule with enough time to clean it and even the entire kitchen
• Clean your backsplash at the same time as you clean your countertops
• Keep the seal fresh
• Pay more attention to the grout and crevices
How To Remove Grease From Tile Backsplash
Step 1: Gather all the items you will need for the deep cleaning
• Baking soda
• Dish soap
• Dishcloth/rag
• Grout sealer
• Knife or spatula
• Lemons
• Sponge
• Toothbrush
• Vinegar
Step 2: Make a cleaning paste
While you can purchase a cleaner from the market, you can make your own grease-cleaning paste. To make this paste, create the following ingredients:
• One part of lemon juice
• One part vinegar
• Two parts baking soda
Step 3: Do initial cleaning
Clean your backsplash using the standard soapy solution and submerge the surface in the solution. Scrub it with a brush and then wipe the surface clean with a wet rag to get rid of all the soap suds and residues.
Step 4: Apply the grease-cleaning paste
Get a spatula and apply a thin layer of this DIY grease-cleaning paste you’ve created. Let the paste sit for about 30 minutes until it dries out. Pay close attention and apply more paste to areas with more grease.
Step 5: Scrub using a brush
Once the paste dries out, brush the paste off thoroughly, specifically in grease-filled areas. If you need to cover more surface area, either use a sponge or a bigger brush.
Step 6: Repeat steps 4 and 5 as necessary
If the grease is really persistent and difficult to remove, you can either let the paste sit for a longer time or repeat steps 4 and 5 until the grease stain is completely gone or as much as needed.
Step 7: Wipe the surface clean
Remove all the residual paste and grease by wiping the surface with a damp rag. Wipe the surface and be more thorough in the crevices and grout. Let it fully dry either through air dry or by using a dry rag.
Step 8: Apply a grout sealer (If needed)
Once the grout is fully dried out, apply one to two layers of sealer on the grout for extra protection.
Sealer is applied when your stone backsplash is newly installed but it needs to be re-sealed at least once a year to protect the material from moisture and other elements that can damage the material.
Grease is a challenging issue and there might be instances that your DIY grease-cleaning paste will not work or not be enough. You can either use other solutions or mix and match guaranteed ingredients and solutions. Some of these ingredients include the following:
• Baking soda (Baking soda + water) and let it sit for at least 10 minutes
• Strong de-greaser (If the mild detergent does not work but make sure to test it on a small out-of-sight section of kitchen addition) and follow the manufacturer’s instructions
• Toothpaste and scrub it with a toothbrush then rinse with a clean rag
• White vinegar and spray it on the surface then let it sit for at least 5 minutes before wiping the grease off using a warm damp cloth
How To Protect Backsplash From Grease
• Clean it regularly: A good defense is a good offense so by cleaning your backsplash regularly, you get to avoid grease buildup. And cleaning fresh grease is way easier than scrubbing off hard grease buildup.
• Immediately wipe spills: Make sure to wipe spills as soon as they happen to avoid the liquid drying out on the surface.
• Apply sealant at least once a year: Sealing is the best protection you can do for your stone backsplash but you need to re-apply the sealant at least every year to make sure that the protection is still effective. Make sure you choose the right sealant.
• Use a clear plastic guard (Or stainless steel overlay): This overlay will provide protection from food and liquid splatters and will make the surface smooth and oil-resistant.
• Use a stovetop liner: Made from a heat-resistant metal or plastic, this element can help catch any cooking splatters and splashes from the stove to the backsplash. A stovetop hood installed over it can also protect your backsplash but make sure that the oven hood is vented outside.
• Invest in a splatter shield or screen for pans and pots: Splatter shields, usually made from fine mesh, are used on pots and pans to stop food and oil splatters without restricting air circulation as you cook.
While the backsplash is installed to protect your kitchen walls in the first place, protecting your backsplash will help you save time and effort in the cleanup process and prevent frequent repairs and replacements, saving money too.
See more related content in our article about glass subway tile backsplash on this page.
To showcase highly specific designs, some images on this website use advanced AI-generation software to illustrate ideas and room inspiration. See our editorial policy to learn more.

Upload a photo and get instant before-and-after room designs.
No design experience needed — join 2.39 million+ happy users.
👉 Try the AI design tool now