Top 10 Shed Organization Hacks to Maximize Your Garden Tool Storage
Sheds are usually not given any second thought when cleaning and organizing the home. Technically, sheds are not part of the home’s structure but it’s still something you should work on especially if you’re keeping important stuff inside them. And with many items inside the shed, organizing them can be a bit overwhelming if you don’t know where to start.
In figuring out how you can organize your shed, one of the most practical ways to do it is to follow a specific system to help you with the task. With how quickly clutter can piling in a shed, it’s best to start as soon as possible. Face it, whatever you believe you don’t need right now but might need later, you throw inside the shed for “safekeeping”. The truth though is that you can do this in a cleaner and more organized way.
Quick Look – Shed Organization Steps
| Step 1: Clean Out Your Shed |
| Step 2: Decide What Stays And What Goes |
| Step 3: Sort Everything That Stays In Categories |
| Step 4: Create Zones Inside Your Shed |
| Step 5: Introduce Storage Solutions |
| Step 6: Maintenance (Keep Up a Cleaning Schedule) |
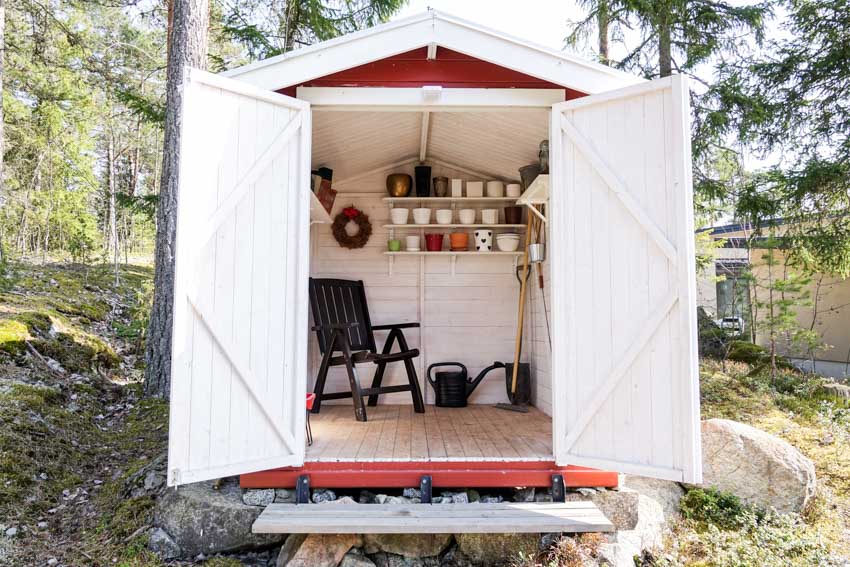
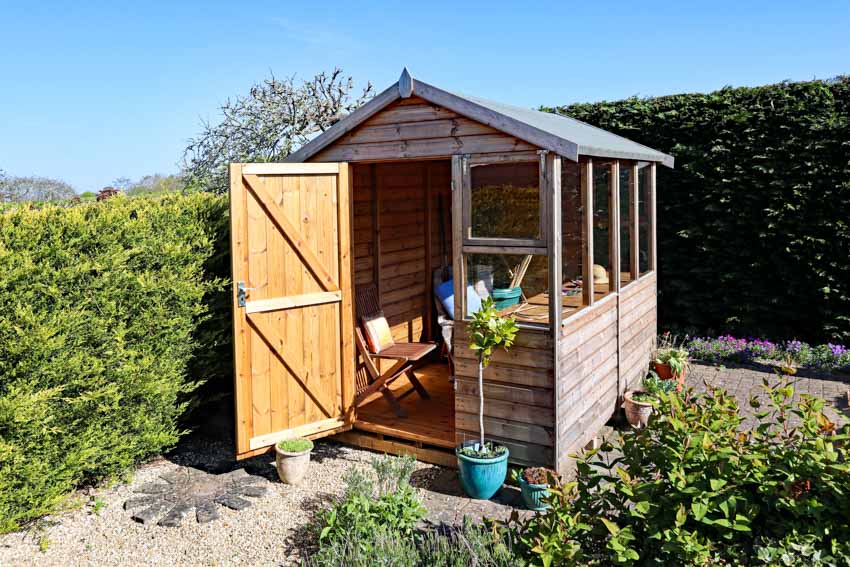
How to Organize a Shed
Sheds are excellent storage space for all types of items you have laid out at home. It’s the perfect hiding spot for seasonal items and old junk that is not operational anymore but has this sentimental value to you and your family.
And with this in mind, a pile of junk will definitely easily and quickly form. Before piles of junk fill your shed, here are clear and easy steps to follow to organize your sheds.
Step 1: Clean Out Your Shed
The first step to take when organizing your shed is to pull out everything from the shed. Once everything is out, start cleaning the shed itself before you put anything back inside again.
Remove all dirt you find inside and sweep the entire area using a broom. If you have shelves inside, move them outside and wipe them down. Leave the shed empty and let it act as a starting place.
While it doesn’t need to be bright and sparkle, make sure the shed is clean enough as the staging area before you even start dealing with everything you placed outside.
Step 2: Decide What Stays And what Goes
Organize everything in four piles labeled as Keep, Relocate, and Throw Away. And with the last group, decide which ones can be donated, recycled, and literally thrashed.
This step is a bit difficult to undertake, especially since there might be items that you will need to throw away but may have sentimental value. This will be quite an emotional rollercoaster for some since you will need to let go of some items even if you feel like you want to keep them. Be honest with yourself when deciding which items go to which categories.
In this case, one rule you can follow is that if you haven’t used an item in the past five years, get rid of it. And if you don’t know where to put an item then it’s probably best to get rid of it. This is the part where you need to be honest with yourself. Decide if you will be strict with this rule or be lenient with yourself. In general, try to follow this rule as much as possible.
Different types of sheds have areas that tend to have changing temperatures and the possibility to be exposed to a bit of moisture. Make sure you keep items in the shed that can withstand these factors.
Here are some items you should and should not store inside the shed.
| Keep | Do Not Keep |
| Wheelbarrow | Charcoal |
| Workbench | Clothing |
| Weedwhacker | Paint |
| Gardening Tools | Pet Food |
| Lawnmower & Other Lawncare Chemicals | Gasoline |
| Hose | Propane |
| Small Amounts of Gasoline (If far from house) | Soft Materials (E.g. paper towels) |
These are only examples of what items you can keep inside the shed and which ones are impractical to keep there. Get rid of items that can be affected by factors like changes in temperature and humidity.
Step 3: Sort Everything That Stays In Categories
After grouping the items into their piles, the next step is to focus on the items you decided to keep. And like what you did initially, group all the items on the keep pile based on their categories. Some of the categories you can use are the following:
• Holiday items (Christmas & Halloween decor)
• Gardening tools and supplies
• Outdoor toys
• Picnic needs
To help you keep the items organized, use stackable clear plastic bins. One bin will be dedicated to one category. Label the bins so that you won’t be confused with what you have grouped together. One way you can group them is by use like the following categories:
• Gardening Accessories
• Lawncare Needs
• Hand Tools
• Power Tools
• Long-handled Items
Whatever way you organize the items in your shed, the only thing that matters is that it makes sense to you and that you are comfortable with how they are grouped together.
Step 4: Create Zones Inside Your Shed
One of the best ways to be organized inside your shed is to designate zones for specific areas of the shed. For example, you can dedicate the left side of your shed to garden tools and supplies. Another way to do this is through cabinets and shelves. Designate a cabinet to be used only for a specific category.
This is the perfect time to create your own organization system to make it a lot easier and convenient for you to use tools and put them back where they belong. This will help you the next time you clean and organize your shed again.
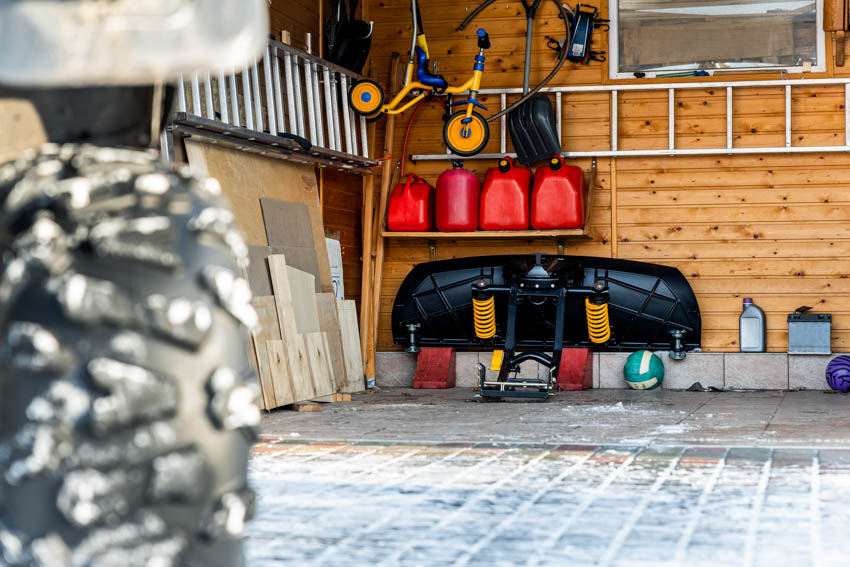
Step 5: Introduce Storage Solutions
Once you’ve designated zones, you can start introducing different storage solutions you can use in your shed. Make sure that you maximize your floor space as much as possible, which is why you should keep items and materials off the shed’s floor. Here are some of the storage solutions you can consider:
• Cabinets/drawers
• Shelving (Purchased or handmade)
• Peg-board Systems
• Utility Hooks
Make use of as much space in the shed as possible by using the vertical space and even the ceiling if there’s room there. Hanging items and materials on your shed’s walls will maximize its vertical space. This is the best time to be creative with how you arrange your shed, as well as how you decorate its interior.
Step 6: Maintenance
Maintenance is absolutely necessary if you don’t want to start all over again in organizing your shed. While it would be a great idea to conduct general cleaning every now and then, putting back the items you’re using to their respective places is basic but it’s also something that can help you keep your shed organized.
Use a regular cleaning schedule to help things from getting overwhelmed. This can be every other week or once a month depending on how often you use the space.
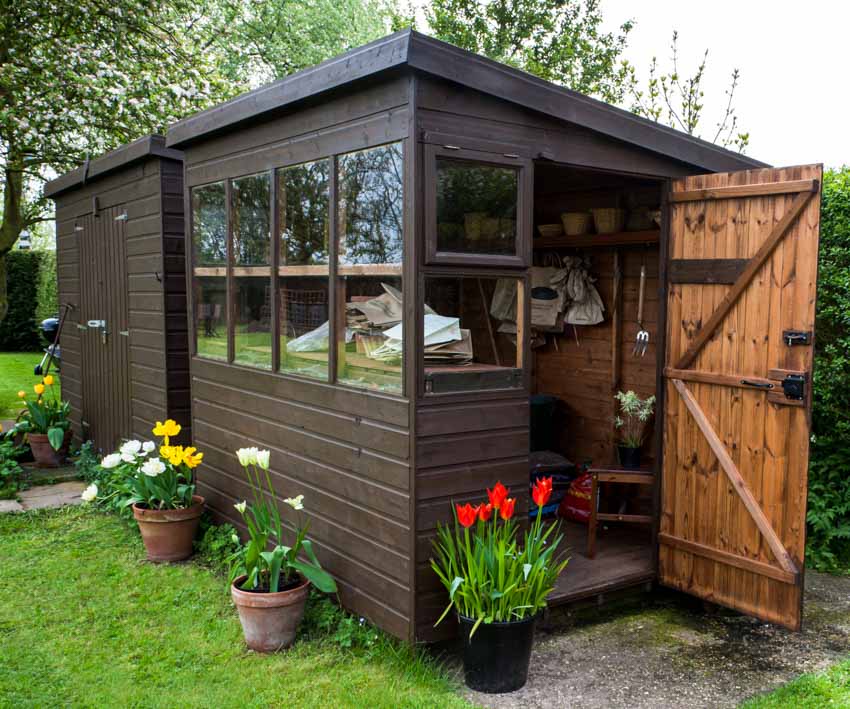
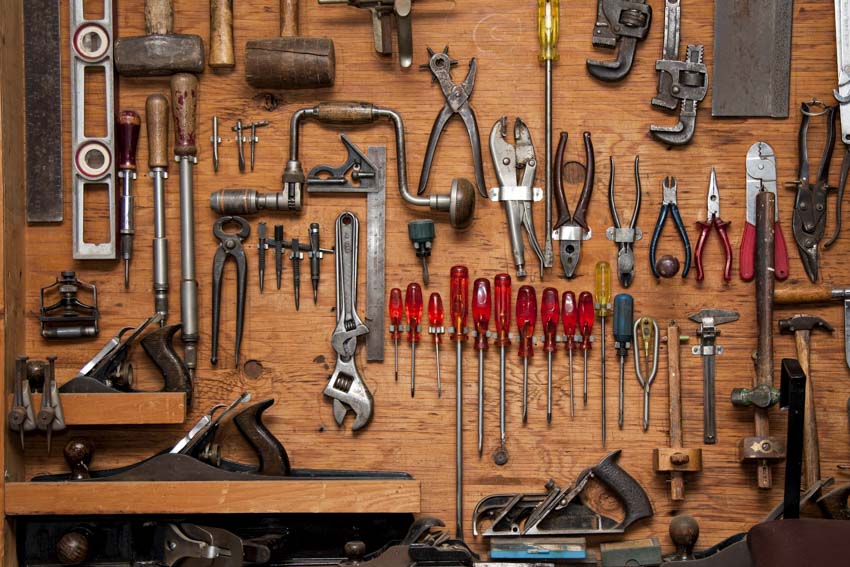
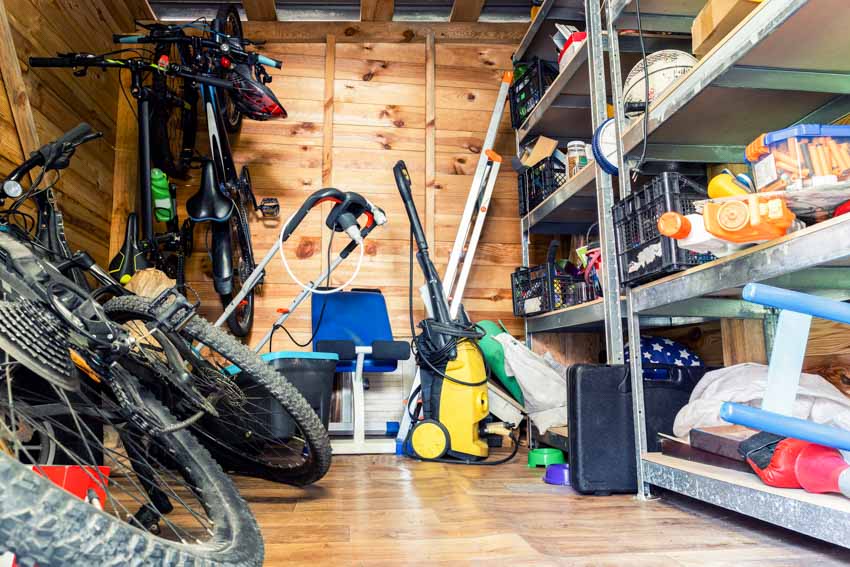
How To Organize Shed Tools
One of the most common ways to use your shed is to make it a home for your tools. From hand and power tools to long-handled ones, the shed is an excellent storage space to keep them organized and easily accessible.
The storage solution for tools can come in different ways and it will be up to you to decide which works best. The goal though is to maximize the space in your shed as much as possible. You can use one of the shed design software programs to help plan your tool and storage layout.
Here are some of the compatible storage solutions for your tools.
Magnetic Bar & Strips
These storage solutions can creatively and practically store your standard tools, from pliers to trowels. You can easily stick the tools to the magnet bar or strips for safekeeping. And it will also be easy to access them whenever needed.
The downside though is that the tools need to be metallic and compatible with magnets. In addition to that, you also need to make sure that the magnets are strong enough to hold the tools you place on them. This may be better suited to larger shed sizes as this will limit the tools you can place on this particular storage to handheld tools.
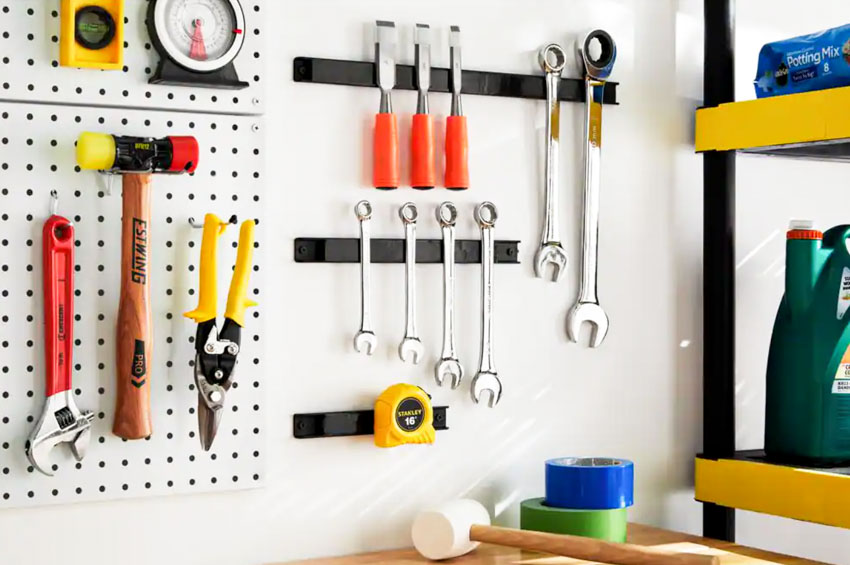
Pegboard

Another storage solution for your tools is a pegboard. While quite common, homeowners often underutilize this solution as an organizer. A pegboard allows more convenient and accessible storage for your tools.
It also doesn’t take up any floor space since it is mounted on the wall. It can even function as an additional decorative element in your shed. The downside with this organizer is that standard pegboard hooks won’t be able to accommodate heavy and long-handled tools.
Storage Rack
A storage rack is a flexible storage solution that can accommodate all types of tools, from handheld and long-handled ones to power tools. This compact organizer is most often sturdy and strong so that it can keep heavy tools like drills off the floor. And the best thing about it is that you can customize and build your own.
Tool Hanger
Perfect for long-handled items like brooms and rakes, you can keep them off the floor space by hanging them on the wall instead using this storage solution.
Wood Pallet & Mason Jars
For a rustic storage idea, build wooden pallet organizers for your hoes and shovels and use mason jars to store small items like paint brushes. With a wood pallet, you can easily hang them on the wall. With mason jars though, ideally placing them on shelves is better since they can also add to the aesthetics of the shed.
Plastic Tubs
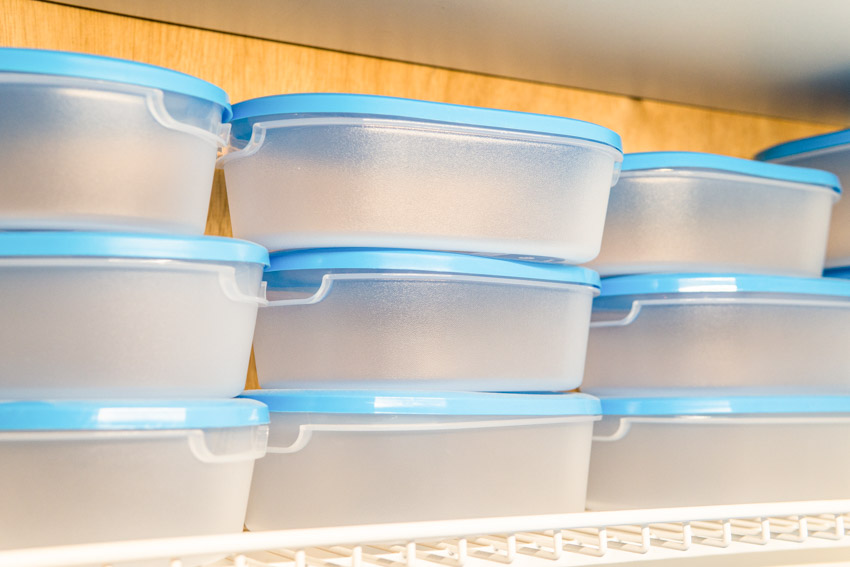
If you prefer something light, convenient, and easy to purchase from the market, you can organize your tools in plastic tubs instead. They are the perfect storage containers for cables, cords, and yes, even tools.
Make sure to label the tubs, especially if they are not transparent to avoid digging through all of them just looking for a particular tool. There are many other options you can use for specific types of tools. You only have to explore your options and be open to unique ideas.
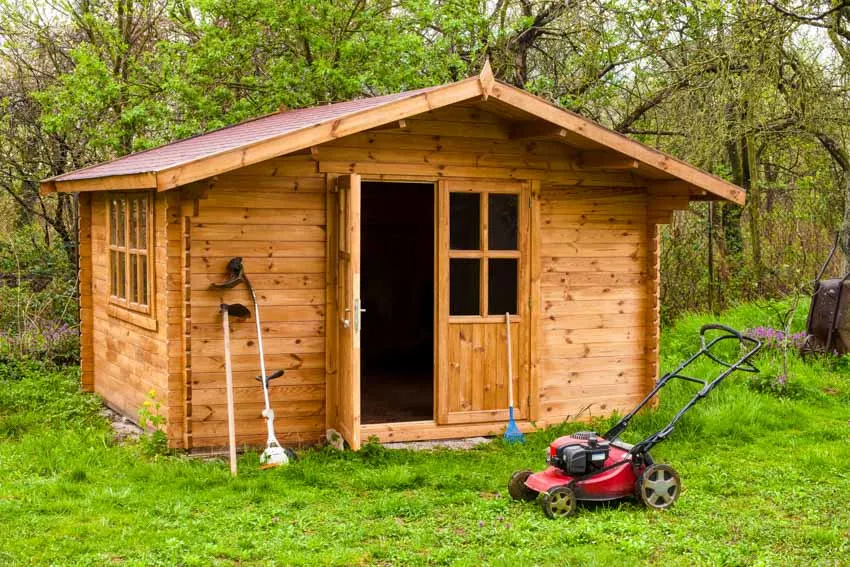
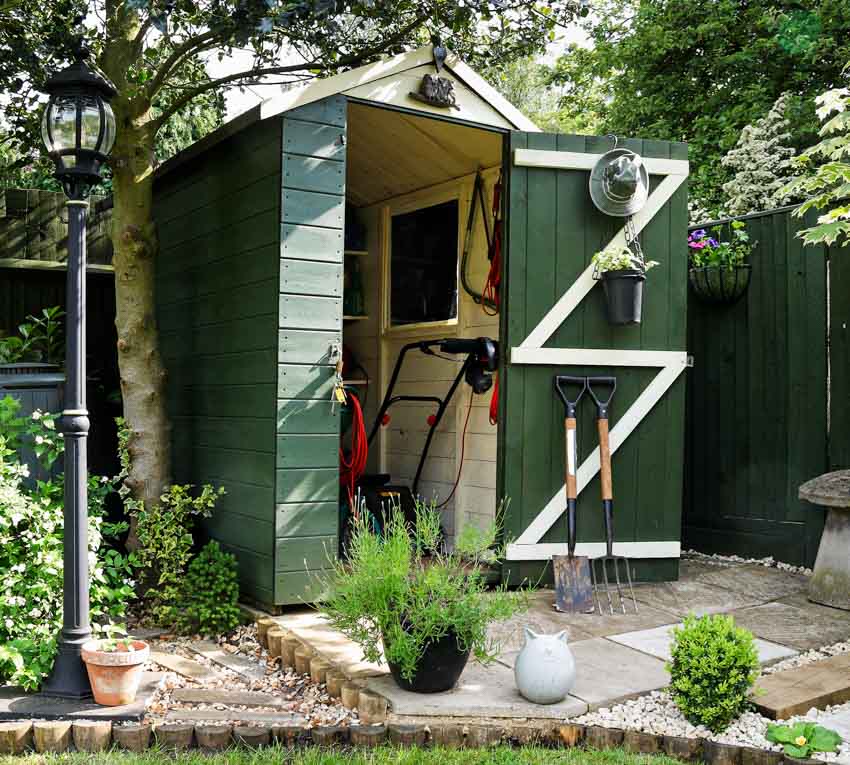
Garden Shed Organization
Many homeowners use the shed as storage for all their garden tools and supplies. This is not surprising considering you would want to make them accessible to you every time you tend to your garden. And nothing’s more accessible than a shed in your garden itself. Check out these organization solutions you can do for your garden tools and supplies.
Use An Exterior Wall: Using your exterior wall to add storage solution to your shed is a perfect way to organize garden supplies and tools. It is known as one of the most underrated storage options, especially since the exterior walls and even the back of the shed’s door are rarely used.
One suggestion you could look into is to create an organizer with a slat wall panel. You can easily integrate hooks and baskets if needed.
Garden Hose Holder: When talking about garden tools and supplies, keeping and organizing a garden hose is tricky. You can make a DIY garden hose holder though if you’re not liking the options you have when storing this garden tool.
Using a few screws and leftover wood, you can build a holder that will guarantee your garden hose remains off the floor space and is knot-free. You can also use hooks, PVC pipes, and even shelving units if you want.
Potting Bench: Building a workbench or a potting bench can be your perfect little spot inside the toolshed where you can still work on your plants even when it’s raining outside. This bench can serve as a shelf in itself but make sure you keep it clean and organized while working on the bench.
Gardening Drawer Organizer: A gardening drawer organizer would work fantastically with your toolshed and you can design it in however way you can. You can label each drawer in order to account for the types of garden tools you are keeping in them.
The great thing about drawer organizers is that they are affordable and may come around $2 to $5 each, depending on the sizes and shapes. You can keep your gardening gloves, scissors, and tape measure in these drawers.
Shed Organization Tips
Now that you have several ideas to consider for different tools and garden items and supplies, there’s still a bit more you can do for your toolshed. Here are some organization tips you can try and check out.
Make the most out of using shelves: There are different kinds of shelves you can consider and whatever you choose, they will definitely provide you with enough space to store items in your shed.
And whether you’re into DIY projects and building your own shelves might be tempting for you or you prefer going it easy with ready-made shelves, you can choose whichever is convenient for you. If you’re wondering which shelf to use, here are some of the ideal kinds of shelves you can install in the toolshed.
• Open Shelves: Wall-mounted, this type of shelves frees up floor space while providing additional storage space you can use. Its design also makes the toolshed look bigger and more spacious.
• Free Standing Shelves: The simplest way to add storage space, this type can accommodate even bulky items and tools in it but make sure that it’s properly bolted and attached to the wall to guarantee its stability.
• Wire Shelving: This type of shelving allows the light to come through that makes it easier for you to find and access things. It is a good option if your toolshed is somehow exposed to a bit of moisture since it withstands better with this element compared to wooden shelves.
• Adjustable shelving: Using adjustable shelving in your toolshed will be very convenient especially if you hate clutter. You can move the shelves up and down to accommodate other items better and take them out when not needed.
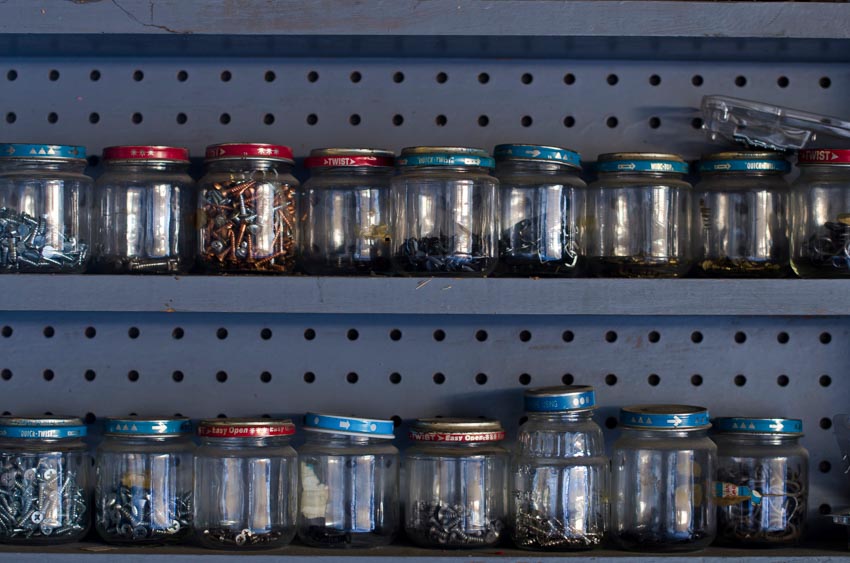
Store small items in jar organizers: Jar organizers may seem too small for storage space but they are just perfect for smaller items that have the tendency to get lost in the clutter. Store screws, nails, bolts, and tacks in these jars so that you won’t have to hunt for them by the time you need them.
You can use existing and unused jars you have at home so you won’t have to spend money to purchase new ones. Most of these jars are also transparent and while you can always label the containers, you will be able to see the items through the jar themselves for convenience.
Repurpose your unused bookshelves: Do you have an old bookshelf just hanging around and collecting dust? Take it out into your toolshed and repurpose it. Depending on its condition, you can paint over it or take out these types of shelves to install them on the wall. If it’s in good condition though, you can relocate it to your garden hut and use it for additional storage where you can place your jars.
Make use of the toolshed’s ceiling: One of the overlooked areas in the toolshed is its ceiling. While the walls are usually widely used, the ceiling is normally ignored where you will only see a lighting fixture.
If you have a high ceiling though, you can actually use it for additional storage space. How? You can add a loft in the toolshed, which will actually provide another area in your space.
You can easily add totes and boxes in the loft instead of having them cluttered on the floor space. Another way to have additional storage space in the ceiling is to install ceiling racks for pipes and boards.
To showcase highly specific designs, some images on this website use advanced AI-generation software to illustrate ideas and room inspiration. See our editorial policy to learn more.