17 Ways To Cover Countertops Without Replacing
Here are the most popular solutions for covering your countertops efficiently.
Stone Overlay

Upload a photo and get instant before-and-after room designs.
No design experience needed — join 2.39 million+ happy users.
👉 Try the AI design tool now
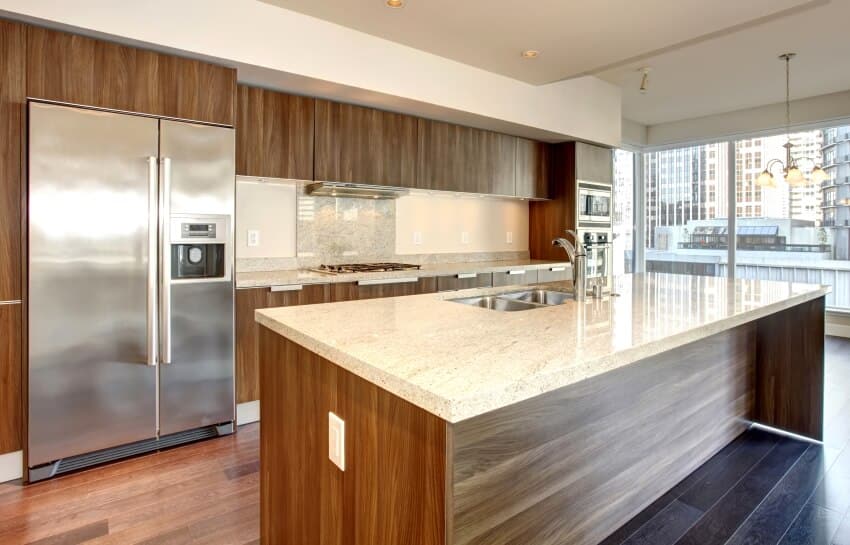
Stone overlays are massive, precast pieces of stone material that cover your current countertop. It is exactly what the name implies: you overlay a new stone surface over your old countertop. As a result, your surfaces will seem pleasant and appealing once again. Such overlays are often thinner than normal stone slabs. The lightweight counter covering is then placed on top of your existing stone materials.
Stone overlays are a great choice, particularly in terms of appearance and durability. However, they need to be periodically sealed so you can protect them against stains.
Aside from that, you will need a reliable and durable counter surface that can withstand the overlay for this to operate. Even more importantly, this basis must be level and free of variance.
This is due to the fact that the overlay is usually delicate, and any variance will have an effect on it. Check out our guide to the types of countertop overlays for more related articles.
Wood Overlay
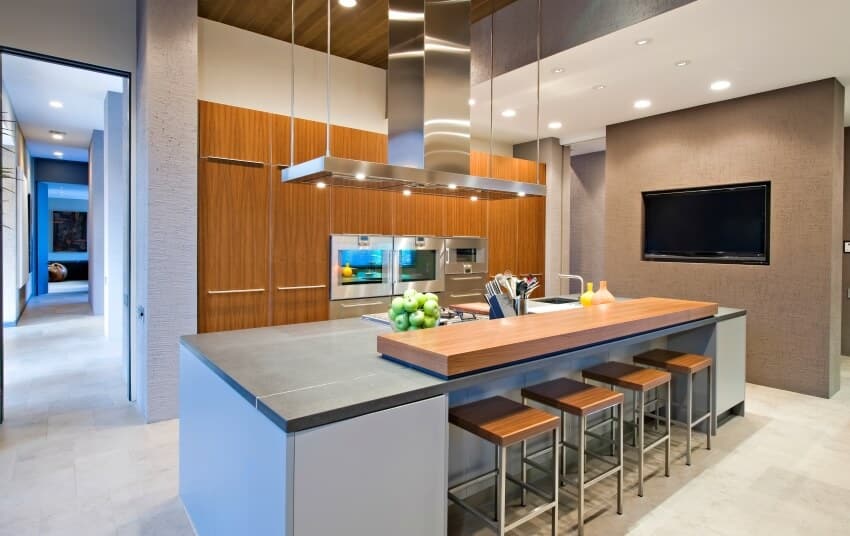
If you have always desired a butcher board countertop or are attracted to the elegance of a natural wooden counter, now is your time to achieve that appearance. Yes, you can effortlessly cover your old countertops with broad planks of solid hardwood or bamboo plywood.
Solid hardwood is no doubt long-lasting. It is more resilient and fixable than plywood (because of its thin top veneer covering). However, plywood is less costly and available in larger portions.
Bamboo plywood, on the other hand, combines the best of both worlds. This material features a stronger top layer than plywood (for longevity and maintenance), yet it is available in 4-by-8-foot sheets like ordinary plywood.
This is a very personalized remodel that necessitates some fundamental woodworking abilities and equipment. Generally, you trim and attach the major surface pieces to suit the original counters.
Afterward, to cover the multilayered edges of the plywood, you add a front edge constructed of the same material or employ a solid hardwood edge. The wood coating must be well-sealed or waxed for discoloration and water resistance.
Tile Over the Countertop
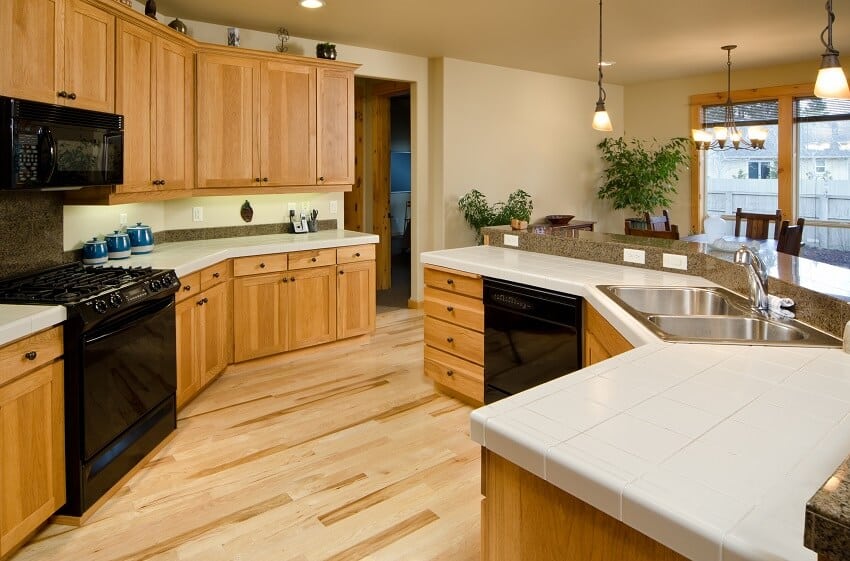
Tile is excellent for covering a variety of surfaces, including walls, floors, and bathrooms; thus, there is no reason why you cannot use it to cover your old surface.
Glazed porcelain and ceramic tile are the most stain- and heat-resistant, available in a large selection of sizes, styles, and patterns. Genuine stone tile can also be used for this purpose, but it should be sealed regularly to prevent stains.
Tiles can be placed right on top of old materials as long as they are level and sturdy enough to keep the new tiles from breaking. If your counter can handle a bit of excess thickness, you can begin with a layer of 1/4-inch concrete board attached to the surface before laying the tile on top.
Indeed, tile countertops are incredibly resilient and easy to maintain in nature, but the grout seams can be vulnerable to discoloration and accumulating dirt. To avoid staining and deep-set gunk, seal the grout as quickly as possible after installation and re-apply the sealant every few years, as the tile maker advises.
Laminate Over the Countertop
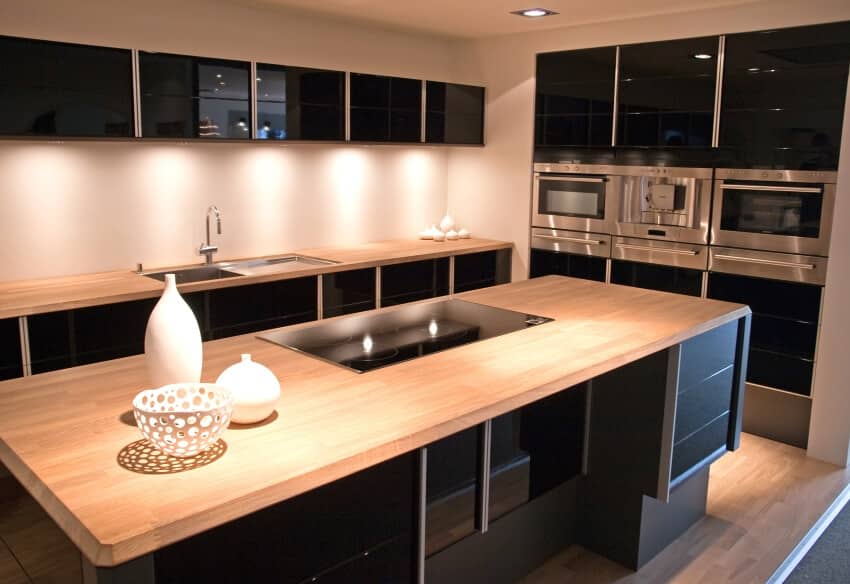
If the countertops in your kitchen are old laminate counters with square edges, you could overlay them with a revamped layer of laminate, available in sheets up to 5 feet in width and 12 feet in length.
If your surfaces feature an elevated and rounded edge, also known as a waterfall edge, you cannot cover them with new laminate since the new surface will not adapt to the edge curves.
The procedure of re-laminating is comparable to that of creating new personalized laminate countertops. You cut the panels or sheets slightly larger than usual and stick them down with a contact concrete mixture.
The edges are then flush-trimmed to the old surface with a router or laminate cutter. The outcome would be a productively redesigned counter. The new layer also provides less than 0.125 inches of thickness.
Countertop Refinishing Kit
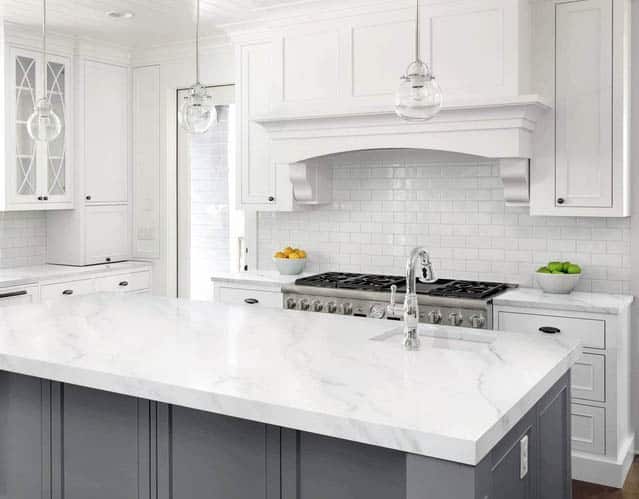
Countertop refinishing kits can be considered as enhanced paint. To achieve the appearance of genuine stone, these kits comprise epoxy-like paint and ornamental stone pieces. Most of these kits to refinish are intended to resurface outdated laminate.
Indeed, refinishing kits provide everything you could want to cover a regular-sized counter, including the front border. The entire technique is simple and non-technical, but it does require some intense effort, messy sanding, and close emphasis on accuracy. For best results, follow the manufacturer’s directions for best results.
Concrete Skim Coat
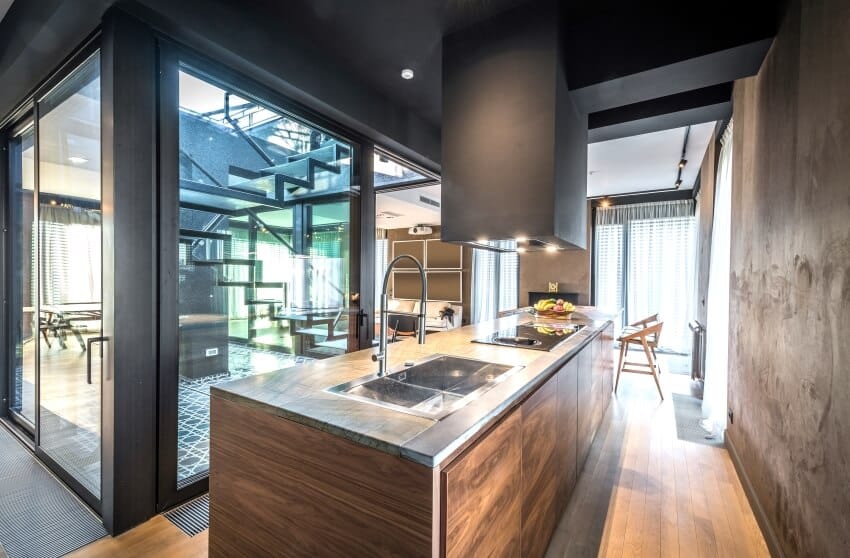
Many homeowners like the appearance of concrete slab countertops but are not willing to put in the time and effort required to set up a cast-in-place slab.
However, you may achieve the same appearance and effect of solid concrete by applying thin layers of cement-based floor balancer or flooring underlayment to your old countertop. In short, a concrete skim coat.
After sanding up the previous counter surface with sandpaper to establish appropriate adherence, you can use a trowel or a drywall cutter to administer repeated thin layers of cement leveler. For a lustrous finish that cleans effortlessly and inhibits stains, the ultimate coat of cement requires a food-grade sealant or, if preferred, a high-quality wax.
A faux-concrete layer is not long-lasting and is susceptible to damage and stains. However, this would be a simple and economical solution for individuals who like the aesthetic of concrete. Employ this cover-up procedure cautiously and with forethought since it may need more labor than anticipated.
Peel and Stick Countertop Film
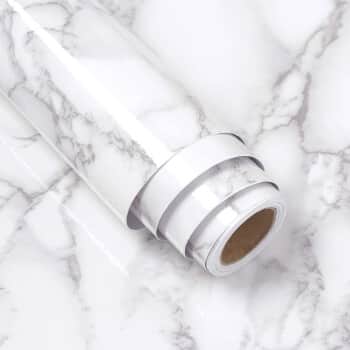
Peel-and-stick countertop film is actually a thicker, more durable variant of contact paper. It resembles a hybrid of vinyl floor and shelf paper, plus it has a self-adhesive backing so that it can adhere right away to your surface.
A do-it-yourself peel-and-stick film, often built with a PVC-based substrate, can be a great solution for minor fixes, but it is not a long-term remedy to an outdated design. Nevertheless, because these materials are detachable, they are great for tenants or while you are looking for new countertops.
It is worth noting that commercial vinyl wrap services are also offered, and they can be a long-lasting method to cover counters. A note of warning: never use a peel-and-stick product on damaged and dirty surfaces; they must be smooth, level, and clean to adhere properly.
The installation procedure for the film is, predictably, time-consuming. However, it is no more difficult than placing contact paper. Put out the film, cut it to your needed size, and fit it to the countertop’s corners to attach. Next, stick it down slowly, working away from the tiny bubbles as you get further, using a squeegee instrument.
Countertop Adhesive Cover
An adhesive cover would be a smart option, providing a dull-looking kitchen with a fresh and revamped look. It can produce a transformational impact with various effects, such as granite, stone, marble, or wood.
Paint the Countertop
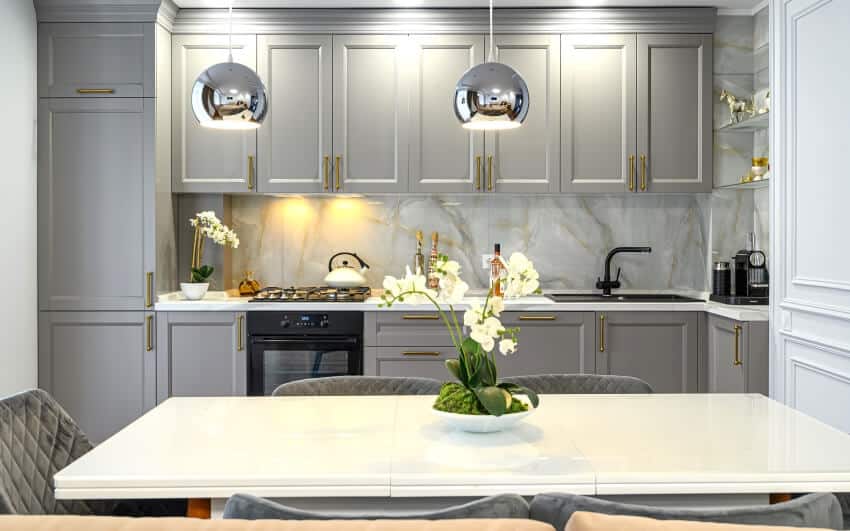
To give a second meaningful life to your countertop, you can always choose to paint it. You can either paint it using a spray or roller brush.
Painting your surfaces using a sprayer is quick and results in a seamless surface that a paintbrush or roller painting cannot surpass. Spray painting is ideal for laminate counters and other materials that can be sanded down.
Because glossy paint exposes scratches, it is advisable to use spray paint with a matte finish. Uninstall the sink and all of the fixtures connected when doing the spray-painting process. To minimize smells and splatters in your kitchen, relocate the entire countertop outdoors if possible.
Paint your surface in the same manner you would paint any plastic-made surface. Sand the surface gently using fine-grit sandpaper. Remove any dust. Afterward, spray on at least 3 or 4 coats, letting each coat dry completely before proceeding to the next.
However, if you are not a fan of spray paint, you can also paint your surface with a roller and acrylic paint. Scrubbing a kitchen countertop and cleansing it with soap and warm water, rinsing and leaving it to dry, then gently sanding would be a good starting point to prepare it for painting.
You might not need a primer if you use specialty paint, but you will need to prime if you use acrylic paint. Use the roller to administer the paint; acrylic paint will require two coats, and you must follow the manufacturer’s directions when using specialty countertop paint.
A special resin can be used to protect the acrylic paint. For this activity, make sure the space is sufficiently ventilated. Read more about how to paint tile countertops here.
Contact Paper
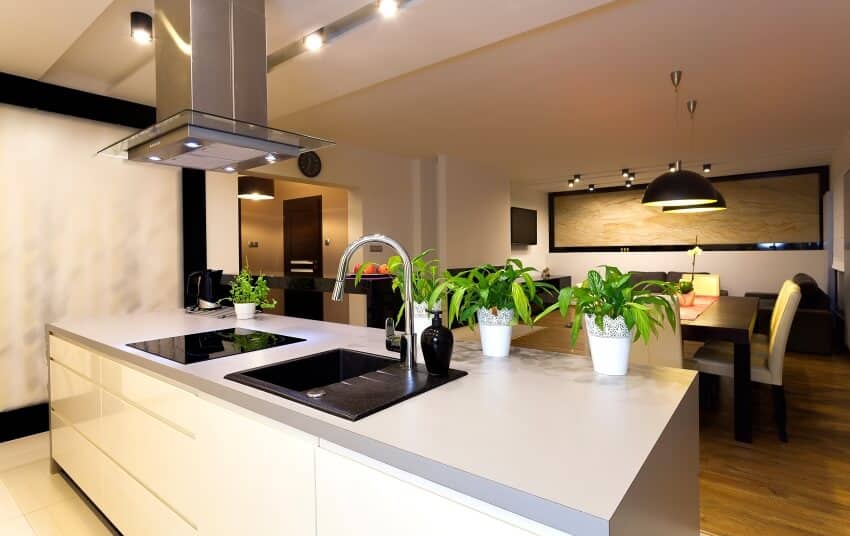
Contact paper is an inexpensive method to modify your countertops, particularly if you are a tenant who cannot make any permanent modifications. It is a temporary solution for covering kitchen countertops. It would be a wise pick if you are saving for new designs but want to enhance the aesthetic of your kitchen temporarily.
You can purchase ample contact paper to cover any flaws, trial cuts, and coordinate a design or arrangement in the print. Moreover, unless you discover an extra-wide roll covering your whole countertop in one shot, you will probably have to prepare for a seam and lay two rounds of the paper.
The contact paper will not adhere to your previous countertop’s unlaminated underside. Hence, it is recommended that you apply waterproof glue to attach these sides, or else the paper will only strip off. Apply a couple of tape strips to keep the contact paper in position while the glue dries.
The composition and durability of contact paper differ considerably. Although certain contact paper claims to be water- and heat-resistant, others can be quickly degraded and torn. Its heat resistance can normally be up to 170°F, so do not put a pot of boiling water directly on it.
However, it should be fine for most other regular kitchen tasks. It is also water-resistant, so you may clean as usual without fear of inflicting damage.
Contact paper is not always the most durable covering; if you do not prevent scratches and dings, those areas will accumulate dirt and begin to tear out. Contact paper is a low-cost technique to experiment with new kitchen trends such as marble or varied stone tones. However, it will not last in the long run.
How To Cover Kitchen Countertops Quickly
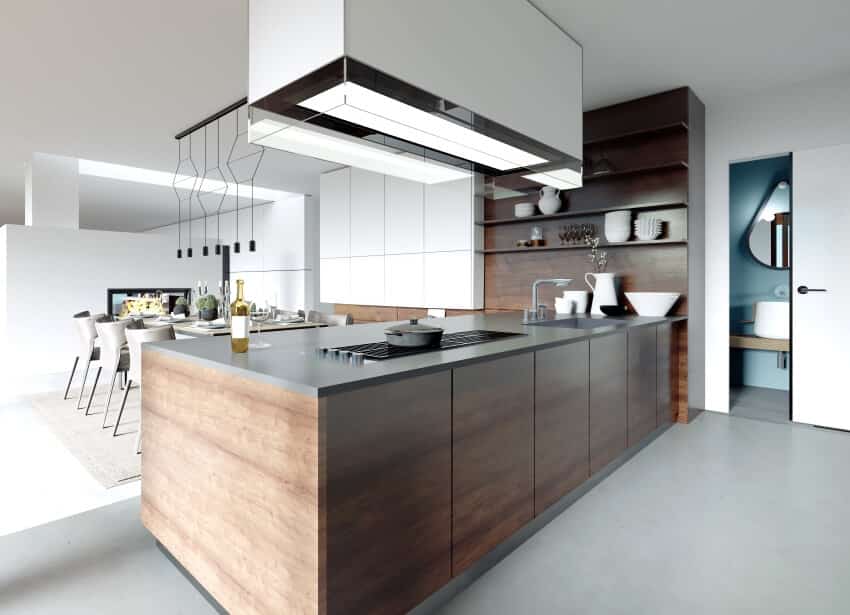
Covering methods such as placing peel-and-stick sheets or contact paper on your kitchen countertops are the quickest and least time-consuming ways of covering old surfaces.
If you are a fan of DIY projects, here are the other ways how you can cover your kitchen countertops quickly:
Varnishing
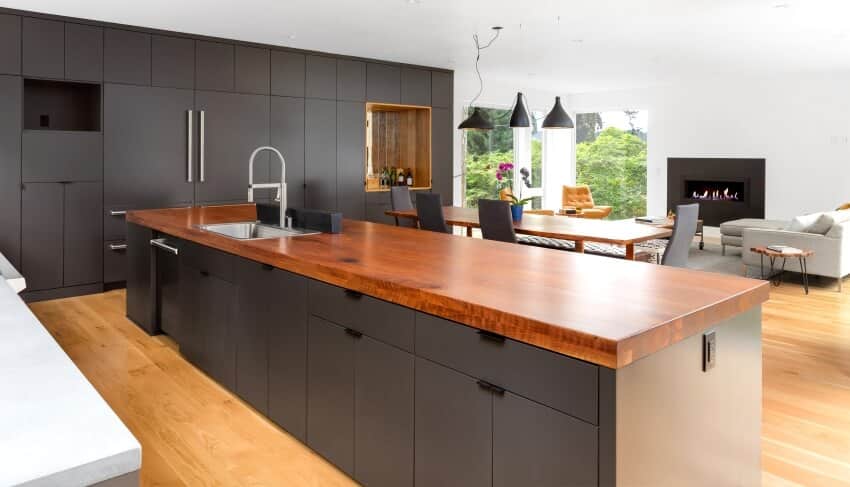
If you have wood kitchen countertops, a fresh layer of varnish may be all that is required to make your kitchen feel a little more pleasant. You might use a richer and deeper varnish instead of the one you normally use, or you can sand down your surface and use a lighter and more subtle varnish.
Laminating
You can laminate your countertops for a wonderfully clean and updated look. It is indeed a terrific alternative if you are remodeling your kitchen while being on a limited budget.
There is now a wide range of shades to select from. While it may be enticing to pick the cheapest one available, we highly suggest focusing on finding the highest-quality laminate model.
Laying Modular Granite
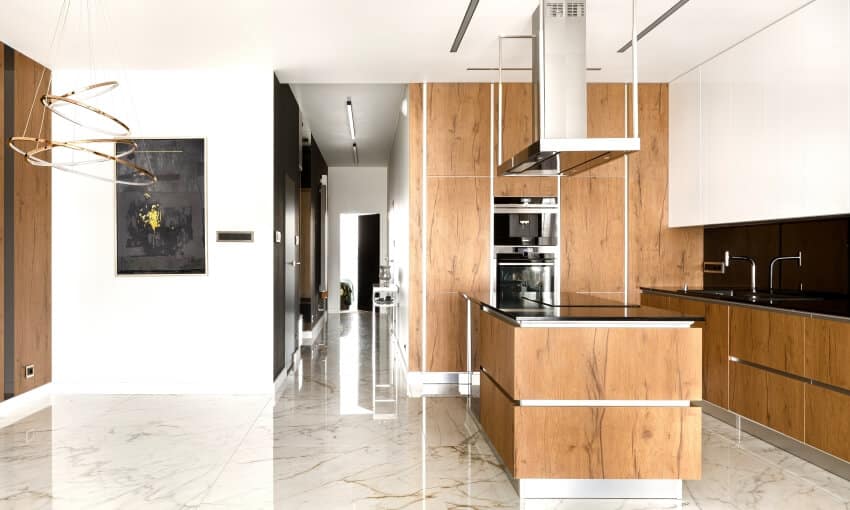
Installing modular granite will be a great option if you are conversant with ceramic or stone-tile-laying methods. It is often known as granite or stone veneer, which is a structure of compact, thin stone slabs engineered to cover outdated counters.
Since modular granite is a thinner slab than solid slab granite, it could be trimmed with standard saws and drilling equipment.
These mini modular granite slabs are typically 12 inches in width and 24 inches in length, which corresponds to the depth of a regular base cabinet. The parts are lightweight enough to be handled by one or two individuals for do-it-yourself installation. The process can be finished in no time.
Wrapping in Metal Sheets
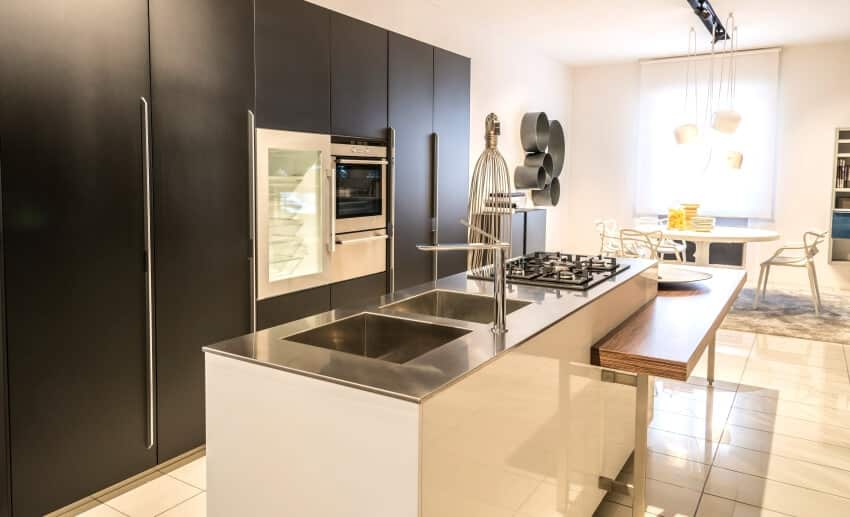
Again, this method would be a quick and easy project for experienced do-it-yourselfers. But overall, the only thing that makes this method a bit hard is that you are going to use heavy-duty equipment and materials.
However, the installation itself is not that hard. Metal sheets can be used to wrap countertops. It appears especially attractive on a kitchen island if you use hammered copper – check for sheets at home improvement stores or specialized retailers.
How Do I Update my Countertops on a Budget?
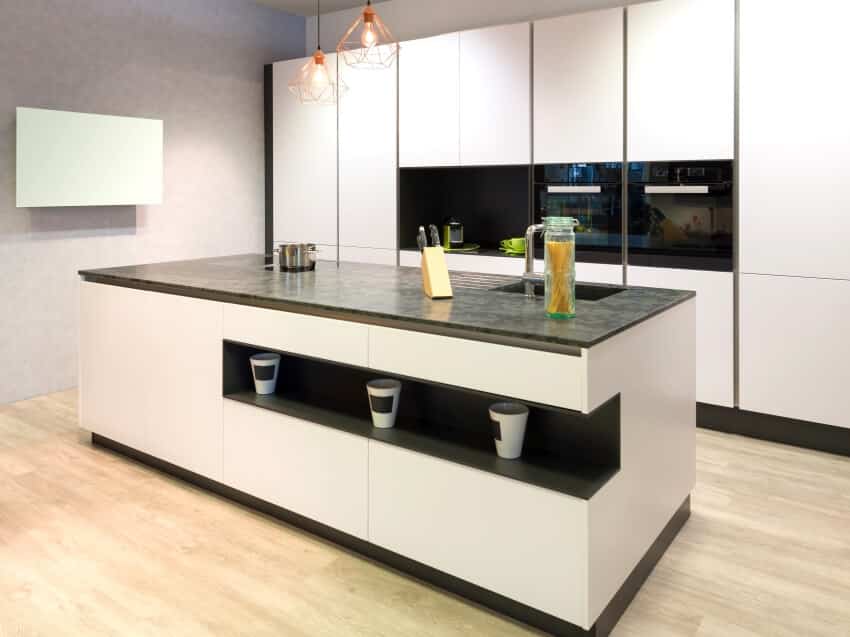
Here are some cheap ways of updating your countertops (under $100!):
Painting and Finishing with Polyurethane
Many do-it-yourselfers have painted their counters and are completely delighted with the outcome. It is a fast and simple solution to refurbish countertops that will cost you under $100.
The things you will only need are sandpaper, painting tools, your preferred paint, and a sealant. One tip for extending the life of your paint is to use a heavy-duty polyurethane finish and apply it abundantly.
Creating a Faux-Concrete Finish
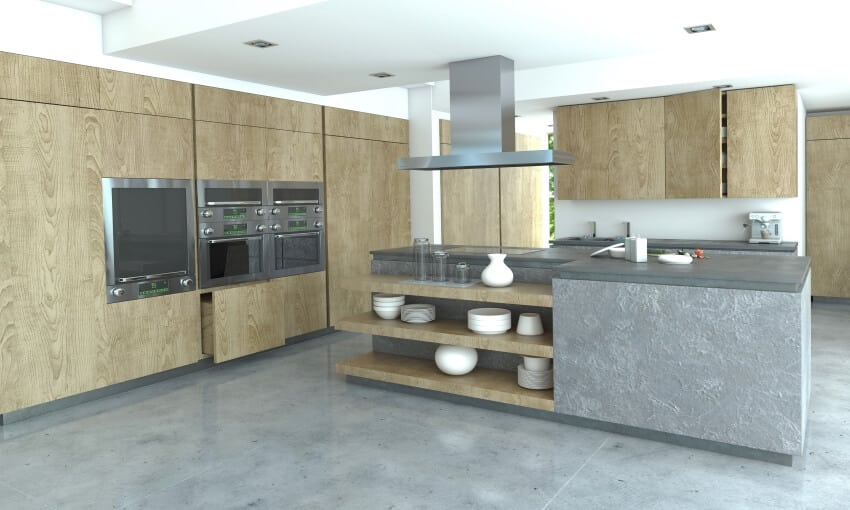
Pouring cement countertops is difficult, but concrete can always be replicated. Some DIYers have discovered a method for applying a cement coating on old applications, providing you with the appearance of a genuine concrete slab at a small cost.
A 10-pound container of feather-finish cement costs $36, and a food-safe cement sealant costs $30. Even with extra items like sandpaper and trowels, your overall cost will still be less than $100.
Buying and Installing Refinishing Kits
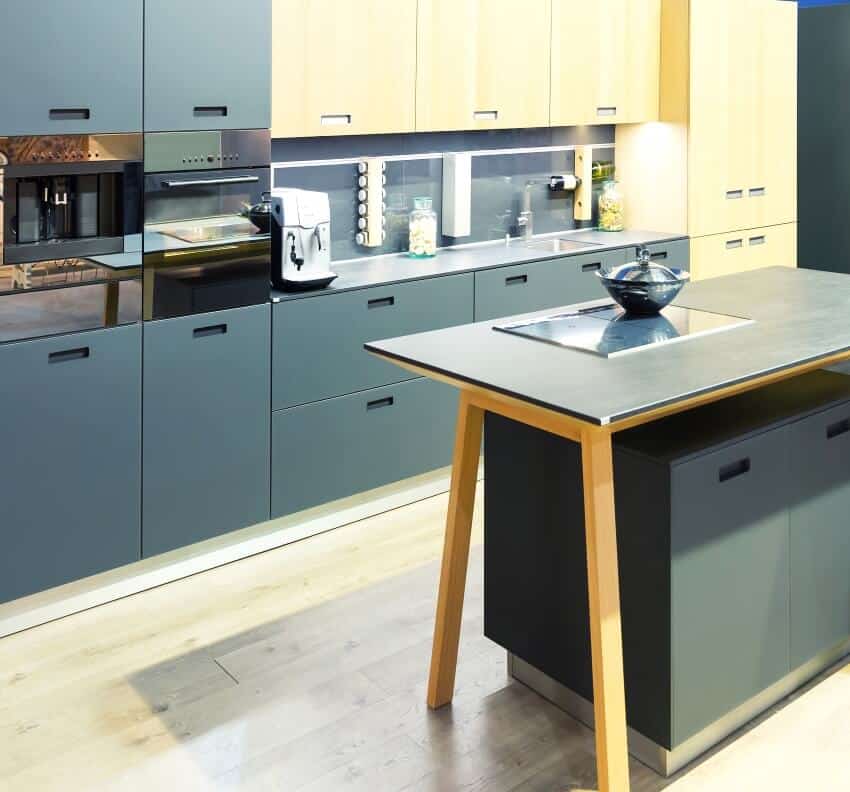
If you do not want to purchase dozens of new DIY equipment, a countertop refinishing kit contains all you need. There are high-quality refinishing kits available in many colors and designs for as low as $80!
The package has everything you need to finish a three-step painting process on top of outdated laminate, polished marble, or ceramic tile. The paint included in these sets will even conceal scratches, marks, and scuffs. The final outcome will be gorgeous countertops that look like natural stone, granite, or marble. Visit our epoxy kitchen countertops guide for more related content.

What can be done with a textured laminate countertop? It’s basically “bumpy” feeling.