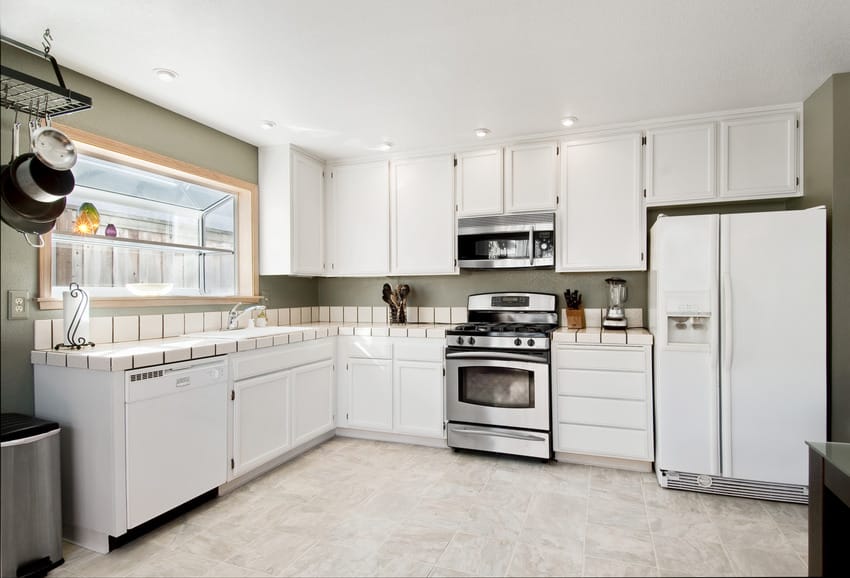
Painting Kitchen Tile Countertops
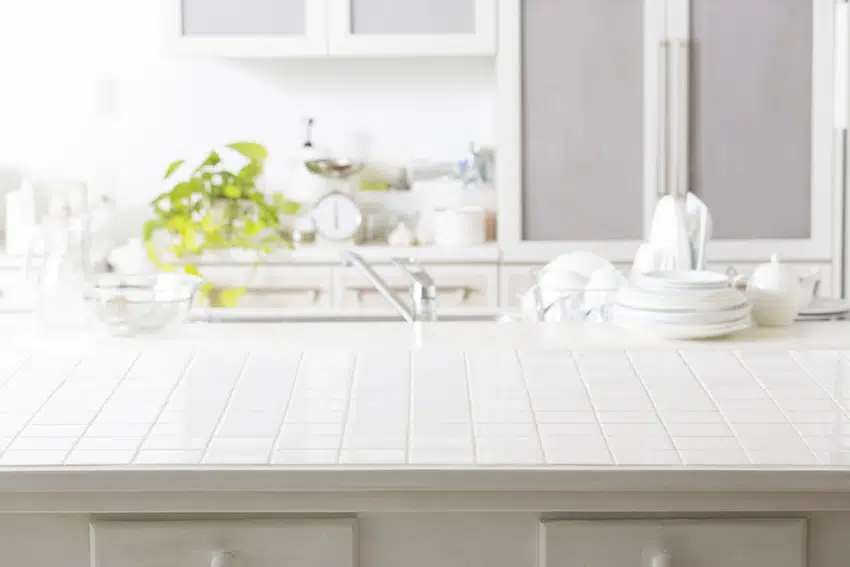
In an age of chrome, silver, and black, having a pastel-colored tile countertop is enough to stimulate the urge to give the kitchen countertop a makeover. One can always go down the expensive countertop replacement route or choose something more practical yet equally effective. Painting, including kitchen tile countertops, is one of the easiest and most affordable ways to breathe life into any surface. One only needs to understand a few things about painting tile before being well on the way to improving the kitchen’s aesthetics. Here, I’ll show you how painting can transform the look and refresh your kitchen. [toc]
How to Paint Kitchen Tile Countertops
Painting kitchen tile countertops is different from coloring other surfaces. Ceramic tiles have a glazed, smooth surface that allows for effortless washing. Unfortunately, ceramic tiles also stain and shed dirt easily.
If one uses ordinary paint, there is a chance the pigment will not adhere to the tile’s surface and lead to peeling. That is why painting kitchen tile countertops requires adequate surface cleaning and preparation to ensure a more robust paint adhesion to the surface. Only then can one expect to retain the countertop’s new color for an extended time.
Materials Needed
Anyone who paints the kitchen tile countertop must prepare the following materials.
Cleaning Tools – Cleaning the tiles is the first step. The materials and tools needed for this step include mild dish soap, a sponge, household bleach, household ammonia, and a small stiff-bristled scrub brush or an ordinary toothbrush.
Surface Preparation Materials – Preparing the tile surface requires a 400-grit to 600-grit sandpaper and an orbital sander or sanding block. Homeowners also must have blue painter’s tape, tack cloth, and plastic sheets or old newspapers.
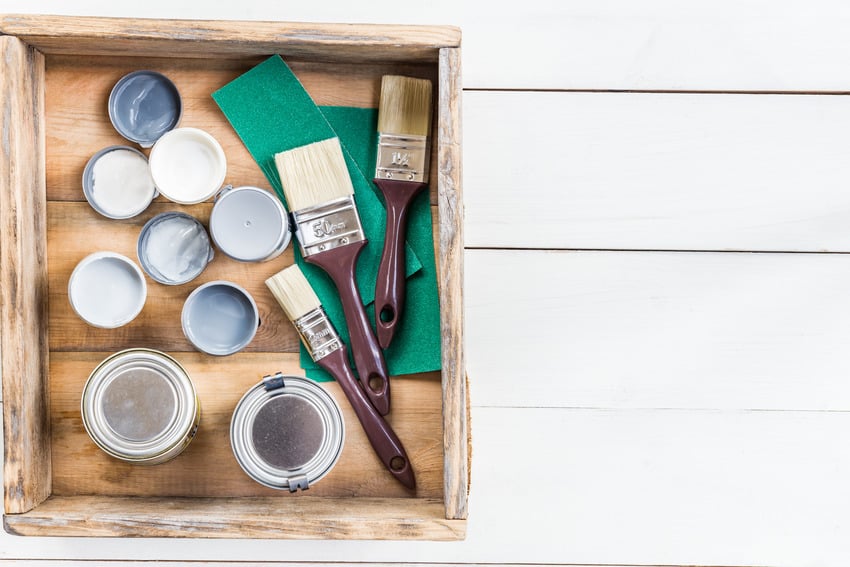
Painting Tools and Materials – The last step involves the application of a primer , and one’s chosen paint color. One needs a paint roller, soft-bristled paintbrush, and paint tray. Homeowners also need an appropriate primer, oil-based paint, clear urethane, and mineral spirits.
Tile Cleaning Steps
Clear the countertop – Clear the countertop of everything, including small kitchen appliances, utensils, accessories, and any others. Remove all items in the immediate surroundings, too.
Create a cleaner – Make a solution of warm water, a few drops of household ammonia, and mild dish soap.
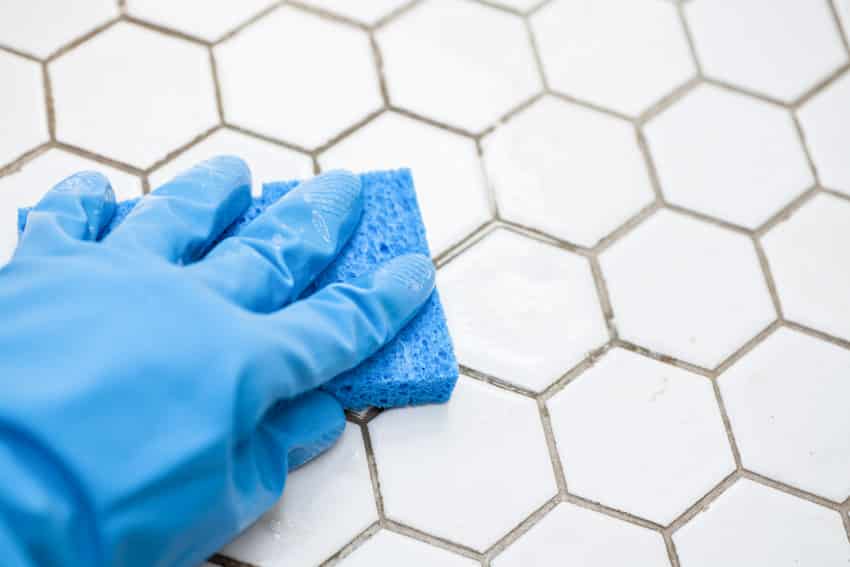
Clean the countertop – Clean the countertop and the backsplash using this cleaning solution, a scrub brush, and a sponge. One can use a toothbrush to remove grime on the grout and hard-to-reach surfaces around the sink.
Rinse – Rinse the tile countertop with clean water before drying.
Repeat if necessary – Check the countertop for signs of stubborn grease or stain. Rewash the countertop if you see any of these imperfections.
You might want to use household bleach if you see mold and mildew growth. Rinse and dry the countertop.
Preparing the Tile Surface
Once dried, the tile kitchen countertop needs to undergo surface preparation. This step ensures proper primer and paint adhesion to the tiles.
- Wrap 400-grit or 600-grit sandpaper around a sanding block and scuff the countertop surface. One can also use an orbital sander to hasten the surface preparation.
- Rinse the tile countertop with clean water before allowing it to dry. Use a tack cloth to remove any remaining residue from the sanding process.
- Cover the sink, kitchen walls, cabinets, and other large items and areas with plastic sheets or old newspapers. The homeowner must cover any object s/he does not want to paint.
- One can use blue painter’s tape to cover smaller kitchen items and sections one does not want to be painted.
Priming and Painting Tile Counters
Applying a primer is essential to ensuring a longer-lasting paint color on kitchen tile countertops. That is why it is crucial to use only a primer suitable for ceramic tiles, ensuring optimal pigment adhesion.
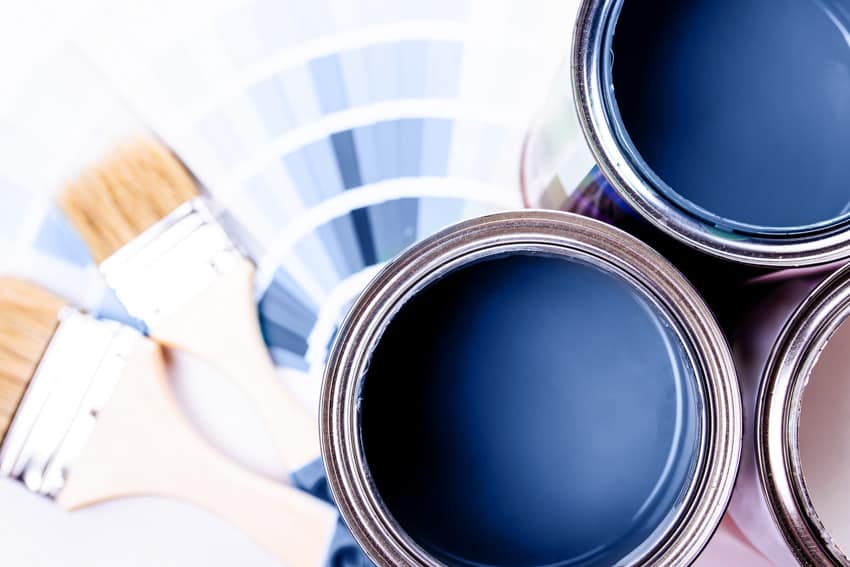
Apply a coat of off-white or light-gray paint primer on the tile countertop using a paintbrush or a paint roller. It would be best to prime the grout and other countertop sections.
Leave the paint primer to cure or dry according to the manufacturer’s recommended curing times. It is essential to have a dry primer coat before applying a second layer. Homeowners must understand that dark-colored tiles may require more than two layers of primer, observing the correct curing times between applications.
Apply a coat of oil-based paint over the primed and cured tiles, using a roller or brush. It would be wise to check the recommended paint preparation because some products require dilution with a paint thinner or mineral spirit. Allow the paint to dry completely.
Brush or roll a second layer of paint on the countertop surface before drying it.
Apply a layer of top coat or clear urethane to protect the tile countertop further. It is like an automobile’s top coat, safeguarding the body paint from scratches and stains.
Finish the task by cleaning all painting materials with mineral spirits. One may want to soak the brushes and rollers in paint thinner or mineral spirits for about ten minutes before washing. Doing this part helps keep the painting materials’ integrity ready for the next painting job.
Painting Over Tile Counter Tips
Homeowners who want to ensure a more successful paintingproject can consider the following tips. Read more about our article on corian vs granite countertops here.
One must not use the newly painted kitchen countertop for at least 24 hours after the final coat application. As such, it would be best to have a makeshift area for doing the chores one would normally perform on the countertop.
Homeowners can also get creative by adding a decorative touch to the still-wet paint. It can be hand-painted designs or beautifully crafted stencils.
It would be best to protect oneself from particles and potentially noxious chemicals by wearing safety goggles, a particle respirator, and work gloves during the surface preparation, priming, and painting stages.
One can open the kitchen windows to promote better air circulation. If there are no windows, one can use an electric fan to improve airflow.
If paint splatters on the floor or any other surface, one must clean it immediately before it dries up.
Avoid mixing bleach and ammonia when creating a cleaning solution.
One must never use abrasive cleaning agents and materials to extend the newly painted kitchen countertop’s lifespan.
Conclusion
Painting kitchen tile countertops is a practical and straightforward way to improve an outdated countertop into a contemporary piece. The process requires thorough surface cleaning and preparation before primer and paint application.
Adding a urethane topcoat will improve the aesthetics and durability of the newly painted kitchen tile countertop.
Check out our article on chalk paint kitchen cabinets for more related content.
To showcase highly specific designs, some images on this website use advanced AI-generation software to illustrate ideas and room inspiration. See our editorial policy to learn more.