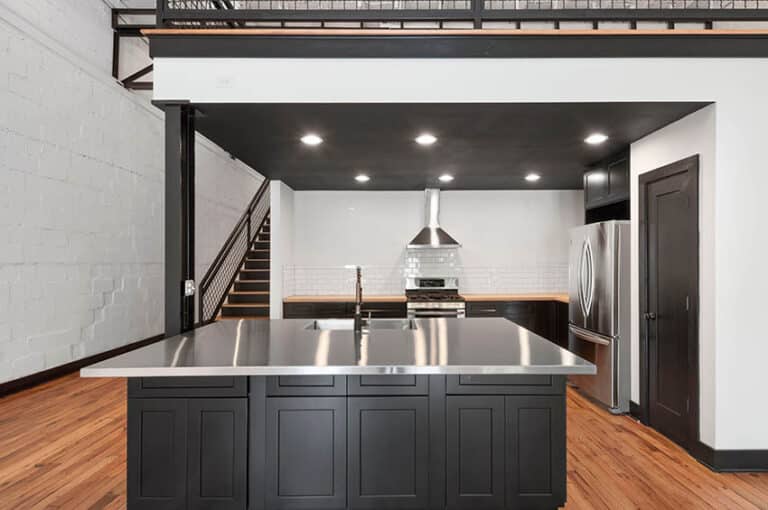
Chalk Paint Kitchen Cabinets (How To Tips & Options)
Chalk paint is one of the Pinterest trends of the decade, and it is time to jump on board. Chalk paint gives two of the most sought-after features when it comes to paint: beauty and functionality. Chalk paint kitchen cabinets have a beautiful matte finish that can make cabinetry absolutely pop and a variety of available colors pair with pretty much any style and design kitchen you can think of.
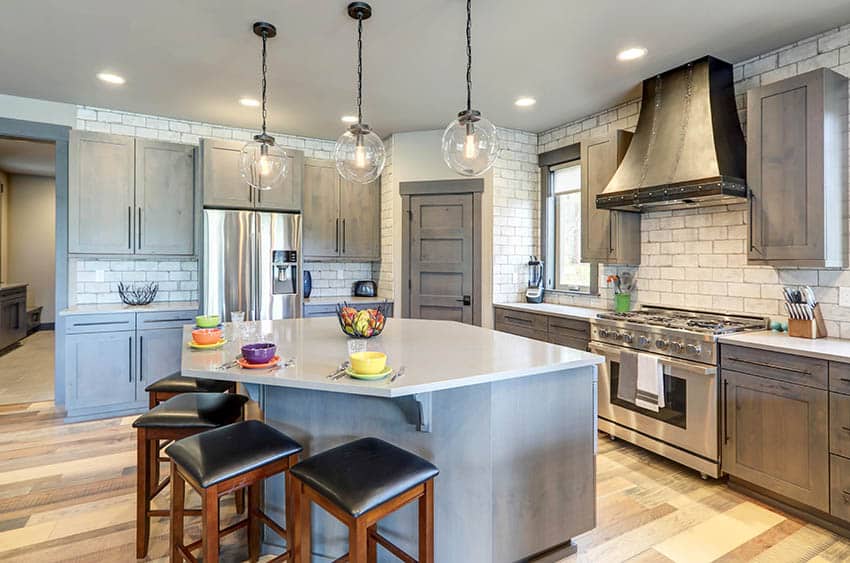
As for function, chalk paint gives you the opportunity to completely makeover and even label your cabinets. Now you know what is in each one no matter how many times you rearrange. Not only that, but you can also draw any sort of designs or symbols on the surface to add interest to the kitchen cabinets. Another reason people choose it is for its ability to look distressed and aged.
Painting Kitchen Cabinets with Chalk Paint
Painting kitchen cabinets using chalk paint can be daunting, but it does not need to be. One great thing about chalk paint is that it does not need you to sand the surface before applying it. This saves one huge step, making for a simple project. Follow the steps below for a great turnout.
1: Remove doors and hardware (and any items you want to keep safe): This makes it easier to get into every inch of the cabinetry, as well as making it easier to paint them while sitting at a table or on the floor versus needing a ladder to get do some, and dealing with awkward angles.
2: Degrease and wipe down cabinets: It is important to start with a clean surface. Since you will not need to sand the surface, you have to make sure any grease or oils are off the cabinets, as they can reject the paint or get stuck under the surface. You can also sand them down if you desire.
3: Start Painting: It is best to start on the inside of the cabinetry that you do not use as much; this way you get the hang of the painting as well as find anything that may cause on error in the least noticeable spots. Depending on the type of paint you have, you may need to add two or three coats.
4: Distress and Seal: If so desired you can take some sandpaper and further distress the kitchen cabinets for a more aged appearance. You could also choose to seal the paint for better wear. Select a sealer based on the paint and cabinet materials suggestions. After that, cover the entire surface with sealer and let dry.
5: Put back together and enjoy: The final step will be to reattach the cabinet doors and any items you removed from the shelves for safety.
Additionally, if you have any intentions to change out the hardware, now is the time. After that is all said and done, the cabinets will be all yours to enjoy for years to come. See more ways to update kitchen cabinets here.
Is Chalk-Paint Good for Kitchen Cabinets?
Chalk paint is a good choice for kitchen cabinets. This type adheres to surfaces extremely well and does not chip, both of which are super helpful when painting kitchen cabinets. It is also advisable because of its textured matte finish.
Additionally, most brands of chalk paint are Low VOC and non-toxic, which is very important in the kitchen setting.
Best Chalk-Paint for Cabinets
The best chalk paint on the market is Annie Sloan’s chalk paint. Annie Sloan is the developer of chalk paint and continues to improve her recipes. It cannot get much better than the original, which is why Annie Sloan’s products are the best of the best.
Annie Sloan chalk paint comes in a plethora of colors and gives different inspirations and workshops. This product is pretty elite and can only be found in select stores, and the products have to have a stamp of qualification to prove they are authentic.
While Annie Sloan is at the top of the food chain regarding the products, there are other comparable and not-so-elite products. Sometimes, a project needs a quick trip to the home improvement store versus the perfectly curated supply list.
As a good comparison, Rust Oleum paint is about half the cost of Annie Sloan’s product and can be found in local home improvement stores. Rust Oleum brand is a lower quality brand, though, as it is a little less matte and has a limited paint color selection at the moment.
How to Apply Chalk-Paint to Cabinets Video
How to Seal Chalk-Paint On Cabinets
As was briefly mentioned in the how-to section chalk-paint cabinetry can be sealed for added protection. This is recommended as there is plenty of stuff jumping around in a kitchen setting and ways that the cabinetry could be susceptible to scratching or scuffing.
Sealing the surface with a wax coat is a great way to protect the cabinets from any of these dangers. There are specific brand waxes that are ideal for sealing with wax over this application.
This coat will be applied after the paint has been dried (and purposely distressed if desired). After it has dried, give it a quick dusting and apply the clear wax to anywhere that was painted.
This can take up to three coats of wax for the best finish; each coat should likely dry for about a day (check specific product recommendations before use).
Once the final coat has dried, you can consider buffing the wax with a cloth. This is not a required step, but it can add a clearer finish. Keep in mind that while the wax is dry to the touch it does take up to two weeks to completely cure (harden).
The cabinet doors can still be installed at this point, and the cabinets can be used, but it is best to be careful with them for a few weeks.
For more related content visit our page on how to paint kitchen cabinets to look antique.

