How to Paint Kitchen Cabinets to Look Antique

There is something about antique worn-out-looking furniture that effortlessly strikes a statement. We are all in for brand-new-looking furniture, but a little antiqueness will always add personality to your space. Antique furniture is undoubtedly precious and expensive. But do you know you can make your furniture look antique using smart hacks? No need to invest in expensive antique furniture to get your home looking super chic and stylish, all you need to do is paint up your furniture to give it an old and worn out look. The worn out antique look is popularly used for kitchen cabinets, and if you are wanting to give your kitchen a quick style update, revamping your cabinets is the easiest and the most inexpensive thing to do.
While a lot of people use the natural wooden color as the base, you can go ahead and get the antique look from scratch by using a base color and an antique stain for an authentic vintage appeal. To get the cottage chic look, all you need to follow are some quick steps. For the process all you need are some basic things. Begin with gathering a pair of gloves, sponge, sandpaper and paint brushes. Next, get your paints ready and your good to go.
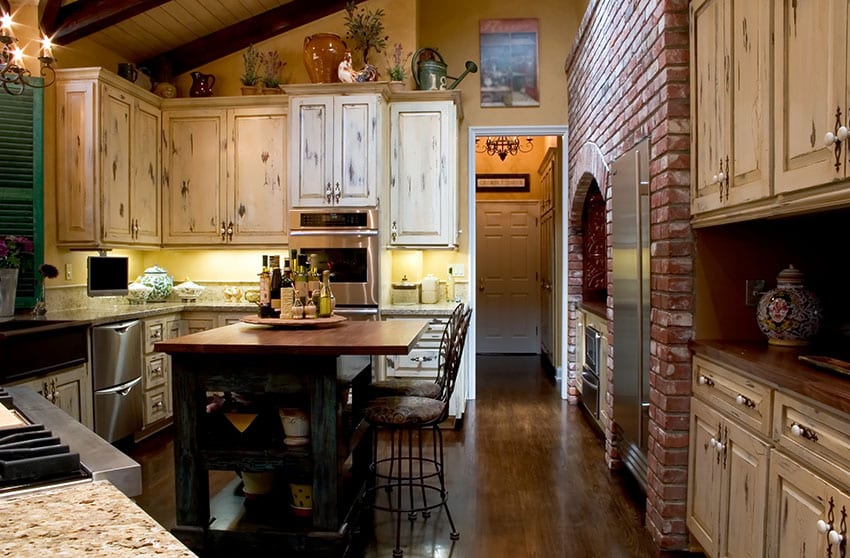
Below we’ll cover how to paint kitchen cabinets to look antique. Antiquing kitchen cabinets can add some charm and warmth to your kitchen by giving it a rustic shabby chic vibe. “Aged” cabinets make your kitchen look and feel more lived in – they give the impression of having seen many happy meals prepared and eaten. Adding an antique finish to reinvigorate your old outdated cabinets and give them a new look you’ll love.
The antiquing process entails that you apply a glaze to your cabinet door. While you can apply the glaze directly to the cabinet door, there is a richer effect if you first add a new base color to your cabinet door. (You can see more kitchens with antique white cabinets here.)
Deciding The Base Color
The more the contrast between the base color and the antique stain color, the more vintage effect it will give. You can leave the kitchen cabinet in its original color or even paint it in the color of your choice.
For example, if your cabinet has a natural wood color, you can just prep it and leave it as it is. If you want a more cottage style look, you would want to opt for a stained oak or a honey brown shade as the base for a more shabby chic look. Its best to choose lighter colors as base colors since darker shades do not stand out much over antique stains that are painted over it.
Choosing The Antique Stain Color
Choose your antique stain shade according to the cabinet’s base color. If the base color is white or cream, use a mid-tone stain. If the color is honey or caramel in tone, use a medium or dark stain. If it is dark, use the darkest stain you can find. The higher the contrast between the stain and base, the more vintage the look of your cabinet. See more cream kitchen cabinets here for ideas.
The antique stain is basically the shade that is painted over the base color along the edges and corners to give the base color the necessary drama. As mentioned before, there needs to a stark contrast to make the vintage look really stand out.
Choose dark shades as the staining color if the base is white or any related shade. If you have opted for the natural wooden color of the cabinet as the base color, then opt for white or any other light shade as the staining color.
Applying Antique Finish to the Cabinets
After choosing the stain, you are now ready to antique your cabinet.
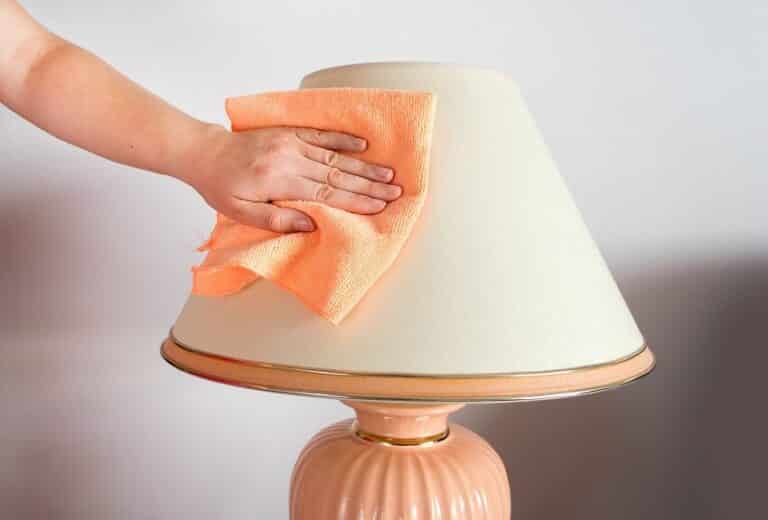
Clean The Cabinet:
Once the choosing bit is done, it’s time to execute the DIY. The first step towards getting a DIY antique cabinet look is cleaning the surface of the furniture well. So put on a pair of gloves and clean the cabinet well with a clean piece of cloth. If the cabinet is old and needs some extra dirt removal efforts, do so. You obviously want a neat and clean surface to start working upon.
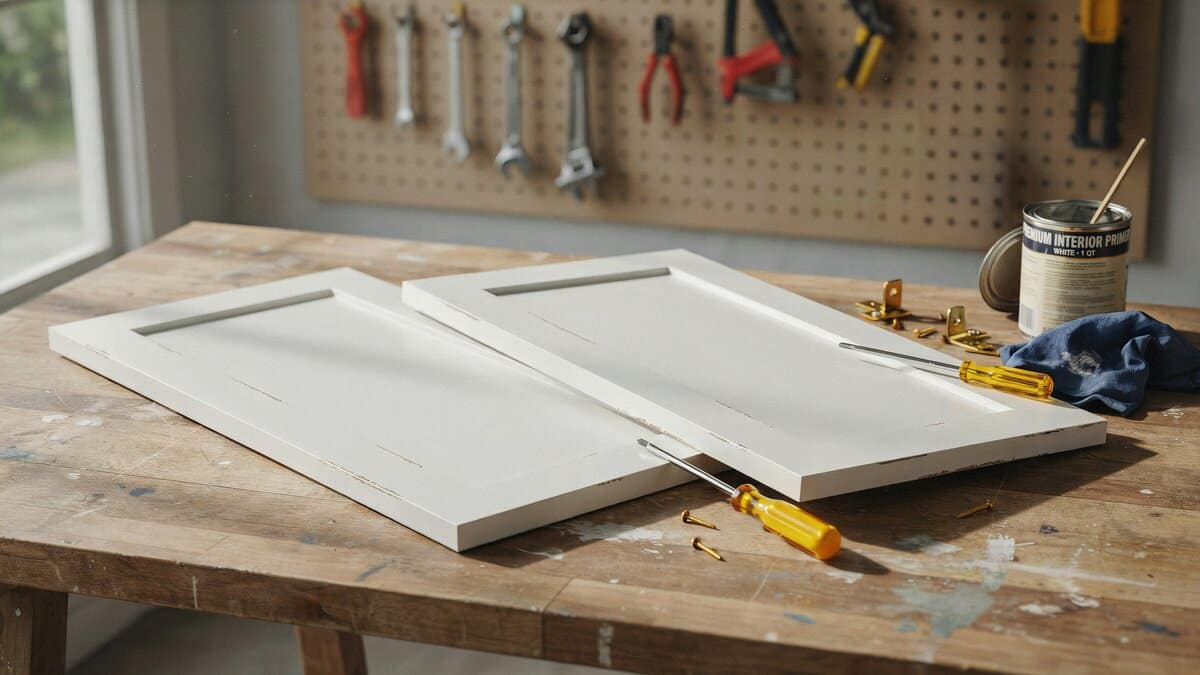
Prep the doors
Materials needed:
• Rubber gloves
• Cotton rags (dry, clean, and smooth)
• Sanding block or electrical sander
• Sandpaper (We recommend 100 to 220 grit paper)
TIP: You can either leave the doors up or take them down for staining, whichever is easier for you.
1. Clean – Dampen some cotton rags and wipe the cabinet faces to remove any surface dirt. Then, wipe completely dry.
2. Sand – Smooth down the cabinet surface until the wood underneath looks dull. Clean the door again removing all trace of sawdust.
Optional: If you are changing the base color, do so after you have sanded the doors. Then let dry.
Detaching The Doors:
This is quite an optional step. If the doors of the cabinet are detachable, you can remove it to ensure that you paint the doors and the cabinet without any hindrance. Especially if the cabinet door has moldings and other details, its best to detach them and lay them on a flat surface while painting them to perfection.
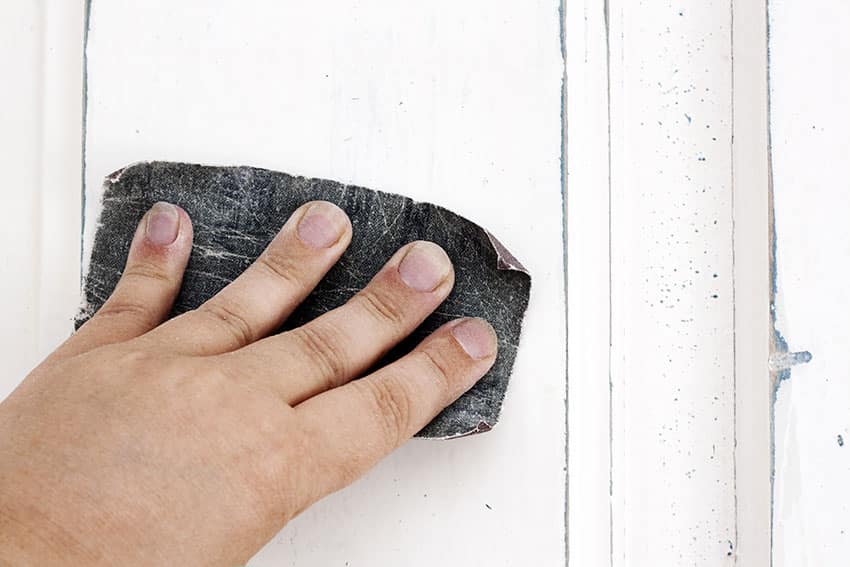
Sanding The Edges:
Old furniture requires to be sanded well along the edges and corner to give your furniture’s surface an even look and texture. If you want your cabinet to be painted well without forming any unnecessary clumps, then sanding is of utmost importance. Use a sand paper to carefully smoothen the surface and set it ready for the next step, painting.
Paint The Base Color:
Once the prepping has been done, go ahead and paint the base color. While you will be excited to paint the furniture finally, its important that you paint it the right way. Follow the wood grain as much as possible and let the brushstrokes all be in the same direction. Its important that you use a good quality brush that gives your furniture a smooth and neat painted look. Once you have painted the first coat, let it dry. You can then apply the second and third coat of paint and fix the base color on the cabinet. In case you find any clumps around the molds, fix it quickly with a sand paper.
Apply Antique Stain Color:
For the final touches, its time to apply the antique stain color. You can try it out on a scrap piece of wood if the thought of applying the stain without any practice intimidates you. But mostly, you can just go ahead, pick up a sponge, dip it in the stain and carefully apply the antique stain on the sides and corners to give your kitchen cabinet that final touch of vintage charm.
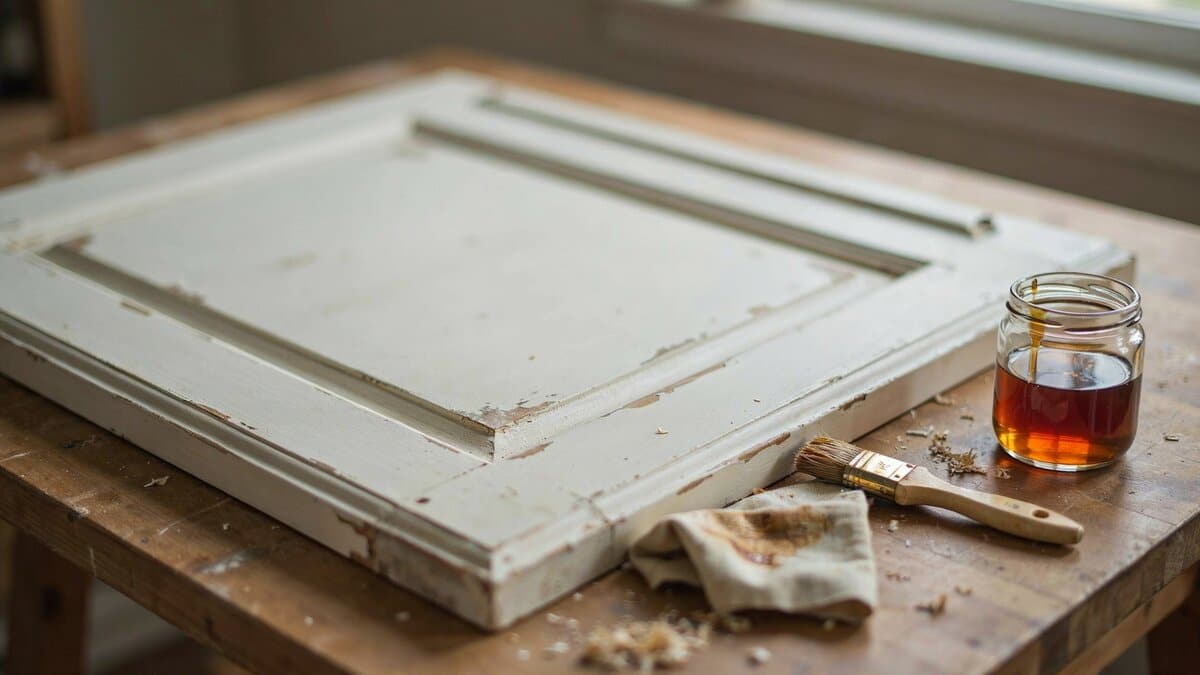
Antiquing the door
Materials needed:
• Rubber gloves
• Cotton rags (dry, clean, and smooth)
• One or two small paint brushes
• Antique glaze
There are two ways to apply glaze to a cabinet door.
1. Using rags – Apply a small amount of glaze to the rag. Apply the glaze to the door in small circular motions.
TIP: After coating the door, gently wipe across in an up-and-down or side-to-side motion. Smooth out the circular marks
2. Using a paintbrush – Dip a brush into the glaze, wipe of excess. Brush glaze onto door by going in the director of the wood grain.
TIP: Use a rag to wipe off portions of the applied stain; this will result in discolorations that will help the wood look worn not too dark and “fake”.
Finishing the stain
Materials needed:
• Rubber gloves
• One or two small paint brushes
• Cotton rags
• Antique glaze
• Wood sealant
Add more antique glaze to the edges of your cabinet doors. Wrap a rag around your index finger and wipe off any excess glaze. Let glaze dry for 24 hours. Apply a light coat of wood sealant.
OPTIONAL:
Sand To Get The Desired Worn Out Look:
For the DIY distressed look that you are aiming to get, now is the time to prove some expertise. Before the glaze dries completely, you can “distress” the doors by lightly sanding it. From the sides of the cabinet doors to the edges of the molds, you can scrape the paint a little by using a sand paper to give your cabinet a naturally distressed look.
You can also take a hammer or small chisel to create dents on the wood for added charm. Ensure that you do not overdo it. What’s important is to give it the perfect distressed and worn out look, making it look like an authentic antique piece. See pictures of reclaimed wood kitchen islands here.
Watch the Video on How to Add an Antique finish to Kitchen Cabinets
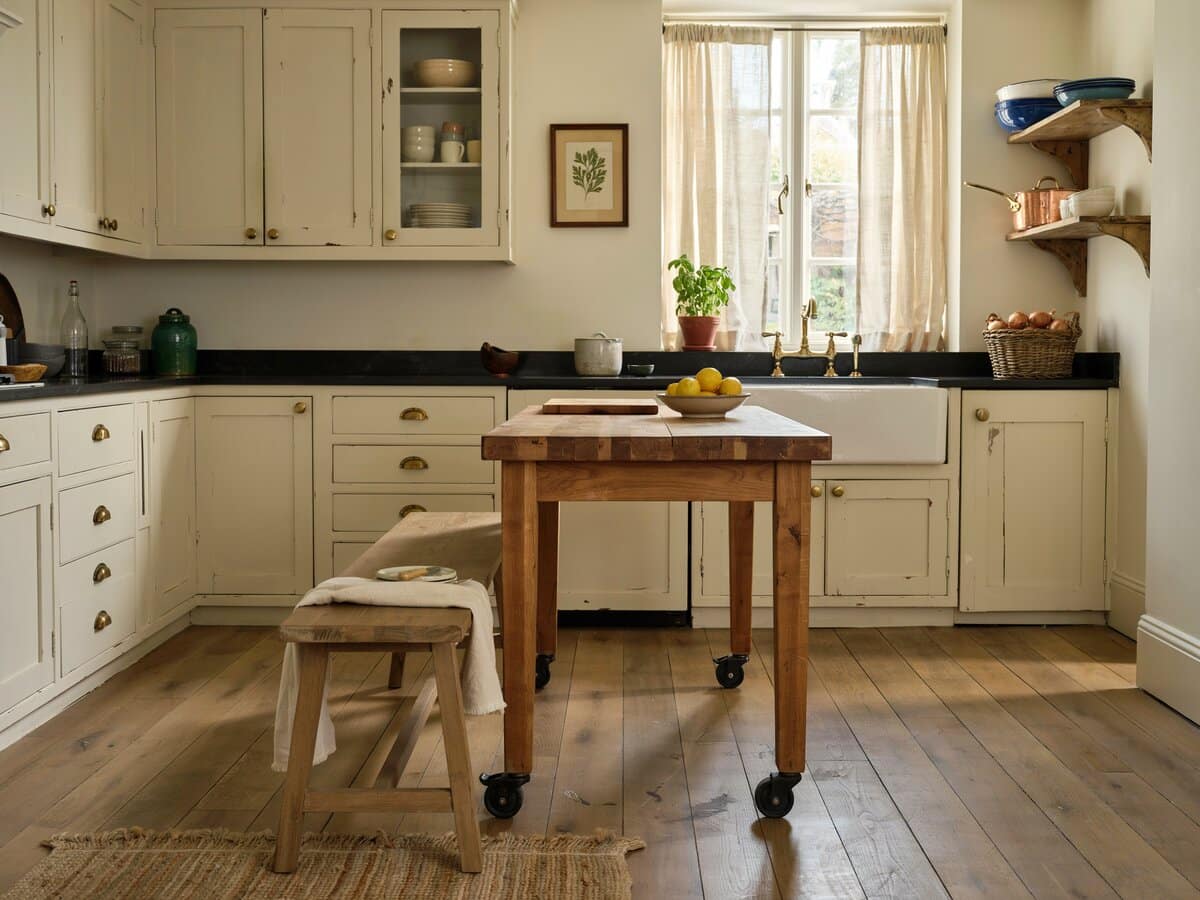
An antique looking kitchen cabinet quickly adds a cottage chic look to your décor. While white and cream furniture is popularly loved in cottage chic décor, you can also opt for honey oak or pastel shades for a distressed antique look.
Getting a DIY antique cabinet ready is just a matter of these steps. From cleaning the cabinet well for the paints to choosing the right color, you need to be well prepared before getting into action. Visit this page for more kitchen paint color ideas.
To showcase highly specific designs, some images on this website use advanced AI-generation software to illustrate ideas and room inspiration. See our editorial policy to learn more.