Cerused Kitchen Cabinets (Cerusing Process)
For kitchen cabinets, wood can enhance the mood, aesthetic, and general beauty of your kitchen. For many years, cerused kitchen cabinets have been widespread, and we can see why. Although it is lovely and sophisticated, what precisely is it? An increasing number of homeowners are opting to play up the patina of their furniture via the traditional finish of cerused wood.
In contrast, others want to cover it up with paint or contact paper. Learn more about this finish, if it’s perfect for you, and how to apply it like a pro by reading on.[toc]
What Are Cerused Cabinets?

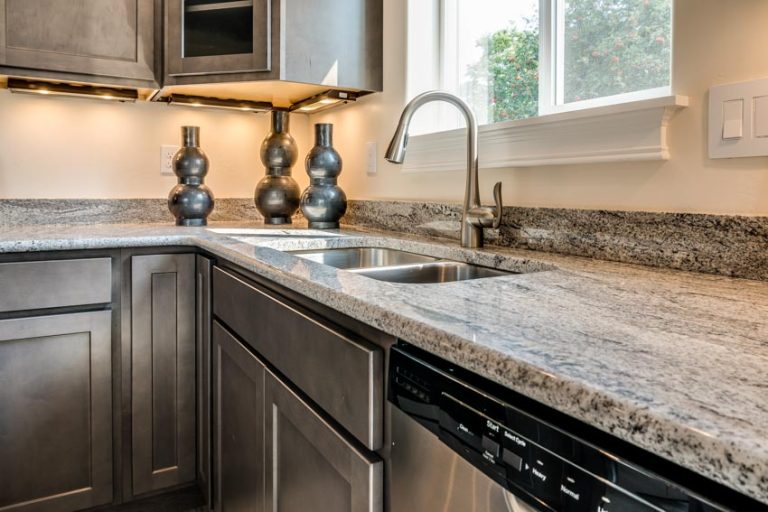
The “ceruse” method involves adding white fill material to a natural door and rubbing it off on the wood’s open grain, commonly oak, to produce a cabinet finish with an aged appearance that is fashionable for modern design schemes.
Over the years, using cerused wood has been in and out of style. But more modern styles work nicely with their subdued, organic appearance. You may apply it to unpolished, stained, or even painted cabinets.
In the process of cerusing, whiting is applied to a piece of wood, rubbed into the grain, and then the surface is hand waxed. Cerusing creates a contrast to draw attention to the lovely grain of the wood.
In the Art Deco period, the renowned French designer Jean Michel-Frank used ceruse as a finish on several of his well-known works, which are currently fetching top prices at auction houses worldwide.
Since then, the popularity of using ceruse to polish wood has fluctuated. However, it is now seeing a revival due to the effective utilization of such designers as Kelly Wearstler and Jefferey Alan Marks.
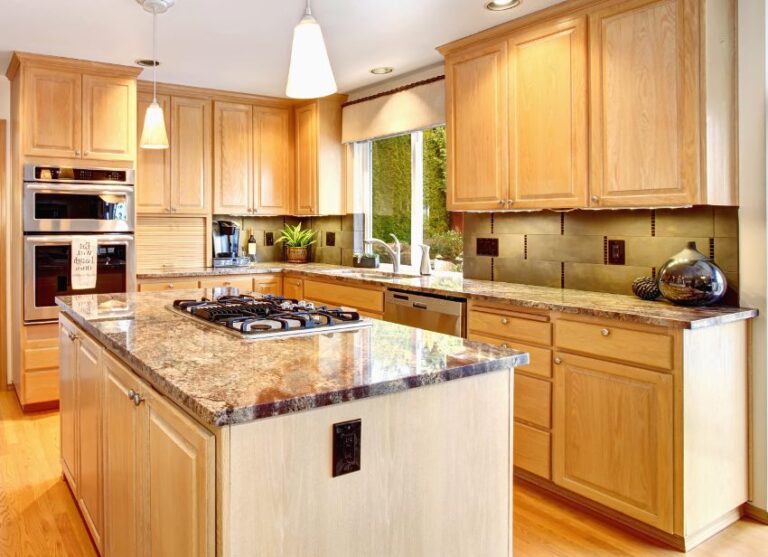
Cerusing Oak
Although many people know that cerused oak refers to a lovely furniture finish, this charming method has origins in the cosmetics business. Women in the 1500s and 1600s used it to whiten their faces, especially Elizabeth the 1st—remember her snow-white face?—by mixing it with a white, lead-based cosmetic powder.
The French soon found that they could use the powder to produce a lovely finish on wood with wide pores, such as oak, but it had been prohibited from the cosmetic industry because it was poisonous to the skin. Since then, the furniture industry has used this finish to add elegance and beauty to various wood furniture.
Compared to other common timbers used for kitchen cabinets, such as cherry or maple, oak is a less costly option. And depending on whether your aesthetic preferences are contemporary, rural, classic, farmhouse, or industrial, cerusing the oak creates a magnificent unique finish for various kitchen looks. Check our gallery of antique white kitchen cabinets for more ideas.
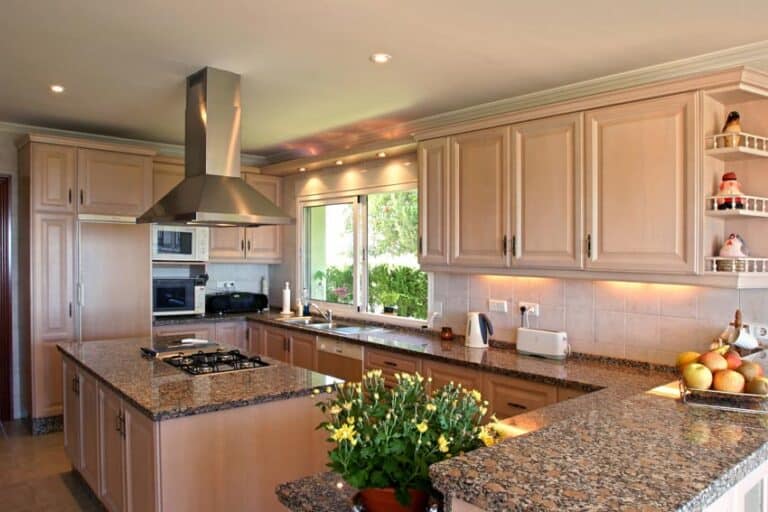
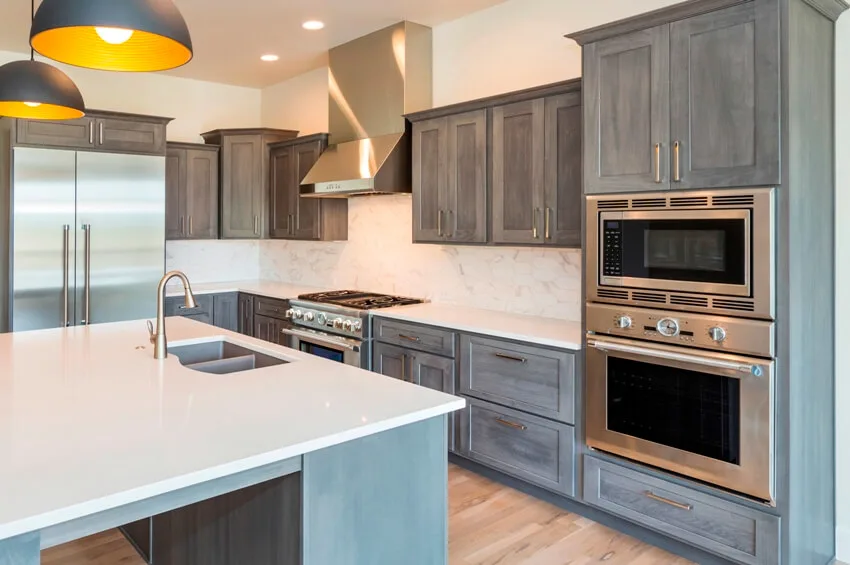
Cerused Oak Kitchen Cabinets
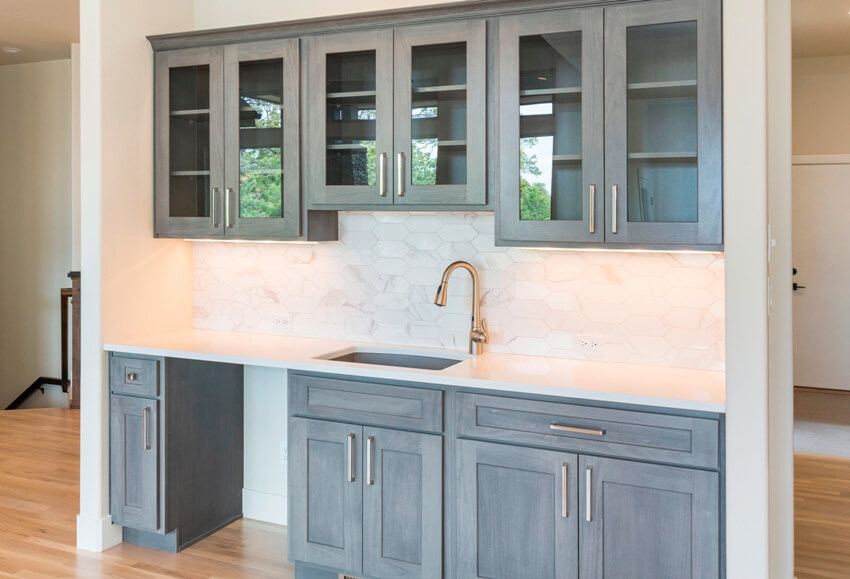
The ideal combination for spectacular cabinet design is its capacity to downplay the natural wood color while highlighting the complexity of its grain. Cerused oak design outcomes were astounding and have left their influence on the design community.
Despite fluctuations in popularity, it tends to keep steady and will probably continue to be a popular option among homeowners. You may find cerused wood in various furniture types because of its adaptability, including headboards, tables, lamps, and, of course, cabinets for the kitchen and bathroom.
The lovely appearance of cerused wood goes well with various design aesthetics, including a farmhouse, traditional, and even a seaside feel. For many designers who desire cabinets that appear as if they belong there, the rustic but appealing style makes it the obvious option.
A cerused cabinet is your best option to give a contemporary kitchen an antique atmosphere. Find out more rustic kitchen cabinet designs here.
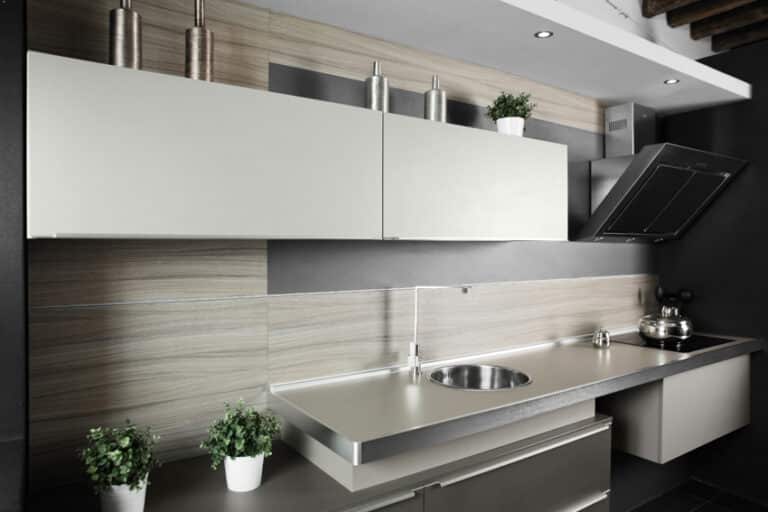
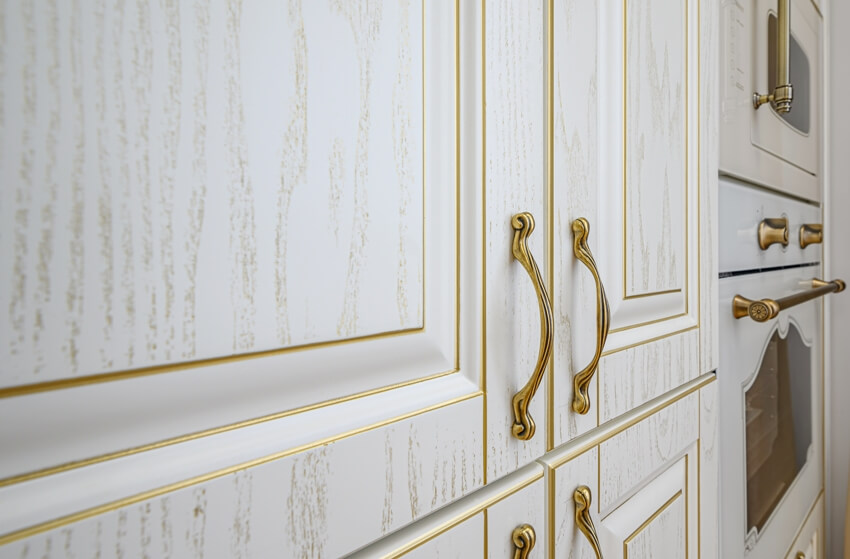
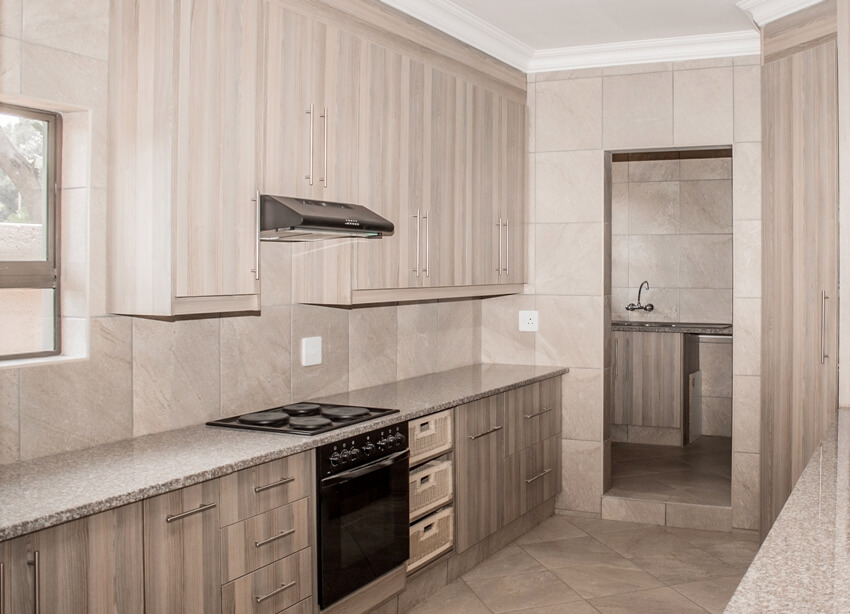
Cerused French Oak
After oak pieces by mid-20th century design luminaries like Jean-Michel Frank and others reached their peak as collectors around 2007. Since then, natural French wood and especially cerused or limed oak finishes slowly started to sneak back into kitchens from the high-end furniture market.
Ideas may take some time to spread, and modifications and reinterpretations are inevitable, with revivals made possible by creating new goods like stains, glazes, and waxes.
Lime, a mortar component, was initially used to draw attention to the wood grain. Whiting, a white paint pigment, was also created from chalk and wax. You may also use other things, such as diluted paint and dyes. Today, cerused french oak kitchen cabinets are used widely in contemporary kitchens.
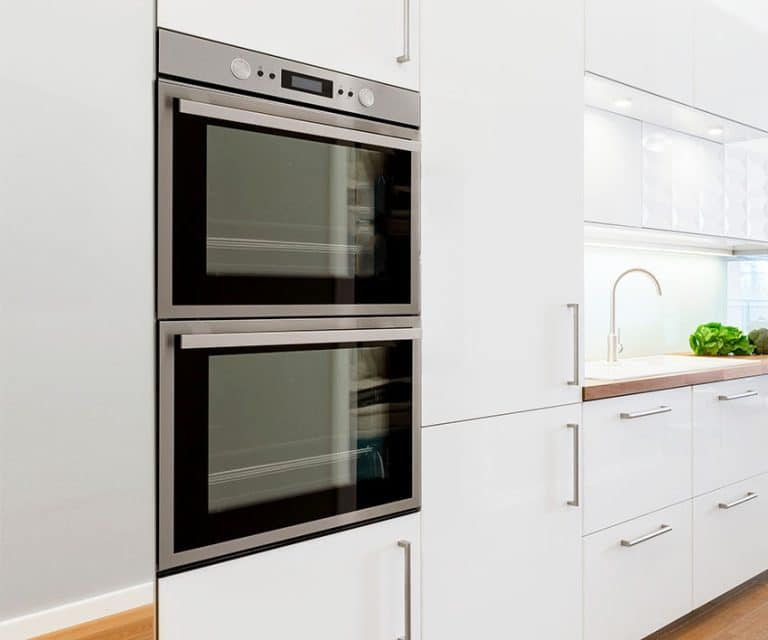
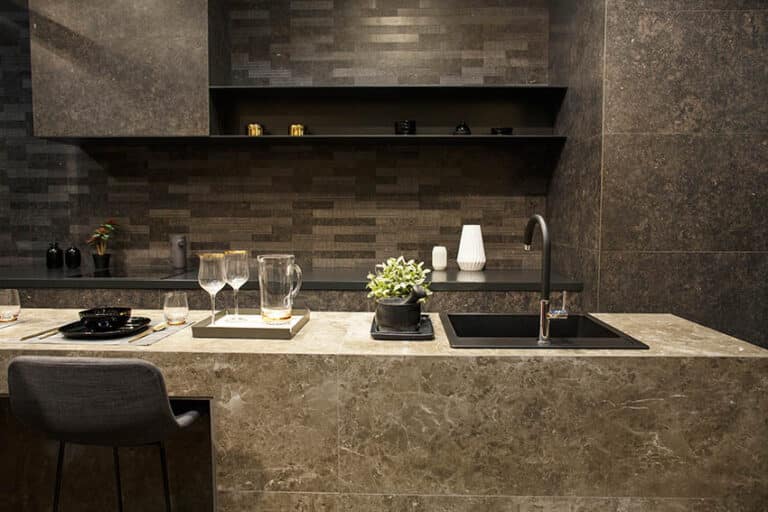
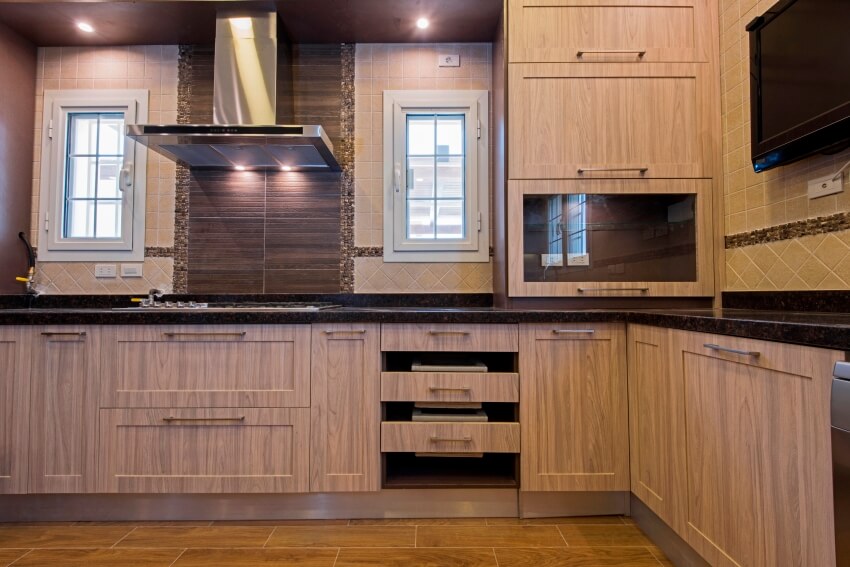
Cerused White Oak

Cerused white oak kitchen cabinets resemble golden-hued wood with a metallic sheen. The wood is often stained to look like other types such as maple or cherry.
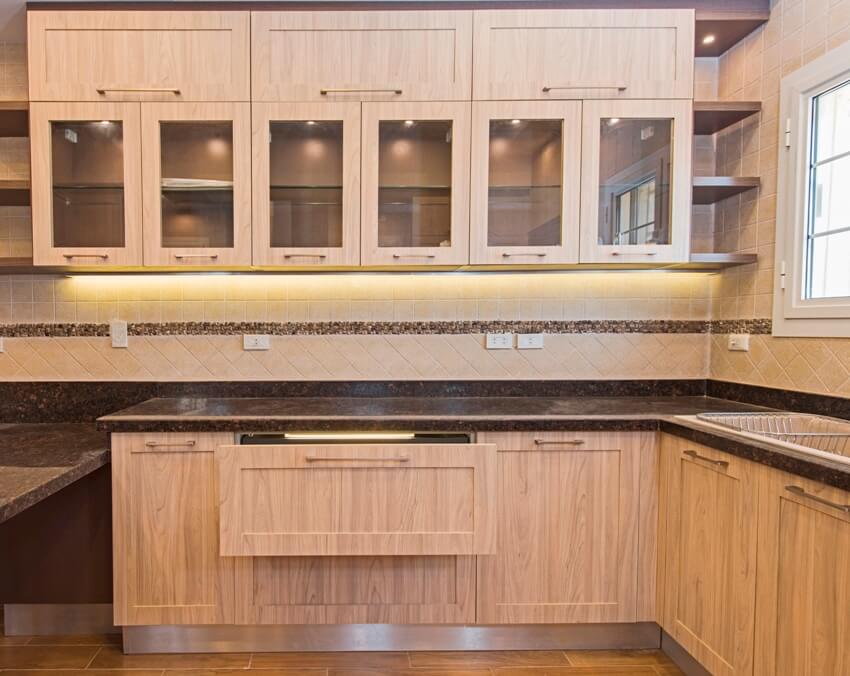
Cerused white oak kitchen cabinets are typically used for residential applications, especially if the homeowner is looking for something more modern than the traditional white color scheme. They are an excellent choice for those looking for an elegant, timeless look in their kitchen.
The unique grain pattern of these cabinets combines several different types of wood, including white oak, cherry, and maple, creating a beautiful texture that is more expensive than standard white oak but still very affordable.
Cerused white oak kitchen cabinets will give your home the coziness you’ve been looking for without breaking the bank. They are beautiful and durable.
The light, glossy finish gives them a classic look that is perfect for any kitchen decor. See more white oak kitchen cabinets here.
DIY Cerused Cabinets
To get a tremendous DIY cerused wood finish, follow these guidelines.
Choose a wax
Liming wax can be in neutral shades like black or gray, which you can utilize to produce a more contemporary or dramatic aesthetic. Still, it is most often marketed in the color white, which you should choose to emulate the traditional white cerused appearance.
Ready the wood
1. Select your wood carefully. Choose wood varieites with a very noticeable or unique grain that you may highlight for the most eye-catching cerused wood finish. Clean the surface first, then allow it to dry.
2. Strip or stain wood that is a light color. When applied on unfinished, light-colored hardwoods like poplar or wood that has been painted white or cream, the traditional white cerused finish is hardly apparent. Your best chance for cerusing light-colored raw hardwood is first to stain it with a dark wood stain.
3. After that, use a wire brush to scrape the wood in the grain to give a distressed kitchen cabinet design. The wood will seem more distressed the harder you scratch it; the wire brush smooths the surface after reapplying.
4. Remove detachable knobs, pulls, and other kitchen hardware from the surface you want to ceruse to guarantee a homogeneous finish.
5. To clean the wood surface and remove dust, filth, and grime from the grain and surrounding surface, saturate a sponge with one teaspoon of dish soap and four glasses of warm water. After rubbing a dry towel over the surface once again, allow it to completely dry.
6. To encourage the wood’s pores to open up so that the liming wax may be absorbed as much as possible, work a delicate wire brush over the surface in the direction of the wood grain.
7. Sand it down to make it smooth. If the wood is raw, stained, or painted, lightly sand the whole surface with 150-grit sandpaper to eliminate any splinters left over from the wire brush and smooth out any uneven surfaces.
Select a finish
1. Apply the cerusing medium, such as liming wax or water-diluted paint. Apply the wax with a cloth, working it into the wood grain and open pores.
2. Apply any remaining wax on the wood in no more than three-by-three-foot areas at a time, offloading any extra onto a scrap of cardboard. Brushstrokes increase the amount of wax absorbed by the woods grain.
Allow the coat to get tacky (a little sticky but beginning to set, which may take at least 10 minutes depending on the wax), and then gently buff the waxed area with broad, sweeping strokes with a dry cloth or rag to remove the excess wax while leaving some white pigment in the grain. Repeat section by section until you wax the whole surface.
3. Brush on the second coat of wax in the same manner as the first, if desired, to intensify the color contrast between the grain and the surrounding wood, and then buff it with a towel. The second coat should cure.
Remove cerusing material by wiping.
If you used to paint, remove it immediately using a different cloth. Follow the manufacturer’s recommendations if using liming wax (usually wait 30 minutes and then remove with steel wool).
Put sealant on
If you used to paint as the cerusing substance, apply sealant. Although liming wax doesn’t need a sealer, you may wish to do so if you use it regularly.
How Do You Seal Cerused Wood Cabinets?
There are two methods to seal cerused wood cabinets. Although they operate in quite different ways, both have a comparable outcome.
1. The first and most straightforward option is a liming wax, a white furniture wax. Similar to furniture wax, you apply the paint first and then buff the wax into the grain pattern to utilize it. Choose a lime wax finish for furniture that will get little to moderate usage, such as a side table or dresser.
The procedure is a little more straightforward, and you have a little more control over how the wax is layered. You will need to re-wax it since wax is not as resilient as polyurethane.
2. The second technique is to layer paint to highlight the grain pattern. This procedure is preferable for a piece of furniture that will see a lot of wear, like this dining room table, since you cannot use wax below a polyurethane layer.
A cerused finish is a relatively quick and easy process, but it does require pretty specific care for best results. So whether you’re looking to get started or are just curious about the process, we hope this will help you.
A cerused kitchen cabinet is one of the most preferred materials in home design. It is modern, classic, and elegant at the same time. If you want to boost your kitchen’s aesthetic, then this is the best way.
Did you enjoy our cerused kitchen cabinet article? Visit this page to see more kitchen cabinet styles.
To showcase highly specific designs, some images on this website use advanced AI-generation software to illustrate ideas and room inspiration. See our editorial policy to learn more.

Upload a photo and get instant before-and-after room designs.
No design experience needed — join 2.39 million+ happy users.
👉 Try the AI design tool now