Can You Paint Over Stained Wood?
Can you paint over stained wood? See more ideas from wood stain preparations, to getting all the materials needed, and choosing the type of paint to use over your stained wood.
However, if you opt for a choice like stain, is there any going back? If you want to change a piece of furniture later, can you paint over a piece of wood that’s already been stained?
Actually, if you follow the right steps, you can successfully add a splash of color to wood that was formerly stained. With the right methods and supplies, it’s possible to paint over stained wood.[toc]
What Happens If You Paint over Stain?
The problem is that when there’s a stain in the way, the paint can’t properly grip the wood. Unfortunately, the paint won’t grip the stain well either.
So, if you were to try and paint directly on the stain, you’d probably notice that the paint starts to chip, peel, and flake away pretty easily. You might also see cracks in the surface of the paint.
In similar fashion, a primer usually doesn’t grip directly on a stain either. That’s why a big part of preparing stained wood for priming and painting includes removing the varnish off of finished wood through methods such as sanding and deglossing.
Since this step is dedicated to removing the gloss, it’s important to note the stain is still there. This is what you’re painting on, so another part of successfully painting over stain is choosing the right primer and paint that will properly bind to the stain covering the surface of the wood.
The good news is that if you follow the steps mentioned here that we’ll go over in more depth in just a second, you can successfully paint over a stain on wooden items to give the item and your space a fresh new look in almost any color.
How To Prepare Tinted Timber for Painting

Start Sanding
Next, you’ll want to remove some of the stain using sandpaper. It’s a good idea to start light – 150-grit sandpaper is a great place to start. If you use any other grit, only go finer.
While you’re sanding, make sure to move the sandpaper in the same direction as the grain. This will help avoid any noticeable scratches or scrapes to the surface of the wood.
Once you’ve finished this step, make sure to use a cloth to remove any debris leftover from sanding.
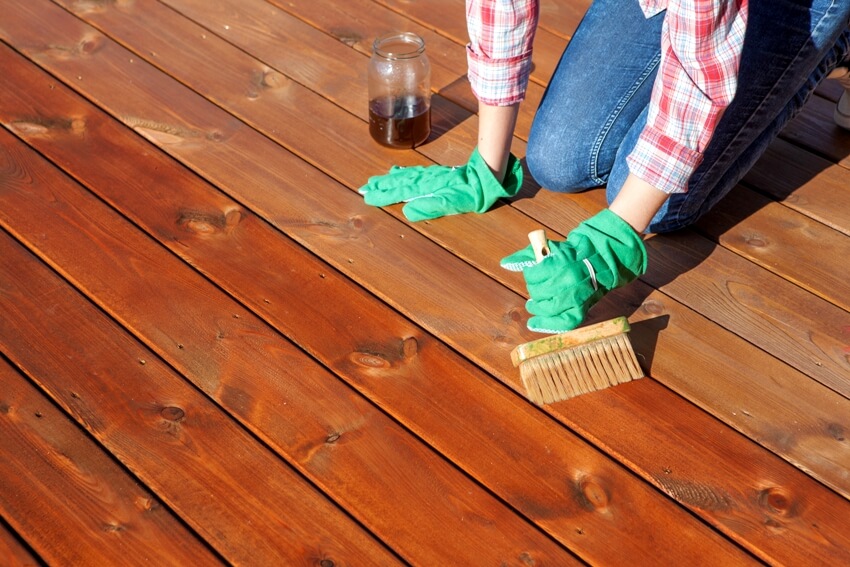
Using a Deglosser
Before starting this step, it’s important to take the right safety precautions. Since you’re working with chemicals here, it’s important to protect your skin directly as well as your respiratory system from breathing the deglosser in. So, get started in a well-ventilated area or even outside if you can.
Additionally, it’s a good idea to wear gloves, a mask, and protective eye wear whenever you work with deglosser.
Make sure to follow any instructions the manufacturer offers as to the exact steps to use their deglosser. You don’t need a lot of deglosser either – just damped a rag with it and wipe down the wood surface.
Before moving onto the next step, make sure to let the wood dry off for at least 10 minutes.
Make Some Repairs
For the best result when you paint wood, whether it’s stained or not, is to repair any damages to the surface. For this step, a bit of wood filler is a great choice to make holes, dents, and damage disappear.
After that, it’s a good idea to take sandpaper to the surface of the wood one more time. This way, you have a smooth surface to paint on.
Prime and Paint the Wood
Materials Needed for Painting over Timber with a Stain
You’ll need a few crucial tools to prepare and paint your stained wood. This includes the following:
– Eye protection, gloves, and mask
• Sandpaper of 150-grit or finer
• Deglosser
• Wood filler for any repairs
• Clean tack cloths for wiping down the wood
• Either oil-based, latex, or bonding primer, depending on the type of stain
• Either latex, oil-based, or chalk paint, depending on the stain
• Polyurethane top coat, if you’re using chalk paint, to protect it from damage
• Foam rollers and brushes for paint
– Foam rollers are great for painting broader areas but a brush is really handy for getting paint into every nook and cranny.
If you opt for the method to paint your stained wood without using sandpaper, it’s a good idea to have a degreaser on hand as well.
What Type of Paint to Use over Hue-Treated Wood

How to Tell What Type of Finish You Have
Matte finishes are pretty easy to spot on sight because they’re made to look distressed or age without any actual wear-and-tear or maybe even significant age on the wood itself.
As for telling between oil-based or water-based stains, rubbing alcohol can help out here but it’s a good idea to do it somewhere inconspicuous just like when you spot test anything else.
First, take a cotton ball and dampen it with just a bit of alcohol. Wipe down a small portion of the wood and let it dry there.
Since it’s alcohol, it won’t take long. If the wood is lightened, you have a water-based stain. Conversely, if the wood seems unaffected, it’s oil-based. In short, water-based stains react to alcohol and oil-based stains don’t.
Paint for Oil-Based Stains

Since oil paint comes in both interior and exterior formulas, make sure you choose the right option for your project. Exterior formulas are better designed to hold up against the elements.
The benefit of oil paint is that it gives you a sleek, glossy finish. The only downside is that oil paint is known to take a while to dry. In other words, oil paint will work wonders but make sure to allot extra drying time compared to other types of paint.
When you apply the primer, you’ll need two coats. As for how many coats of paint you’ll need, it depends on how dark the wood is stained. Check out the best paint colors that go with dark wood floors here.
Paint for Water-Based Stains
With latex paint, you’ll likely need more than one coat. It’s a good idea to let each coat dry for the night before adding another. See the best type of paint for wood furniture here.
Paint for Matte Finishes
For chalk paint, you can sometimes get away without a primer. However, you’ll want to spot test the material first.
Paint a small spot, wait eight hours, and see if it streaks. If it does, you’ll want to use a stain-blocking primer to offer a base for the paint.
How to Paint over Tinted Hardwood
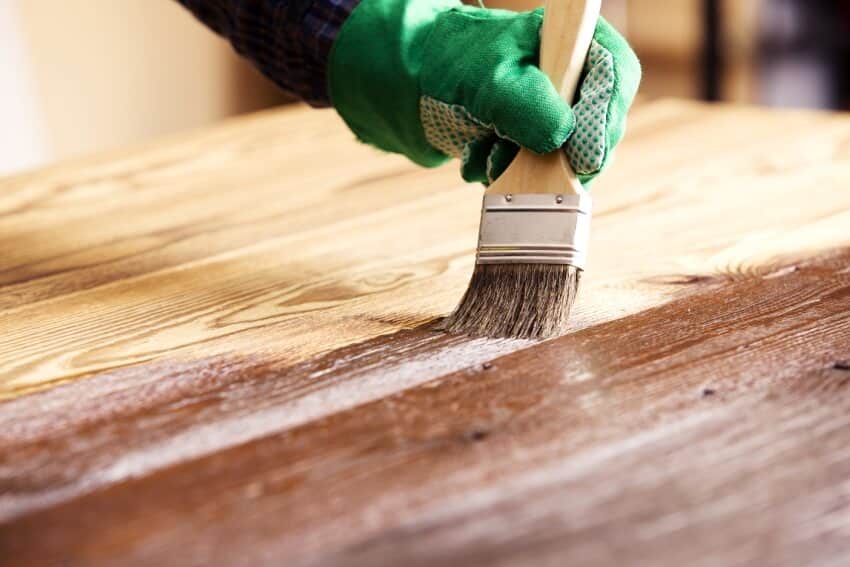
After the primer is dry, grab a dry tack cloth and wipe down the wood. Now, you’re ready to get started on painting your wood with the appropriate paint corresponding to the existing stain, as we discussed earlier.
Don’t forget, if you’re painting something like a dresser or cabinet, it’s best to remove any hardware that you don’t want to get paint on before you get started.
When you’re ready to paint, the exact steps can vary depending on the type of paint you’re using.
Latex Paint
For latex paint, you’ll need to use at least two coats to offer the coverage you need. However, you’ll want to let the first coat dry before adding a second coat.
The easiest way to do this is to leave the first coat overnight. Check our guide to enamel vs latex paint here.
Chalk Paint
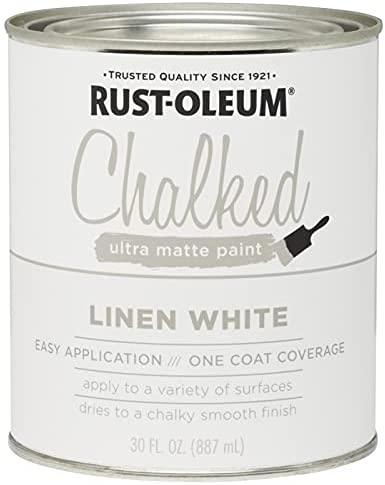
If you’re using chalk paint, follow the same steps for the first coat and add a second coat just like with latex paint.
The biggest change here is that chalk paint isn’t the most durable choice when it comes to paint. To combat this, after the top coat fully dries, add a top coat made of polyurethane.
This will take another seven days to fully cure but after a night of drying, you can go ahead and use sandpaper to smooth the surface and apply a thinner, second layer if necessary.
Oil Paint
Since oil paint tends to give off fumes, you’ll want to make sure you wear the right protective gear while you use it. This includes eye protection, gloves, and working with a fan on to protect yourself from fumes. If possible, it helps to work outside in the open air.
After you’ve applied a bonding primer and let it dry, you’ll want to use at least two coats of oil paint.
Between coats, you’ll need to let the paint dry. Yet, oil paint can be tricky because it often starts to seem dry after only a few hours. In reality, you’ll probably want to wait about 24 hours between coats.
Can You Paint over Color Imbued Wood Without Sanding?

As we mentioned as part of the sanding process before, you can rely on a deglosser to do the bulk of the work and leave the sandpaper behind in some cases. Alternatively, you can turn to a degreaser instead.
Next, you’ll need to choose the right primer. Given that you didn’t sand the wood down, the advice we gave earlier is a little different than what you need here.
No matter what kind of stain was used to finish your wood furniture, cabinets, or any other item, you’ll want to use a bonding primer if you opt for this method. This will help the paint better grip the primer and the primer grip to the wood.
If you take the right precautions, you have a couple of different options when it comes to painting stained wood. Whether you’re trying to breathe new life into cabinets, furniture, trim, paneling, or any other wooden fixture in your home, all you need is the right prep work, primer, and paint.
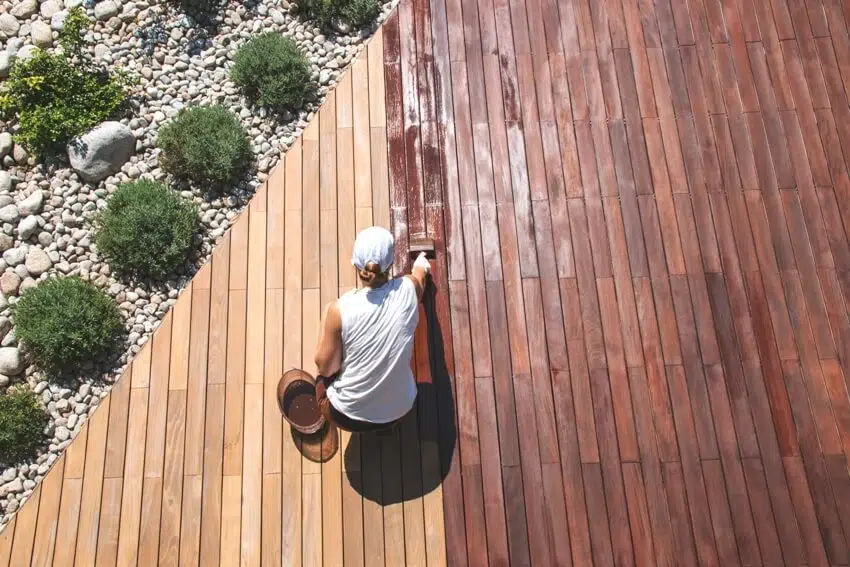
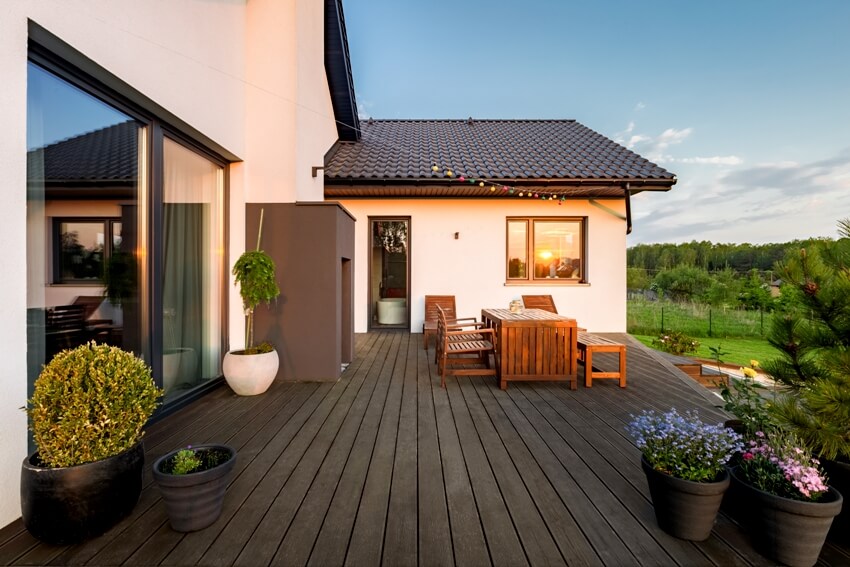
For more related articles, visit our guide to deck paint vs stain (types, durability & cost).
To showcase highly specific designs, some images on this website use advanced AI-generation software to illustrate ideas and room inspiration. See our editorial policy to learn more.