11 Types of Wallpaper To Use Inside Kitchen Cabinets
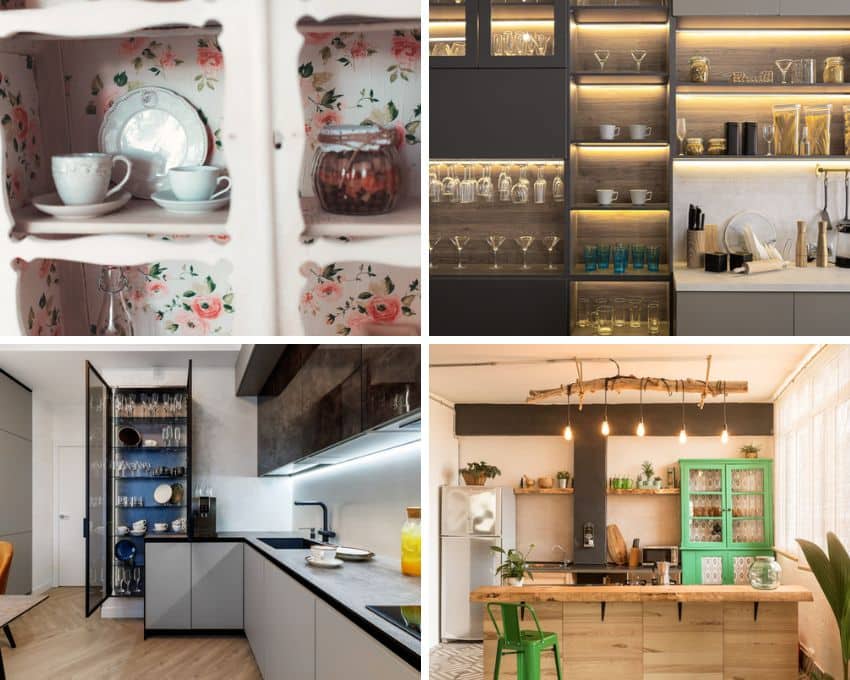
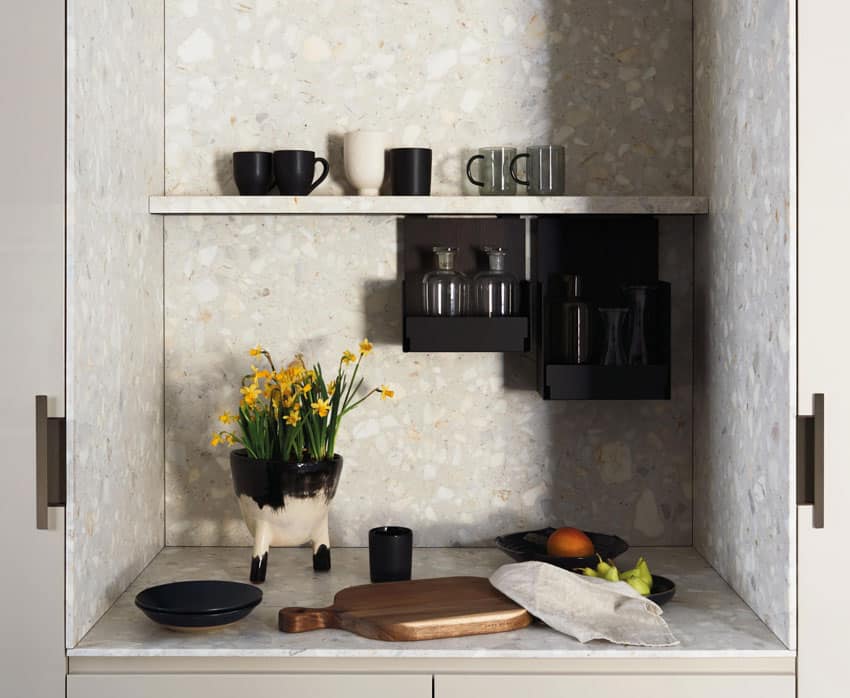
Cabinets occupy a significant amount of visual space in a kitchen and for this reason, their design can make a huge impact on the overall look of the interior. Adding decorative elements like wallpaper inside kitchen cabinets can add interest, character and charm to the space.
The instant flare can bring in the beauty of nature, feature a narrative or provide the desired ambiance and richness -and the kitchen is the perfect space to explore the wallpaper. It’s also a great DIY project that only needs basic skills and supplies without turning this update into a major overhaul.
Quicklook: Wallpaper Types To Use Inside Cabinets
- Vinyl
- Peel-And-Stick
- Linear
- Fabric-Backed Vinyl
- Mylar
- Textured
- Washable
- Foil
- Flock
- Traditional
- Modern
What Type Of Wallpaper To Use Inside Cabinets?
There are a few options to consider when choosing wallpaper for the inside of kitchen cabinets:
Vinyl: This type is water-resistant and easy to clean, making it a good choice for the inside of kitchen cabinets. It is also durable and can withstand the wear and tear of everyday use.
It is also resistant to fading and discoloration, making it a good choice for use inside cabinets. Due to its self-adhesive backing, placing the vinyl material can be an easier DIY project. Vinyl is popular in many home improvement stores and comes in a wide range of designs and pricing.
Peel-and-stick: Peel-and-stick is a convenient option for use inside cabinets, as it is easy to install and remove. It is made from a self-adhesive material that can be easily peeled off and repositioned if needed.
However, it may not be as durable as other types, and may not hold up as well to frequent handling and cleaning. Most peel and stick types are affordable and are easily sourced from home improvement stores with a variety of designs to choose from.
Linear: The linear design features patterns that are arranged in a linear or horizontal manner. This type is characterized by long, narrow stripes or bands of color or pattern that run across the width of the roll.
Linear options can create a sleek, modern look and is often used to add visual interest or to seemingly elongate the kitchen cabinet dimensions. Durable types of linear products are usually made from fiberglass but can also be made from cloth, paper, or fabric.
Fabric-backed vinyl: This type has a fabric backing and a vinyl finish, which gives it a softer, more textured look.
Due to its double layer, it is more resistant to scratches and dents. It is also water-resistant and easy to clean, making it a good choice for kitchen cabinets.
Mylar Wallpaper: From the term itself, this type is made from a lightweight material called Mylar which is a kind of polyester film that is known for its strength, durability, and reflective properties.
The designs are made by printing the pattern on the surface of the Mylar film. Then, mounted onto a backing material such as paper or fabric, to make it easier to install and handle.
Mylar is distinct for its reflective properties, which can add a sense of depth and dimension to a space. It is also durable and easy to clean but may be subjected to spills or splashes. Moreover, it may not be as thick or robust as some other types, and may not be suitable for all surfaces.
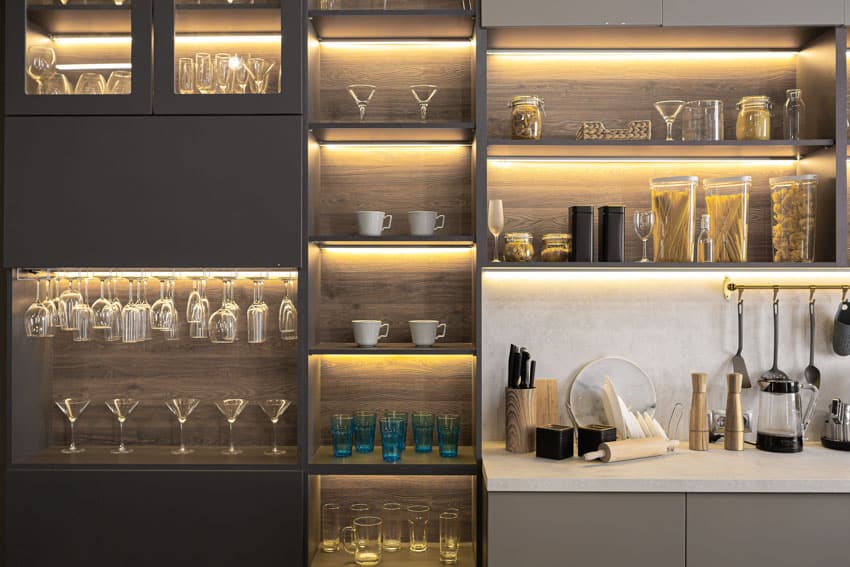
Textured wallpaper: A textured material provides a raised surface that can replicate the raised patterns found in other types of cabinet materials to create visual interest. They can be made from woven materials, embossed metallic vinyl, faux stone or wood.
Washable wallpaper: Washable is another durable option that is suitable for use inside cabinets. It can be easily wiped clean with a damp cloth, making it a good choice for areas that may be subjected to spills or splashes.
Foil wallpaper: This type has a metallic finish and can add a touch of glamour to kitchen cabinets. It is easy to clean and durable, but may not be as resistant to water as vinyl and is quite thin compared to your standard option.
Moreover, due to the reflective surface, it can make tiny defects from the material underneath (surface) more obvious.
Flock wallpaper: For a three-dimensional look, the flock look is a perfect choice for a wallpaper inside kitchen cabinets. It is characterized by a raised, velvety surface.
It is made by printing a design or pattern onto a paper or vinyl backing material, and then coating the surface with a layer of fine fibers, typically made from silk, wool, or nylon. The fibers are then trimmed to a uniform length, creating a soft, velvety texture.
Traditional wallpaper: Traditional types such as Novamur are made from paper or other materials that can also be used on the inside of kitchen cabinets, but they may not be as durable or easy to clean as vinyl or foil wallpapers.
The traditional method is to paste it, which can only be done on the paste table. Its good points are that the paper becomes softer to handleand creases less. – New Looks for Wallpaper, 2014
Regardless of the type chosen, make sure it is rated for use in kitchens and bathrooms, as these areas tend to be more humid and prone to spills.
Modern wallpaper: Modern products are a general style that come in a wide variety of colors, patterns, and textures that range from vibrant, geometric shaped, and bold to muted and subtle.
The patterns are often geometric or abstract and the textures tend to be smoother than traditional products. Prints feature animal prints, small-scale typography, or contemporary illustrations.
The materials used for modern materials are usually vinyl, foil, or fabric-backed paper. Peel-and-stick kitchen installation options are also available for easy installation and removal.
How To Put Wallpaper Inside abinets?
To apply wallpaper to kitchen cabinets, the following supplies are basic supplies needed.
• Wallpaper (Chosen design)
• Scissors or Straight edge cutter
• Measuring tape
• Pencil
• Straight edge or ruler
• Contour gauge (for irregular shapes)
• Utility knife
• Wallpaper paste (if not self-adhesive)
• Sponge or roller
• Clean cloth
1. Clearing Out: Remove contents of all the cabinets including dividers that are removable. If the dividers are not removable, each small section should be measured to fit. It is best to remove the cabinet doors as well, if possible, in order to have easier access to the sectioned-out tiers.
2. Cleaning: Remove oils and accumulated debris thoroughly to make sure the backing adheres to the surface.
3. Remove Imperfections: Examine the surface of the inside cabinet for any imperfections such as protruding nails, bumps, or dents. Filling in the dents with wood putty and sanding the dried putty down to level the surface can help minimize the dents.
4. Get Dimensions: Measure the surface area of the kitchen cabinets to determine how much wallpaper is needed including the length and width.
For irregularly shaped cabinets such as curves or circles, use a contour gauge to transfer the dimensions of the inside of the kitchen cabinet. Provide 1 to 2 inches allowance on the edges when measuring for irregularly shaped cabinets while a few millimeters to 1 inch can be sufficient for regular shapes.
5. Cut the Wallpaper: Using the dimensions measured from the cabinet, cut it to size. Double check each section cut by holding against it on the inside of the cabinet and see any uncovered edges. When cutting patterns cut each section following the same pattern so it is easier to match it side by side ensuring a continuous design.
6. Mix the Paste: When using a product that does not come with a self-adhesive backing, apply a paste. There are adhesive formulas that come with a fungicide formula to discourage mold growth on the inside of the wallpapered cabinet.
7. Apply Mixture: With a sponge or roller, apply the paste on the backing. Make sure to apply it evenly to prevent bumps and an irregular surface.
8. Place the Material: For self-adhesive or peel and stick wallpaper, it is easier to install a section by starting at the topmost portion of the inside cabinet. Remove the top portion revealing only around half an inch of the sticky part.
Then align the peeled wallpaper on the top edge of the section to be covered that gently peel off downwards while smoothening the surface to help it adhere and prevent bubbles. Repeat the process until all the cabinet surface is covered.
9. Clean Wallpaper Surface: Using a clean damp cloth wipe off any excess paste that might have seeped through in-between sections.
10. Let the Surface Dry: For mixed adhesive backings let the newly covered surface to dry for a few hours.
11. Trim Excess Material: Using a utility knife and straight edge trace excess wrapping on the edges and gently trim off the extra piece.
12. Let it Dry: For mixed adhesive backings, let the surface dry and settle overnight or until everything is dried off before reattaching the dividers, doors, and handles.
Wallpapering Cabinet Tips
Here are a few tips to keep in mind when wallpapering kitchen cabinets:
• Clean the surface of the cabinets thoroughly before applying. This will help it adhere better and reduce the risk of air bubbles.
• Use a straight edge or ruler to ensure that the material is cut straight. This will help it look more professional and minimize the risk of gaps or overlaps.
• Take time when applying the wallpaper. Make sure to smooth out any air bubbles as you go, and use a clean cloth to wipe away any excess paste.
• When using traditional products, consider applying a clear sealant over the top to protect it from spills and moisture.
• Getting the material to stay in place is a common challenge. Try using a smoothing tool or a credit card to smooth out any air bubbles and ensure that it properly adheres to the surface.
• When reattaching the cabinet doors and handles, be sure to use screws or other hardware that is long enough to go through the material and into the wood of the cabinets.
• For fabric-backed vinyl wallpaper, be aware that it may shrink slightly over time. To prevent it from coming loose, consider using a strong adhesive in addition to the paste.
See more related content in our article about kitchen cabinetry wallpaper on this page.

