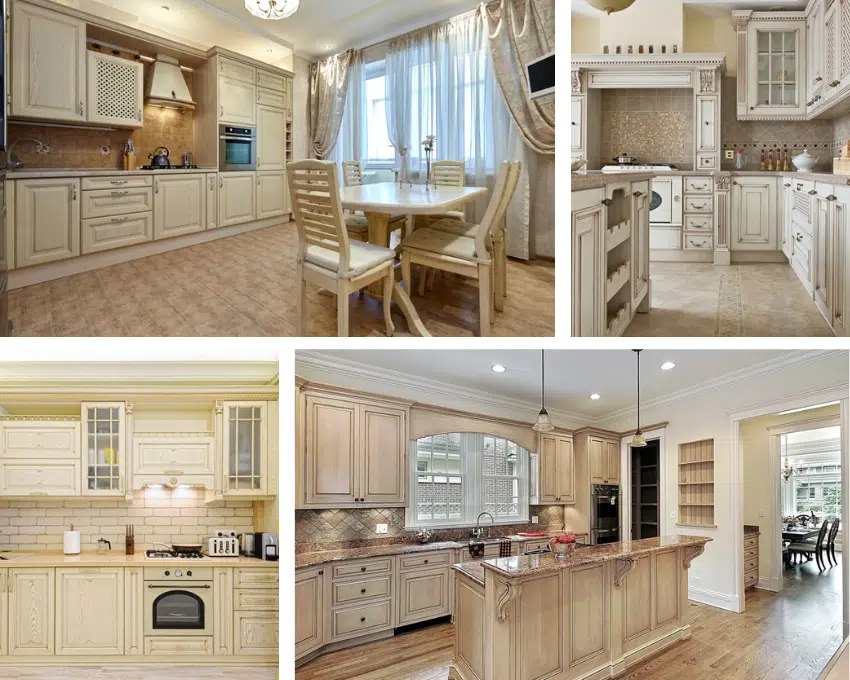
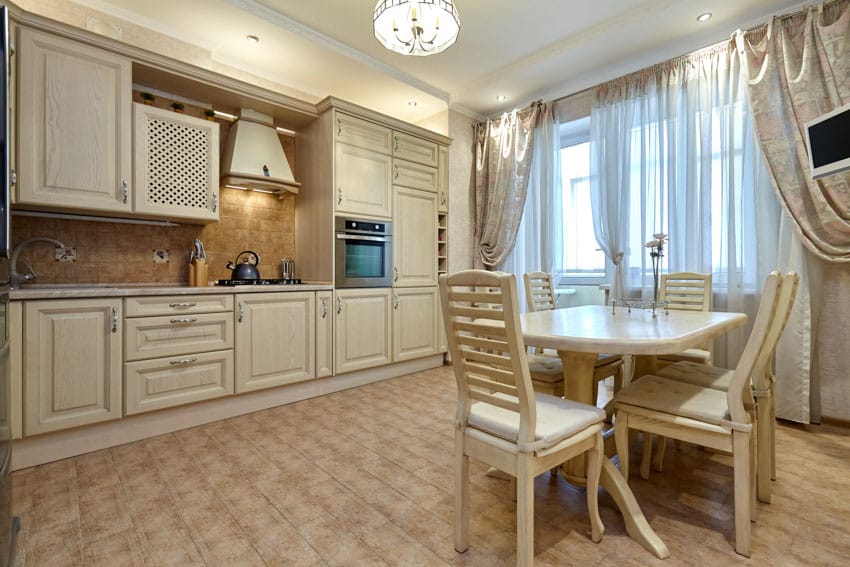
White Washed Wood Kitchen Cabinets
This guide to white washed wood kitchen cabinets shares what they are, the preparation process, how to white wash cabinets, and what materials to use.
If you have the correct tools, using the whitewash method is relatively easy, and the results will give your cabinets and space a facelift that will wow your visitors. This article will walk you through the process of preparing and whitewashing your wood kitchen cabinets. [toc]
What Are White Washed Wood Cabinets
The practice of whitewashing wood is gaining popularity nowadays as a finishing method. It is a fantastic technique to add interest to your cabinets without giving them a very dark or heavy finish.
Whitewashing helps bring brightness to a room or give the furniture an antique appearance. Damaged wood may be salvaged by whitewashing and can be used to cover knots, dents, and scratches.
Here’s some of the benefits of white washed wood kitchen cabinets:
• Lightens dark-shabby surfaces: The whitewash formula will provide complete coverage when coating interior and exterior surfaces. Whitewash can also wholly erase the red brick tones for individuals who want to match fireplaces to the existing walls or brighten their curbing.
• Smoother finish: The whitewash solution offers a smoother surface finish in a kitchen cabinet than limewash.
• Long-lasting: Whitewashed wood cabinets take little care and last for years, unlike paint, which needs regular upkeep.
• Application on painted brickwork: Whitewashing is also simple to use on painted bricks.
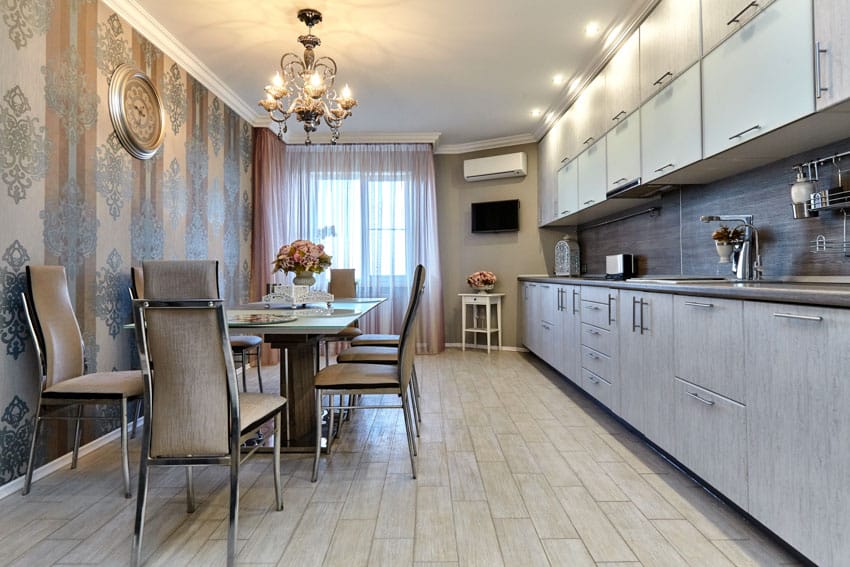
• Color varieties: There will be more options and diversity when applying the wash since the color will vary depending on the paint used.
• Cheaper to purchase: Paint may also be mixed at home using already-applied surface paint.
How Do You Prepare Cabinets To Whitewash?
1. Identify the kind of wood used in your cabinets: Identify the kind of wood used to make your cabinets. Softwoods like pine are the best choice for whitewashing. Pickling, a method of wood whitening, is necessary for a block of wood like oak.
Although you may pickle pine and other softwoods, oak, and ash are the most popular types of pickled wood. You may make your pickling stain for oak and ash kitchen cabinets or buy premade pickling stains.
2. Remove the cabinet doors: All cabinet doors should be removed, along with any hardware. If you remove the doors, it will be simpler to whitewash the doors and access the cabinet frames. Working on the cabinets and the doors separately is also a brilliant idea.
To take the doors off, use a drill. Label the screws as you store them to identify which door they should attach. Labeling the screws will help avoid confusion when reinstalling the doors, as the hardware matches a specific door.
3. Tidy the doors: Use a cloth and a solid degreaser to clean the doors before treating the wood. Apply the degreaser to the frames and the front and back of each cabinet. Repeat these procedures as required to clean the cabinet and frame thoroughly.
If required, use a light detergent to wash the cabinets, being sure to get into all the cracks. After, completely dry everything before continuing. You may use baking soda to remove tough stains, such as those you would encounter before whitewashing kitchen or bathroom cabinets.
4. Remove the doors’ previous stain: For whitewashing to work, the wood must be completely bare. Once the finish has broken down, apply one application of paint stripper with steel wool and then wipe with a cloth. The steel wool and rag should be disposed of in a sealed metal pail since most paint strippers are combustible.
5. Sand the cabinets: You may use a power sander and a hand sander for sanding the surface. The objective is to bring out the wood cabinets’ natural color. Never sand against the wood grain; always go in the same direction.
Sand all of the nooks and angles with caution. Use an orbital sander to expedite the job in extensive, flat areas. Use sandpaper for sanding the cabinets’ front frames, if any are visible.
6. Condition the cabinets: Softwoods, such as pine, may often seem blotchy when stained; therefore, it is crucial to condition any cabinets constructed of these materials. You can help raise the wood’s grain by conditioning.
For this stage, you may apply a pre-stain conditioner. Using a fresh brush made for latex paint, coat the cabinets with the conditioner and let them alone for 30 minutes. After that, lightly sand the cabinets with 120 grit paper once more. The white washed wood kitchen cabinets will have a smooth surface to absorb the stain after this last sanding.
How To White Wash Wood Cabinets

1. Pick a whitewashed wood stain: Consider your intended result when selecting a wood stain for your cabinets since different stains will result in warmer or darker tones. There are many different wood stains to choose from for your cabinets.
Water-based wood stains emit fewer fumes, dry quickly, and are simpler to clean up, but the color may fade more quickly than oil-based wood stains. It would help if you only used oil-based stains in well-ventilated areas.
2. Test the stain: It is a good idea to test any stain you want to use on a small piece of scrap wood or the same piece of wood. Before you open the stained container, it is best to give it a good shake.
Any pigments collected at the can’s bottom will mix in by doing this. Using a paintbrush, apply the stain to the scrap wood and then wait two to three minutes for it to dry. Before taking the following steps, be sure you are satisfied with the outcome. Also, learning how to match wood stain colors might come in handy for this task.
3. Stain the cabinets: Apply the stain with a clean cloth, working it into the wood with long, fluid strokes in the same direction. Accentuate any knots in the wood while maintaining the direction of the grain.
Remove any remaining discoloration with another clean rag or soft cotton cloth folded into a pad. The more pressure you apply to the cloth or pad, the more the finished product’s wood grain will be visible through the stain.
4. Allow the cabinets to dry thoroughly: It should take one to two days to complete. To the touch, the surface will feel sticky if the wood stain has not thoroughly dried and needs additional time to cure.
5. Use a top coat to finish the cabinets: Whitewashing brings out the beauty of the wood grain but does not preserve the wood in any way. Use a non-yellowing top coat to finish the cabinets that will permeate the wood’s pores and protect it from the inside out, such as a water-based lacquer or clear acrylic.
White washing may be done in one coat, two coats, or in three coats. In case of new surfaces, three coats of white wash are generally considered necessary. – Building Construction and Materials, Dr. Gurcharan Singh
Use a high-quality brush made for latex or water-based products to apply the top coat to prevent stray bristles from getting on your top coat. After letting the first layer dry for around 4 hours, carefully sand the cabinets with 220 grit sandpaper.
Place the cabinet on a small block or shims after the bottom is complete to prevent the polyacrylic from adhering to the surface of your workspace.
6. Reinstall the newly whitewashed cabinets: Using the indicated screws and hardware, hang the white washed wood kitchen cabinets back up in their precise locations.
Video on How to Whitewash Wood with Paint
What To Use To Whitewash Cabinets
The finest results and protection against paint peeling come from gently sanding the desired wood if it has varnish or polyurethane applied to it before whitewashing.
With only paint and water, you can give any piece of wood in your house the appearance of being whitewashed. Finish off the job by applying matte polyacrylic to preserve whitewashed types of furniture styles.
Polycrylic will safeguard the finish and will not turn yellow over time. You may also protect it by using clear furniture wax as an alternative.
Materials
• Your preferred latex paint (often white, although cream, grey, or blue may all work!)
• Water
• Water-based clear coat
Tools
• Paintbrush
• Sandpaper + sander
• A damp cloth or a rag
• Stir stick
• Mixing bucket
• Personal protective equipment
Does Whitewash Need To Be Sealed?
Apply a long, smooth brush stroke of water-based polycrylic top coat, slightly overlapping the preceding stroke.
Wax, varnish, shellac, polyurethane, and polyacrylic may all be used to seal whitewashed wood. It may be water- or oil-based. A layer of defense is vital to stained wood by applying sealer or top coat.
Follow these easy methods to obtain whitewashed wood that lasts:
1. Clean and dry the surface.
2. Sand to make the surface more level.
3. When using the sealant, stir it occasionally.
4. Apply a thin layer of sealant using a brush.
5. Place two to three coats on.
6. The sealed wood needs a day to air dry.
Whitewashed wood is a popular style that will last longer if sealed. Before applying a layer to the cabinet’s other side, let the previous coat fully dry.
Apply a second layer after sanding the top coat with fine sandpaper after drying it for a few hours. Reinstall when everything is already dry and ready for 24 hours.
How Long Will Whitewash Last?
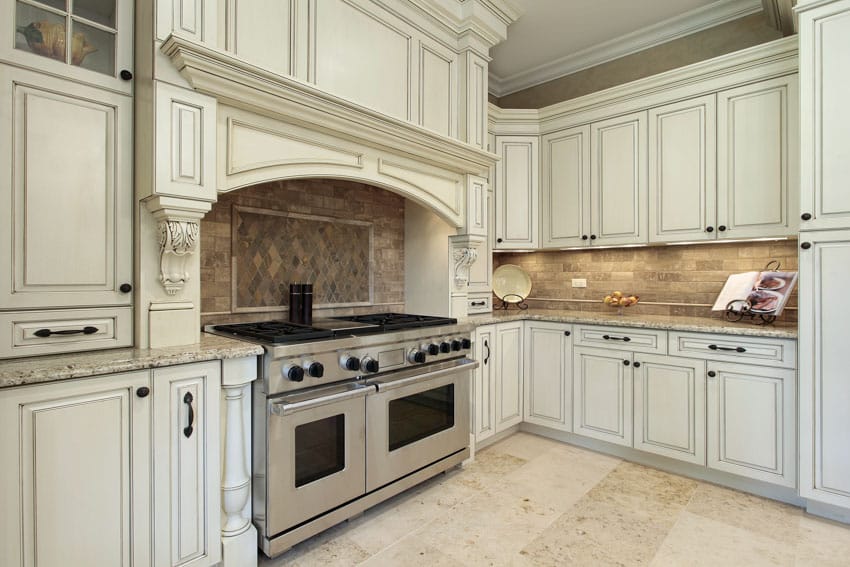
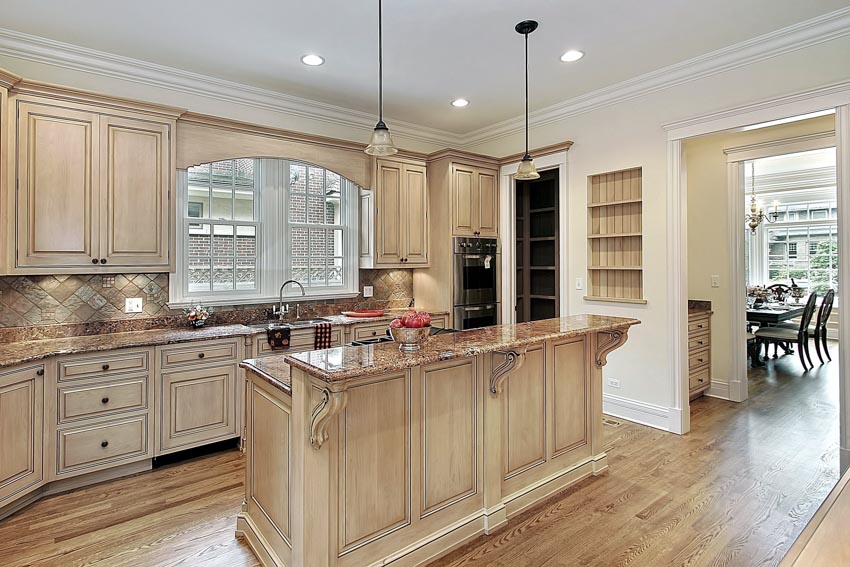
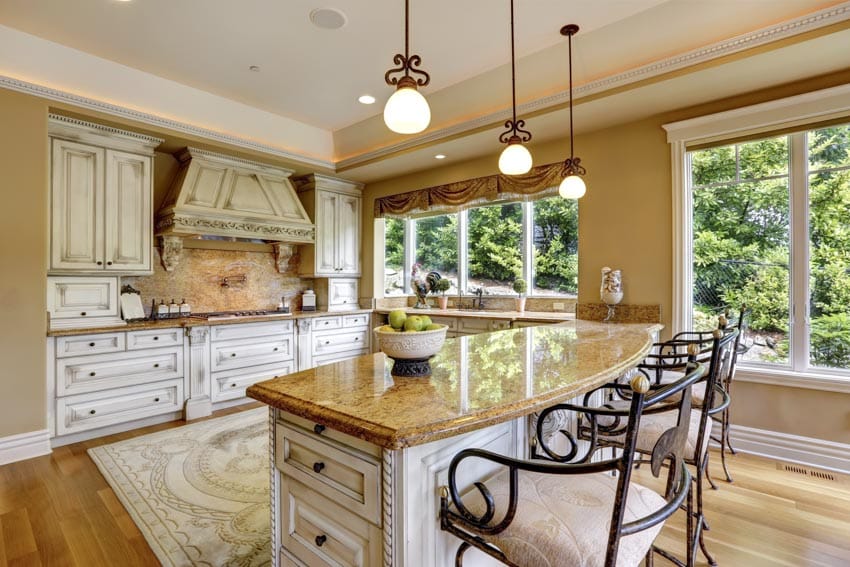
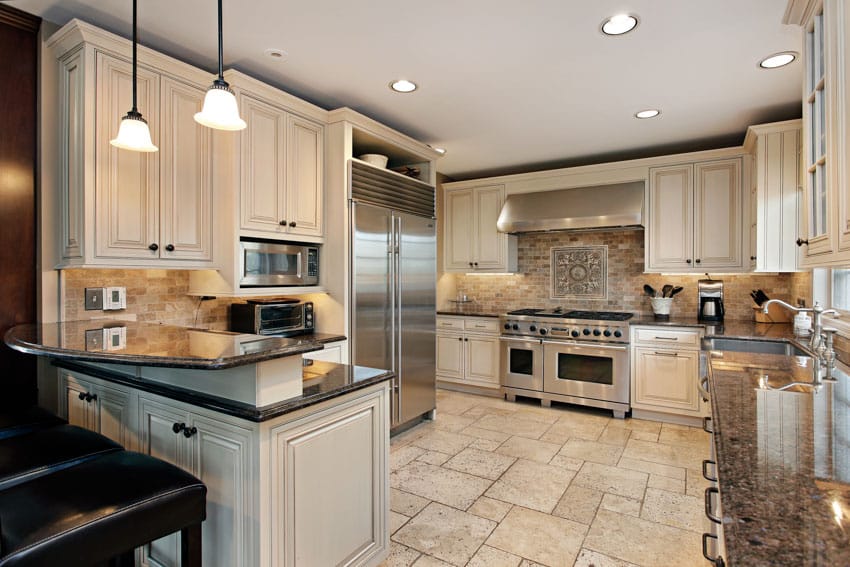
A gloomy kitchen may be transformed into a bright, inviting, and seemingly bigger space using whitewashed kitchen cabinets. Whitewashed cabinets can brighten a space without paint and let the wood’s natural grain come through.
You can get this style on your own for big projects like kitchen renovations, minor DIY projects like different types of shelves and furniture, and hard surfaces like accent walls, stairways, ceilings, and floors. The best part is that you get a stylish appearance less formally and more economically.
To increase the lifespan of the whitewash, mix in some satin polyurethane or water-based matte sealer. Whitewashing may last up to 20 to 30 years if done correctly and requires minimal upkeep.
White Washed Cabinet Tips
For optimum results, adhere to these easy tips.
• Using water and paint techniques: Paint may be made semi-transparent by adding equal parts water and paint, allowing the wood grain to show through. This method produces a uniform and regulated contemporary appearance and works best on fresh timber or flat surfaces.
• Using paint and wax technique: Wax covers high points and surface grain on the wood before painting in this method. This technique produces a chippy, old appearance, and works on many sorts of wood.
• The “paint and drag” technique: This method produces a more rustic, barn wood appearance and works well on surfaces with significant roughness, such as rough or salvaged wood.
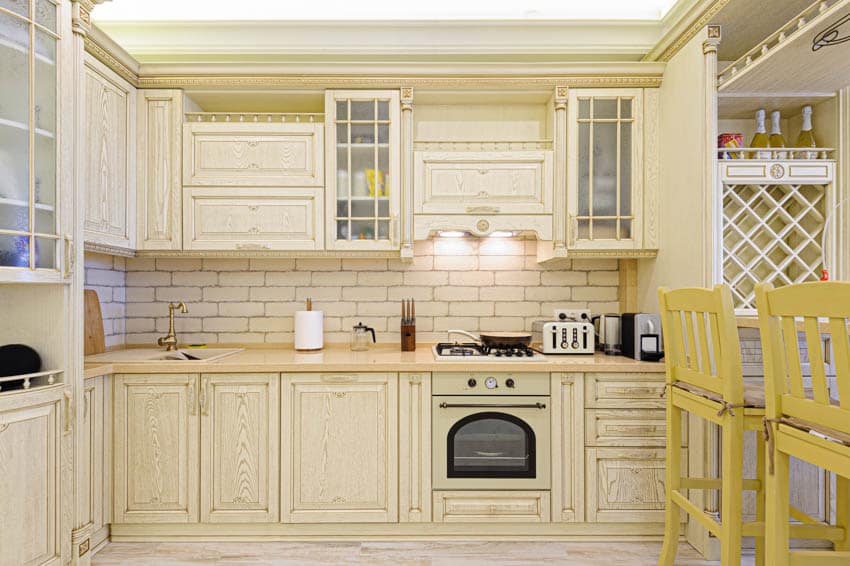
The warmth and richness of the wood grain are evident in whitewashed kitchen cabinets! Whitewashing cabinets requires far less time, money, and effort than painting. It just takes one day to update kitchen cabinets, and the project’s overall price is way less.
See more related content in our article about gray washed kitchen cabinets on this page.
To showcase highly specific designs, some images on this website use advanced AI-generation software to illustrate ideas and room inspiration. See our editorial policy to learn more.