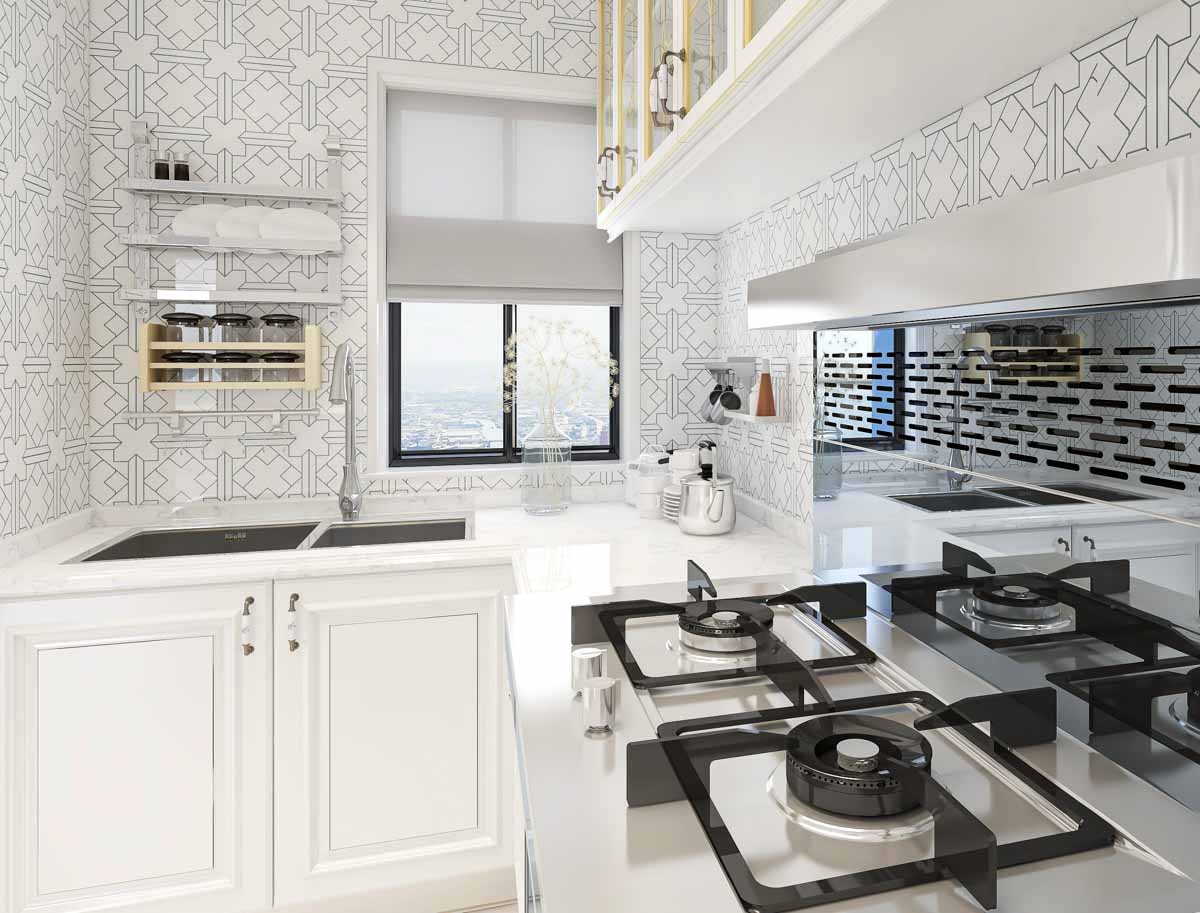
Peel And Stick Wallpaper Kitchen Makeover
Give your kitchen an instant facelift with peel-and-stick wallpaper! No more labor-intensive painting or remodeling – just a quick, easy makeover to give your space a totally new look. The results are excellent for homeowners looking for an affordable option or great for renters looking for a temporary solution to add a fast modern statement piece to the kitchen design.
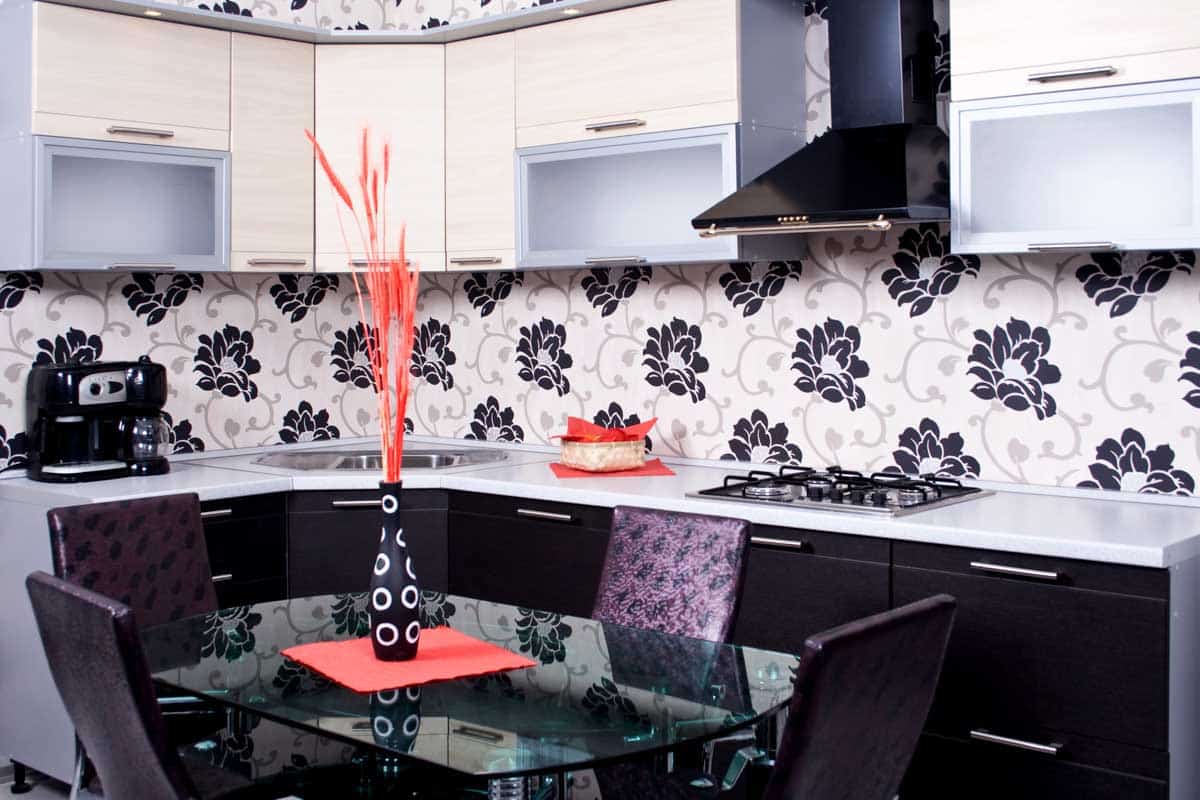
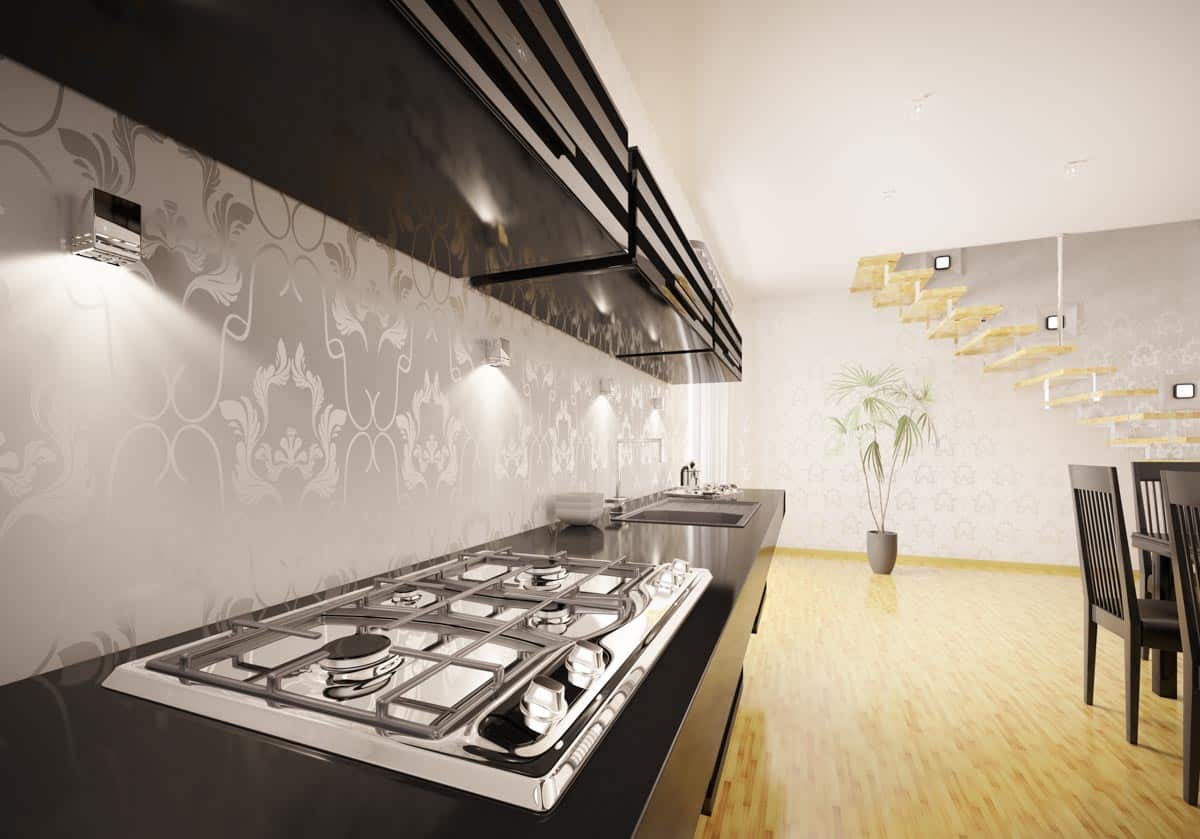
You can make it fun by experimenting with bold patterns and eye-catching colors, or keep it classic with neutral tones and traditional designs. Plus, when the time comes to switch things up again – no problem! With peel-and-stick wallpaper, you can have a fresh style in mere minutes We’ll show you the easy way to measure, cut, and stick peel-and-stick wallpaper to create an awesome finished project. Plus, we’ll give you tips for tackling the harder tricks of the trade to guarantee a professional finish.
DIY Makeover (Tutorial Video)
Ready to revamp your kitchen? Here’s a step-by-step tutorial guaranteed to get you there. We’ll show you how to transform the space with peel and stick wallpaper while providing a few of our top tips and tricks along the way.
So let’s get started – it won’t take long before you’re absolutely loving that new-and-improved look!
Step 1: First things first – let’s get a figure of what your wall measurements are. So measure away – length, width, and area – to make sure you have the right number of wallpaper rolls when you hit the store.
Step 2: Once you’re sure that everything is laid out correctly, give your wall a good clean – get rid of any dust or grime that could mess with the wallpaper glue. Don’t forget this step; it’s essential to ensure your wallpaper sticks like glue.
Step 3: As your wall dries, it’s the right time to get down to measuring & snipping the wallpaper into strips! Take two points on the back of the paper and mark them with a ruler; you’re all set for cutting that first panel.
Step 4: It’s time for the second panel: line it up with the pattern from panel one and lay them, overlapping by an eighth of an inch. Make sure you carry on layering them until you’ve got all the panels you need — labeling them so they can be installed in the right order.
Step 5: Let’s start sprucing up with this exciting project. Gently peel off the wax paper from the wallpaper—about six or more inches.
Step 6: Gently place the peel-and-stick about an inch up, then use a ruler or hard plastic squeegee to smooth out any air pockets as you tear off the wax paper – remember, if your wall has texture there are tips especially tailored for that type of job.
Step 7: When you’re on the second panel, make sure to line up the design with the pattern from the first – and overlap them for that seamless look.
Step 8: Lastly, press the wallpaper into the corners and use your razor to get rid of any excess. The last panel can be a bit tricky but fret not: peel-and-stick material is totally forgiving, so you can always adjust it if anything isn’t looking right.
Tools Needed
To ensure a successful peel-and-stick wallpaper kitchen makeover, gather the following tools:
• Measuring Tape: Having a measuring tape is key. We have to make sure we get those measurements just right so the installation is smooth sailing. No room for any errors here!
• Utility Knife Or Razor Blade: A utility knife or razor blade is essential for precision cuts and trims. It’s a must-have for cutting through the nitty gritty of any task.
• Straight Edge Or Ruler: This tool can be a real lifesaver when trying to draw sharply defined lines and get tidy results.
• Squeegee Or Smoothing Tool: This handy tool is great for getting rid of any pesky air bubbles and leaving behind a perfect finish. It really helps to ensure everything looks super smooth.
• Level: This tool guarantees the application will be perfectly straight and aligned! It’ll take just a few seconds, and you’re good to go.
• Clean Cloth Or Sponge: If you want to get the wall primed for papered perfection, nothing beats a good old cloth or sponge. It’s ideal to get that surface sparkling so your kitchen looks amazing.
• Step Ladder Or Stool: Ladders or high stools make it so much simpler to stick the wallpapers up high. Such a good investment if you don’t want the hassle of reaching the high parts of the walls.
Application Tips
Need some help with that peel-and-stick wallpaper? It takes a bit of finesse. Here are a few tricks of the trade to get it just right and look like you hired a pro:
• Start From A Clean Surface: Before you apply anything, give your walls a good scrubbing to get rid of any dirt, grease, or gunk. Having a smooth, clean surface guarantees better sticking, makes it easier to apply the kitchen wallpaper, and keeps you from having to replace any artwork too soon.
• Measure Twice, Cut Once: Take your tape measure and get accurate measurements of those walls. Don’t forget to double-check everything so you don’t end up wasting material or having wonky seams around the kitchen cabinets. Better safe than sorry!
• Create A Template: Trace the complex shape of outlets, light switches, or corners onto the back of your wallpaper – then cut it out with precision for a neat, snug fit!
• Remove Air Bubbles: Get rid of any pesky air bubbles with a squeegee or smoothing tool. Start from the middle and work your way out, pressing firmly to make it look slick.
• Align Patterns: Lining up your patterns is a must when it comes to installing the peel-and-stick wallpaper – just think how chic the finished look will be! And if you really want that perfect, attention-grabbing effect, taking your time to align those patterns properly is a must.
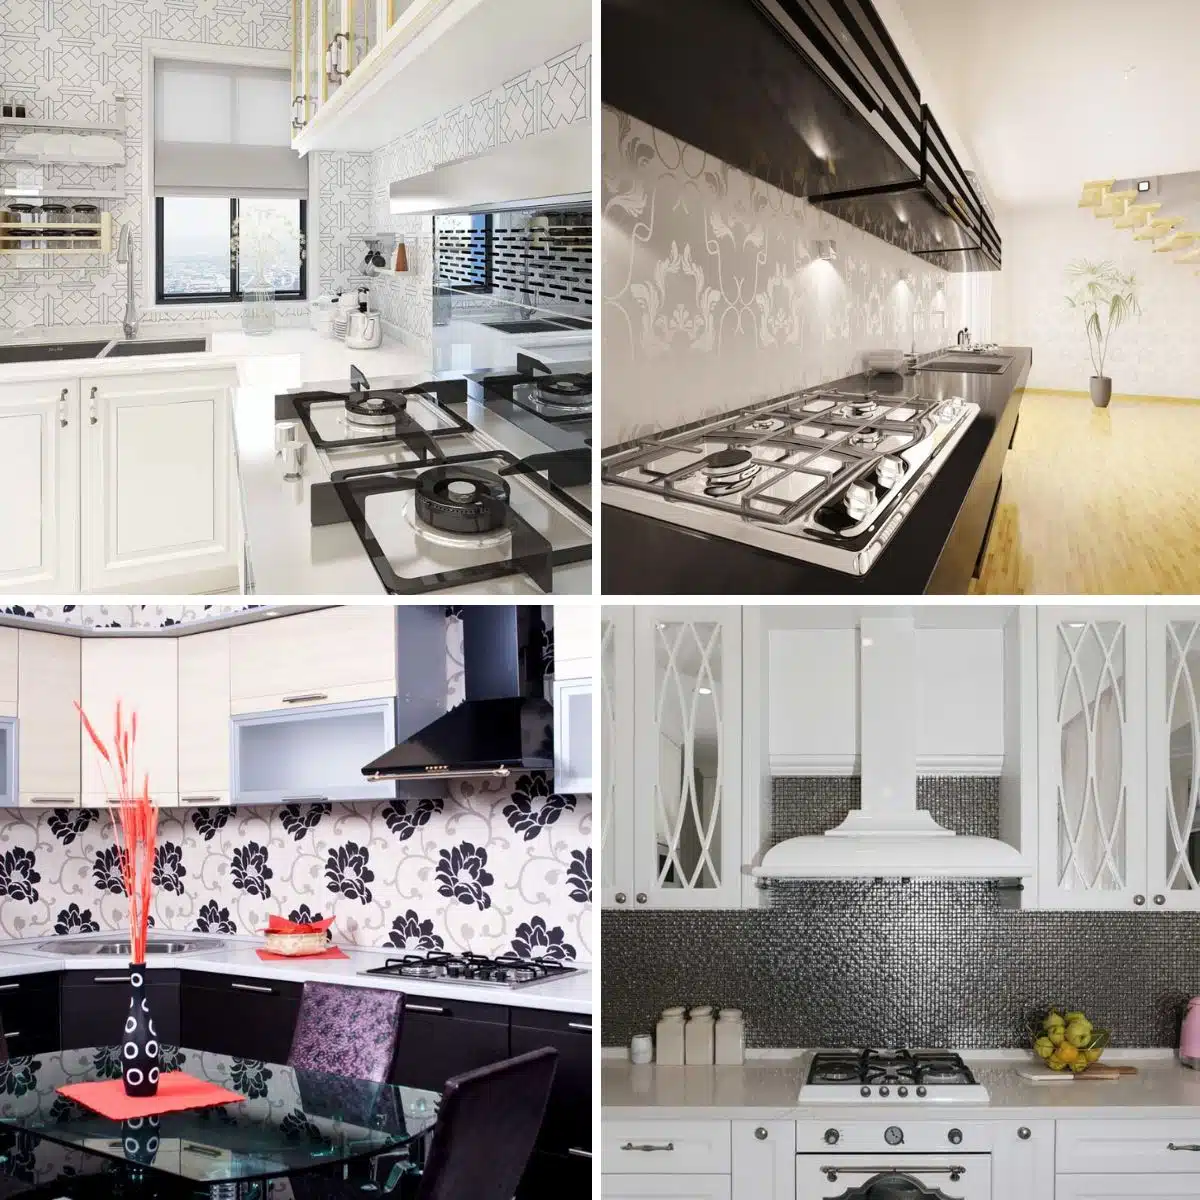
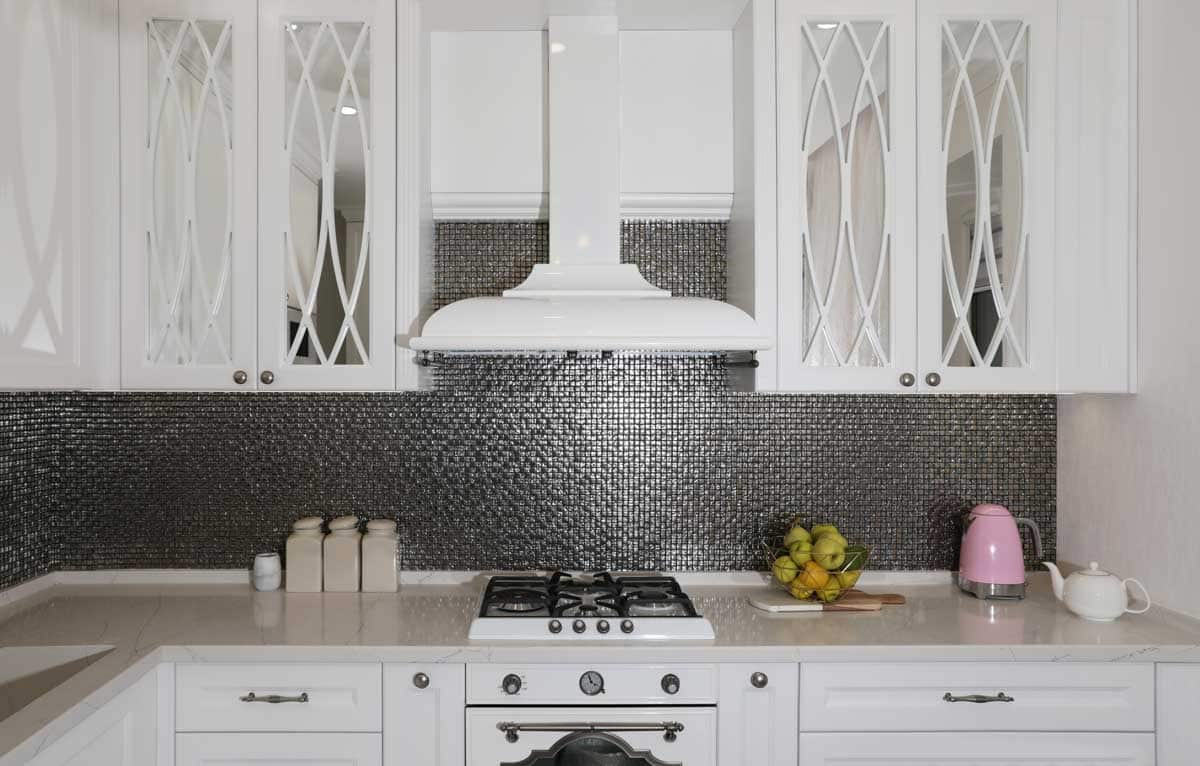
What Color Is Best For Low Maintenance?
Picking the perfect hue for your self-adhesive wallpaper could make all the difference in terms of upkeep. Have a gander at these choices:
• Neutral Tones: If you’re looking for a timeless look that doesn’t require too much upkeep, go with neutral hues like white, beige, or gray. No more worrying about tough-to-remove stains – these colors stay looking fresh for longer!
Neutral colors are shades of whites, blacks, and grays. Neutrals are the most popular decorating color because they work well with any decor and pair well with any other color on the color wheel. – Small Spaces Beautiful Kitchens, Tara McLellan
• Patterns And Textures: Patterns and textures in wallpaper designs can definitely do the trick! Not only can they mask minor dirt and wear, but they will also stand up to all the daily hustle and bustle. Think subtle patterns or textured finishes that won’t go dull or askew over time.
• Darker Shades: If you’re worried about stains and spills, navy, deep green or charcoal products are your best bet. These darker shades will help keep messes under wraps – so say goodbye to those oh-so-visible light colors!
• Washable Finishes: You can also search for peel-and-stick types with a washable finish! Perfect for when easy maintenance is a must – many materials like vinyl tiles can stand up to mild scrubbing or wiping, without incuring any damage.
When it comes to low maintenance, the color you choose is totally up to you and your own personal taste. Think about what kind of look you’re going for in your kitchen so that when you pick those peel-and-stick wallpapers they’ll both look fab, plus be sturdy and reliable!
You’re all set for a kitchen makeover with peel-and-stick wallpaper – just grab the right tools, master the application techniques, and pick colors that fit your style! Dive into the creative possibilities and wow everyone as you transform your kitchen into a space that’s truly unique and all yours.
As you explore colorful possibilities, consider not just the beauty of it all but also its practicality – low maintenance! Neutral hues, patterns, textures, and deeper shades all have their pros when it comes to concealing spills and cutting down on cleaning. What’s more, settling on a washable finish can help your wallpaper put up with daily wear and tear – making your life easier!
Go for it during your wallpaper kitchen makeover – don’t be scared to experiment and tweak away. You’ll find that this method of wallpapering may be easier than painting or using other traditional methods. Don’t stress if you make a mistake; just try again – no biggie! Embrace the learning curve with enthusiasm, and trust that you’ve got what it takes to make an uber-stylish yet cozy kitchen space.
To showcase highly specific designs, some images on this website use advanced AI-generation software to illustrate ideas and room inspiration. See our editorial policy to learn more.