Pickled Oak Cabinets (Paint & Finish Guide)
In this pickled oak cabinets guide, you’ll see the advantages and disadvantages of this wood finish and how to pickle and paint oak cabinetry.
When you hear the word pickle, you automatically think about food. But do you know it can also be associated with oak cabinets? And yes, they don’t have anything to do with cucumbers, onions, or even food in general.
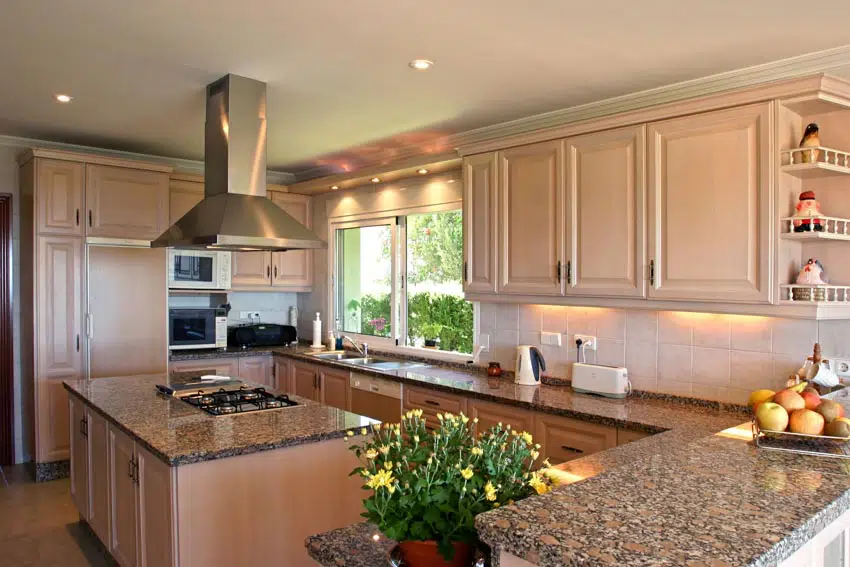
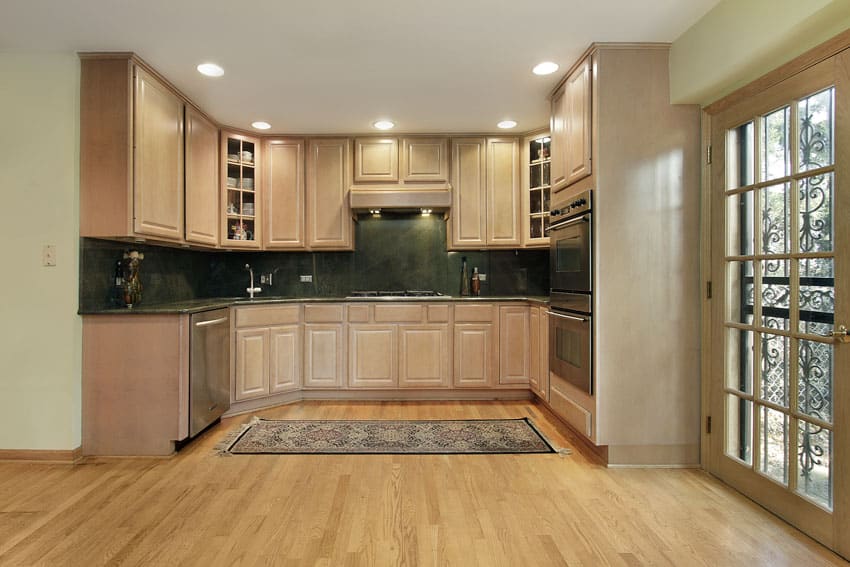
Pickled oak cabinets are light-colored furniture you can add to your home for a more elegant and ethereal appeal. If you want to try installing one in your home, explore what it means to have one and what you get out of it. [toc]
What Are Pickled Oak Cabinets?
From 16th-century Europe, picking wood is inspired by the practice of applying the caustic lime paste on the wood in an effort to battle insect infestation, including termites, ants, and wood borers.
In terms of the addition to the wood’s aesthetic value, though, pickling started in the 1980s to accomplish a whitewash finish, and throughout the years, also included staining the wood in a pastel color.
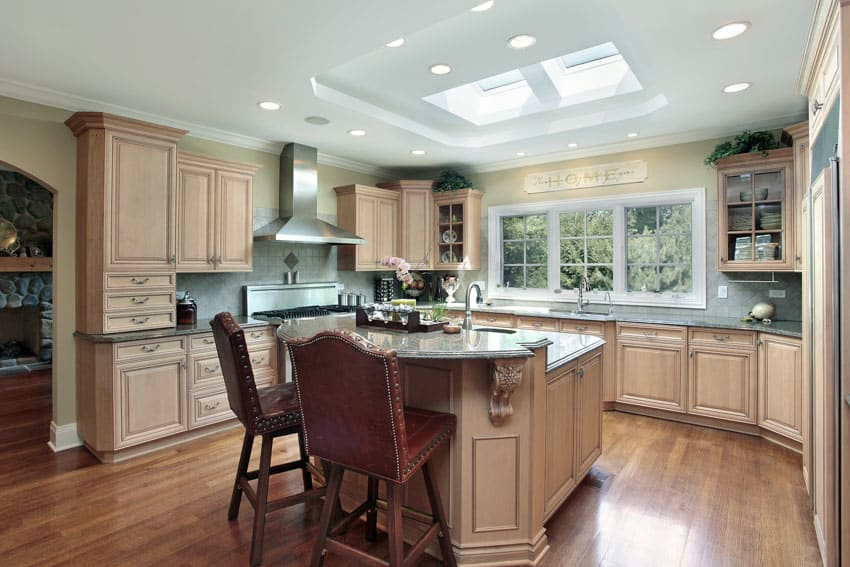
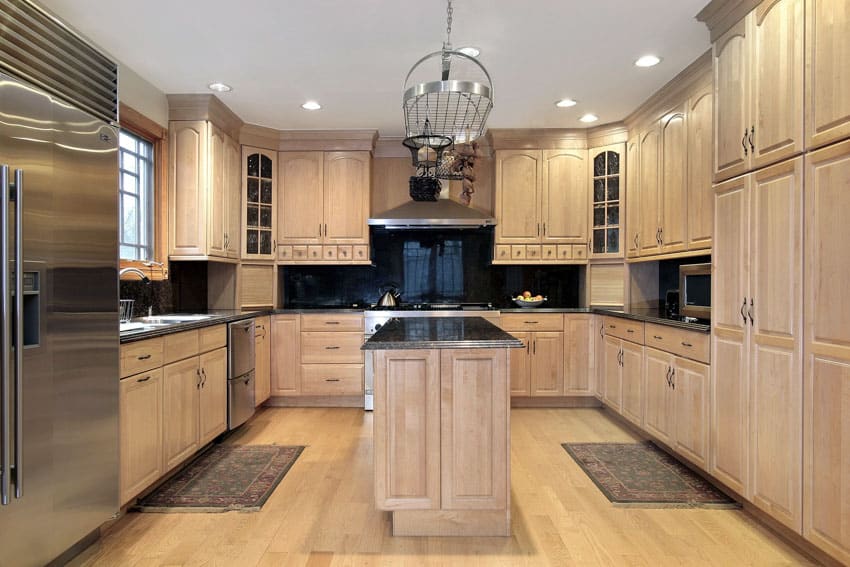
Pickling is a kind of treatment technique used for light-colored woods that makes them appear lighter. Lighter options like pine, oak, and rash have open grains and pickling makes use of these different types of wood grain patterns, applying the stain in their direction to successfully achieve an almost transparent white color.
This treatment accentuates the wood’s grain instead of hiding it through dark stains. This includes the crevices and irregular pores that the wood may have, giving it more character in the process. And it is one of the more affordable options to spruce up your cabinets and change the vibe of your home.
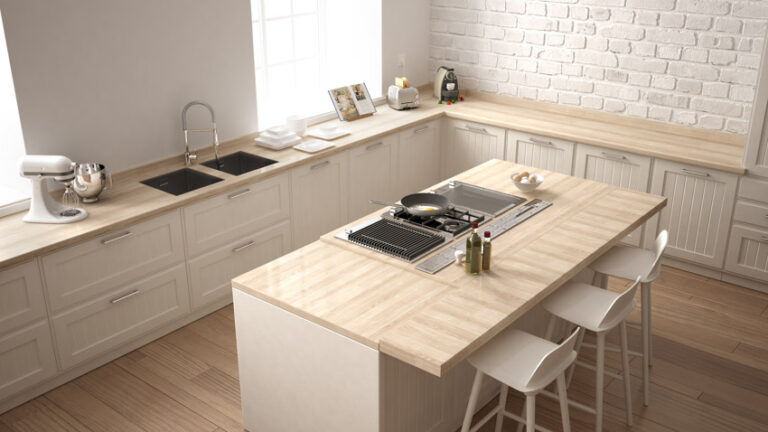
Pickled oak cabinets give a home this rural-inspired look, offering a rustic and homey vibe. And if you are considering them for your home, you can benefit from their cost-effectiveness and easy application.
You have to remember, though, that they become quickly outdated and that DIY-ing it can end up more of a disaster than a masterpiece.
Pickled Cabinet Finish
Creating a pickled cabinet finish can easily be completed using a prepared solution in a can. A water-based finish is normally used with pickled cabinets to protect the treatment used on them.
If you already have a picked cabinet that looks weathered by time, you can easily spruce it up with a finish. And besides upgrading its looks, you will also be able to protect the cabinet.
How To Pickle Oak Kitchen Cabinets (Steps, Tools & Materials)
If you decide to pickle your oak cabinets, the steps you need to follow will depend on whether you are pickling a new cabinet or an old one.
Picking an old oak cabinet can include more steps to follow since you need to strip it off from its previous coating. Explore these different steps and check out if you are able to follow them to a T.
Pickling Steps
The steps to follow in pickling oak cabinets will depend on their current condition.
Step 1: Preparation
• Set up your workspace by spreading newspaper all over the floor and a plastic sheet on your backsplash.
• Take out your electric drill/driver or screwdriver to remove the screws, handles, knobs, and hinges (Make sure to keep everything in one plastic).
• Clean the cabinetry thoroughly by washing them with turpentine, linseed oil, and water mixture. Let the surface dry before going to the next step.
• Strip away the existing finish. Use lacquer thinner to wash the cabinets against and apply paint stripper and let it sit for some time before washing it down with water and letting it dry.
• Sand all surfaces of the cabinet to smooth blemishes, crevices, and bumps (You can use a sand palmer, sander, or sanding sponge). Use a vacuum cleaner to get rid of any speck of dust left from sanding and wipe the surfaces with a dry microfiber cloth.
• Optional: Treat the wood using caustic soda or wood bleach with ammonia and apply it toward the grain. Let it sit for at least 20 minutes or whatever is in the package’s instructions.
Apply hydrogen peroxide and let it sit for 30 to 60 minutes. Wash it with water and then use Paper towels or lintless rags to dry the surface. Repeat this process 1 more time before air-drying it for at least 24 hours.
Step 2: Staining the Cabinets
You can use a white oil stain or mix your own pickling stain following these proportions:
• 1-quart white latex-based paint
• 2 cups water
Use a mixing container for this mixture and make sure it’s in the consistency of a thinner.
Before you smoothly apply a thick layer of pickling stain, start with a patch test in a discreet area. If you like what you see, start applying more on the surface and make sure that it’s in the direction of the grain.
Let the pickling stain dry for 10 minutes then use a dry cloth to wipe away the excess stain. Don’t forget to use long strokes and to press lightly on the surface to have better control over the result.
Remember that the more stain you wipe out from the surface, the better since it will be lighter. Let the stained wood dry for at least 12 hours before doing the next step.
Step 3: Sand the Surface of the Cabinets
Use 150-grit or 220-grit sandpaper to prepare the cabinetry for the second coating. Make sure to be thorough and get rid of the dust using a vacuum cleaner and dry cloth.
Step 4: Repeat Steps 2 & 3 Until You Achieve Preferred Look
Apply stain, wipe, and sand until you achieve the look you want your wood surfaces to have. More layers will mean a less transparent appearance but whiter. Skip step 3 on the final layer and if you are now moving on to the next step.
Step 5: Apply Final and Top Coat
Apply the final coat on the cabinets’ surfaces, which usually comes in the form of water-based non-yellowish varnish. This will help maintain the cabinet’s look longer. Make sure you are using a soft brush and applying a thick coat of varnish. Finally, let it dry for at least 24 hours.
Step 6: Reassemble the Cabinets
Once you’re sure that everything’s dry, reassemble your cabinetry. Connect doors, hinges, and drawers back to their original places. This will be an easy task if you organize the parts group by group and keep them together.
Pickle Oak Cabinets Tools
Here are the tools you will need to pickle your oak cabinetry:
• Stain brush
• Synthetic bleach brush
• Screwdriver/Electric drill or driver
• Vacuum cleaner
Materials
Besides the tools you will use, here are all of the materials necessary for you to accomplish your task.
• Newspaper
• Staining rubber gloves
• Safety glasses
• Dust mask
• Personal protective equipment
• Sandpaper (150-grit and 220-grit)
• Bucket
• Paper towels
• Tack rags
• Turpentine
• Linseed oil
• Hot water
• Two-step wood bleach
• White oil paint/Whitewash or Water-based pickling stain
• Non-yellowish varnish
• Wood sealer
• Optional items:
1. Wood bleach
2. Hydrogen peroxide
3. Sander
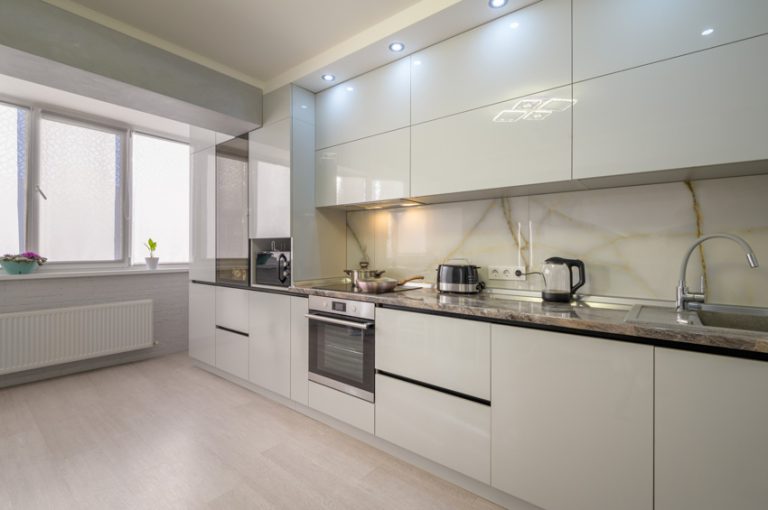
Can I Paint Over Pickled Cabinets?
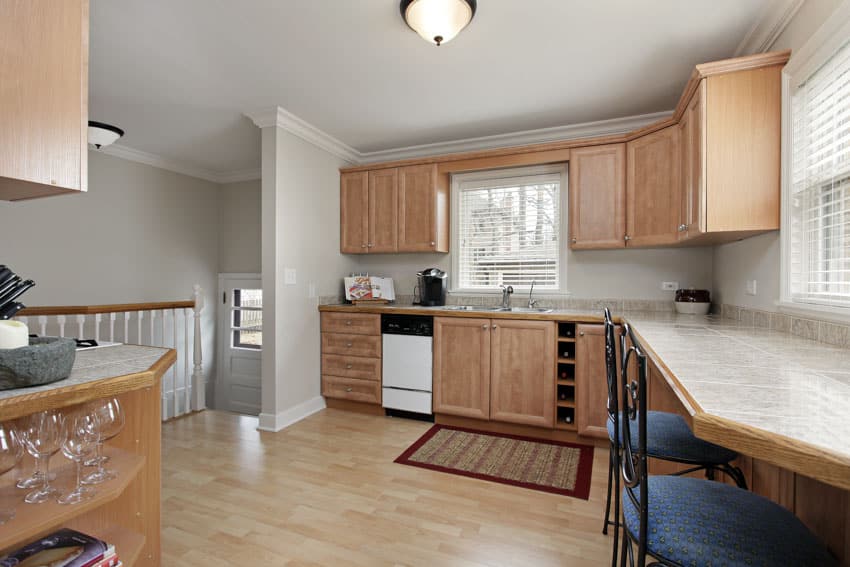
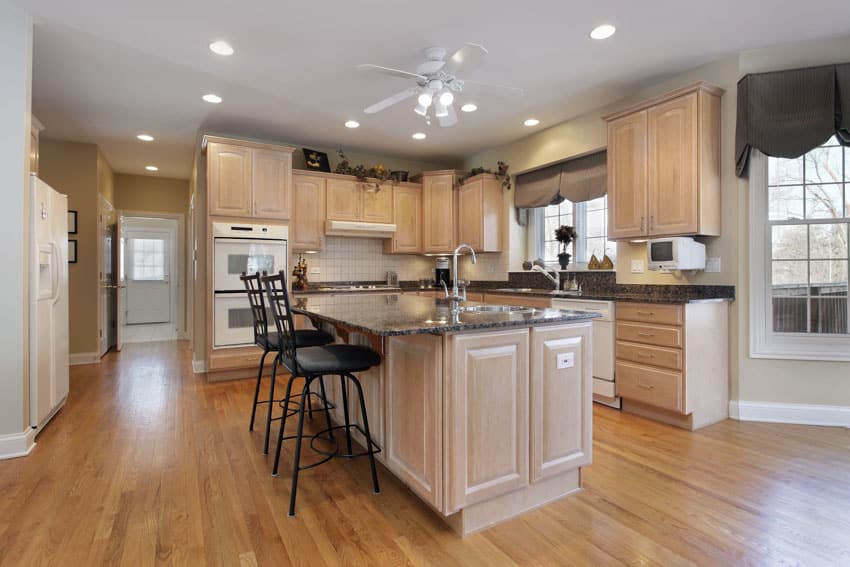
Definitely yes, you can paint over pickled oak cabinets. While pickled oak results in rustic kitchen cabinets, there might come a time when you get tired of their aesthetics and want something new.
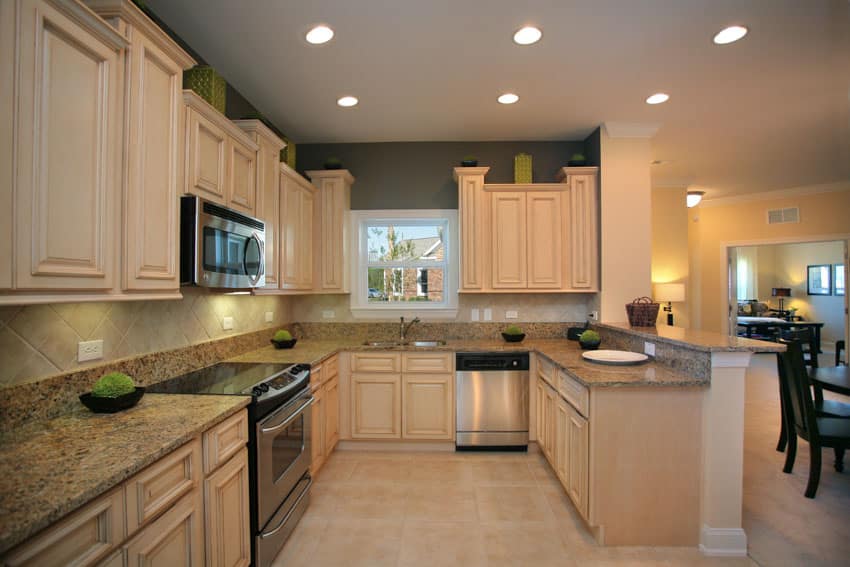
In this case, painting over them is a good option. Pastel colors are great for pickled oak. If you want specific ones, though, here are some colors worth considering:
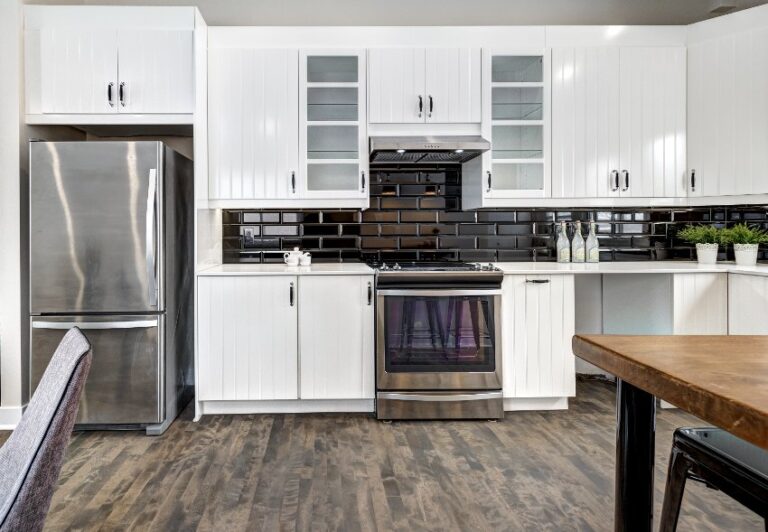
• Light soft colors like Cream, Beige, and Yellow
• Tans, Browns, Sand, and Taupes
• Lime, Moss Green, and Warm Sage
• Khaki, Baby Blue, and Navy Blue
• Blush Pink
• White
Read more about paint colors with oak cabinets on this page.
How To Paint Pickled Cabinets (Steps, Tools & Materials)
When painting pickled oak types of kitchen cabinet materials, it is also important to prep your cabinets before the actual task. Follow the preparation mentioned above for pickling oak wood surfaces since they are practically identical. After that, here are the steps you need to follow to paint your pickled oak cabinetry.
Steps
Apply the primer on the surface of your cabinetry using a mini roller or a synthetic brush for smoother layers. You can choose either an oil-based primer or a water-based one, whichever you prefer.
The former is said to be more adhesive to surfaces while the latter is eco-friendly and minimizes indoor fumes.
Step 2: Sand the Primed Cabinets
Sand the cabinets after letting the primer dry out. Use a 320-grit sanding block to get rid of bumps and smooth the surface better. Use a vacuum cleaner to clean out all dust particles and wipe the surfaces down with clothes for a cleaner finish.
Step 3: Repeat Steps 1 and 2
Step 4: Apply A High-Quality Acrylic Paint
Make sure to prep your paint first, along with the paint sprayer so that everything will be ready for the application. Paint the cabinetry with the color of your choice and use a paint sprayer for a more even application. Start with the small areas and difficult angles.
Painting Tools
These are the tools you will need for the task of painting your pickled oak cabinets.
• Paintbrush
• Paint Sprayer
• Mini Roller Kit
• Paint Measuring Cup
• Vacuum cleaner
Painting Materials
You also need to prepare these items beforehand so that you will be prepared to complete the task of painting your pickled oak cabinets.
• Oil-based primer
• High-quality Acrylic Paint
• 320-grit sanding block
• Dry cloth
See more related content in our article about backsplash for oak kitchen cabinets on this page.
To showcase highly specific designs, some images on this website use advanced AI-generation software to illustrate ideas and room inspiration. See our editorial policy to learn more.