Kitchen Deep Cleaning Checklist
Here we share our kitchen deep cleaning checklist with tips on how to prepare & deep clean kitchen countertops, sink, cabinets, and appliances.
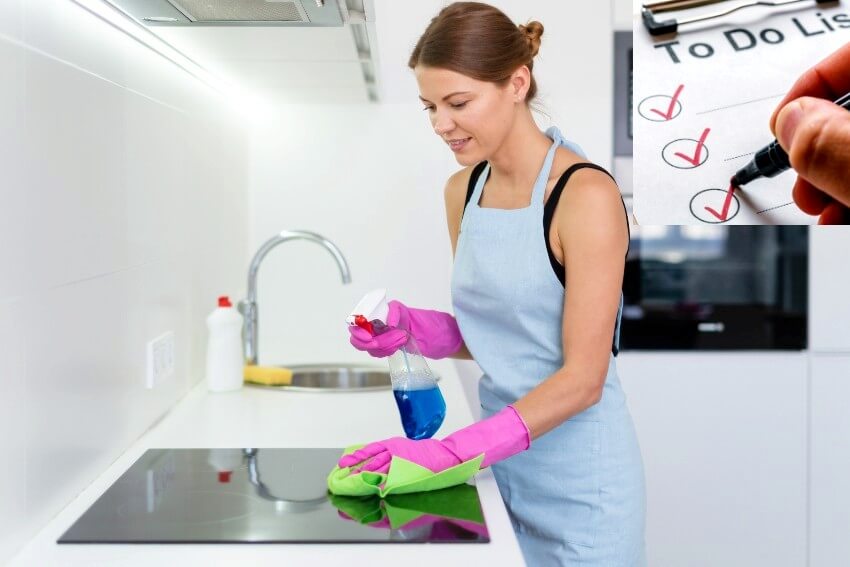 Let’s face it, cleaning is not your favorite chore and you’d rather sit on your couch and watch Netflix the entire day. Either way though, it’s not a task you can avoid. And prolonging and procrastinating will just make it worse since you’ll have more to clean in the end.
It can seem unbearable but there’s actually one way to make it tolerable or even fun. How? By making a cleaning checklist that can satisfy the dopamine in your body. And yes, it’s one of the happy hormones you can hack to make you feel good and at the same time achieve something from it!
The kitchen is one of the most important areas in your home to keep clean and hygienic. It’s one of the areas that really need deep cleaning (That’s where you handle your food!).[toc]
How To Deep Clean A Kitchen

And yes, it can definitely get overwhelming that you won’t want to start this task in the first place (You won’t even know where to begin!). But this is why you need a checklist to simplify the task!
Kitchen deep cleaning will be more than just washing the dishes and cleaning your refrigerator. If you are serious about deep cleaning your kitchen and want a healthier environment in the process, this will include even the walls, floor, countertop, and backsplash.
All appliances inside the kitchen will also need to be cleaned, as well as all the cabinets and drawers. Here are simple steps to follow to start with deep cleaning your kitchen.
Step 1. Create your kitchen cleaning checklist
In this task, start with listing down all the areas in your kitchen, from one corner to the other. Break down the areas into smaller areas and smaller tasks to simplify what you need to accomplish. This will help you not get overwhelmed with deep cleaning your kitchen.
Here are simple tips for creating your kitchen deep cleaning checklist:
1. Create a simple and workable checklist (Don’t get too wordy and break down tasks to simplify them.
2. Include the expected duration of time to finish each task (This will help you decide how much time you need to accomplish the task).
3. Arrange your checklist in the chronological order you believe will help you be more effective in your cleaning.
4. Make sure to include little breaks in your list and insert them after finishing several tasks and areas.
5. Create a checklist that’s fun to look at (Yes, you can put images and emojis if you want to). No one likes to look at a long list of plain text that seems intimidating to deal with.
Step 2. Prepare your kitchen for the cleaning
There are pre-deep cleaning tasks you have to do before you go full hands-on with this task. Accomplishing these tasks will make it easier for you to focus on the more critical cleaning you need.
Step 3. Start the deep cleaning
Go through your cleaning checklist one item at a time. And yes, make it fun as much as you can (If it’s possible at all).
Step 4. Organize your kitchen
After all the cleaning, return all the appliances and other elements of your kitchen to their original places (Or re-arrange them if you’re going for a new and fresh look).
In What Order Should You Clean The Kitchen
Yes, there’s actually a logical order in cleaning your kitchen that will make it more efficient for you. This will help you clean more effectively and go from one task to another.

• Refrigerator and freezer
• Drawers
• Cabinets and cupboards
• Pantry
2. Ceiling and Lighting Fixtures – Start with the top and let the dirt fall on the floor in the early part of your cleaning so that they can all be swept in one go once you start cleaning the floor.
3. Cabinets and Drawers – Start with the hanging cabinets if you have some then work your way down.
4. Appliances – Clean your appliances one at a time and make sure to take out the small ones you’ve hidden in the pantry or kitchen cabinets.
5. Walls and Windows – While mostly overlooked, these elements are vital to keeping your kitchen clean and healthy. Don’t forget to open the windows and clean the window screens.
7. Garbage Disposal, Garbage Can, and Recycling Bins – This might be a difficult and gross task but even more important to accomplish.
8. Flooring – Second to the last area to clean before you go out of the kitchen.
9. Doors – Another area often overlooked but the last area to clean.
Preparing For A Kitchen Deep Cleaning
| Preparing Your Kitchen for Cleaning | Actions |
|---|---|
| Clear off countertops and tables | Remove all items from kitchen surfaces |
| Remove food from the refrigerator and pantry | Take out all food and store them in coolers with ice or freezer blocks |
| Take out the trash | Empty all trash cans |
| Clear out the sink | Remove all dishes from the sink |
| Remove stove grates and burner covers | Remove all stove grates and burner covers and soak in warm soapy water |
| Dust and sweep | Use a dust cloth or microfiber cloth to dust countertops, cabinets, and appliances, sweep the floor of all debris |
| Gather cleaning supplies | Gather cleaning supplies such as a multipurpose cleaner, glass cleaner, degreaser, scrub brush, sponge, and paper towels |
1. Wash the dishes – Let’s get this chore out of the way so that you won’t have to worry about them later. It can be a bit of a downside when after spending so much time deep cleaning your kitchen, you will see a pile of dirty dishes to work on.
2. Declutter – Take out and give, donate, or throw away items that you don’t use anymore.
3. Get a trash bag and donation box – Sort the items you want to throw away or the ones you want to give away or donate.
4. Gather your supplies – Soldiers need weapons for the battle and in kitchen deep cleaning, your supplies will be your weapons to succeed in this vital task. Some basic supplies you can prepare are the following:
• A pair of gloves
• An abrasive scrub pad
• A scrub brush (You can use an old toothbrush)
• Buckets
• Disposable rags
• Dish soap solution
• Disinfectant spray
• Vinegar solution (Vinegar and water)
• Spray bottle
Before you start the deep cleaning, bear in mind that you can always enlist help from family and friends. You don’t have to take on this task alone and a box of pizza goes a long way for friends (A treat for you and your helpful family and friends). Make the task fun by turning up the music as you clean up.
Deep Cleaning Countertops
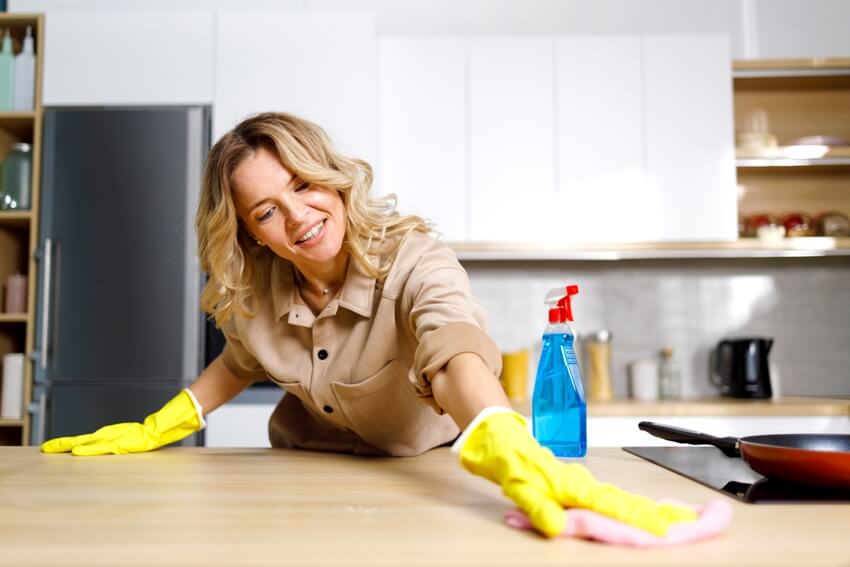
1. Decluttering and clearing your countertops – Take out all items on your countertops and make sure that the items you don’t need anymore are put either in the trash bag or the donation box you’ve prepared.
2. Wiping and cleaning – Get a clean rag and wipe the surface of your countertops. Some may need a vinegar solution to take out stubborn stains but make sure that your countertops can take the kind of cleaning you’re planning to do.
Depending on the material they’re made of, some countertops need gentle care (Which can be impractical for a kitchen countertop). Make sure to be thorough in the grouts and corners and spend more time and focus on areas that have more stains. See our guide on how to clean granite countertops here.
3. Specialty care and maintenance – This heavily depends on the type of countertop you have because there are some that need sealing, polishing, or specific kind of cleaning. For example, granite countertops need additional cleaning and sealing so if you have this type of countertop make sure you know its specialty care.
4. Restocking – Once you’re done with the cleaning and maintenance tasks, return all the clean items to where you’ve found them in the first place. If you want a new look, you can rearrange the items on your countertop however you want.
Refrigerator & Freezer Deep Cleaning
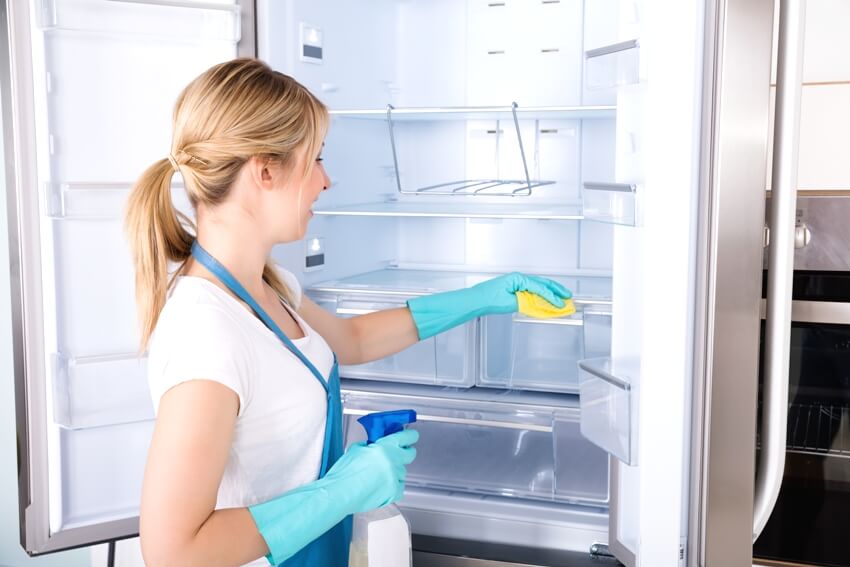
1. Unplug your refrigerator and/or freezer and defrost the freezer.
2. Take out all food items inside your fridge and throw out the expired, moldy, and inedible food while keeping the good ones and placing them in one place before you can clean them.
3. Remove and wash the shelves and other elements of your refrigerator.
4. Clean the interior of the fridge with food-safe cleaner or a soap dish solution. Pay attention to crevices and corners. A baking soda solution works wonderfully for the refrigerator to control food odors.
5. Once the interior and the shelves are dry, put the shelves back in their original places. Put all the good items back inside the fridge and organize them in a way where food items that will expire soon are more noticeable and in front of the fridge than other items.
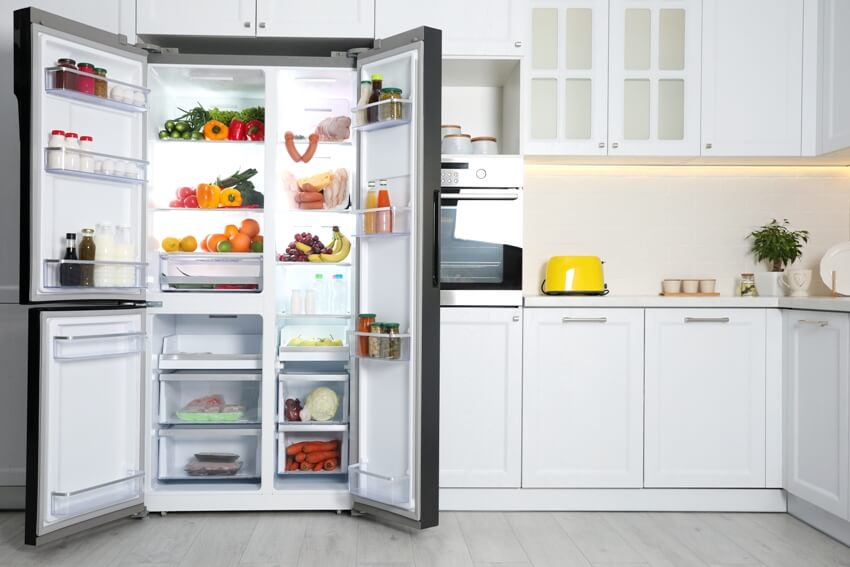
• Plan how you organize your fridge
• Use labeled bins to organize and group your food items
• Include important dates in your labels like expiration dates and dates you bought the items
• Keep track of food items that will expire soon and place them in front where they are easily seen
• Arrange food supplies and store them in the fridge zone suitable for them
• Regularly clean out your fridge
Cleaning Dishwasher And Small Appliances
The dishwasher and other small appliances you have in your kitchen also need to be cleaned. The cleaning process may differ from one appliance to another and if you want to know how to clean the basic ones in your kitchen, here are some of the ways to do it.
 Dishwasher
In deep cleaning your dishwasher, make sure you have vinegar, baking soda, and a clean rag on hand. While the vinegar and baking soda can work alone in a solution, they work excellently together. You can simply follow the cleaning instructions in the user manual but if you want to do more than that, follow these steps:
1. Mix half a cup of baking soda to a cup of vinegar to create your cleaning solution.
2. Place a cup of the solution on each rack of your dishwater.
3. Run your dishwasher on a normal cycle without anything else inside but the solution.
4. Get a clean rag and wipe off the interior and exterior of your dishwasher.
Microwave
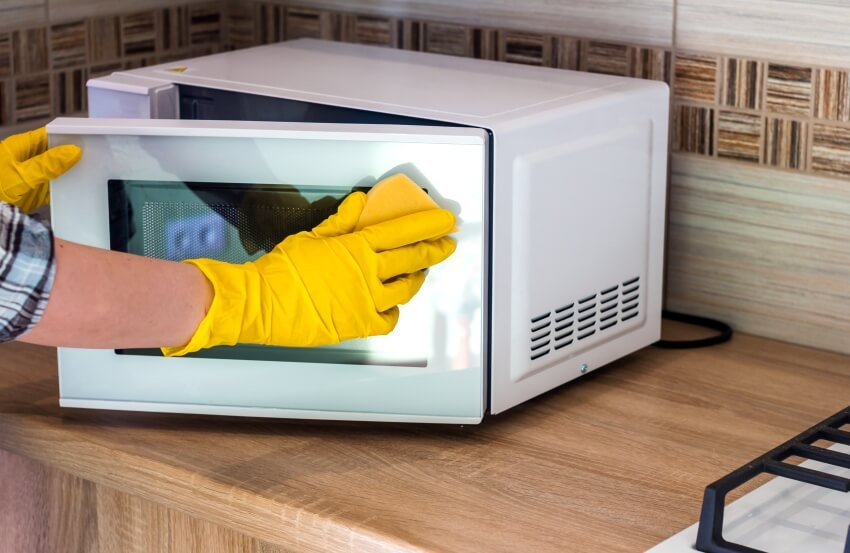
1. Pour a quarter cup of vinegar into a cup of water.
2. Place the vinegar solution in a microwavable container and boil it for 3 minutes in the microwave.
3. Get a sponge to wipe away the loose food splatters and grease.
4. Clean around and under the microwave with a clean rag.
5. You can use a glass cleaner for the keypad of the microwave.
For your toaster, follow the same instructions but make sure first that the bottom is breadcrumbs-free.
Coffeemaker
A coffeemaker is another small appliance that’s basic in your home and requires a straightforward cleaning process.
1. Get a powdered dishwater detergent and put it into the pot.
2. Run the solution in plain hot water using the machine.
3. Let the solution settle for an hour inside the pot then pout it out of the pot.
4. Rinse the pot with water several times and make sure there’s no lingering detergent left.
Deep Cleaning Oven & Stovetop
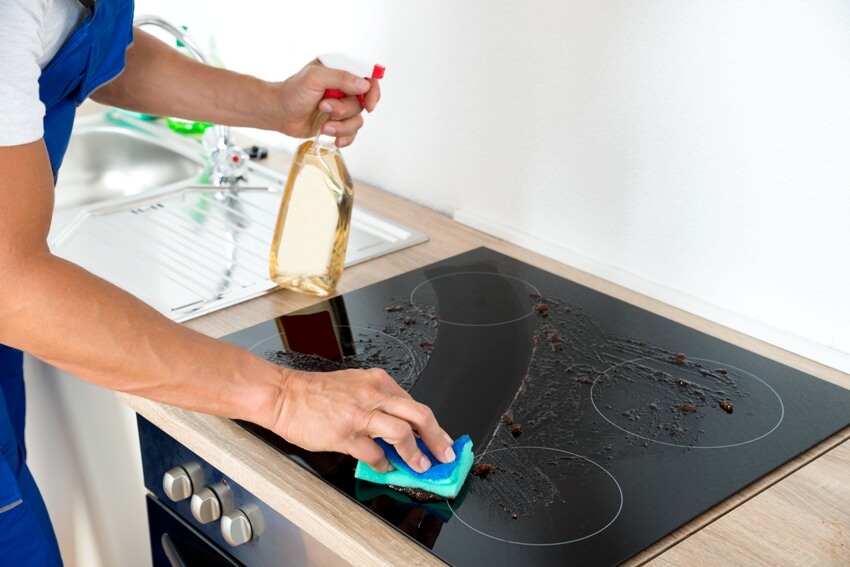
Learning how to properly clean them will go a long way in maintaining the cleanliness of your kitchen and the quality of these appliances.
Oven
Cleaning your oven depends on the type you have at home. Self-cleaning ovens are cleaned differently compared to continuous-cleaning ovens.
• Self-cleaning ovens – With a clean setting, the oven uses its own convection to loosen spills and splatters in its interior. You simply need to use your vacuum cleaner’s dusting attachment to remove the powdery ash left after the convection process.
• Continuous-cleaning ovens – While they thin out and absorb drippings and spills, they cannot take care of larger messes. You need to take care of these messes as soon as they happen to avoid them burning inside the oven and creating permanent damage.
Stovetop
Deep cleaning your stove top is also not complicated so just follow these steps:
1. Prepare your soap solution (one-part dishwashing liquid and one part water)
2. Remove the pot grates and slide-out trays from the stovetop (Remove and unplug the coils if you’re using an electric stove)
3. Soak the grates and tray in the soap solution
4. Use a sponge with the soap solution and scrub all surfaces of your stovetop (As well as the hood fan and its filter)
5. Scrub the grates and trays clean, rinse them with water, and let them dry.
6. Get a clean wet rug to wipe the solution and scrubbed the dirt off the stovetop
Deep Cleaning Sink
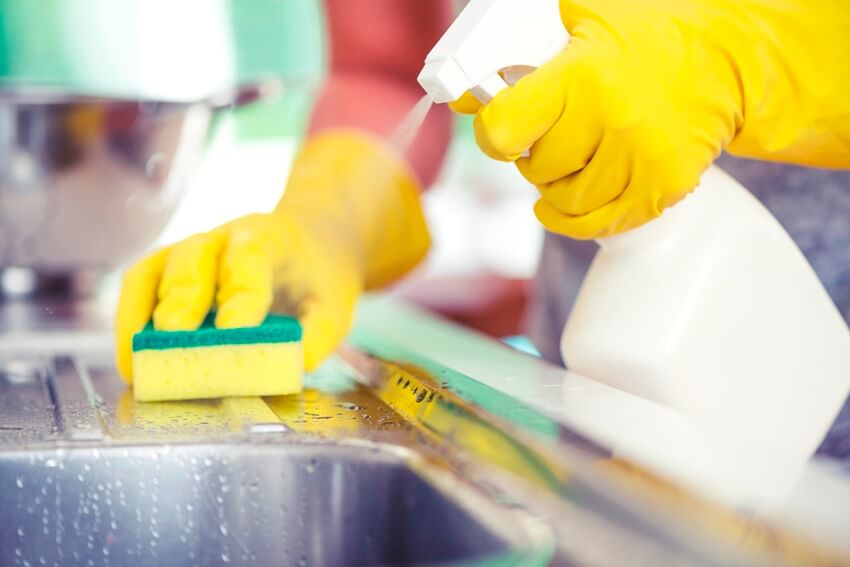
1. Sprinkle baking soda on your sponge
2. Start gently scrubbing the sink to get rid of food particles and possible bacteria buildup, as well as awful odor
3. Use a disinfectant spray if necessary
4. Rinse the sink with water until it’s clear to make sure that it’s clean
5. Air-dry it or wipe with a clean dry rag
Deep Cleaning Kitchen Cabinets
Deep cleaning your kitchen cabinets should come first before the sink and countertops, especially if you have wall-mounted or hanging cabinets. While they may only serve as storage, oil spills and food particles can reach them from your dirty hands while preparing the food and reaching over.
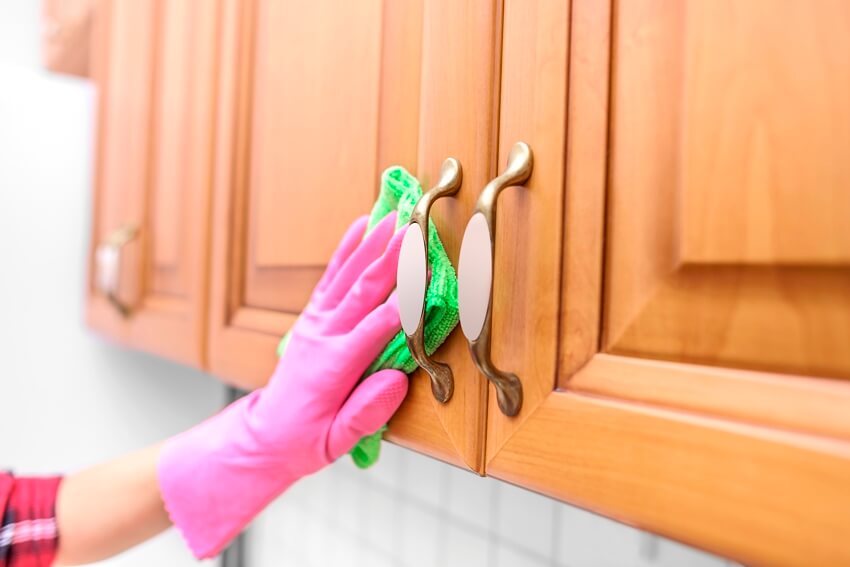
2. Prepare your vinegar cleaning solution (Equal parts warm water and white vinegar) in a spray bottle
3. Add dishwashing liquid to the mix for a stronger cleaning solution.
4. Spray the solution to the exterior of your cabinets and let it sit for a minute
5. Wipe the solution off the surface with a clean rag (Preferably a clean microfiber cloth)
6. Repeat 4 and 5 for stubborn stains until removed
7. Spray the interior with the cleaning solution and let it sit for a minute
8. Wipe the interior to get rid of the solution using the same rag or microfiber cloth
9. Get a wet cloth and wipe all the surfaces you’ve just cleaned (both interior and exterior of the cabinets)
10. Get a dry clean cloth to dry all the surfaces
11. Return all the items you’ve removed from the cabinet (Make sure to throw away expired goods while doing it and take note of the items that need restocking!)
Some kitchen cabinets actually require dismantling just to be thoroughly cleaned. To get rid of this hassle, as well as a more effortful day of cabinet cleaning, take note of these tips.
• Keep water away from your cabinets to avoid irreparable water damages
• Wipe spills as soon as they happen
• Keep the drawers and cabinet doors closed when cooking or preparing a meal
• Wax your kitchen cabinets to add a protective layer against grime and oil spills
Deep Cleaning Kitchen Drawers
Deep cleaning your kitchen drawers follows the same process as deep cleaning your kitchen cabinets.
1. Empty your drawers and place them in a safe space like the countertop
2. Wipe down all the surfaces with a soap solution and make sure to cover both the interior and exterior areas of your drawers, as well as all the nooks and crevices
3. Get a dry cloth to wipe dry all the surfaces
4. Return and organize all the items you’ve removes from the drawers while getting rid of expired and unusable items at the same time
5. Take note of the items you need to restock
Pantry Deep Cleaning
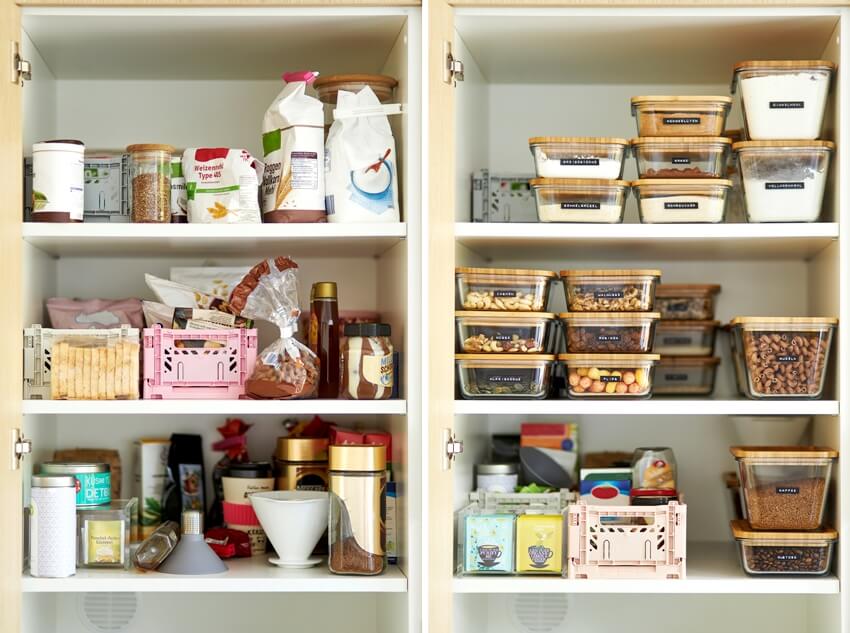
Here are the simple kitchen pantry cleaning steps to follow:
1. Empty your pantry and remove all the food supply in it and make sure to throw away the expired and moldy goods you’ve been keeping for some time now
2. Wash (with soapy water) or vacuum your pantry one shelf at a time
3. Let the shelves dry naturally or by using a dry cloth
4. Return and organize all the good food supplies left (You can create an organization system that will make it easier for you to find things)
5. Take note of the food items that need restocking
Deep Cleaning Kitchen Floors

1. Take out all rugs and furniture and place them in another room (You can throw away the rugs that are too dirty to wash)
2. Sweep or vacuum the floor to remove crumbs and dirt and make sure to pay attention to the corners and grout lines of the floor
3. Mop the floor using a cleaner, depending on what type of floor you have (Gentle cleaner for wooden floor and heavy-duty cleaner for more durable flooring). Visit our guide on how to clean tile floors with vinegar and baking soda for more helpful tips.
4. Polish or seal your flooring when necessary
5. Return all the movable furniture and clean rugs to the kitchen.
Keeping A Kitchen Cleaning Schedule
It is vital to keep a kitchen cleaning schedule and be dedicated to it because it is not a light task to undertake. Try to follow the allotted time you put in the checklist for each task you complete as much as you can.
And before you even start your kitchen deep cleaning, make sure you clear your schedule to dedicate enough time for it.
For more kitchen cleaning tips, visit our guide and find helpful ideas on how to clean marble countertops.


 Dishwasher