Tile Backsplash vs. Slab Backsplash: What Should You Choose?

If you’re in the process of designing your kitchen, questions you may have are what’s the difference between tile backsplash vs. slab backsplash, and what should you choose? Each has some advantages and disadvantages when it comes to their look, seams, cleaning, installation, and style. I’ll break down the many differences below so you can better choose what’s best for your kitchen.
Quick take

Upload a photo and get instant before-and-after room designs.
No design experience needed — join 2.39 million+ happy users.
👉 Try the AI design tool now
- Go with tile backsplashes for their variety of patterns, easier repairs, and lower cost. Be aware that grout adds texture and requires some maintenance.
- Go with slab backsplashes for their clean, seamless look and easy-to-wipe-down services. They will require precise templating, have fewer seams, and a bigger up-front investment cost.
Comparison Of Tile Vs. Slab Backsplash
| Feature | Tile Backsplash | Slab Backsplash (Quartz/Stone/Porcelain) |
|---|---|---|
| Look & Aesthetics | Unlimited patterns, shapes, colors and their visible grout grid adds some texture |
Has a continuous surface for a sleek look and the veining aligns with the counters if matched |
| Seams | Many grout joints, unless you go with a large-format tile |
Few to no seams, and they are only at the corners or on long runs |
| Cleaning | Grout needs periodic sealing unless epoxy is used, and a daily wiping is easy to do |
Fast wipe-downs with minimal crevices to clean |
| Installation | DIY-friendly and can be staged area by area | Requires pro templating, fabrication, and heavy handling required |
| Openings (outlets/windows) | Cut tile individually around opening but is forgiving to work with |
Cutouts must be CNC-precise with less margin for error |
| Repairs | Replace single tiles if they’re damaged | Hard to spot-repair and damage may require the whole section’s replacement |
| Heat & Moisture | Great for use behind ranges with proper setting materials | Excellent behind ranges, but need to confirm the heat rating for the material and adhesive |
| Design Range | Classic subway, zellige, mosaics, and patterned cement look are all available |
Marble and quartz veining, faux stone look, or ultra-modern porcelain slabs all look stylish and elegant |
| Relative Cost | $–$$ (varies by tile, layout, and labor costs) | $$–$$$ (material yield + fabrication drive the final price) |
Tile For Backsplash Pros And Cons
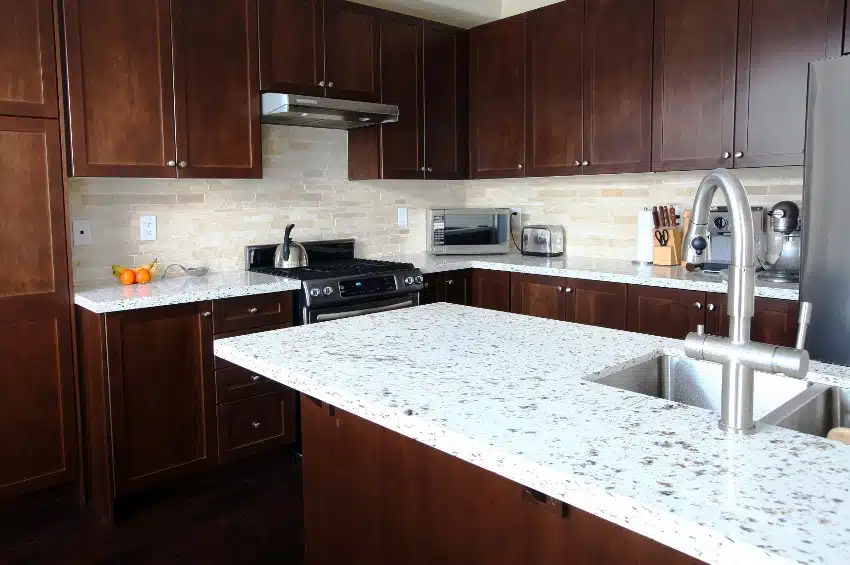
Tile backsplashes offer a lot of character and flexibility in the kitchen. Some of the ways they do this are through styles like handcrafted zellige, classic subways, patterns, or even large-format porcelain that can somewhat mimic the look of a slab. These tiles are forgiving when cutting to fit around outlets and windows, and are much easier to DIY than the alternative. If there’s a chip or crack its also much simpler and less expensive to repair a single tile. The tradeoff is the grout, which does require frequent cleaning. There are also sealing requirements, with cement grout needing periodic sealing, while epoxy grout avoids much of that hassle. Visually, tile adds additional texture to the surface. If you already have a bold countertop, you should consider using a quieter tile pattern to avoid overwhelming the senses.
Pros
- A massive variety of styles and flexibility in the price
- DIY-friendly and easy to update at a later time
- Tile repairs are easier than a slab
Cons
- Grout lines add maintenance, especially with sealing cement grout. Using epoxy grout reduces this upkeep
- Busy patterns can clash when combined with vibrant/standout counters
- Layout planning matters to avoid problems at the borders/edges

Slab For Backsplash Pros And Cons
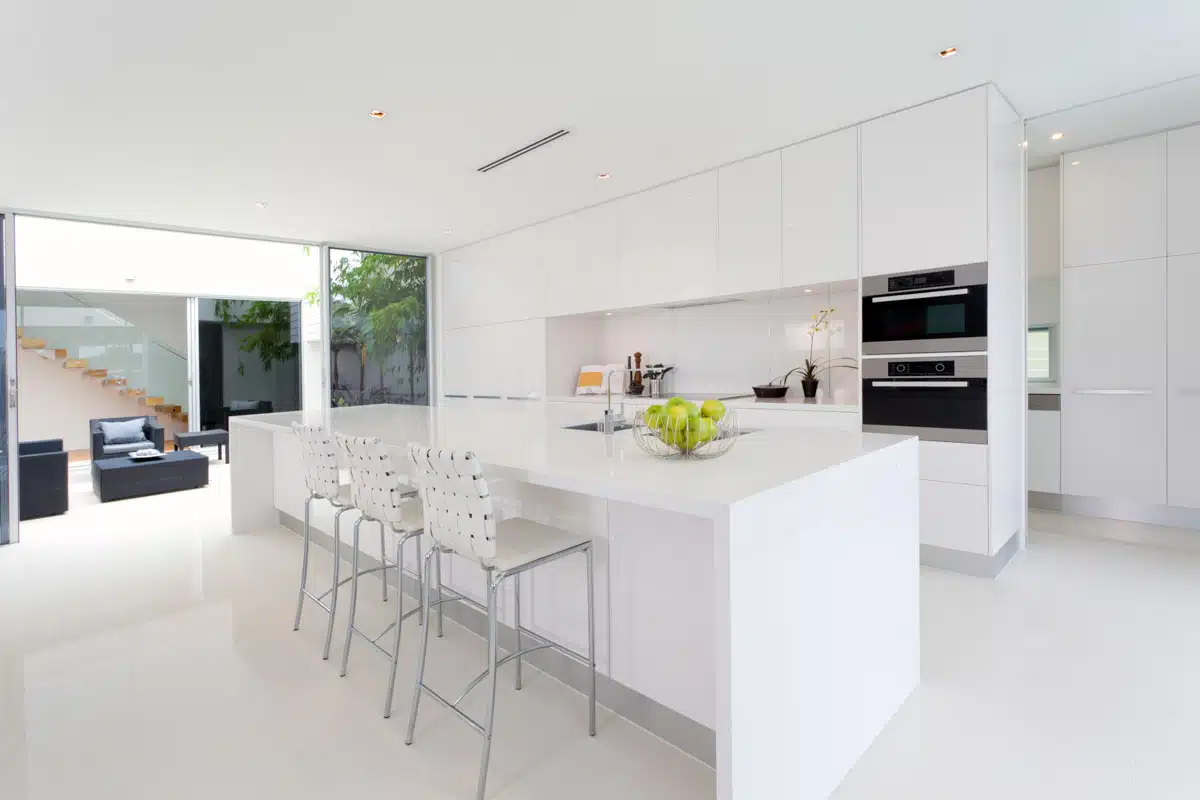
Slab backsplashes in the kitchen offer a stylish, continuous surface that’s undeniably upscale. With the proper templating, seams are practically unnoticeable and veining can flow up from the counter for a dramatic “waterfall” effect. These surfaces are also quick to wipe down when grease or splashes accumulate. It’s important to note that slabs demand professional handling, precise cutouts, and flat walls for installation making them a challenging DIY project. This also translates into more difficult spot repairs than with tile. If you cook daily and love clean lines and a solid surface, the payoff is a stylish, low-maintenance backdrop that looks contemporary.
Pros
- Gives a seamless, high-end look
- The surface is fast to clean
- Let the surface veining flow from the countertop up the wall for a dramatic effect
- Has fewer crevices around sinks and ranges to bother with
Cons
- Higher material and fabrication cost
- Requires a professional install
- Outlet and window cutouts require precise templating
- Repairing a small area that is chipped or cracked is difficult
Hybrid Tile And Slab Backsplash Design Options
A hybrid approach that combines tile and slab backsplash is another option that may fit your kitchen, depending on the style. For this to work, you can use a slab only at the focal wall, which is typically behind the range, and use field tile everywhere else on the wall. Alternatively, using large-format tiles (24″×48″) can minimize grout lines while having an easier install than a one-piece slab.
Maintenance & Durability
Maintenance is simple for both tile and slab backsplash when done correctly. Tile needs frequent wiping and, if you choose cement grout, periodic sealing. Using an epoxy grout mostly removes that step. If you have a slab, you can generally clean it with a mild soap and water (check with your manufacturer). You will want to seal natural stone as directed, and quartz and porcelain surfaces typically require no sealer. Do not use any abrasive pads on polished finishes.
Tile: Wipe daily with a pH-neutral cleaner. Seal cement grout periodically. Keep a few spare tiles for any chips or cracks as a replacement.
Slab: Wipe with mild soap and water. (Check with manufacturer) For natural stone, follow a sealing schedule. For quartz/porcelain, no sealing is usually required.
Designer Tips
When setting the height of your backsplash. Use purpose. Using a full height to the upper cabinets feels finished, while running a backsplash all the way to the ceiling makes a statement behind the range hood. End a short splash cleanly at the cabinet edges or align with windows, and always avoid any random cut-offs.
Around the outlets. For slabs, consider installing under-cabinet outlets or a plugmold strip to preserve the look of uninterrupted stone. When installing tile you’ll need to cut some pieces with a wet saw or cutter if doing it DIY.
Pairing with veined counters. If you’re going slab, template from the same material lot and request book-match or vein-match for a cohesive appearance. If you’re going with tile, choose a quieter style if your counter has bold movement.
Finish edges correctly. When installing outside corners with tile, use mitered edges or metal trim, and with stone, go with a polished arris or a micro-bevel on exposed edges.
Behind the range. When using stone/quartz/porcelain, confirm the manufacturer’s heat rating is acceptable for high-BTU cooktops.
Grout that works. Choose epoxy grout for stain resistance and ease of maintenance in cooking zones. Otherwise, seal your cement grout on a schedule.
Large-format alternative. Consider installing porcelain panels (1/4″ to 1/2″ thick) for a slab look and a thinner weight.
Consider a picture frame niche. A picture-frame niche uses a tile field area directly behind the range with a different tile for the remainder of the wall.
When To Choose Tile Versus Slab For Your Kitchen Backsplash
| Your Top Priority | Best Pick | Why |
|---|---|---|
| Clean, most modern look | Slab | Minimal amount of seams and a solid surface |
| Pattern and personality | Tile | Unlimited shapes, glazes, and motifs to choose |
| Quicker daily cleaning | Slab | Nearly seamless and easier to wipe down |
| DIY install | Tile | Beginner install-friendly and more forgiving |
| Tight budget with more impact | Tile | Has lower material waste & wider price range |
| Match countertop veining up the wall | Slab | Book-matching or vein continuation is possible |
| Many outlets or wall jogs | Tile | Easier to work around outlets and wall openings |
To showcase highly specific designs, some images on this website use advanced AI-generation software to illustrate ideas and room inspiration. See our editorial policy to learn more.