How to Install Tile Backsplash (DIY Kitchen Ideas)
Knowing how to install tile backsplash is an effective way to save money by doing the work yourself. Adding a backsplash to your kitchen is one of the most ideal solutions you can try if you want to upgrade the look of your home. It does not only transform a room but it also protects your walls from splatters and stains. Below are the exact steps to use to put up backsplash tile for your own kitchen remodel project.
The design possibilities are endless when it comes to kitchen backsplashes because of the wide array of materials you can use ranging from tiles, natural stone, glass, mosaic, wood and metal. Among the available finishes for the kitchen backsplash, tiles still remain to be the most popular choice. Tile backsplashes do not only offer visual aesthetics but are a practical and cost effective solution if you want to save on time and budget. It is also easy to maintain and takes moderate effort to install.
If you are new to tile installation, a kitchen backsplash may be one of the easiest projects you can try to get some experience in tiling before venturing into larger spaces such as a shower area. Installing a tile backsplash can be a “do it yourself” activity as most of the materials and tools needed to complete the project are available in your local home improvement store. [toc]
Video & Image Attribution: “Construction2Style Backsplash Tutorial” (https://vimeo.com/196485893) by ChelsieLopez which is licensed under CC by: http://creativecommons.org/licenses/by/3.0/ – Changes made include editing screenshots & adding music.
Steps to Install Tile Backsplash

Here are some of the materials needed to install a tile backsplash for your kitchen:
- Tiles (can be strip, mosaic, ceramic, depending on your choice)
- Mortar
- Grout (color depending on your choice)
- Water
- TSP or Tri Sodium Phosphate
- Sealer
- Caulk
- Masking Tape
- Cardboard
Tools:
- Tape Measure
- Level
- Tile Spacer
- Notched Trowel
- Rubber Grout Float
- Tile Cutter
- Tile Nipper/ Tile Saw
- Goggles
- Gloves
- Sponge
- Soft cloth
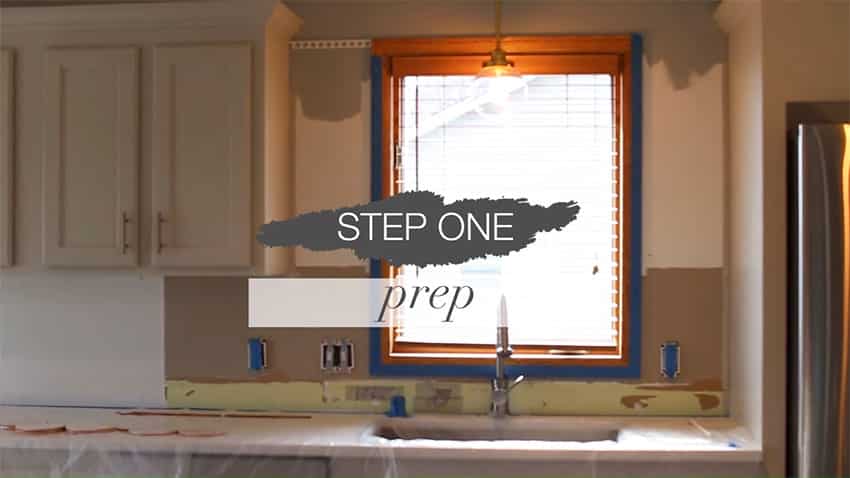
Step 1 : Prep the Walls
Prior to preparing your walls for the installation of your tile backsplash, make sure to measure your wall accurately to determine the amount of tiles that you need to cover the area. Using a measuring tape, measure the length and the height of the wall, then multiply these two to get the total area.
For complicated areas, you may consider dividing the walls into sections and then adding the total area for each. Remember that when you compute the number of tiles, be sure to add a 10% allowance for the small pieces that need to be cut and for contingency to any breakage and damage during construction.
To prepare your kitchen for tile installation, remove all freestanding appliances close to the wall and on your counter. Clear the space for any possible obstruction during construction. Also, shut off the electrical supply and remove face plates for your convenience outlets.
Cover the kitchen countertop with cardboard to protect it from damage from debris. Tape off existing outlets, overhead cabinets, and the area where the countertop meets the walls.
Inspect your walls. Use a level to check the flatness and condition of the wall. Ensure that it is free from damages such as holes, and if needed, repair them by patching and sanding.
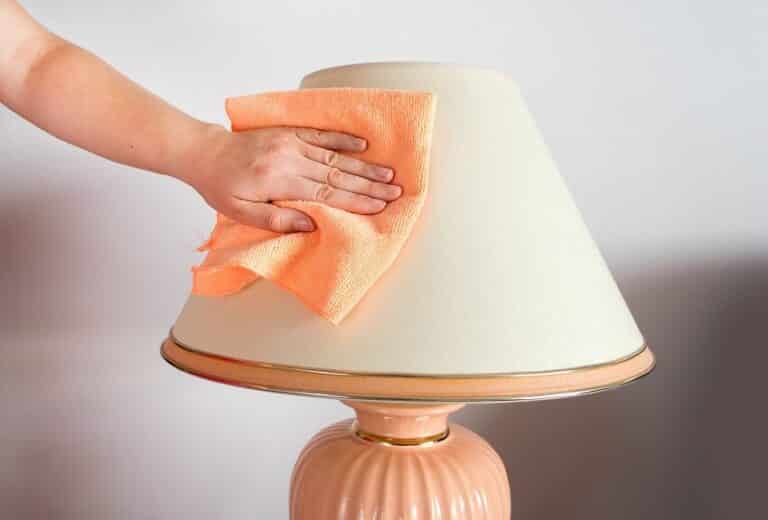
As part of the wall preparation for tile installation, ensure the walls are clean and dry. Remember to degrease, degloss and dry. Wipe off any grease splatters on the wall using a cloth dipped in mild detergent soap and water. For stains that don’t easily come off, use a cloth to wipe walls with a paint deglosser or TSP (Tri Sodium Phospate). Make sure that the walls are completely dry before proceeding with installation.
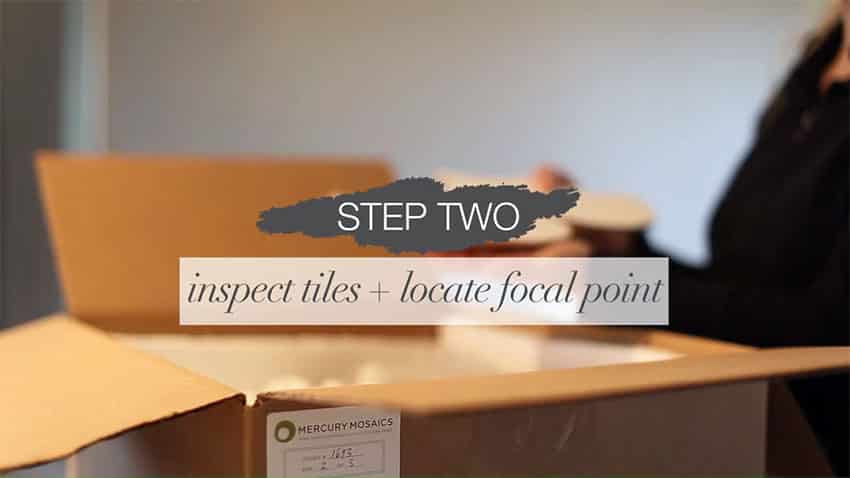
Step 2 : Inspect tiles and locate focal point
Carefully inspect your tiles for any damage. Handling and delivery may sometimes cause the materials to be chipped or broken, and inspecting them before proceeding with installation will help the construction process commence smoothly. This will prevent repetitive trips to your supplier and saves on time, effort and money.
Locate the focal point of your tile pattern. This will actually depend on the design you want to achieve. Some choose to find the center of the wall and start their tile pattern from there, while others choose a focal point such as a stove or a sink faucet. One key tip to consider is to start your tile pattern on the most viewable part of the wall. Lay-out from bottom to the top. The top is usually hidden under the cabinets and this will make cut tile less visible in the design.
Upon determining the focal point of your design, use a piece of tile to mark point within the wall. Set in place at the lowest point of the countertop, then account a 1/8 inch expansion gap from the bottom. Using a pencil mark the wall just above the tile, then extend lines using a level. This will serve as your cutting and tile pattern guide.
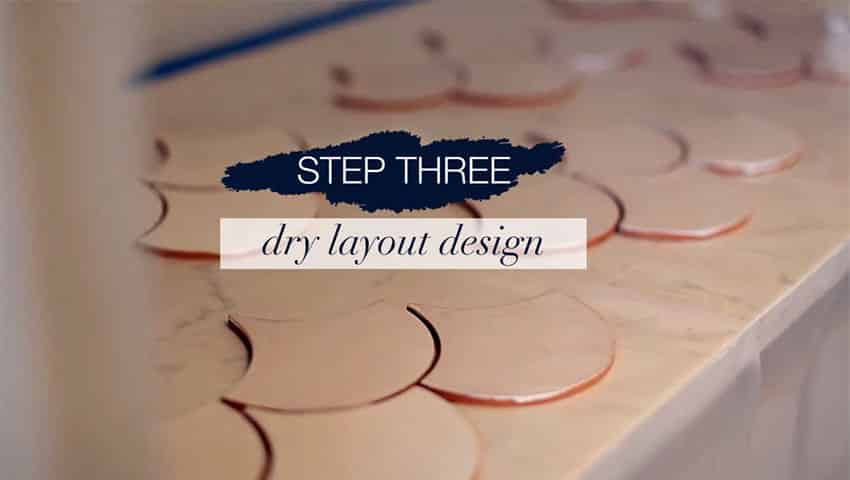
Step 3: Dry lay-out Design
The purpose of the dry lay-out is that it gives you an idea of how your backsplash will look like. Pre-lay the tiles horizontally along the countertop according to your tile pattern. This will also enable you to determine adjustments in your design considering the amount of cuts you need.
If the design entails cuts, a tile cutter or a tile wet saw may be used. For small adjustments, a tile nipper is handy especially in making edges more rounded. Consider making the small cuts ahead of time so that you can assemble your tiles easier when you start to install them. Adjustments and cuts for the convenience outlets may be done during the lay-out process.
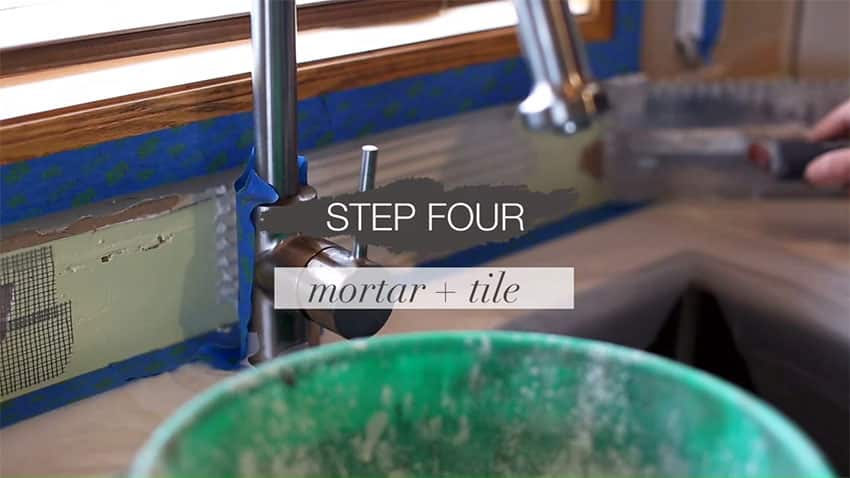
Step 4: Mortar and Tile
Prepare mortar or your chosen tile adhesive according to package instructions. Add thinset powder to the right amount of water, mix thoroughly and let stand for 5 to 10 minutes, then mix again without adding water.
The consistency of your mortar should be similar to thick peanut butter. You may always add water or thinset powder to adjust the consistency of the mixture. Just keep in mind that this is very critical so that the mortar doesn’t fall off and drip from the walls.
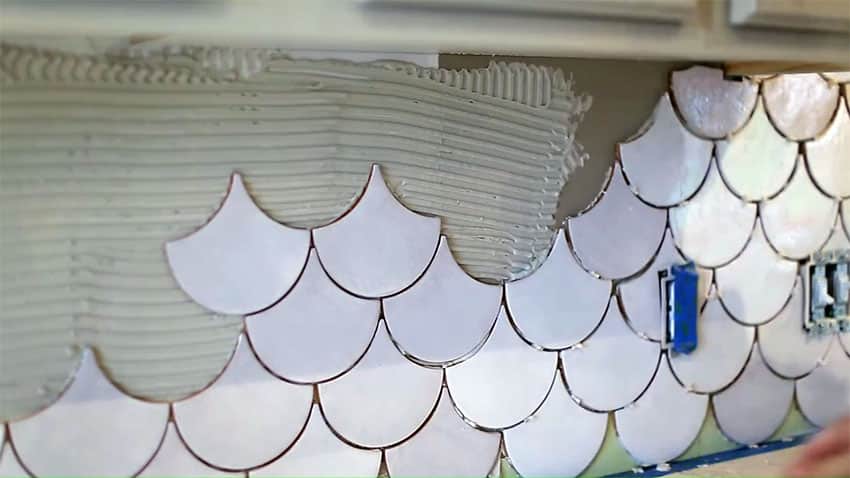
Using a trowel, apply a thin skim coat of mortar to a section of your wall. Press at an angle to ensure that the mortar fully adheres to the wall. Comb over it with a notched trowel. It is ideal to work in small sections because mortar dries up easily.
Place tiles along the walls, starting from bottom to the top. Add more mortar and spread it in one direction. Add more tiles and use tile spaces in between sheets if necessary. Flatten your tiles with a rubber grout float to fully set in the adhesive.
If you need to make adjustments or holes on your tiles for the convenience outlets, mark your tiles accordingly and proceed with cutting with the use of a tile cutter. Also, for the caulking, leave the 1/8 inch expansion gap at the countertop marked during the lay-outing process.
Repeat the steps until the wall is fully covered. Using a sponge, wipe off any excess mortar in the tile surface and let it dry completely for 24 hours.
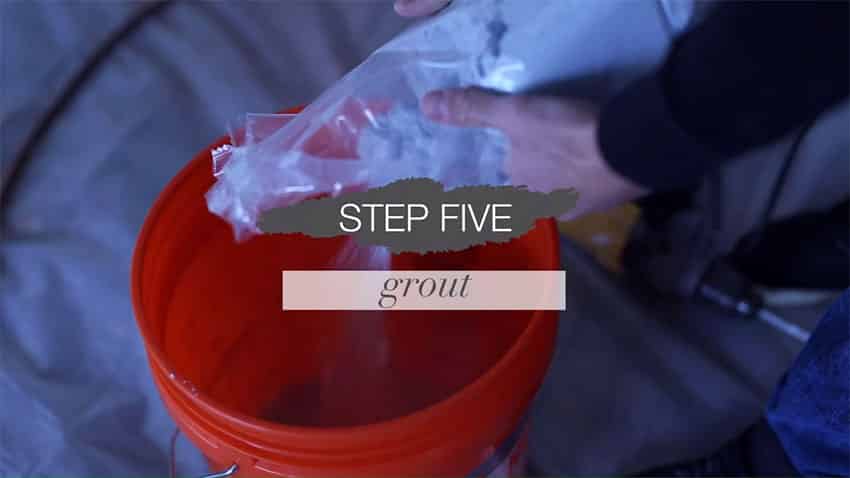
Step 5 : Grout.
Mix grout according to package instructions. Combine water and grout powder then mix thoroughly. Just like the mortar, the consistency of your mixture should be similar to peanut butter. Let your grout “slake” or rest for about 10 minutes as this allows the chemicals to work. After this process, the grout may feel stiffer but do not add more water. Instead, remix to loosen up the grout mixture. Periodically mix the grout to prevent it from drying.
Before applying the grout, be sure the tiles are clean and completely dry.
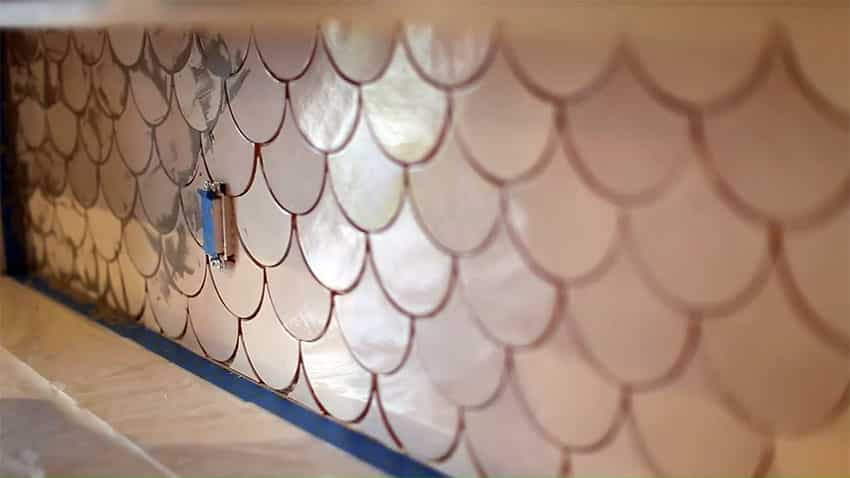
Cover gaps with grout. Again, work in sections. Using a rubber float, apply the grout diagonally at a 45 degree angle and carefully press into the joints.
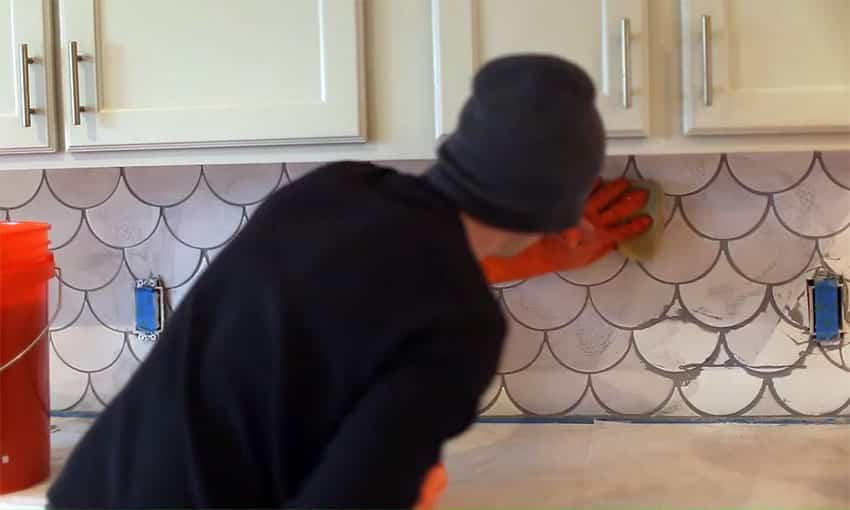
Ten minutes after grouting, use a damp sponge to clean off excess grout from the face of the tiles. Do this with a diagonal motion and light pressure. Rinse sponge with clean water frequently and repeat until the whole tile backsplash is completely clean.
In some cases, a slight haze may appear; this may be cleaned off with a piece of microfiber towel and some haze remover.
Allow the grout to cure for 24 hours.
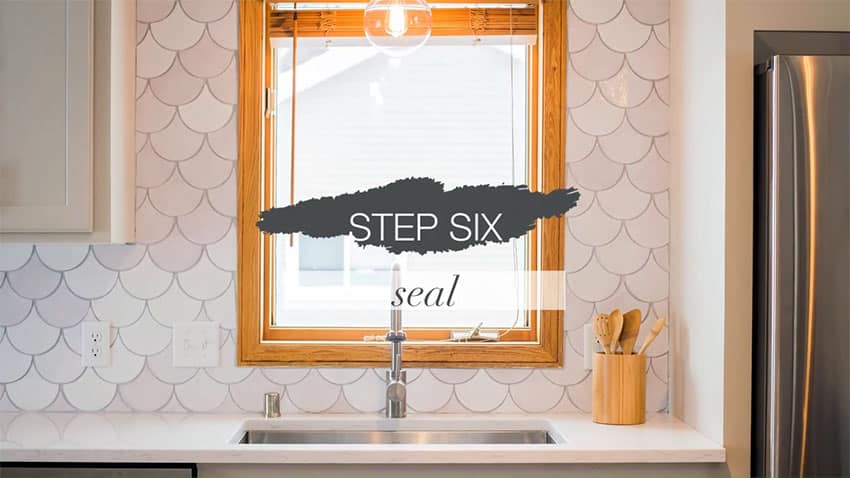
Step 6 : Seal
The grout sealer is significant to prevent the tile backsplash from staining. Ideally, this step should be done at least 72 hours after the grout is applied and may be redone once a year.
Apply an even coat of sealer to the joint and lines of the grout with the use of a sponge or brush. Any excess should be wiped off immediately using a cloth. Once the the grout sealer is fully applied, let it sit for hour before applying the second coat. The finished product can be tested by dripping some water over the grout. If it is fully sealed then the water will bead.
As a final step, run caulk or a waterproof silicon sealant around the expansion gap found between the tile backsplash and the counter.

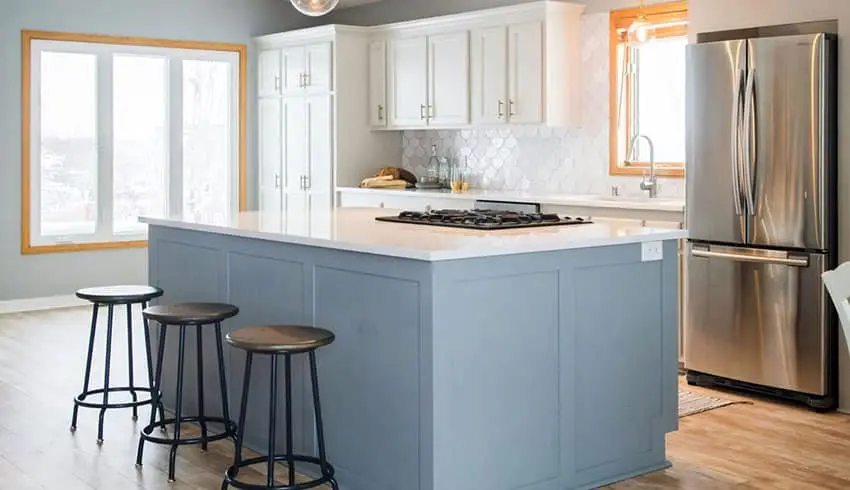
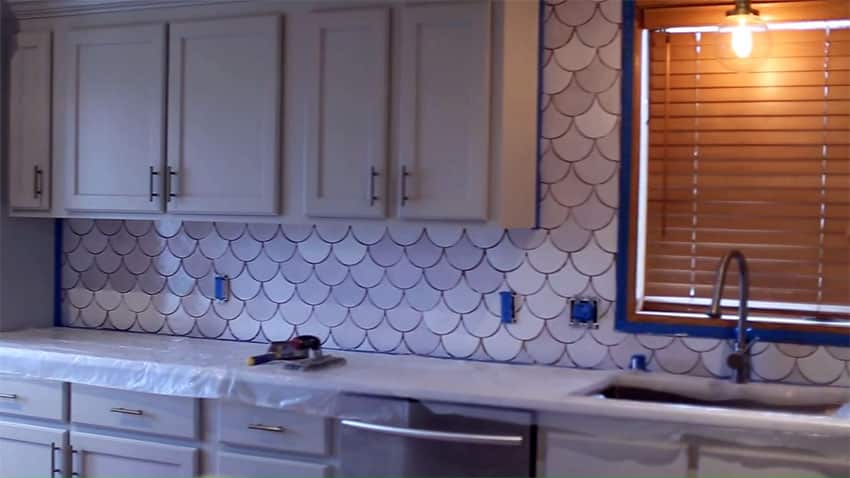
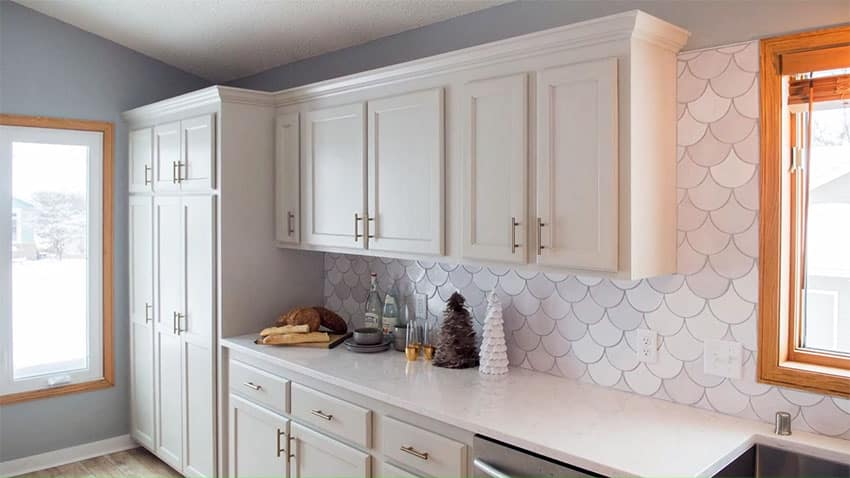
Here is an example of a ceramic tile backsplash in a stunning pattern. The finish of the backsplash offers variation in terms of texture, even if it matches the color of the countertop and the cabinets. It also adds a subtle contrast to the muted blue finish of the kitchen island.
Video of How to Put Up Backsplash Tile (DIY Project)
Video & Image Attribution: “Construction2Style Backsplash Tutorial” (https://vimeo.com/196485893) by ChelsieLopez which is licensed under CC by: http://creativecommons.org/licenses/by/3.0/ – Changes made include editing screenshots & adding music.
To showcase highly specific designs, some images on this website use advanced AI-generation software to illustrate ideas and room inspiration. See our editorial policy to learn more.