Kitchen Ceiling Beams (Pictures & Design Ideas)
If you’re looking to revamp your kitchen, ceiling beams can change the space more than you think. They’re a great way to make your kitchen look bigger, even if you can’t actually make your kitchen bigger. The ways you can use the various types and styles of ceiling beams in your kitchen make them a versatile decor tool.
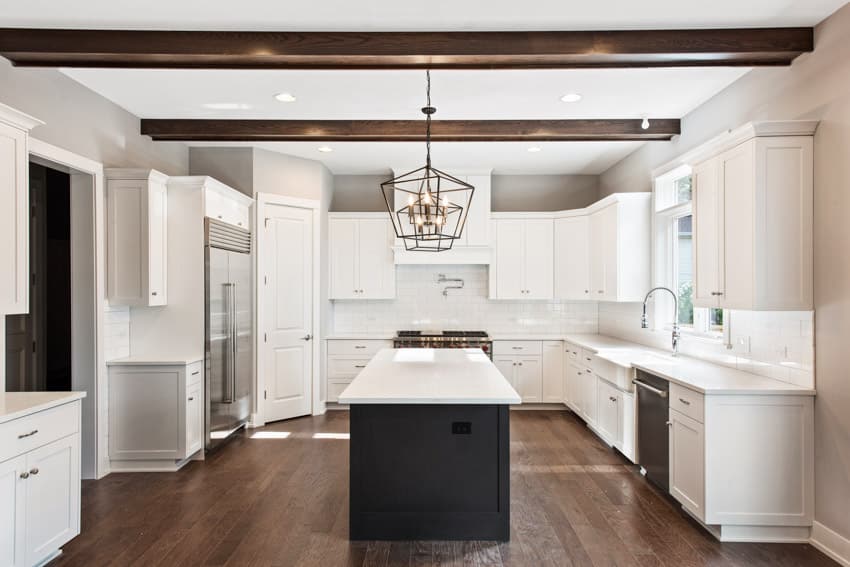
The wooden beams crossing over ceilings can add a lot of character to a kitchen, but what do you call them when you’re talking about them or researching them?

Upload a photo and get instant before-and-after room designs.
No design experience needed — join 2.39 million+ happy users.
👉 Try the AI design tool now
What Are Beams on Ceilings Called?
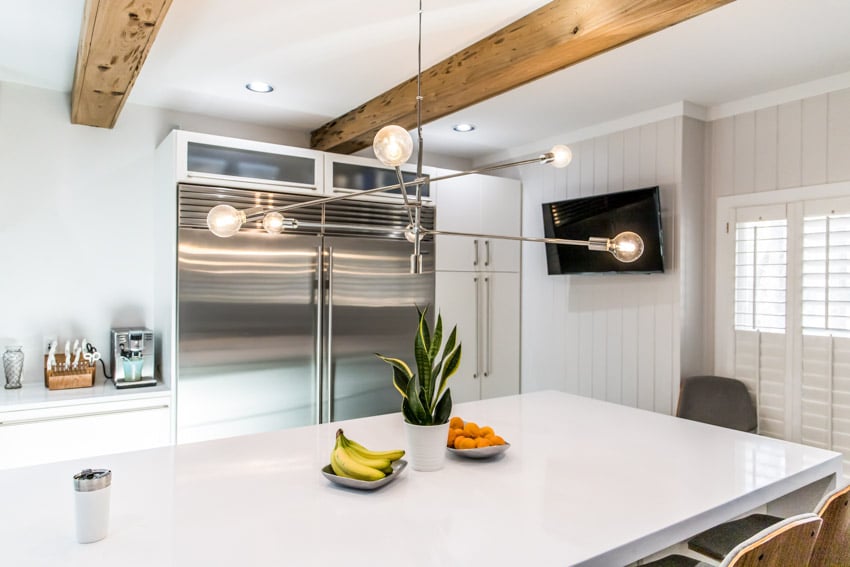
You can just call an overhead area with these an exposed beam ceiling. There are a few other names you might hear these ceilings go by either, including exposed trusses, exposed timber beams, or exposed rafters.
The key word here is “exposed.” Even if they aren’t decorative, your house is full of trusses and supports that you may not always be able to see right away.
These ceiling design types often serve a structural rather than decorative purpose, although an exposed beam can be either structural, decorative or even both.
Types Of Ceiling Beams In The Kitchen
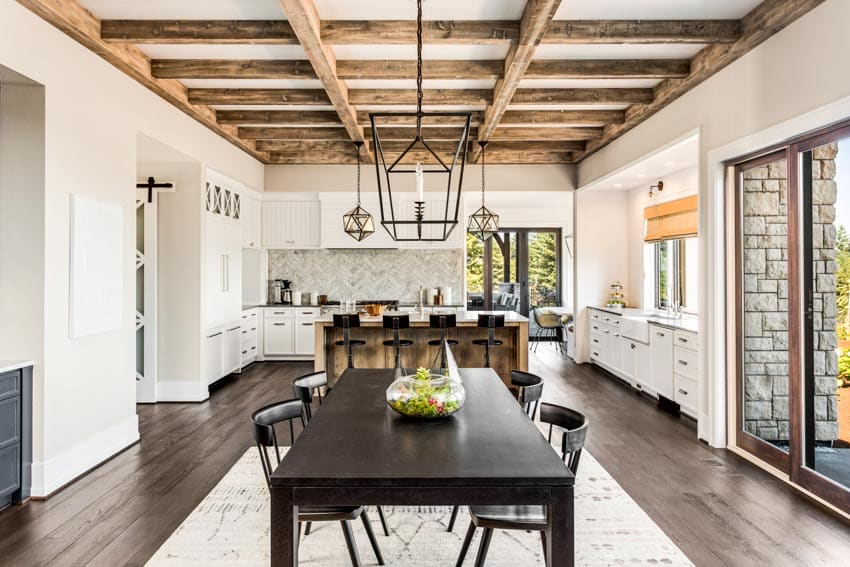
You have a few options regarding the type of ceiling beams you include in your kitchen. The four primary options here include;
1. Solid Wood: Solid wood is the most traditional choice but also the most expensive and the heaviest. As the name suggests, these use real, solid wood supports to create a pattern on your ceiling. Using lumber is especially useful if you’re interested in a rustic or farmhouse design in your kitchen.
2. Box Wood: Box wood is made to look like solid planks but differs in a few important ways. Namely, they offer the appearance of solid lumber without the weight because they’re hollow inside.
Another benefit to this is a lowered cost. Similar to a box beam ceiling, U-beams are often three-sided rather than entirely closed, it’s a great place to install speakers or disguise wires running across the room.
3. Faux: A faux beam isn’t wood at all. Made to be another lightweight option, they’re usually made with a material like fiberboard or vinyl. Inexpensive and sometimes deceptively well-designed, faux wood beams can offer a great alternative to real wood although some lower-quality options work better mounted on higher ceilings.
4. Painted On: Painting wood beams is an effective way to help brighten the space if the room is too dark or modernize it. Surfaces can be painted to add visual interest, help them stand out, and give the room personality.
A painted beam isn’t necessarily a beam at all. Rather, they are often flat paint designed to look like a three-dimensional beam. These save you on the cost of wood but take a talented hand to create convincingly.
5. Post and Wood Beam: This interesting architectural design utilizes a horizontal wooden beam with a vertical post to define the kitchen space. A post and beam kitchen is often delineated by the designs to act as a transition between the kitchen and dining area or living space.
Wood Beams In Kitchen Designs
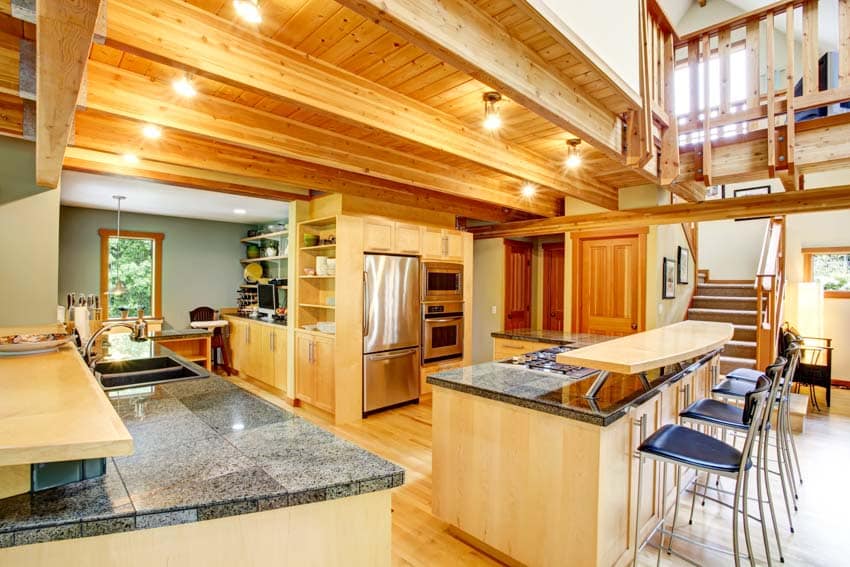
As we’ve covered, you have a lot of options when you want to include wood beams in your kitchen. For example, bare or exposed wood finishes are a great way to add a bit of a rustic touch to your home.
On the other hand, darker wood and clean-cut lines rather than natural edges can create a more modern appearance as well. Decorative ceiling beams can also vary in their placement. Of course, this refers to the pattern on the ceiling, but it also includes where they are relative to the space.
On one hand, you can put the design flush against the ceiling. This works well in homes with shorter overhead space when you still want the appearance of exposed wooden elements. However, dropping the trusses down slightly can help you create the illusion of higher ceilings and make them more eye-catching.
How Much Does A Beam Cost?
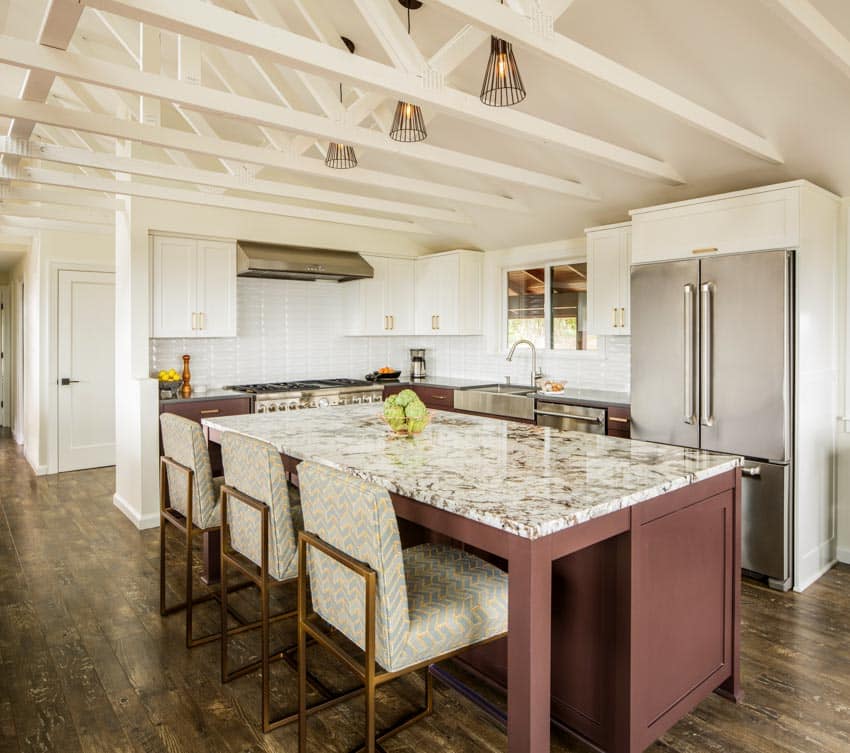
The type of ceiling beam you use will heavily influence its cost. For now, we’ll focus on beam types of wood ceilings rather than faux materials. It’s worth noting that wood can vary in price greatly.
So, the average cost can change depending on the type of wood you choose. Some types of wood may come at a cost, like $12 per linear foot for solid beams, while some higher-end varieties can cost up to $20 per linear foot.
Since solid wood materials often involve working with heavy lumber, you may need to invest in a professional installation to make safely installing them overhead easier.
How Much Are Faux Beams?
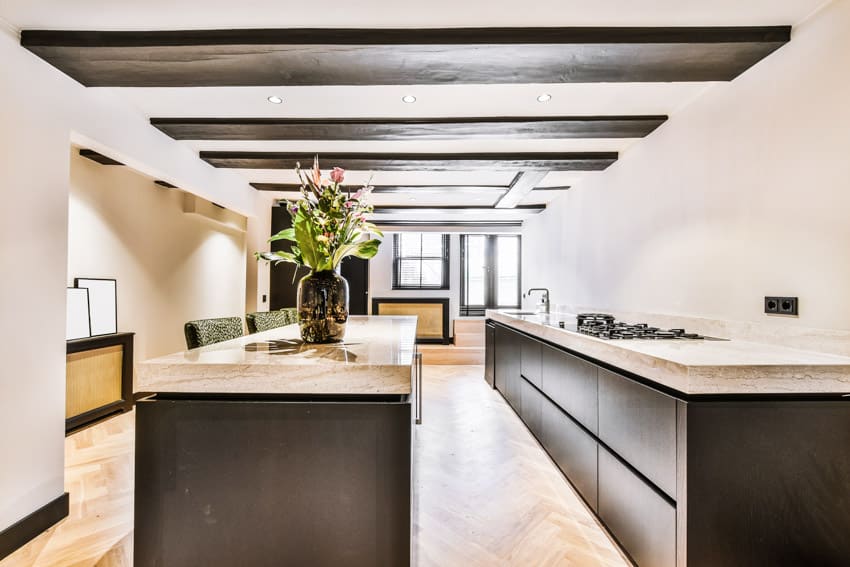
As we mentioned earlier, one of the benefits of adding faux beams to your kitchen is cost. These aren’t actually made with wood, and manufacturers often opt for lighter and inexpensive materials.
The exact price can vary depending on the material your faux designs are made out of. One popular choice is polyurethane. If you opt for this material, you’ll spend an average of about $7.50 per linear foot of material.
This is for materials alone, though. If you want to pay for installation, you can expect an average cost of $10.50 per linear foot, bringing your project up to about $18 per square foot.
Adding Beams to the Ceiling in the Kitchen
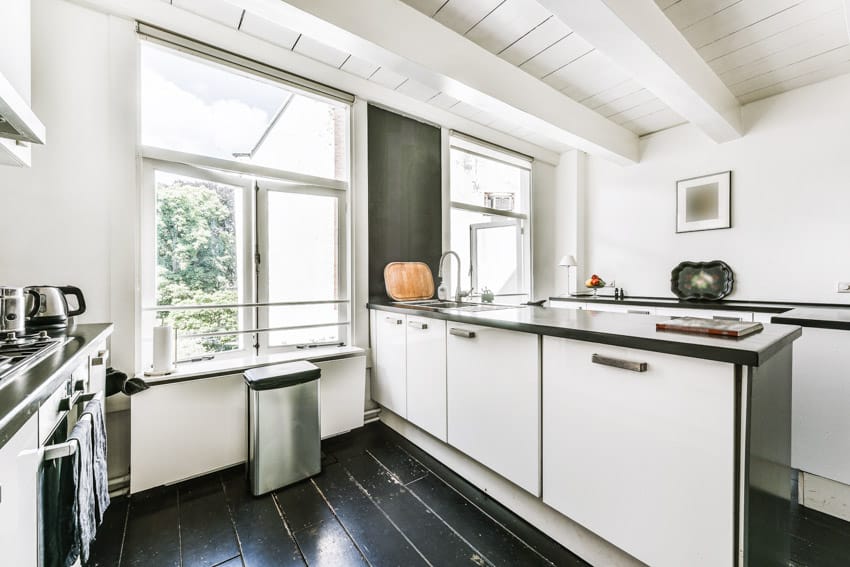
How you add beams to your ceiling depends on the types you choose. For example, if you opt for painted designs, the process requires a lot of planning and painting. There’s an installation process to follow for solid wood, box, or faux designs.
First, you’ll want to ensure conditions are right for the material you’re using. This isn’t as much of a problem with faux materials, but you’ll need to ensure your ceiling can support them. All types, of course, need to be carefully measured against the space you have on your kitchen ceiling.
Then, you can go ahead and cut any pieces that need to be adjusted for the size of your ceiling. It can help to label your pieces at this time, too. If you’re gluing box beams together, ensure they’re dry before installing them.
Once you get to the ceiling, measure and mark where you need them to go; tools like chalk lines can help you keep things even. Now, you’re ready to start nailing your materials overhead.
If you’re using faux beams, it can help to install nailers first. This will help give the beams something they’ll fasten to easier without the use of bolts.
See more related content in our article about wood kitchen ceiling on this page.


