Cleaning Cabinets Before Painting
Painting kitchen cabinets is different than painting drywall, chances are there is a layer of grease and dirt on those cabinets. The important part of cabinet painting is the surface preparation, cleaning is essential to remove built-up grime even if your cabinets look clean. Keep in mind that primer and paint do not adhere to greasy and dirty surfaces. There is a lot of preparation work involved and there are no shortcuts.
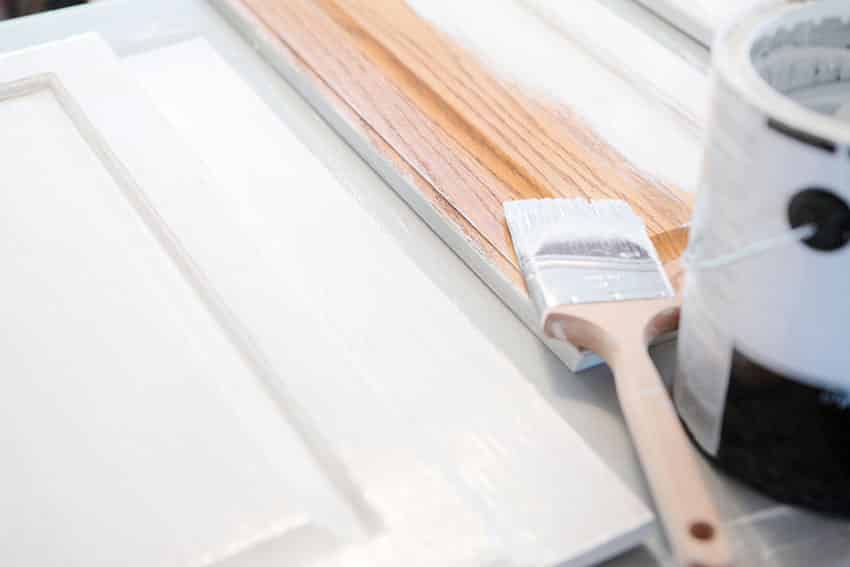
When you paint over grease, the paint is likely to crack and peel because it is unable to stick well to the cabinet surface. Painting over grease with water-based paints can lead to problems while painting such as fish-eye problems and cooking grease can also bleed through paint and leave brown spots and stains in your finish.
A greasy, waxy, or oily surface will also keep the paint from hardening or drying properly because it chemically interferes with proper drying.
What To Use To Clean Cabinets to Prepare for Painting?
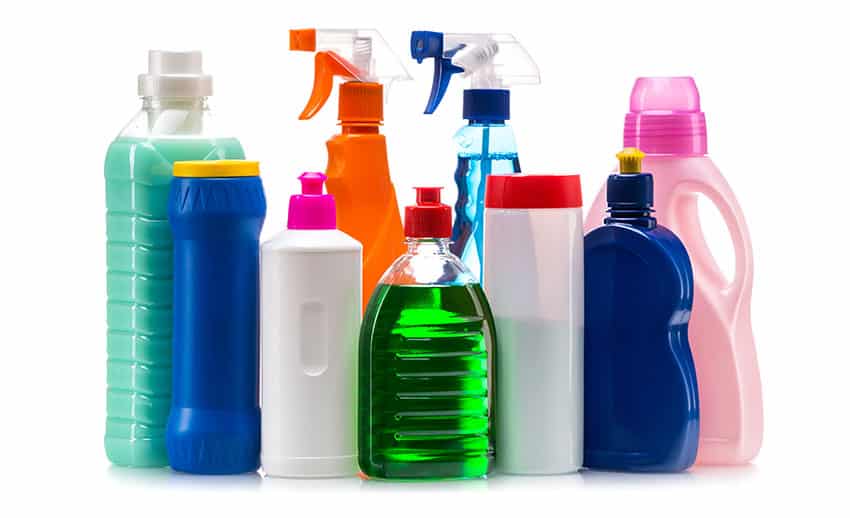
Finding the right cleaner can be confusing with different options available in the market, from mild surface cleaners to heavy-duty degreasers.
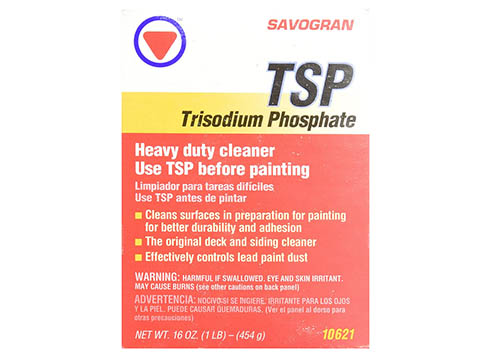
Trisodium phosphate commonly referred to as TSP is best for cleaning cabinet surfaces and removing grease. However, TSP forms a residue on the surface that can cause adhesion problems if you do not rinse it all off and this type of cleaner is forbidden in some states so you may have to use an alternative. Wear protective gloves and eye protection when handling TSP or any chemical liquid cleaner.
Denatured alcohol is a good substitute for cutting through tough grease, stains, and sticker adhesive. It evaporates from the surface quickly leaving no residue behind. If the cabinets are not greasy, dishwashing soap works fine for cleaning off dirt and food stains.
A mixture of bleach and water solution can also be used to remove mildew and heavy stains on the cabinet surface. Use a coarse scrub pad for wiping down the surface and remove any excess bleach-and-water solution with a dry, lint-free cloth.
For stained cabinets coated with a protective lacquer finish, you can remove the lacquer with a de-glossing agent. Removing the glossy lacquer finish from the cabinet’s surface will dull the surface, allowing primer and paint to adhere better.
How Do You Clean Kitchen Cabinets?
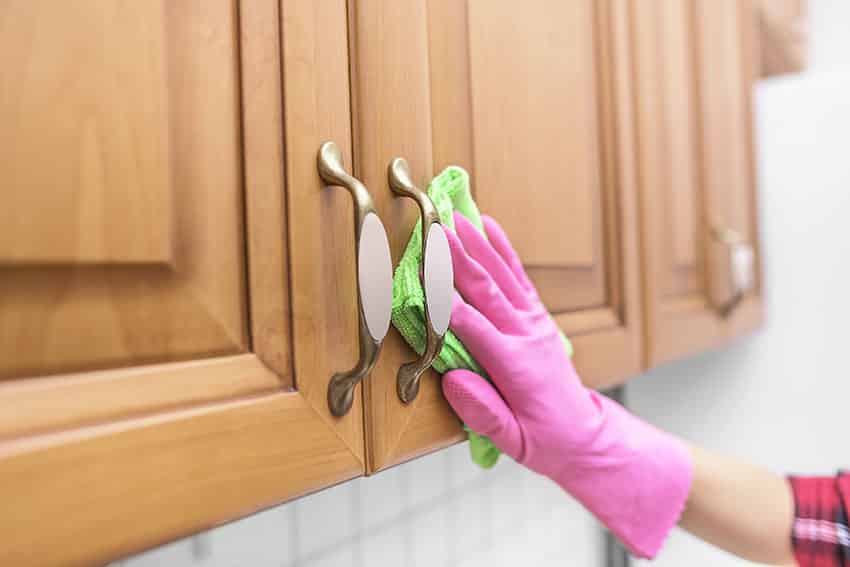
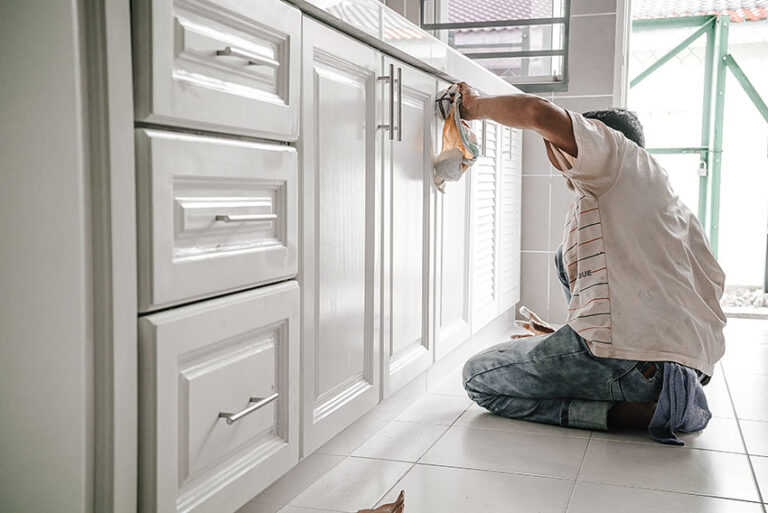
When cleaning kitchen cabinets, the doors and drawer fronts should be removed from the frame first, and label each door, so you know exactly where they go at the end of the project. Before cleaning the frames, cover the floors with a leak-proof floor protector, and protect the countertops and appliances too.
Clean the cabinets and dry them before you scuff sand your kitchen cabinets. This process will ensure that grease, dirt, and glossy lacquer are removed so primer and paint can bond well with the cabinet surface when painting. You can sand the whole surface of a door with a sander and use a folded sheet of sandpaper for a quick scuff sanding on the narrow-paneled parts.
For the first sanding, use 120 and 150 sandpaper grit. Any grit lower than 100 will damage the wood. Sanding in between primer coats it is best to use a 220-sandpaper grit to smooth out the surface without removing the primer.
Make sure you remove dust from the surface after each sanding by using a vacuum equipped with a brush attachment to remove heavy dust, then wipe off with a damp rag or a tack cloth.
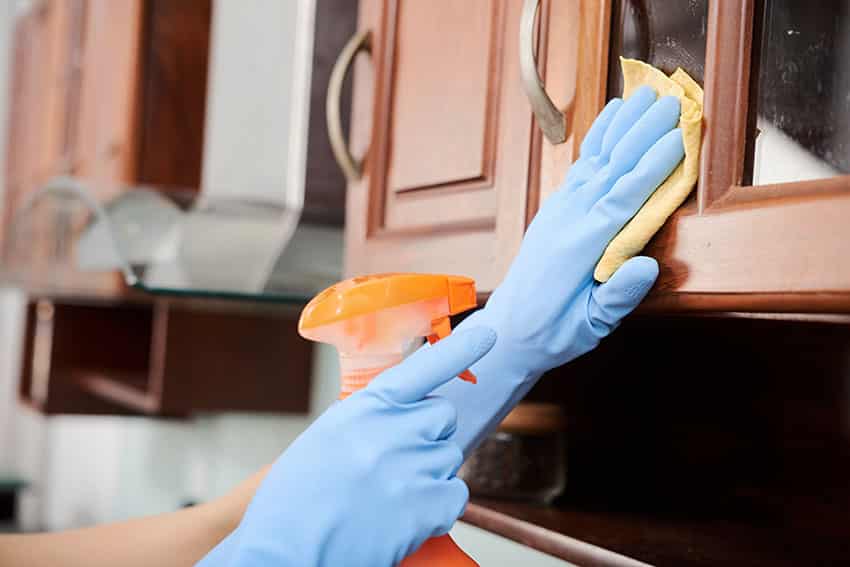
Next is to use the appropriate cleaner as recommended earlier in this article. Then scrub the cabinets with a drill brush attachment, this brush attachments make cleaning so much easier. However, if you do not have a drill, Scotch-Brite pads or stripping pads work great as well.
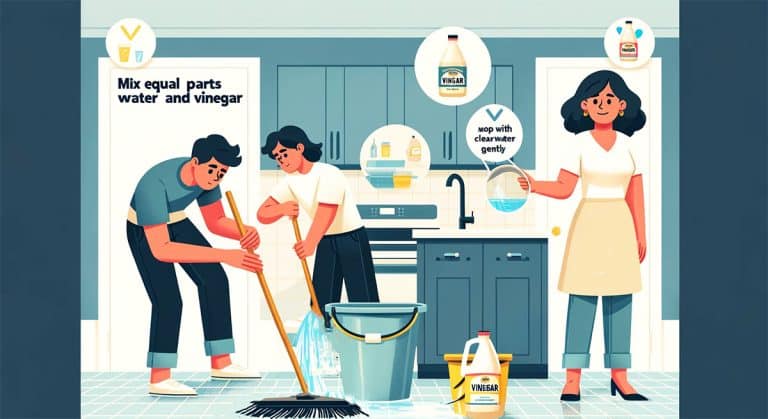
Always rinse with clean water and a separate cleaning pad for rinsing and removing any remaining dirt and residue.
How To Clean Grease Off Cabinets?
Removing built-up sticky grease from cabinets with a weak cleaner will not work quite as effectively, a stronger cleaner is needed to break down the layers of grime.
First, remove all hardware from cabinets, then remove the doors, drawers, and shelves. Spray or wipe the doors and other surfaces to be painted with degreasing cleaner to remove the grease and other dirt.
Next, lightly sand the doors and surface areas you plan to paint, using a circular motion. Don’t forget the corners and crevices. Wipe off the sanding residue with a damp cloth and let it dry. Inspect surfaces closely and ensure that no grease is left on the surfaces to be painted.
You may need to repeat the prep work process of applying degreasing cleaner, scrubbing, and sanding if there is still greasy residue left on the surface. Make sure that all surface moisture has dried before applying sealing primer and paint.
Degreaser For Cabinets
Here are some of the popular kitchen cabinet degreaser products you can use and information about their application and potential issues.
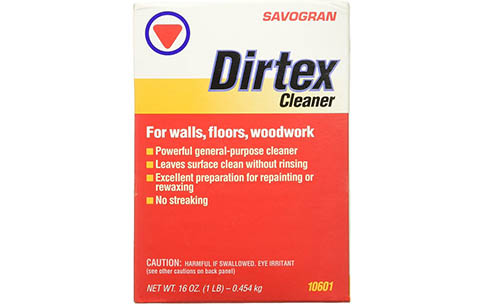
Dirtex Powder Cleaner
Read more about Dirtex cleaner at Amazon [sponsored link]
For greasy kitchen cabinets, Dirtex powder cleaner works great for removing dirt and other contaminants and is a good paint prep cleaner for wood. While the cleaner will remove grease, it is not the best option for heavy grease.
The aerosol version is not recommended for pre-paint cleaning, it is still better to use the powder version in the box. Mix two to three tablespoons with a gallon of warm water, for stronger cleaning, you can add more powder to your water mix. Then scrub the cabinets with a cleaning pad, and then rinse with clean water.
Dirtex does not leave behind problematic residue unless you mix a stronger solution. It is best for pre-paint cleaning and degreasing, not stripping or de-glossing. It is less abrasive on materials than other cleaners and does not cause any skin irritation, plus the odor is not bad at all.
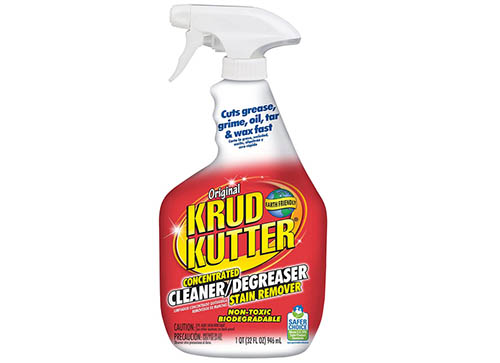
Krud Kutter Cleaner Degreaser
See Krud Kutter at Amazon [sponsored link]
To clean kitchen cabinets once that was covered in layers of nasty grease, use Krud Kutter cleaner degreaser. It is highly recommended for degreasing and removing tough grease and grime. This degreaser restores the surface of your kitchen cabinets flawlessly without any contamination problems.
Although this Krud Kutter product is water-based and will not irritate your skin, it is still best to wear cleaning gloves when working with any chemical cleaner. Use the Krud Kutter degreaser in a spray bottle at full concentration without water dilution, spray it on the cabinet surface and let it penetrate the grease for a few minutes before scrubbing with a coarse stripping pad.
We recommend Krud Kutter Cleaner Degreaser if the cabinets you wish to paint have a lot of dirt and grease. Homeowners consistently rate it as one of the best degreaser products for removing grease gunk, smudges, and crumbs from spills.
There is also the Krud Kutter Prepainter cleaner which contains 2% hydrochloric acid and a special dye to prevent mold growth. It offers the best results for cleaning and removing stains and accumulated cooking grease.
TSP (Trisodium Phosphate)
See TSP pre-paint cleaner at Amazon [sponsored link]
The powder TSP (trisodium phosphate) is one of the oldest pre-paint cleaners used for decades by painters. TSP is a strong cleaner that corrodes grime and grease very effectively. TSP cleans and de-glosses lacquered and varnished wood. It is not recommended for painted surfaces since it will loosen the paint. So, unless you want to strip off the paint, do not use TSP to clean painted cabinets you are re-painting.
For an effective solution to clean wood cabinets, mix half a cup of TSP powder mixed with two gallons of warm water. It is important that you remove the cabinet hinges and knobs because TSP is corrosive to metal materials. Make sure that you carefully rinse the surface to wash off residue when using TSP.
Dawn Dish Soap
For kitchen cabinets that have small amounts of grease, or for basic cleaning of dirt and food particles, Dawn dish soap will work well, and you can’t beat the price. Mixing a drop or two of Dawn dish soap with a gallon of water would effectively clean grease from cabinet doors and frames.You can apply the solution with a sham or nonabrasive sponge.
Then rinse the surface of your cabinets with clean water because dish soap leaves residue on the surface that can cause problems when it comes time to paint. This dish soap also works in cleaning your kitchen cabinet’s metal hardware. Soak the hinges in the soap overnight, and the grease was gone the next day.
In conclusion, painting over a surface that is greasy or oily, or covered with a film of dust, dirt, or powdery chalk, is one of the most common mistakes. Clean kitchen cabinets are always going to take paint better than dirty ones.
The important point to remember is that in order for a coat of paint to last it must bond firmly with the surface of your kitchen cabinets. In order for the new paint to stick, your cabinet surface needs to be clean, and free of dirt and grime that could interfere with your paint’s ability to adhere to its surface.
In some cases, it will also keep the paint from drying properly and as a result, the paint may wrinkle as it dries or may not harden entirely.
The usual way to clean such surfaces is to clean and scrub them with a strong detergent solution, cleaner degreaser or TSP that will remove grease.
Rinse and use a damp cloth to wipe off all soap residue, then sand cabinets with medium grit sandpaper to help the paint stick to the surface. Clean all surfaces with a vacuum and cloth making sure that everything should be dust free before painting.
Share your painting project tips and tricks for prepping cabinets for painting in the comments below. For more on this topic, visit our guide to cabinet refacing vs painting here.

