Best Adhesive For Shower Tile
One of the most underrated elements in a bathroom renovation project would have to be your tile adhesive choice. We barely see it and it has very little contribution to the overall look and feel of the bathroom but without it, the tiles wouldn’t be set in place. Tile adhesives have the heavy responsibility of keeping their grip and withstanding mildew while holding on for years without bowing, crumbling, or cracking. This means that your best adhesive for shower tile for your bathroom project is so much more important than you would initially think. So how do you choose the best one? Fortunately, we’ve gone in and done the research for you.
What Kind Of Shower Tile Adhesive To Use
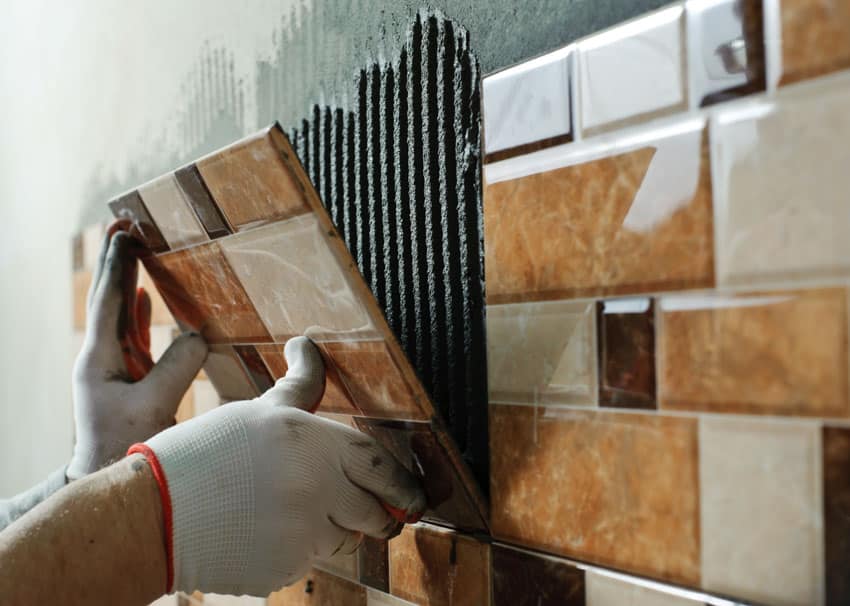
For a tiling job to be effective, you need to make sure that you pick out an adhesive that’s considered the most effective material to bond the tile to the substrate that’s being used alongside it. Although there are plenty of choices in the market, picking out the right adhesive to use is actually a pretty simple process. The location to use the tile on along with the type of tile that’s being used will dictate which type of mortar will be used for the tiling job.
The shower is a wet environment and this means that there are only two possible materials effective as adhesive choices: thinset mortar or epoxy mortar. Using a thinset mortar that has a latex additive is recommended especially for those with smaller tiles.
For the shower walls, these materials just need to be applied in a single layer on a substrate, and then get the tiles installed. For the shower floors, they can be laid out in one layer, or in multiple layers; or what’s called a “mortar bed”.
Thinset Mortar
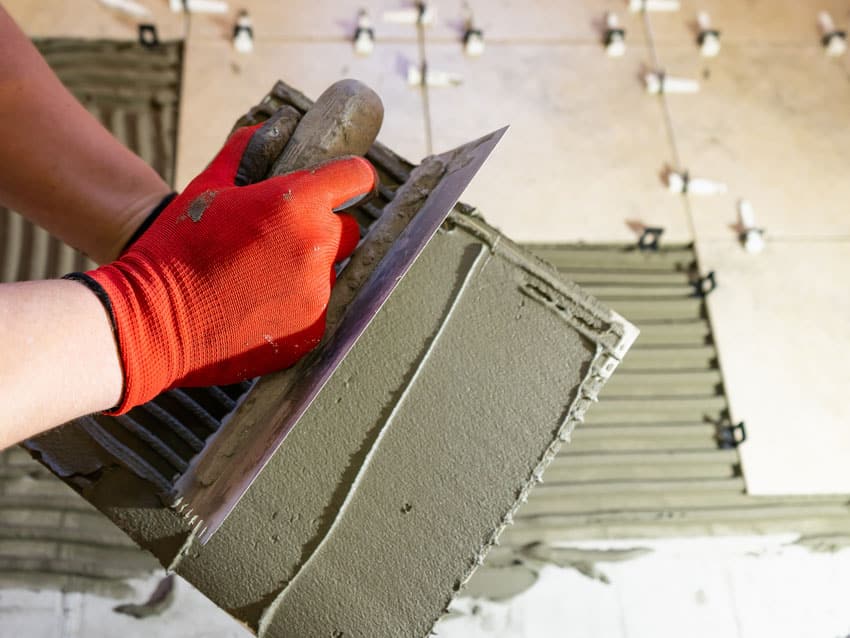
The elements of a thinset mortar are pretty basic. It comprises silica sand, Portland cement, and water retention agents. Thinset mortar can come in a couple of forms: a powder-activated variant that can be mixed with water or a premixed compound already packaged in a plastic tub.
The powdered thinset mortar is less expensive, but it does require a little bit of skill to mix properly or accurately and this is why it’s typically used by professional tilers. The premixed compound costs so much more but is far easier to use for DIYers.
Advantages:
• Thinset provides a strong bond between a cement board substrate and most tile types.
• Thinset is highly resistant to moisture, which is a prerequisite for shower tiling jobs.
• Thinset does not allow mildew growth despite the moist conditions in the shower because of its inorganic nature.
• It’s a material that will not peel away from the substrate despite hot conditions as it’s invulnerable to heat.
• It’s resistant to temperature changes. It doesn’t expand nor contract depending on temperature changes or humidity levels.
• Thinset is a great material to correct minor leveling issues and can fill small chips or gaps in the substrate.
Disadvantages:
• It has a relatively long curing time which means that there will be times when it can be applied to shower walls and run the risk of sagging due to the wet mortar sliding downwards. You can prevent this with the use of tile spacers.
• It can have the tendency to crack which is why opting for a modified thinset mortar variant that has additives such as polymers and acrylic could be a solution to the problem.
• It’s not recommended to be used for tiles that have uneven back surfaces or those that are large and heavy in size because of how thin it is.
• It requires an extra cement board or backer and can’t be just added to a wood or drywall substrate. This means that it can lead up to extra costs or expenses in your bathroom construction or tiling project.
Large Tile Thinset: Large tile thinset is a special type of thinset that’s enriched with polymers and specifically modified in order to take care of large and heavy floor tiles.
The typical use for this type of thinset is on large to medium-sized porcelain, ceramic, Saltillo, quarry, and other heavier and more difficult to adhere natural stone tiles used in the bathroom floors.
Modified Thinset: Modified thinset is exactly that. Think of your regular thinset, but injected with other ingredients to make it better. Back in the 40s, people used 2 to 3 inches of thinset beneath their tiling.
This is due to the fact that they needed the cement underneath to have enough moisture in order for it to actually cure. Without enough moisture, the thinset wouldn’t have enough grip hold to properly bond the subfloor to the tile.
Modified thinset was put in as a solution to this wherein some latex is added to the mix of regular thinset to strengthen the mixture. They’re applied quite thinly at only about 3/16 inch thick using a 3/8 notch trowel.
This is the preferred thinset for most installations because it has reduced bonding shrinkage and increased strength. It can also drastically minimize any cracks in the tile after installation.
Epoxy Mortar
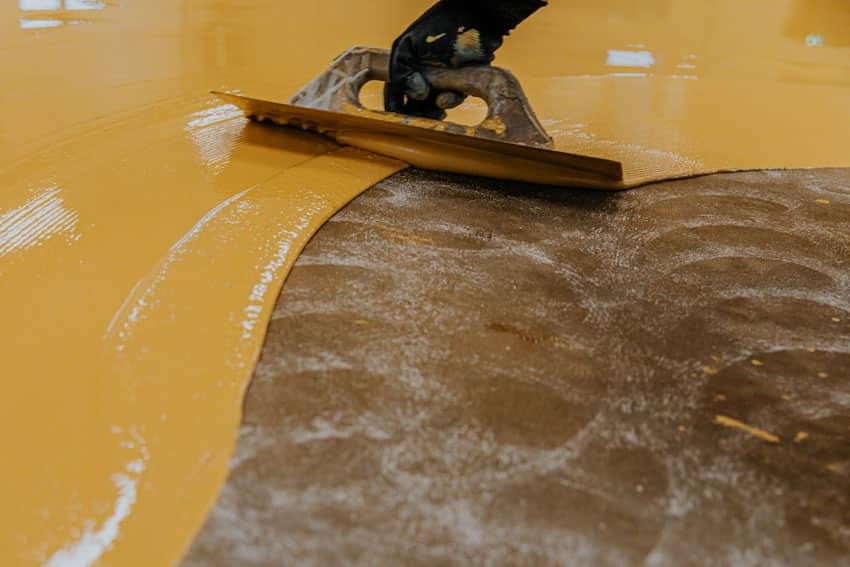
Epoxy mortar is comprised of three main elements: a hardening agent, resin, and a powdered filler. This is a mixture that hardens quite quickly. These three main elements need to be mixed together before the epoxy mortar could be used. When using this particular type of mortar, it’s important to make sure that the tile is installed in the quickest and most efficient manner as much as possible.
This is why this is oftentimes used by professional tilers and seldom used by those who are DIYers.
Advantages:
• Epoxy mortar is completely waterproof. This means that there is absolutely no need for you to put in any additives just for you to keep the mortar from cracking.
• It effectively provides a strong bond between the tile and the substrate it’s adhered to.
• Epoxy mortar is resistant to damage and discoloration that can be caused or brought in by most types of chemicals, moisture, and other elements that it can be exposed to in the bathroom.
• This is a material that’s mildew-proof because its composition is non-organic.
• The tiling job with an epoxy mortar takes less time to complete because it cures pretty quickly.
Disadvantages:
• Epoxy mortar has a very quick 45-minute curing window. This means that the installation needs to be done accurately and at the soonest possible time.
• It has an ambient temperature requirement of a 60 to 90 degree Fahrenheit range.
• It emits strong odors and fumes during installation and while it’s curing.
• It has a much more expensive price point compared to thinset mortar.
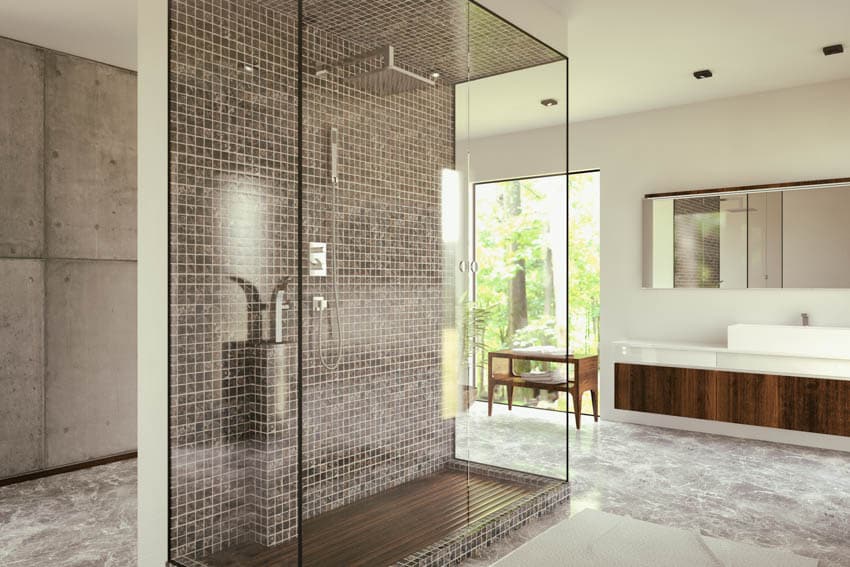
Mortar Bed: A mortar bed is something that professional tilers would prefer to use a shower floor tiling job. A mortar bed is a multilayer structure made out of mortar that has been reinforced with a wire mesh embedded in it.
It takes up a lot of time and labor but it’s a small price to pay in exchange for a strong and long-lasting bond with the tiles being installed. There are two types of mortar bed installations: anchored and floating.
An anchored mortar bed has the mortar directly bonded to the substrate whereas a floating mortar bed has a thin membrane that separates it from the main substrate. This can be made out of either a thinset mortar or an epoxy mortar.
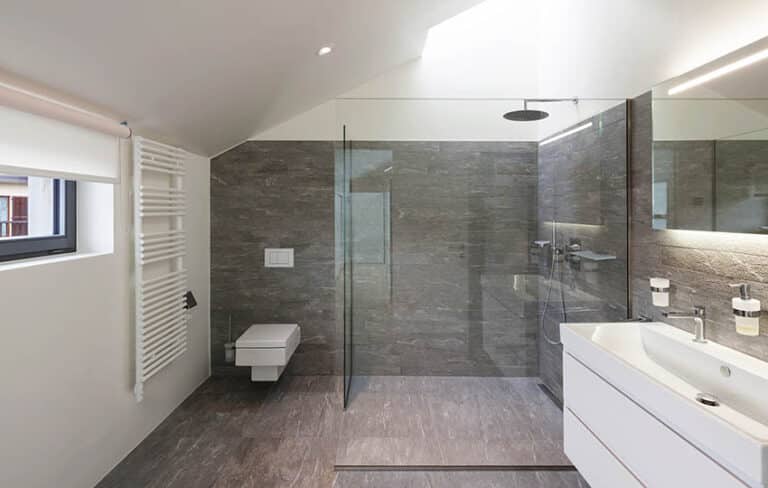
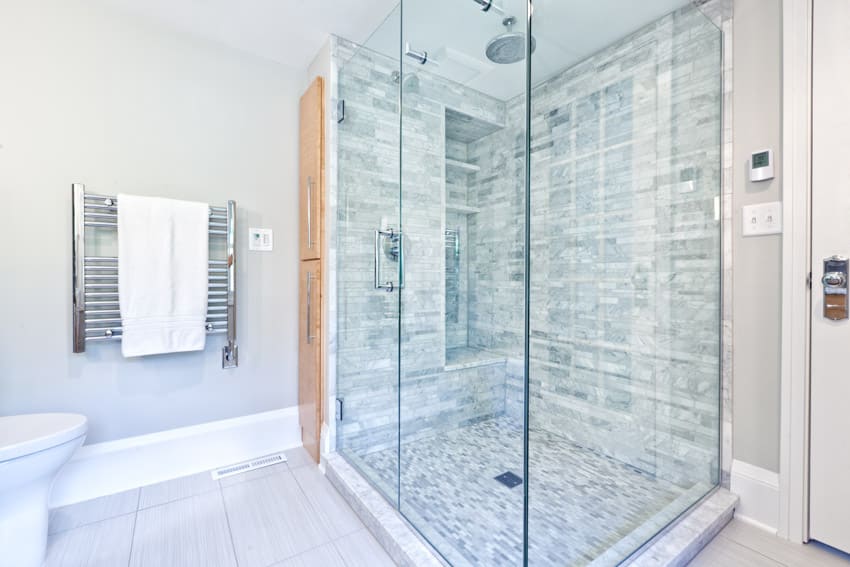
Shower Floor Adhesive
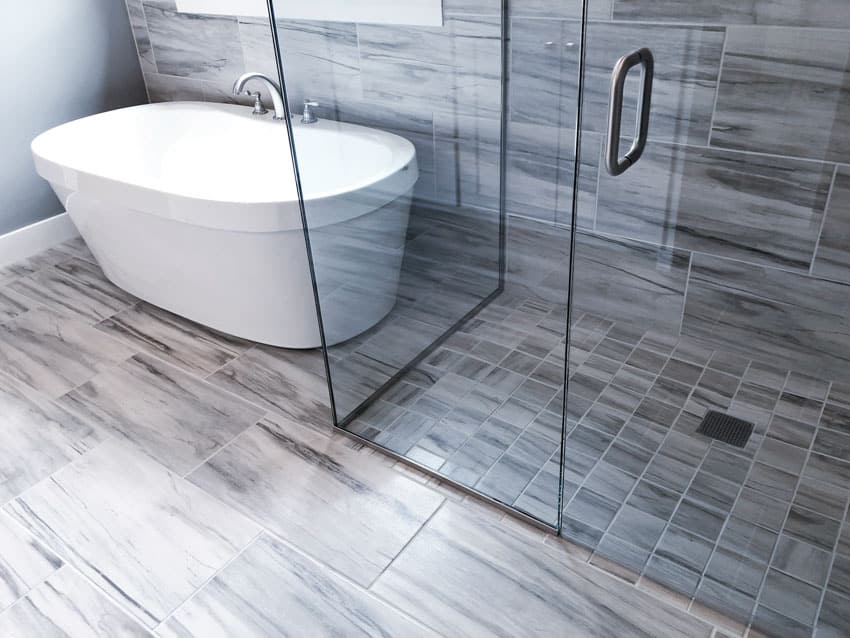
If you’re thinking what types of tiles are best for a shower floor, you also need to consider the adhesive you’re going to use. You also need to understand that the tile to be used needs to thoroughly and properly stick to its base surface. This is why tile adhesives are so in demand. It is an absolute requirement specifically for areas that get wet a lot such as the shower floor.
A shower floor tile adhesive is expected to hold the piece in place for decades or entire lifetimes even. This is a tall order to fill and this is why you need to be highly selective of the adhesive you pick.
Here are some of the features to really look out for when looking for a shower floor tile adhesive:
• It must be easy to work with.
• It must fill in the gaps between the substrate and the tile quite adequately.
• It cannot cure too fast or you won’t have enough time to work the tile in.
• It also cannot cure too slowly or you’ll end up taking up too much time to get to the grouting phase.
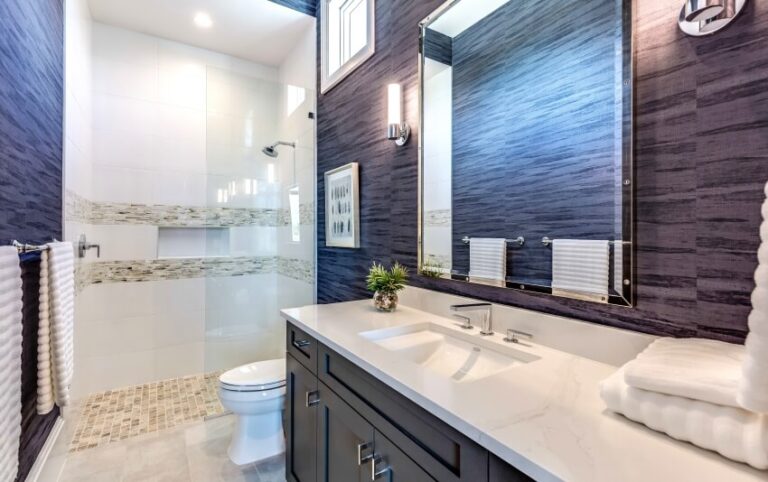
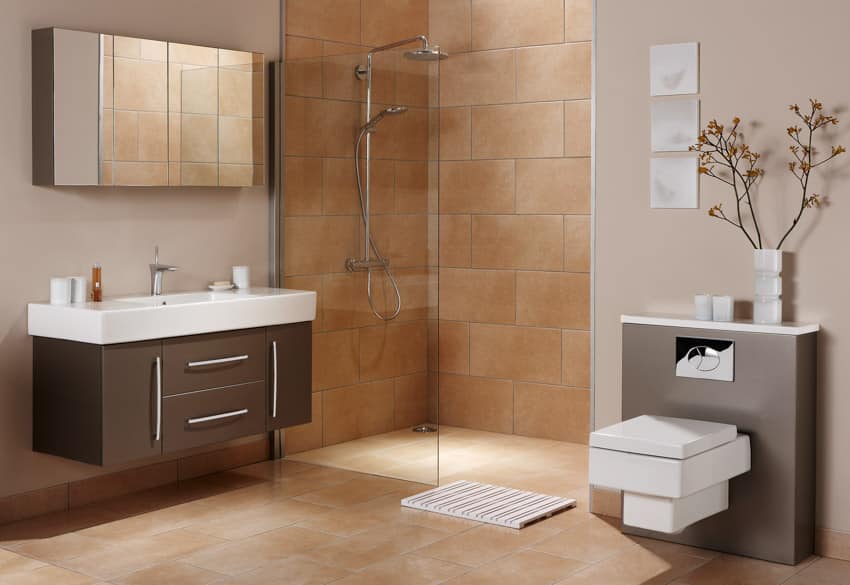
Adhesive For Shower Walls
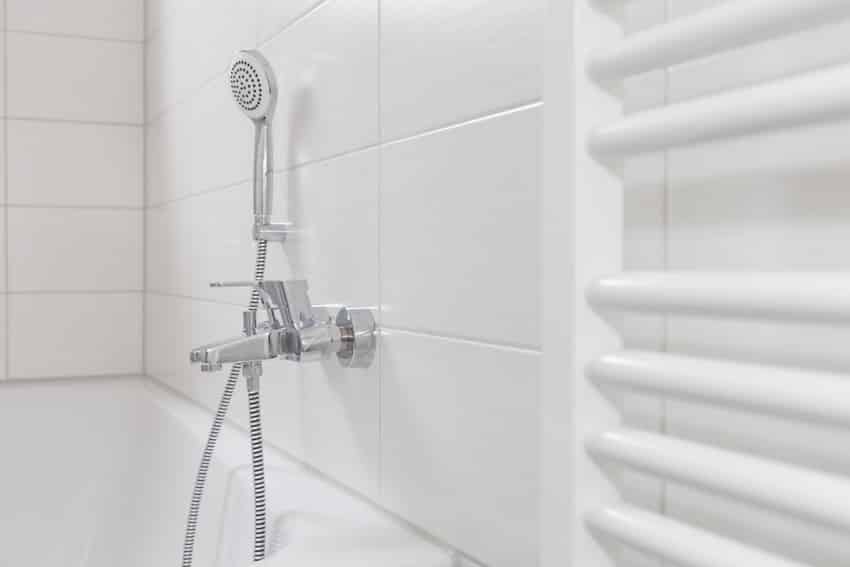
Shower wall tiles or shower panels require special handling as they usually come in large surface areas and they need to be adhered to quickly while at the same time, still being able to hold up the weight and on top of all that, stay impervious to water.
You need an adhesive that will not be affected by moisture, water, cold, heat, or steam once it has fully cured. Go with high grab panel adhesives that are solvent-free and can double as silicone sealants due to their waterproof nature.
You need adhesive that can grab onto high and low maintenance shower walls, including non-porous surfaces or you run the risk of having your shower walls coming loose over time.
What Is Tile Mortar?
A shower tile adhesive is essentially a type of tile mortar that can hold a strong grip in a high moisture area. This is why the recommended choices would always be either an epoxy mortar or a thinset mortar.
Tile adhesives are essentially a mixture of epoxy and thinset mortar. People who opt for DIY bathroom remodel ideas usually go for a premixed thinset mortar while professional tilers opt for either a standard powder thinset or an epoxy mortar. For shower floor tiling, a mortar bed is also typically used.
Differences Between Type 1 Vs Type 2 Adhesives
One of the things you’ll probably notice while you’re shopping around for tile adhesives is that they’re labeled as Type 1 or Type 2. There are others as well that aren’t even labeled at all.
There’s no need to get intimidated by this as the categories are pretty simple. An adhesive that’s labeled as Type 1 simply means that it is waterproof whereas a Type 2 means that it isn’t waterproof. If an adhesive isn’t labeled at all, it is usually detailed somewhere on the label if it’s something that’s impervious to water or not.
Can You Use Mastic On Tiles?
One major downside to mastic is that its composition is basically organic. It is highly discouraged for you to use it in areas that tend to get wet a lot such as in pool areas or showers.
This is mainly because once it comes in contact with a lot of water, it tends to re-emulsify due to its organic nature, eventually causing your tiles to come loose, causing your grout to crack, and you to eventually need to replace the tile altogether.
See more related content in our article about bathroom wall covering instead of tiles on this page.