Rectified Tile Pros And Cons
You are considering doing home upgrades and remodeling, and you’ve decided to install ceramic tiles in your bathroom and kitchen. While ceramic tiles have been utilized for ages, a revolutionary type of tile has emerged – rectified tiles. Rectified tiles have unique features, and their use has pros and cons.
Rectified tiles are another tile you must be acquainted with; even if you’ve never heard the phrase “rectified,” you’re probably aware of their look. Rectified tile is a terminology used to describe specialized ceramics and porcelains.
However, what exactly does it imply when a tile is rectified? We’re here to inform you all there is to understand about rectified floors. We will also discuss its pros and cons. [toc]
What Is A Rectified Tile?
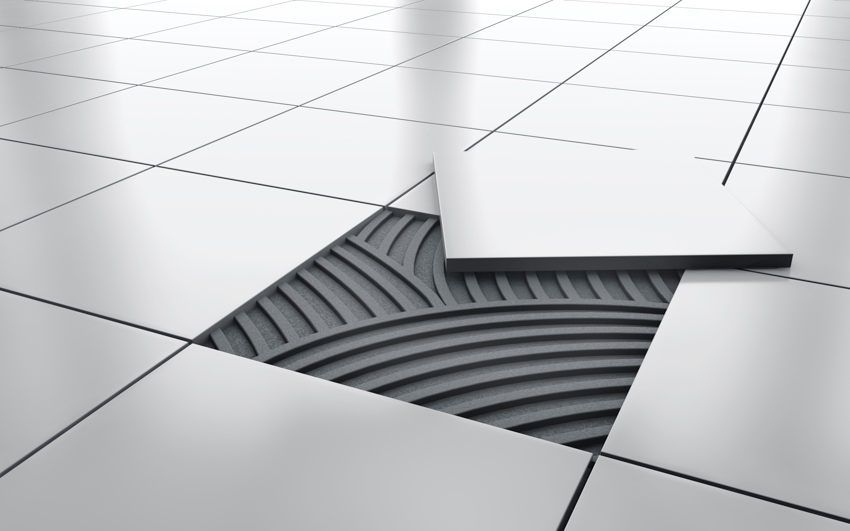
Rectified tile is fired porcelain or ceramic tile that’s been mechanically trimmed or polished to a uniform size. Rectified tiles are indistinguishable from one another due to a smoother finish. These tiles provide a square tile with accurate and straight edges.
Furthermore, rectified tile pertains to tiles with straight edges due to a thorough grinding or cutting operation. The method is prevalent in porcelain and ceramic tile flooring, and it is generally performed before the firing process.
Closer inspection reveals that the tile edges are very fine and well-trimmed. That is what makes it more unique than standard tiles.
Rectified Edge Tile
Because rectified edge tile primarily pertains to the tile’s edges, it is often known as an edge treatment. Furthermore, the edges are generally cut accurately at a square, which is a 90-degree angle.
Rectification is not thought to be superior to other edge treatments. It is just a new treatment that allows for a distinct appearance: neat, trimmed, and straight, with small grout lines.
Rectified edge tile sizes and measurements can vary during the firing procedure. It’s worth mentioning that they are typically made larger before firing to accommodate the shrinkage or expansion of the tiles in the kiln.
After the tiles are removed from the kiln, further processing is performed to finish each tile edge, giving them identical proportions perfectly.
Pros and Cons of Rectified Edge Tile

Pros of Rectified Tile:
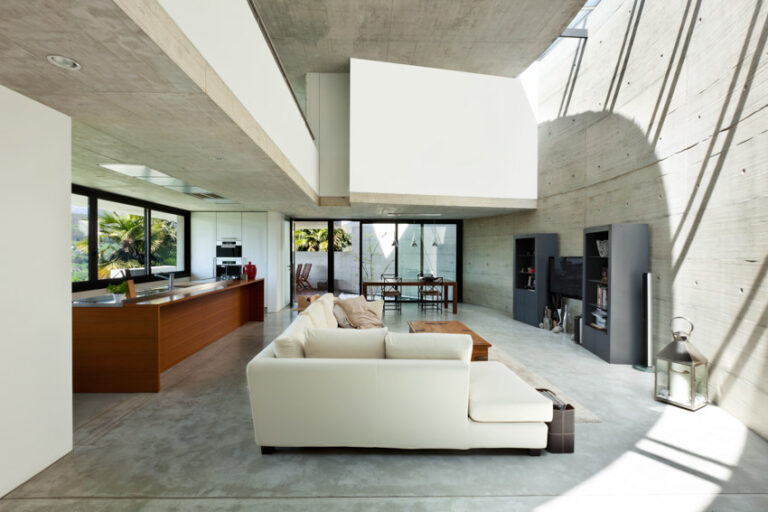
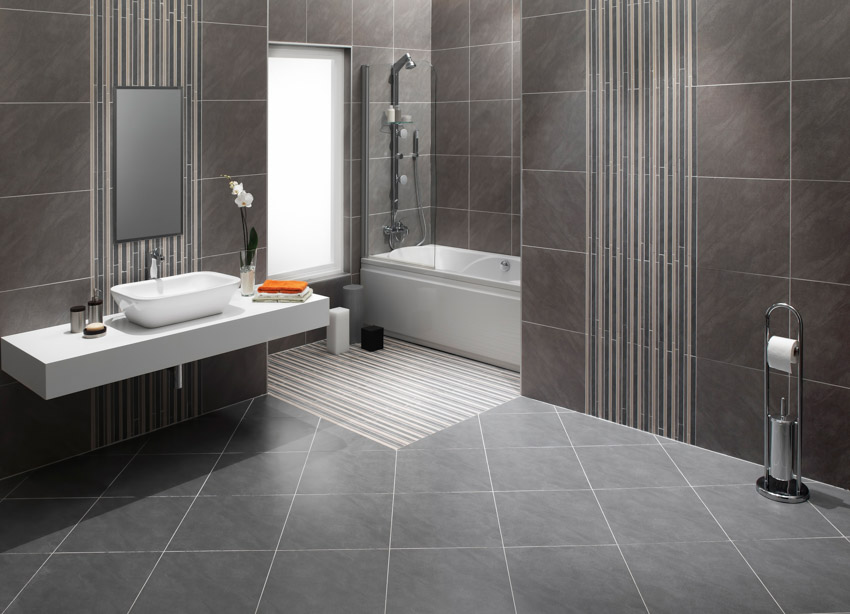
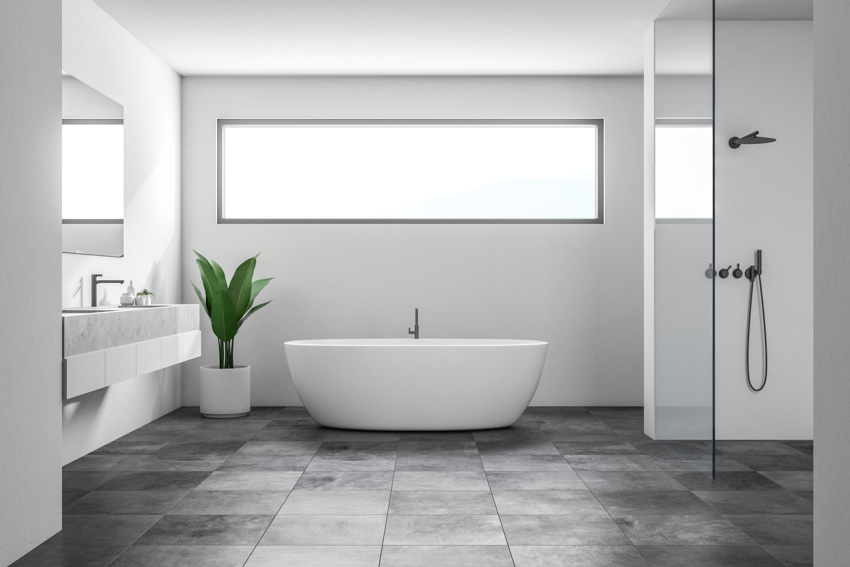
Can be Installed Using Extremely Small Grout Lines, Allowing for a More Uniform Look: The primary benefit of rectified tiles is that they can be placed using extremely small grout lines, and when paired with large-sized tiles, this gives a smooth, streamlined, and minimalist aesthetic.
When comparing rectified tile to standard tile tiling with thicker grouting, the smoothness and precision of the edge lines appear more noticeable.
The space between the tiles can range from 1.5 millimeters to 3 millimeters, producing a precise, sharp finish with an extremely uniform effect.
If you wish to utilize huge format tiles in your room, rectified floor tiles could be very effective since the minimum grout necessary can make your floor, or even wall, appear to be one massive tiled surface.
These Tiles Are Extremely Hygienic and Simple to Clean: This style is also more sanitary and simpler to clean since there is far less grout for germs and mold to hide in, and the surface is more flawless. Unlike standard tiles that have gaps, dust and dirt won’t get into the gaps as they are tightly and perfectly fitted.
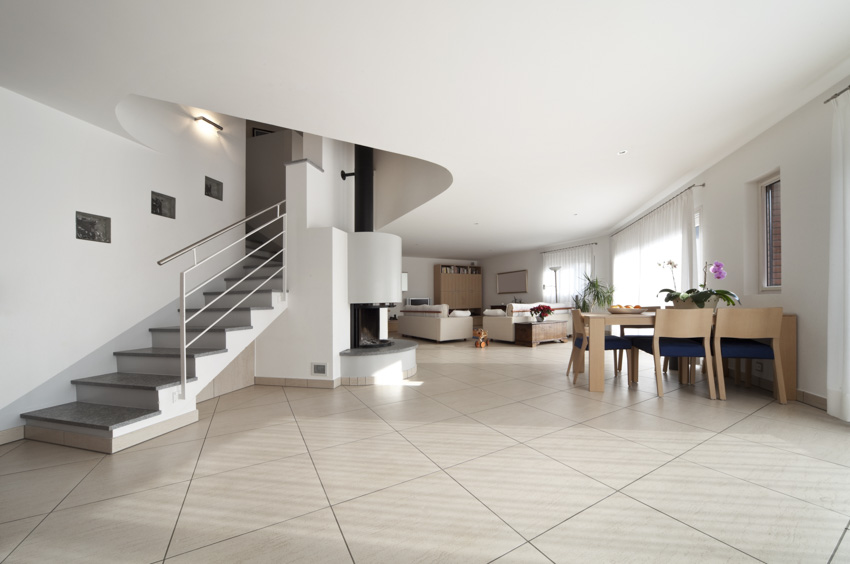
These Tiles Create an Incredible Illusion of a Larger Space: Plain-colored tiles can be an excellent technique to give the illusion of larger floor space. This kind of tile is among the small bathroom ideas that are widely presumed to work ideally to make the area look bigger.
Unfortunately, the multiple grouting lines might, in reality, make the space look much smaller since rectified tiles do have unnoticeable grout lines. There is no doubt they can make a space much bigger.
Cons of Rectified Tile
The Edges of Rectified Tiles Can Chip Over Time: One disadvantage is that they are extra susceptible to chipping, especially on the exterior corners of your floors where the tiles end.
This is because the sharp edges are not as well-covered as they would be on a non-rectified tile.
Rectified Tiles are Very Difficult to Install: Extra effort may be necessary to ensure that your repaired tiles are properly placed.
Based on the size of the grout lines and the area where you wish to lay your tiles, substrate or specialized bedding could be necessary to guarantee proper placement. Furthermore, they are more costly than standard edges.
Rectified Vs Non-Rectified Tiles
A rectified tile has been completed in the manufacturing process so that both sides are pretty much the exact size, resulting in a tile that is uniform with accuracy.
This allows for a very minimal grout joint, giving the impression that the floor is one vast tiled area. As a result, the tiles necessitate little grout.
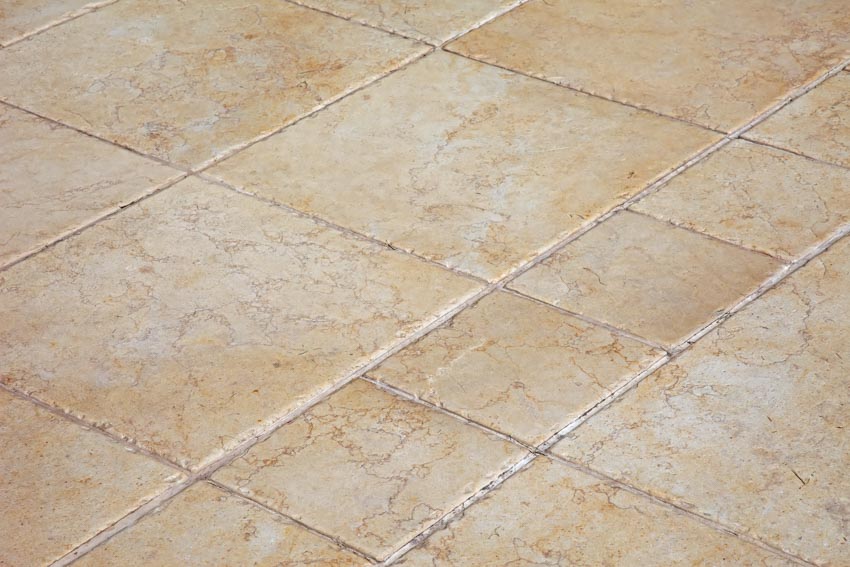
A non-rectified tile, on the other hand, has irregular edges. This results in a more natural-looking tile but also necessitates a larger grout joint, resulting in a more conventional tiled look.
Non-rectified tiles are often available in the same shades, forms, and patterns as rectified styles but at a lower cost.
This may appear to be a significant bargain, but selecting rectified wall and floor tiles over non-rectified ones will considerably enhance your home’s overall aesthetics.
Appearance-wise, rectified tiles beat non-rectified.
Larger grout lines are necessary when using non-rectified tiles to make them look more consistent, which deviates from the smooth, pristine aspect of the surface. However, if you want contrasting grout colors to make your tilework stand out, stick to non-rectified designs for your remodeling.
Nevertheless, the decision between the two is based on personal choice and the kind of space you are tiling.
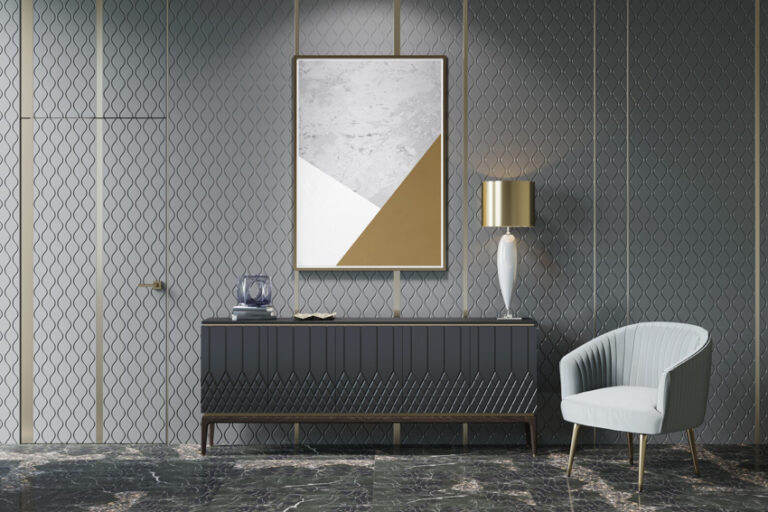
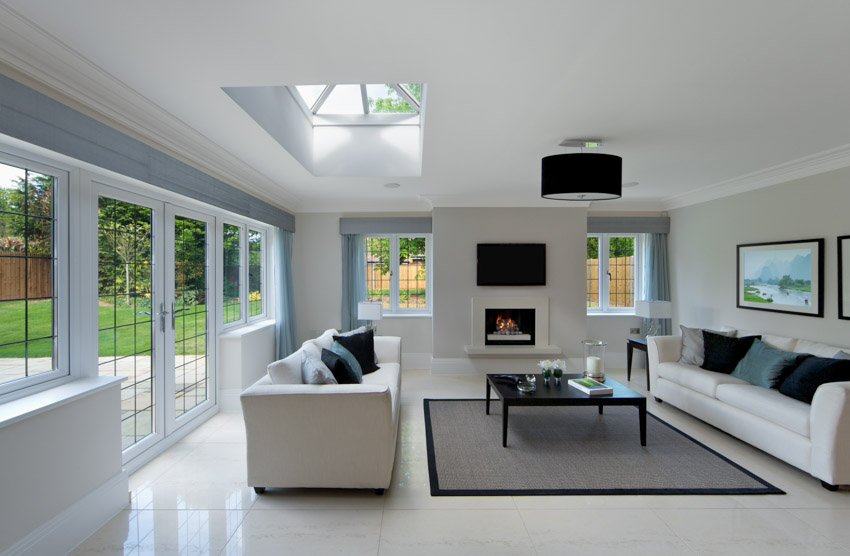
Rectified options have a more modern aesthetic due to their smooth surface, although non-rectified allow you to employ creative grouts. Whatever you decide, we are confident you will enjoy your completed tiled room. See more types of tile shapes here.
Rectified Vs Pressed Tile
A pressed edge has an exquisite rounded edge and can come in a variety of sizes. Before you start the installation, it is critical to verify that your project is of the same standard. It is not suggested that pressed edge tile be installed with less than a 1/8″ grout gap.
On the other side, a rectified edge is a tile with all of its edges mechanically completed to obtain a more exact physical measurement. It also enables the contractor to use a very tiny grout line (1/16″ or 1/8″) during installation. It is important to note that the installation is more difficult since the floor should be level, and there is very limited space for deviation.
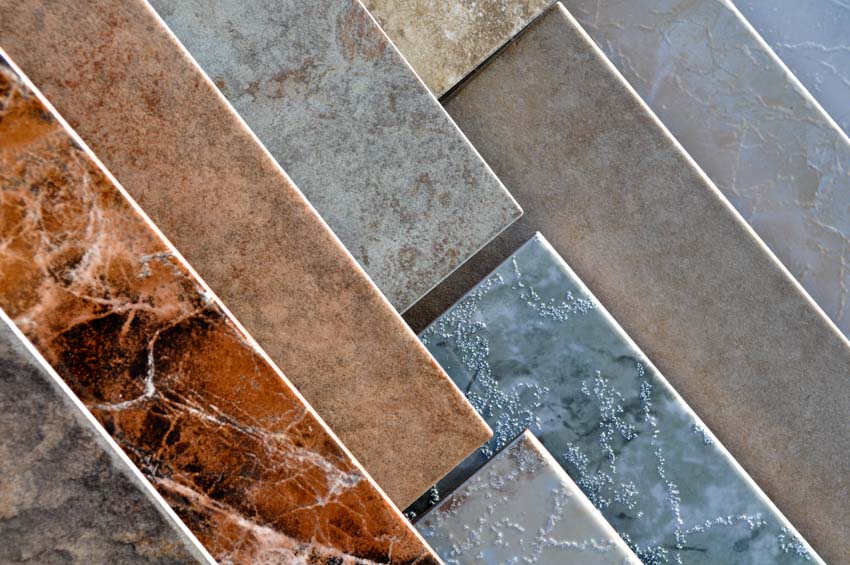
Tiles Cost
Rectified tiles undergo extensive production operations, resulting in a higher price than non-rectified options. Moreover, rectified edge products are often more expensive due to the added expense of reducing down to size.
The cost of laying rectified tiles is generally greater than that of laying non-rectified materials since it takes more time, attention, and a straighter substrate. Generally, rectified tile costs between $0.50 and $35 per square foot.
However, it is always dependent on the caliber, kind, and size of tile that you are looking for, but this edge design normally costs more than non-rectified alternatives of a comparable caliber as there is a bit more effort that goes into making and laying them.
When assessing the different bathroom and kitchen flooring ideas, you should remember that rectified tiles may take a little longer and cost a little more to install. The visual attraction of the narrower grout joints, along with the usage of a suitable leveling system to assure faultless work, will far outweigh any expense.
When it comes to the expenses of hiring a tiler or contractor, charges per square meter might range from $30 to $50. Tilers or contractors can charge day by day if they will be there for more than 6 hours or more, which might range between $170 and $220 each day.
Are Rectified Design Tiles Harder to Lay?
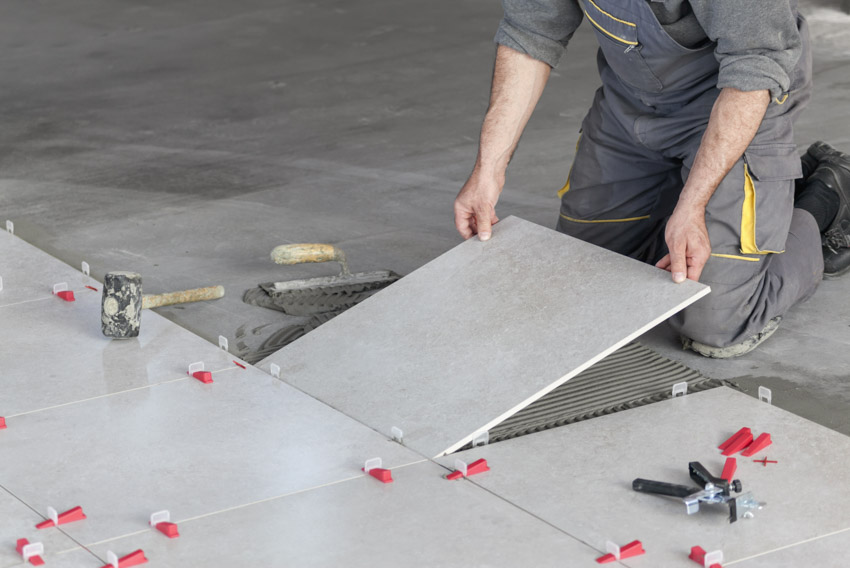
Even though they are straight and sharply edged, laying rectified tiles is a lengthier procedure than installing standard edge types and will cost more.
Some customers prefer to fit the tiles against one another, but nearly every contractor suggests allowing at least a 1- to 1.5-millimeter gap to minimize chipping over time. If you install this style, we recommend using a leveling device to ensure a consistent finish with no lippage.
Normally, there is an additional cost associated with utilizing this technology (about $1.5 sqm), but when you consider the exact savings and compare the end product, we can promise you that it is worth the investment, as the time saved and the quality of the finished job will be greater.
To give you an idea of how you can lay rectified tiles, here are the basic step-by-step instructions:
Things You Will Need During The Laying Process:
• Tiles
• Thin-set mortar
• Grout
• Trowel
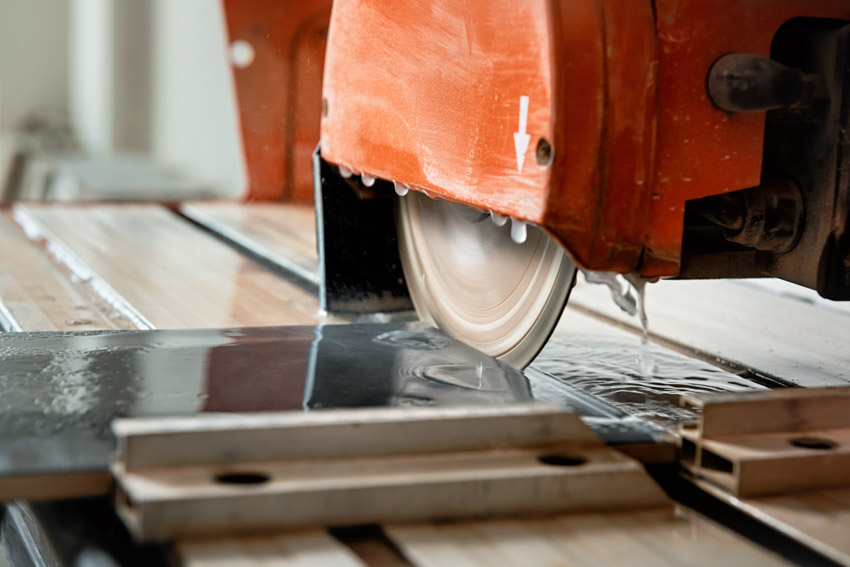
• Tile saw
• Rubber mallet
Instructions:
1. Lay the tiles properly in the location where they will be installed. Start with a whole tile in the middle of the wall farthest from the entrance, and then place the others out equally to each side.
This positions the cut tiles in the room’s edges or corners, where they are less visible. For tiles that are rectified to a variation of 0.0635 millimeters or less, higher deviations would necessitate a very minimal grout gap.
2. Using a pencil and measuring tape, highlight any tiles that will be cut. Make your cuts using a high-grade tile saw and move the cut edges to the room’s outer edges to guarantee that only the edges connect.
3. Lift the tiles in the opposite arrangement where they were placed. Spread a small amount of thin-set mortar on the floor and press it in with a trowel until it is consistent in depth.
3. Place them into the mortar in the same arrangement as they were set out. Using the rubber mallet, pound the tiles into the mortar until they are equal in elevation and have no edges protruding over the others. Use the trowel’s tip to assist in pulling the tiles up against each other evenly.
4. Allow the mortar to settle for at least 1 day.
However, for more professional results, it is still better to hire a licensed and experienced contractor to ensure that the rectified tiles are laid perfectly.
Does Rectified Tiling Need Grout?
Yes. Grout is still needed for rectified tiles. It is not advisable to place them without grout, even with these styles.
Grout protects the tiles against movement if the home shifts, making the surface simpler to care for in damp places. Instead, utilize rectified edge products with a 1/16-inch grout joint wherever practical.
How Close Can You Lay Rectified Style Tile?
When laying rectified tiles, the minimum gap is 1.5 millimeters. Because of the narrower spacing, the grout lines are less apparent, and the amount of grout needed during the installation is significantly reduced.
The narrowest grout gap, which is less than 1/8 inch, is already appropriate for rectified designs. These types of tiles are thoroughly uniform.
Further Useful Tips When Placing Tiles
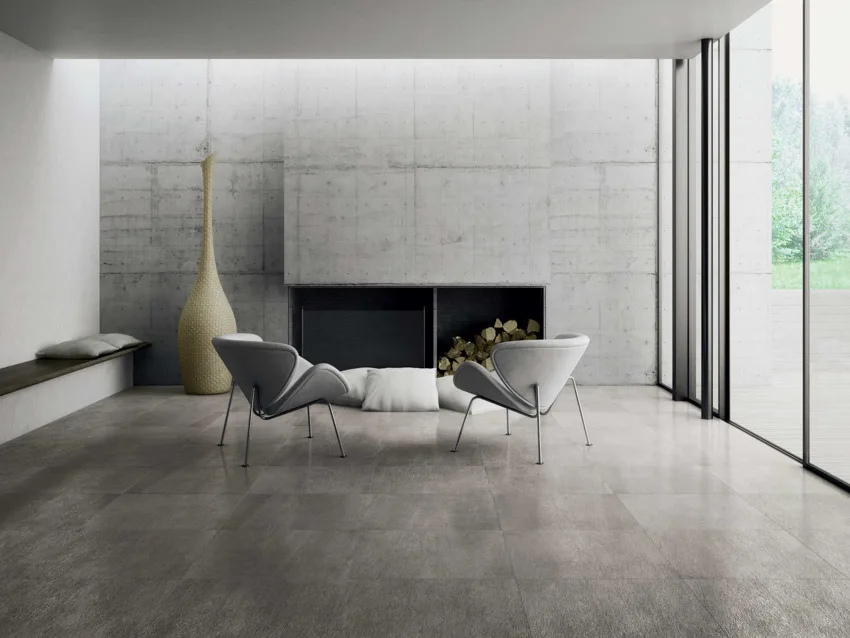
Experiment with Different Textures: Rectified tiles are huge and flawless, making the space appear larger.
If you are concerned that the room may appear dull and vacant, use rectified tiling with modest but discernible textures. Subtle tile patterns can also be used to fill in the visible gaps.
Embellish Using Mosaic Tiles: Mosaic tiles provide flashes of color or patterns to an entirely smooth surface. Smaller pieces in different colors can be used to form patterns or boundaries between larger tiles.
For Various Surface Elevations, Employ Contrasting Colors: If you or someone in your household cannot detect the distinction between two surface levels, seamless tiles might create confusion or, worse, an accident. To accentuate these differences, use various tile colors or even border designs.
Using these concepts, you may construct your customized design. You may get a contemporary, sleek, and beautiful design with delicate rectified tiles.
Rectified tiles are only obtainable in clay-based kinds, and they are designed to provide smooth grout lines after construction. Nevertheless, they are not always the ideal choice for a floor or a wall.
See more related content in our article about the different types of kitchen floor tiles on this page.
To showcase highly specific designs, some images on this website use advanced AI-generation software to illustrate ideas and room inspiration. See our editorial policy to learn more.

Upload a photo and get instant before-and-after room designs.
No design experience needed — join 2.39 million+ happy users.
👉 Try the AI design tool now