How To Hang Up Heavy Frames Without Nails
Living in rental accommodations can be a drag. You don’t get to completely customize your space for fear of damaging it and ultimately incurring costs for repairs before you move out. One common problem is how to hang up huge and heavy frames without ever damaging the walls. This may sound impossible at first, but you can definitely do it!

And what’s more surprising, nails, hammers, or drills of any type don’t even need to be part of the solution at all. Here are some alternatives to make that possible so that your walls could live the rest of their lives damage-free while you’re at it! [toc]
Overall, there are three alternatives to nails and hammers when it comes to hanging heavy frames on the wall. Here they are, in a nutshell:
Command Strips – These are the most common options, and are perhaps the easiest to apply.
Command Hooks – These are for massive frames that weigh a whopping 50 to 80 pounds.
Hook And Loop Tapes – These are for when you have to deal with textured walls.
Command Strips
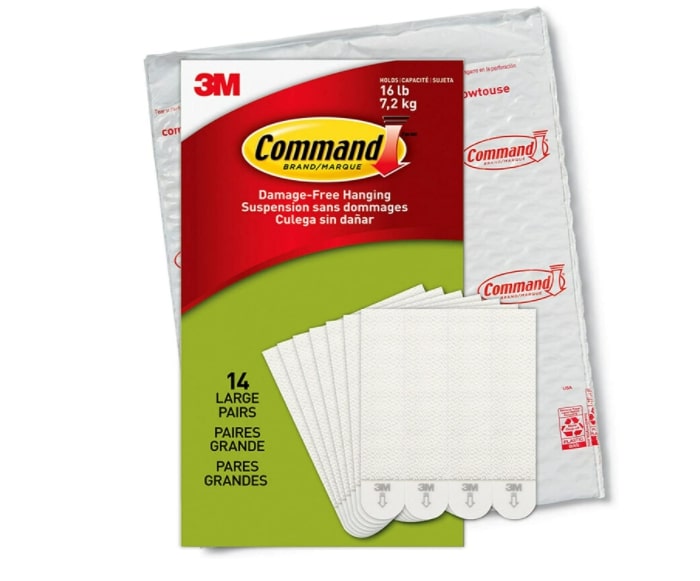
Check out these command strips at Amazon [sponsored link]
Using command strips is perhaps the most common way to hang heavy frames without the need to drill a hole into the wall.
These strips have basic adhesives at the back that adhere to the wall. Moreover, they are actually the go-to option for hanging lightweight materials on the wall such as posters, smaller frames, and papers.
However, if you need to hang something heavier, there are Velcro-type command strips that you can consider. Velcro-type command strips are specifically made for hanging heavy frames. Read more about our guide to how high to hang curtains here.
They usually come in different sizes and can handle various types of weight. If you want to be extra careful though, you can actually consider using multiple command strips to effectively secure the frame on the wall.
These strips are an excellent choice because you can be sure that there will be no gaps at all between your frames and your wall, creating a smoother and more seamless look.
Command Hooks
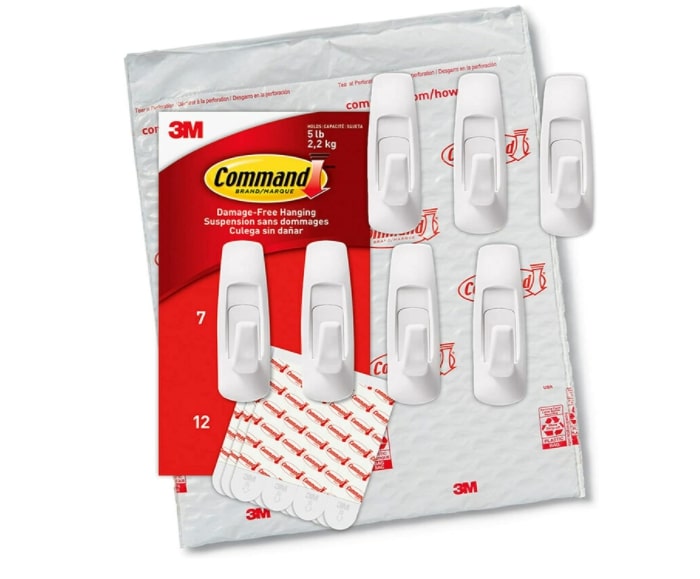
If you happen to have heavier pieces to hang such as full glass mirrors and the like, the command strips may not be enough in supporting the weight of these materials. Thus, it’d be best to go for the command hooks instead.
Normally, command hooks can support items that can weigh up to 7.5 pounds. But, if the object or art piece you’re planning to hang is much heavier, you can use multiple command hooks then line them up to the wall instead to fully support the weight of the said objects.
Unlike the command strips which lie completely flat against the wall, command hooks create a protruding look when installed on the wall. Some people may prefer this look that is somehow reminiscent to how some art pieces are displayed in an art gallery.
Hook And Loop Tape
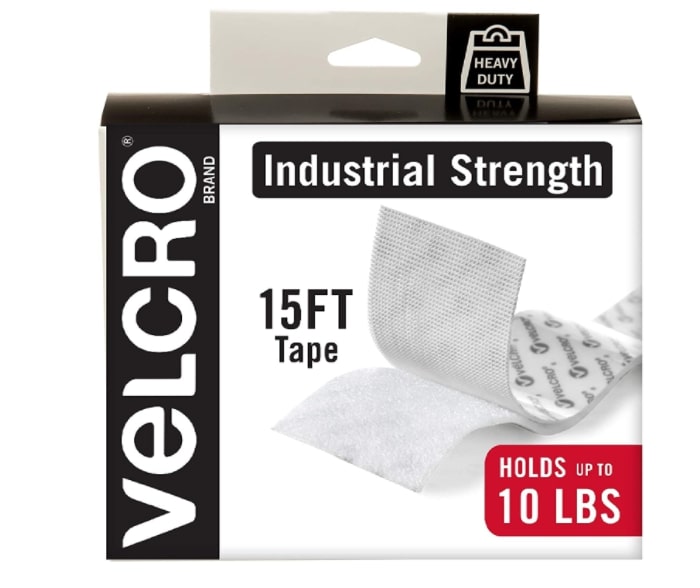
Hook and loop tapes are some of the interesting technological innovations that are basically just double-sided Velcro tapes.
If you have a piece of art décor that you’re desperate to hang on your walls and are just absolutely clueless on how to do it without completely damaging the wall, then hook and loop tapes may be your best choice.
The loop side is the one with the fuzzy surface but the magic happens on the hook side. It’s a section that’s completely made up of plastic which has two-way facing hooks that can support up to 16 pounds of weight—which is surprising coming from a measly 100 mm strip!
If you’re dealing with a particularly weighty décor such as a mirror piece or something similarly heavy, there’s no need for you to drill a hole into your wall as a hook and loop tape will do.
It’s quite amazing how home designing has become so revolutionary and innovative in recent years. There really is no need to hurt your walls with these latest technological advancements.
Besides these three alternatives, there are actually some other ways to hang your stuff on the wall without completely damaging them. The first would be to install a pegboard of sorts. You can also invest in a cork wall that you can directly pin stuff on.
However, removing them from the wall often takes more work than the actual spackling. Your best bets are still the three frame hanging tools we’ve discussed above.
Steps For Hanging Heavy Picture Frames Without Nails

By now, you’re probably rushing to read through everything so you can get right down to the most important part: hanging up your frames.
To get started, take note that your walls require basic prep work, which is not something that is overly complicated. Basically, you just need to ensure that the surface of your wall is clean and dry so that you can maximize the use of our frame hanging tool alternatives.
Most of these options require the use of heavy-duty adhesives. Keep in mind that these alternatives won’t work effectively if there’s a critical issue with your walls. With that said, here are the steps for prepping your walls starting with command hooks:
Prepare the wall surfaces.
You can use store-bought cleansers, a DIY mix of part soap-part water, or (our personal favorite) a generous application of isopropyl alcohol. Isopropyl alcohol is highly recommended because it doesn’t contain toxic denaturants that are present in other types of alcohol.
Use some paper towels or a clean rag to completely wipe down the wall surface and allow it to dry to ensure that the adhesives will work effectively.
Mark out your areas with a light pencil.
You don’t want to be all over the place. Now that the surface is clean, lightly mark out the place where you’re planning to install your frames.
Take note that you have to be completely precise to ensure that you won’t make any frustrating mistakes down the line as you work on the entire process.
Time to stick them in!
Peel out the command hooks out from their protective coverings and align them with the light pencil markings you’ve made on the wall.
Once you’ve made sure of their placements, press them down for up to 30 seconds or more to make sure that they’ve fully adhered to the surface.
Give them time.

Once you’re done, refrain from hanging your frames right away. In the meantime, allow the adhesives more time to practically stick to the wall.
This can possibly take up to an hour but patience is key and so is trusting the entire process.
If the adhesives fall off, there are only two possibilities: you either didn’t work on the process correctly right from the start or your frames are just way too heavy that the hooks can’t fully support the weight.
If you think your plans have fallen through because of the latter, don’t give up just yet. You can line up multiple command hooks to redistribute the weight and actually take in the frame’s full weight the next time you attempt to hang it on your wall.
Meanwhile, if you want to go for a more seamless look, then using command strips is your best bet. Similar to the instructions above, you’re going to need to prep your wall and keep it clean and dry.
Here are the next steps once you’re done with the wall preparations:
Peel them off.
Remove the command strips from their protective covers and connect the bottom parts of each strip so that one of them is on top of the other.
You’ll then hear a snapping sound, which means that the sides have connected successfully and that the strips are fully functional.
Take note that you’re going to need at least four strips to hang a piece of rectangular frame on the wall.
Stick them in.
It’s now time to paste the strips at the back of your frame. Meanwhile, it’s actually up to you to decide on the number of command strips you’ll need for your frame but make sure to also keep the size of the frame in mind.
Ideally, four strips are recommended for a regular-sized frame that’s about five pounds. But it’s still best to use your own discretion at the end of the day.
Use a leveler before installing it on the wall.
You’re probably going to need an extra pair of hands for this step but you can also do this alone with a little bit of ingenuity.
Hold the frame up and put a leveler on top of it or have someone hold a leveler on top while you find the perfect spot for the frame on the wall.
Once you’re satisfied with everything, just press the painting against the wall and you’re done! You can also hammer down the frame corners with your fists to ensure an extra solid grip.
Lastly, the third nail alternative is the use of hook and loop tapes. This is the Velcro-type that is known not just for hanging frames on the wall, but draperies, hanging fabrics, and even plaques as well.
What’s great about hook and loop tapes is that they also work effectively with textured walls. On the other hand, command hooks and strips only work great for walls that have a flat and smooth surface.
Meanwhile, the process for installing hook and loop tapes on the wall is exactly the same as installing frames with command strips.
So you see, it’s definitely possible to be nail-free if you’re planning to hang heavy frames on the wall. You can kiss all your wall-spackling worries goodbye and set your creativity loose without ever damaging your walls.
For more content related to how to hang up heavy frames with nails, check out our tips on how high to hang pictures.
To showcase highly specific designs, some images on this website use advanced AI-generation software to illustrate ideas and room inspiration. See our editorial policy to learn more.

Upload a photo and get instant before-and-after room designs.
No design experience needed — join 2.39 million+ happy users.
👉 Try the AI design tool now