27 Golf Backyard Putting Green Ideas & What To Know Before You Decide On One

A golf backyard putting green is a great way to practice the sport from the comfort of your own home. A putting green can be constructed in your backyard A putting green in your own backyard means no drive to the course and no green fees just to work on your short game. It’s a lifestyle amenity first. It can add to a home’s appeal when it comes time to sell, but treat that as a bonus rather than a return you can count on. Golfers looking to have some practice putting greens installed in the backyard may also still want beautiful aesthetics for their landscaping. Designating a portion of your yard for a place to play might seem to limit your design options, yet the remaining space still offers plenty of opportunity for creative landscaping, like in the example above that uses bright flower beds located right next to the greens. This is one of the key points of good design.
When considering the type of materials needed for creating your golf green, there are generally two choices: natural grass or synthetic turf. Most experts don’t recommend natural grass for golfers due to the time commitments involved in maintaining it. However, natural sod can be much less expensive than synthetic turf. Natural sod runs roughly $1 to $2 per square foot installed, which is the cheapest way to get grass under your feet. The catch shows up later, in mowing, watering, and treatment. Another downside is that living in an area with many cold months may require you to regrow grass every year. You will also be limited in the times of the year when you can use it for golfing.
On the other hand, synthetic turf is durable, long lasting, and requires very little upkeep, far less than natural maintenance. Synthetic turf offers you year-round use by not being affected by extremes in hot or cold weather. The convenience factor is one of the main selling points of choosing synthetic turf. Putting turf itself costs about $6 to $17 per square foot for the material. A finished green lands closer to $15 to $40 per square foot once base work and labor are in the number (2026 pricing). That gap surprises people. Labor is 70 to 95 percent of a professional install, because the digging, grading, and compacting is where the real work lives.
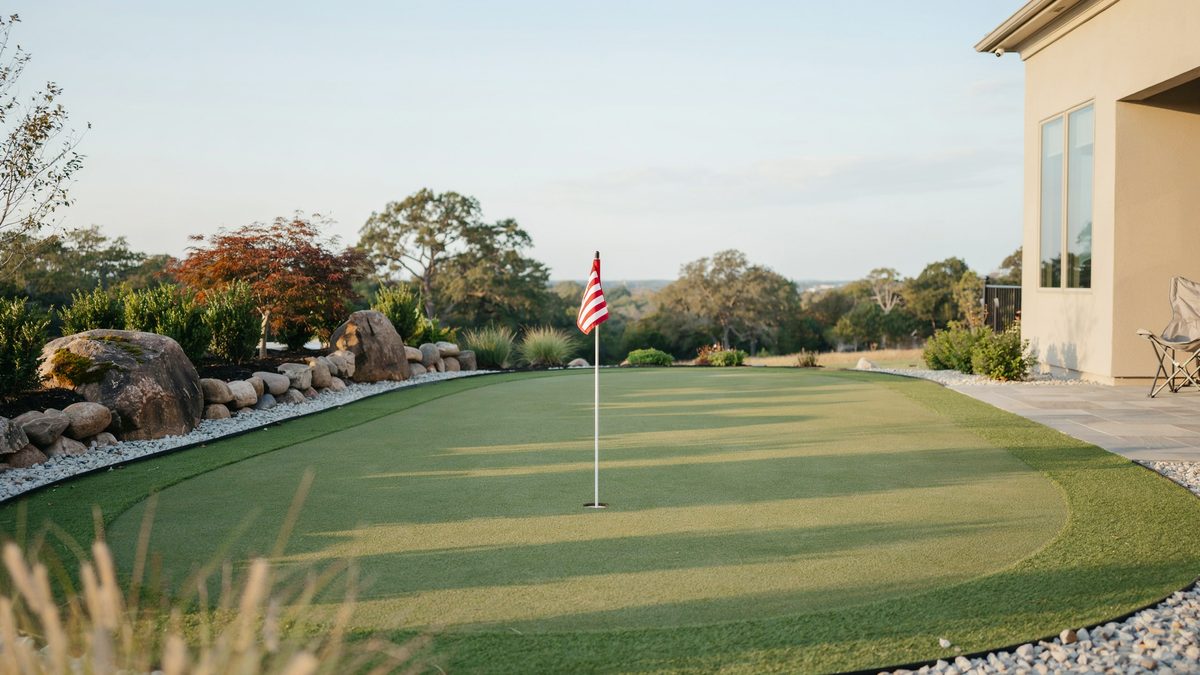
A boulder and gravel border does double duty here. It frames the green, keeps the turf edge clean, and ties the whole thing into the rest of the yard.
Real Grass or Synthetic Turf?
Most people have already half decided before they start reading. Here’s the comparison.
| Natural Grass | Synthetic Turf | |
|---|---|---|
| Material cost | $1 to $2 per sq ft | $6 to $17 per sq ft |
| Lifespan | 5 to 10 years | 10 to 15+ years |
| Yearly upkeep | $50 to $220 per lawn visit | $250 to $550 per year |
| When you can play | Limited by climate and regrowth | Year round |
| How it plays | True course feel when it’s healthy | Consistent roll with far less work |
Sod wins on day one. Synthetic wins on year three. If you’re not the kind of person who enjoys mowing at a quarter inch, that’s your answer.
What a Backyard Putting Green Costs
Size drives almost everything when it comes to choosing what you want. Here’s where the numbers actually land in 2026.
| Green Size | Per Sq Ft | Total Installed |
|---|---|---|
| Small, 100 to 400 sq ft | $25 to $40 | $2,500 to $16,000 |
| Medium, 401 to 2,000 sq ft | $20 to $30 | $8,000 to $60,000 |
| Large, 2,001 to 3,000+ sq ft | $15 to $25 | $30,000 to $75,000+ |
Going DIY on something small changes the math completely. A basic green with budget turf can come in under $500, and kits run $5 to $20 per square foot. Budget another $500 to $1,000 for cups, flags, and the gear you’ll want once it’s finished. If you only want the layout designed and plan to build it yourself, landscape designers charge roughly $50 to $150 an hour. For an awkward or sloped yard that’s usually money well spent.
What Size Backyard Putting Green Do You Need?
Most people picture something bigger than they need. Then they mark it out on the lawn with a hose and realize a green swallows more yard than expected. The useful question isn’t how big it can be, instead it’s how many holes you want and how long a putt you want to practice.
| Square Footage | Holes | What You Can Practice |
|---|---|---|
| 50 to 200 sq ft | 1 | Short putts and alignment work |
| 300 to 500 sq ft | 2 to 4 | Varied putt lengths, gentle breaks |
| 500 to 1,500+ sq ft | 4+ | Real contouring, fringe, chipping zone |
For most backyards, 100 to 500 square feet is the realistic range. That’s enough green to matter without turning the whole yard into a practice facility. A few numbers worth knowing before you draw anything:
Got a narrow side yard instead of a wide open lawn? A linear putting lane is the standard fix. You lose the break variety, but you keep long putt practice, which is the part most home greens can’t offer.
How to Build a Backyard Putting Green
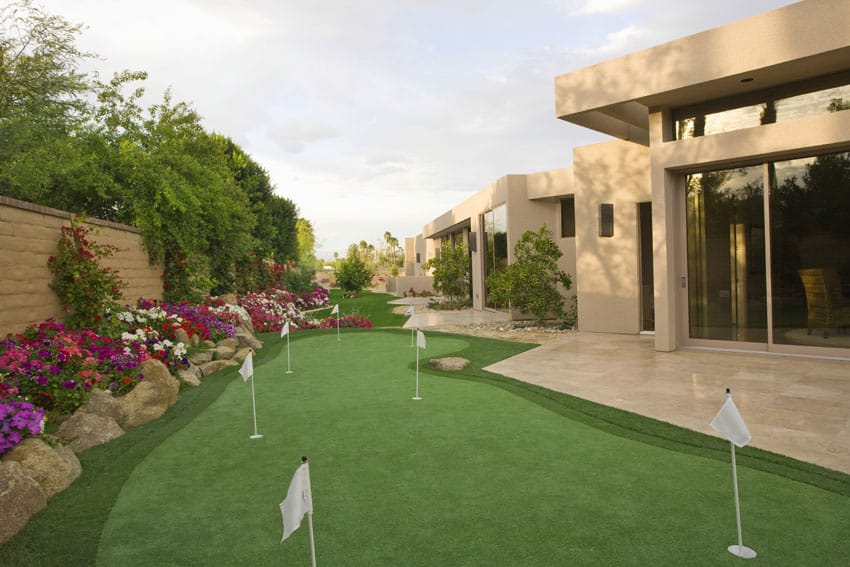
Avid golfers and hobbyists will love their own putting green turf in their backyard. A personal green makes it immensely easier to practice putting during lazy Sundays at home or whenever the sun is out, and there’s spare time to kill. Using the appropriate tools and construction materials, building up a personal putting green to incorporate into your backyard’s landscaping will be fairly straightforward and even fun.
The first step is to lay the base materials. This is an important part of the building since it helps stabilize the earth, which is important, especially for less than stellar ground conditions (e.g. flood-prone backyards). The finer the grain size of the gravel, the better it will be for stabilization. Using a plate compactor, compact the laid-out gravel; this shouldn’t be more than an hour or so.
The second step is to add the geotextile fabric covering. This is rolled over the entire gravel bed to stabilize the green as well as to prevent any unwanted weeds from sprouting into the panels.
Base Depths and Slope: The Part That Decides Everything
Everything you feel when the ball rolls comes from what’s underneath it. Get the base wrong and no amount of good turf will save the green. Shoot for a leveling layer of about 3 to 6 inches over a 4 to 8 inch drainage sub base. Adjust based on how well your soil drains and how hard the green will get used. Clay soil needs more.
Compact in lifts, not one deep dump of gravel and a couple of passes. Uncompacted fill keeps settling for years, and what you end up with is a green full of shallow dips that quietly ruin your line and your pace. Fixing that means digging the whole thing up again.
The slope your finished green needs, running away from the house. It’s barely visible underfoot and it’s the difference between a green that drains and one that sours.
Without that fall, water sits. Sitting water loosens the compaction, encourages growth under the turf, and eats the backing. It’s the most common reason a two year old green starts feeling soft in patches. More detail on the failure modes is in this installer’s rundown of putting green mistakes.
The third step is to install the pre-cut designer green panels. This is a matter of following the instructions with regard to laying out all the parts. This part is a little bit like assembling a large puzzle, albeit a lot more forceful. Full-length screws are placed around the perimeter edge to secure the assembly. Apply some stone dust or fine gravel to the outer edge and compact them for an even firmer outer edge. Clean and prep the panels for the turf installation.
How to Pick the Turf
This is the decision most guides skip, and it’s the one that determines whether the ball rolls true. Here’s the four specs that matter:
Together those four mimic bentgrass, which is short fibers spaced tightly with consistent firmness. One tip when you’re comparing samples: roll a ball on them. Don’t judge by how they look in the showroom. Purpose built putting turf and general landscape turf can look nearly identical side by side and play nothing alike.
Applying the turf comes fourth and this comes with the main turf roll and the fringe turfs. After unrolling the main turf, give it some time to rest under the sun to eliminate any wrinkles and kinks. Lay it on top of the panels, install the pre-made cups (holes), and then stretch and secure the turf to the panels with a pneumatic staple gun.
Apply the turf fringes up against the putting curve edges and secure them with the staple gun – be sure to have a good fit, especially along the seams. Use a carpet steam roller to make the stapling less evident and then roll the edge of the turf over the edge of the panels and staple them in. After that, it’s a matter of clean-up and final landscaping works and then it’s ready to use the new outdoor putting green.
Green Speed, and Why Yours Shouldn’t Be Fast
Green speed gets measured with a Stimpmeter. It’s a 36 inch aluminum bar with a V shaped groove down the middle. You raise one end to about 20 degrees, let a ball roll off, and measure how far it travels in feet. That distance is the speed. The proper method uses three balls, and they should all stop within 8 inches of each other. Then you do it again in the opposite direction and average the two. Measuring one way only tells you about the slope, not the surface.
Here’s what the numbers mean, using the USGA reference speeds:
| Types | Slow | Medium | Fast |
|---|---|---|---|
| Regular play | 8 ft | 10 ft | 12 ft |
| Championship play | 10 ft | 12 ft | 14 ft |
Most recreational golfers play greens somewhere between 8 and 10 feet. That’s the number to match at home, and it’s the part people get backwards. Practicing on a green far faster than what you’ll actually play is a good way to build a stroke that doesn’t transfer. For perspective on how much this has changed: when the USGA measured more than 1,500 greens across 36 states in 1976 and 1977, the average came out at 6.5 feet. Today 10 to 12 is normal at a well kept course, and Oakmont regularly runs past 15.
Keeping a Synthetic Green Playing Well
Synthetic is low maintenance, but it isn’t no maintenance, and anyone who tells you otherwise hasn’t owned one for three years. The good news is the routine is genuinely light:
Budget roughly $250 to $550 a year for cleaning, minor repairs, and topping up infill. Compare that to natural grass, where a single lawn care visit runs $50 to $220 and you’ll need a lot of them.
Home Golfing Greens
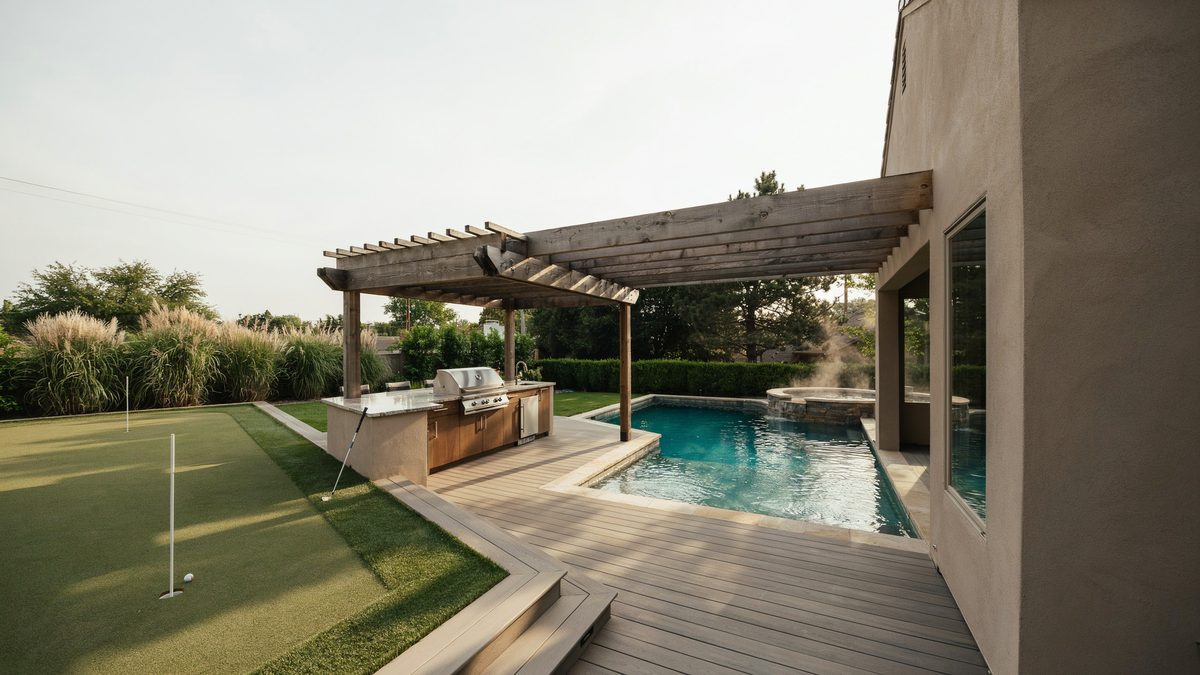
This amazing backyard features a putting green next to a large outdoor kitchen with wood pergola and a sparkling swimming pool and hot tub.
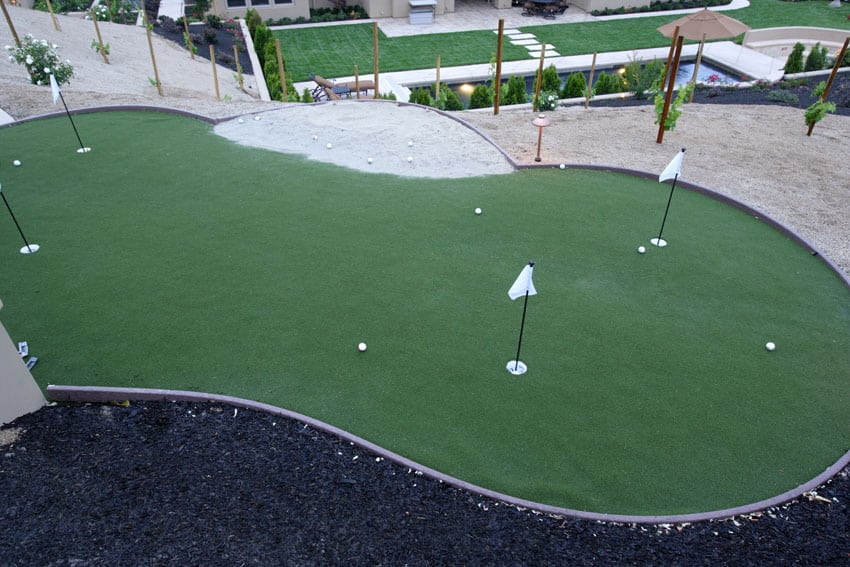
This four-hole green has a very simple symmetrical layout for optimal putting practice and leisure playing. The side of the turf has a makeshift mini sand trap, a creative choice that helps hold any unused spare balls in place without fear of them rolling away.
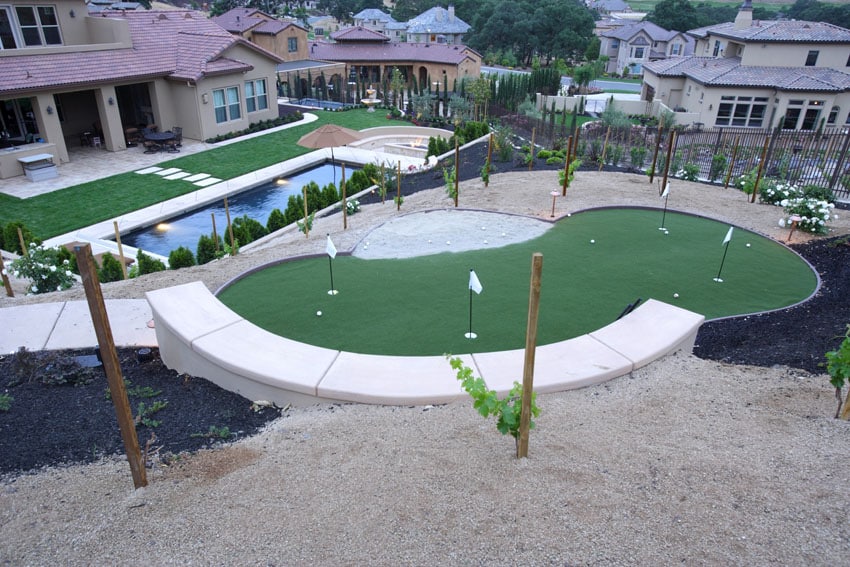
This view of the putting green shows its placement on higher ground from the rest of the surrounding neighboring backyards. A long stone bench is built into one of the edges of the green for lounging on. A good view also greatly enhances the golfing experience.
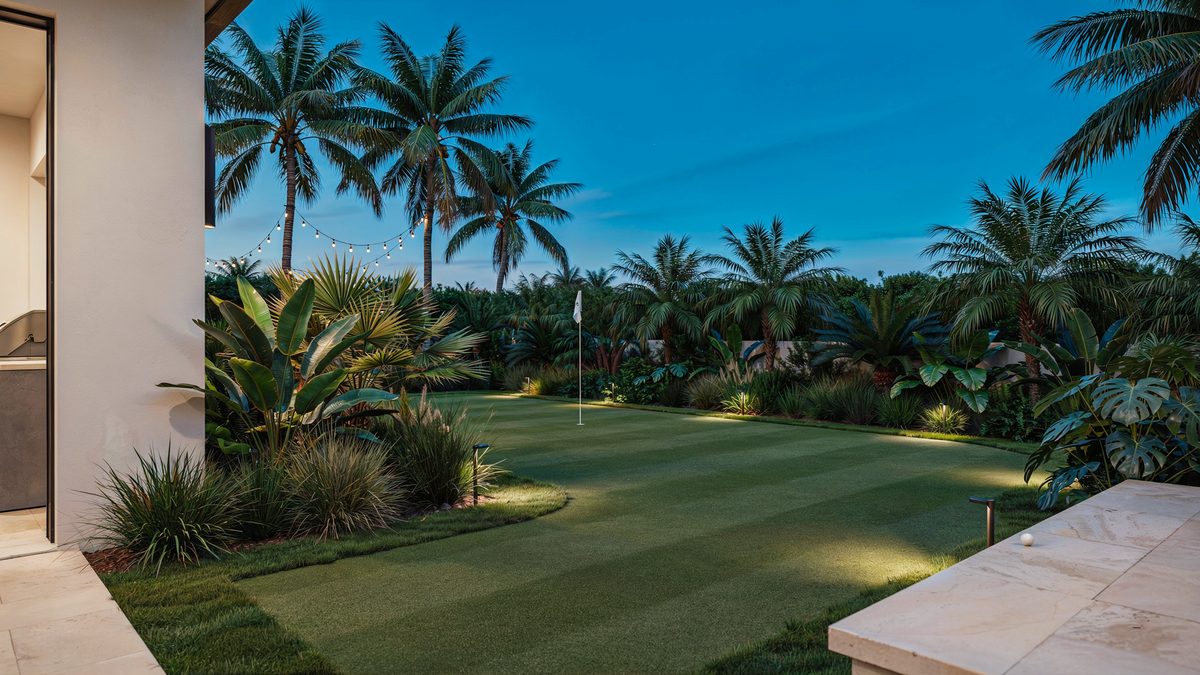
This tropical-inspired backyard putting green makes night-time play possible with intelligently placed flood lights. The tropical palm trees and creative landscaping not only make for an interesting practice course but also enhance the overall backyard of this luxury home.
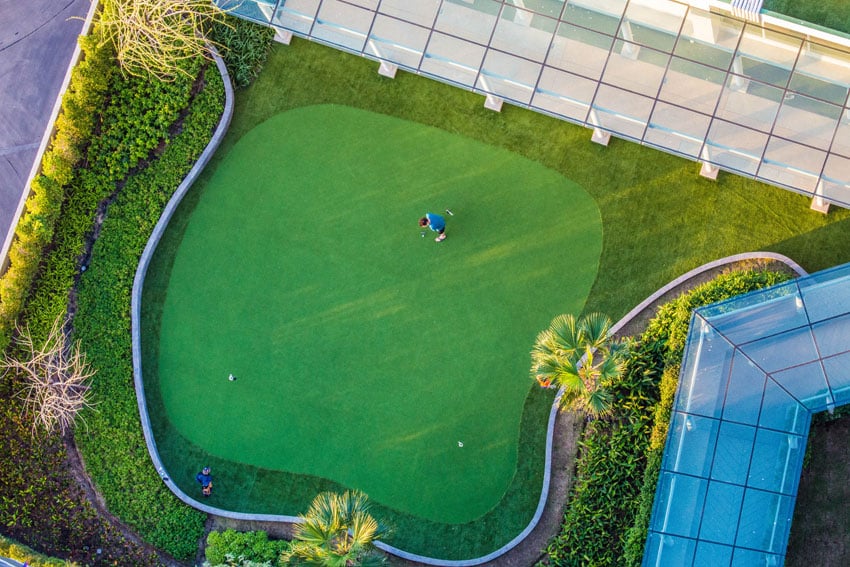
A clear aerial view of this simple yet effective two-hole backyard putting green shows that you don’t have to have a wildly eclectic design to have an effective backyard green. Incorporating such a straightforward design maximizes the space and keeps installation costs and labor relatively low.
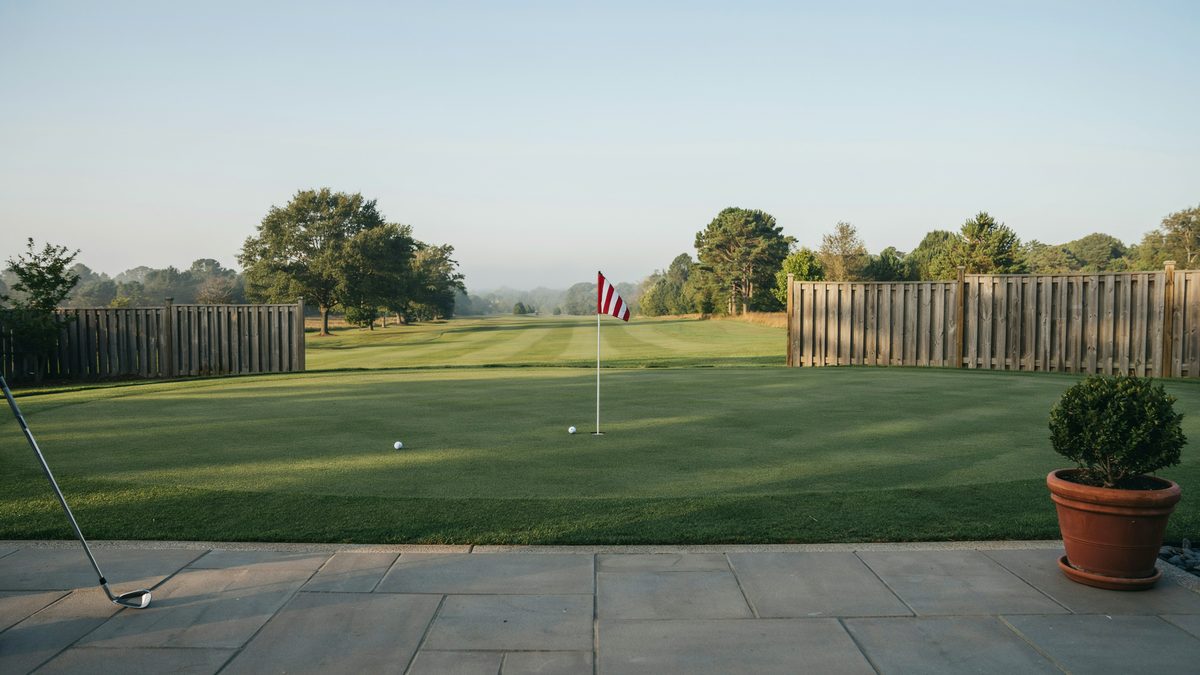
Expansive backyard views such as the one in this practice green not only lend a uniquely beautiful view for the backyard golfer but also make it so that the backdrop can serve as a long driving range. Short and long games can be practiced in this kind of setup.
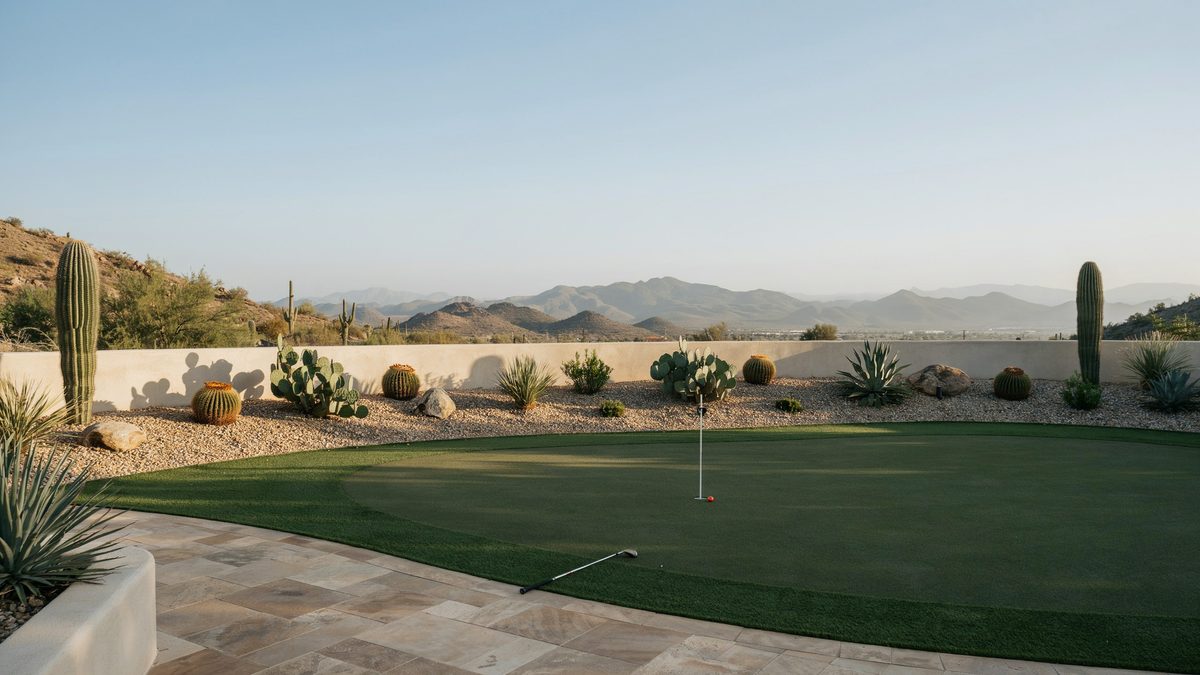
This panoramic green offers a desert landscape and spectacular views of the nearby mountain range.
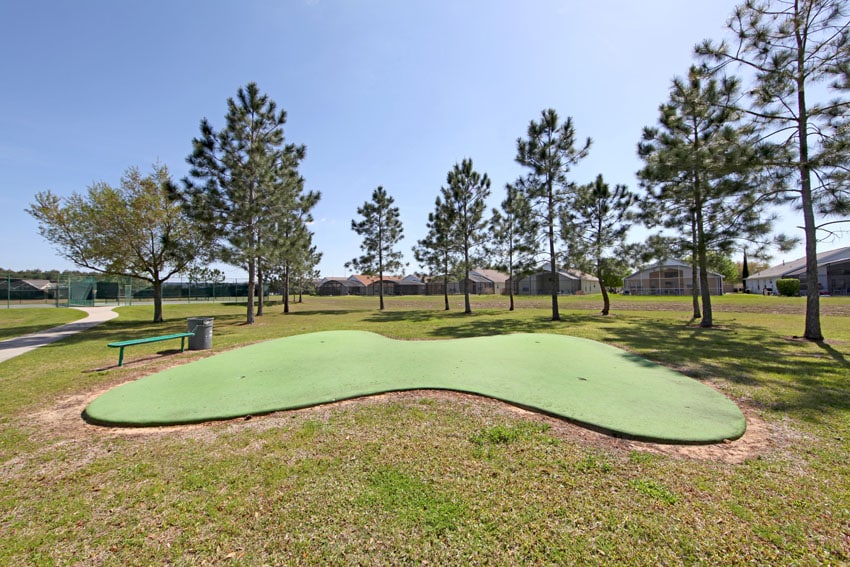
This outdoor putting green is incorporated into a public park and is well integrated into the park’s large open grass field. Public activity and communal interaction are encouraged in this type of landscaping design.
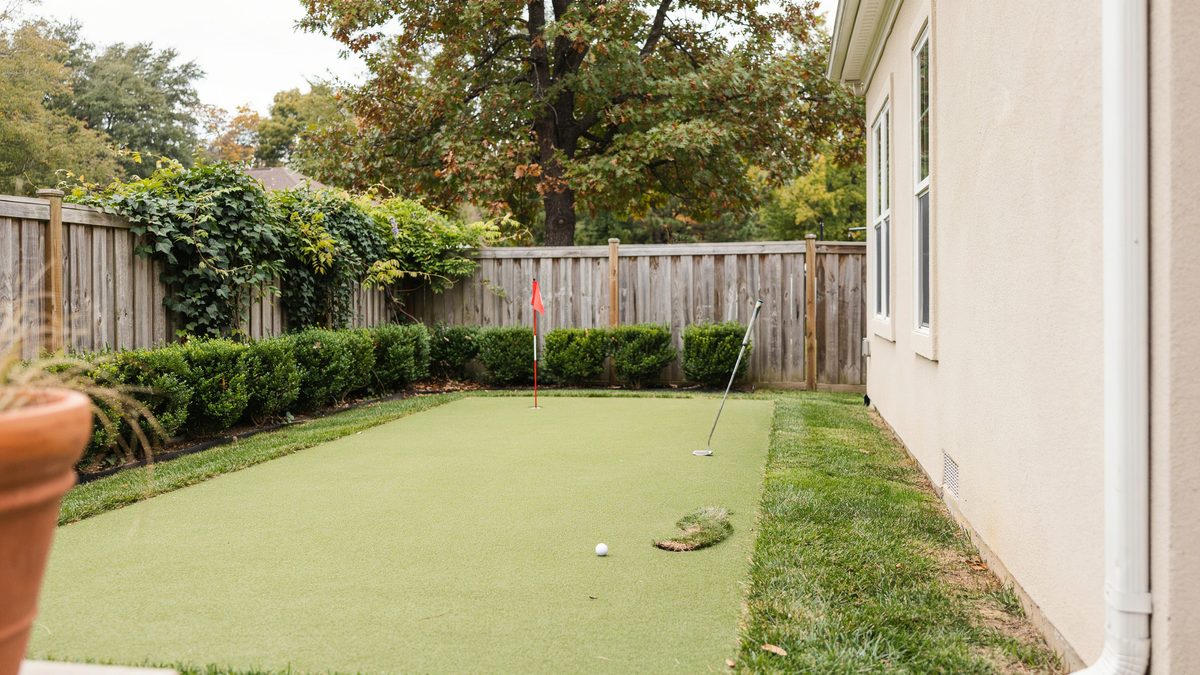
A more homey example of a DIY golf green, the cedar fences with climbing vines all over, the clean treatment of the landscape bushes, as well as the numerous trees from within the yard as well as from outside the fence, really create a quaint natural ambiance in this backyard design.
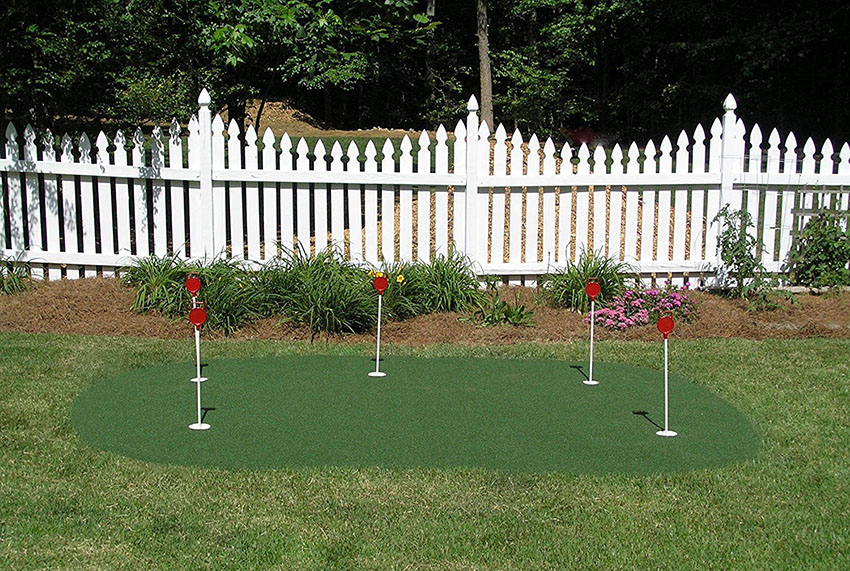
Not all putting greens are made large and sprawling – little ones such as this one are simple but serve their purpose well. These types of greens are ideal for small backyards or golfers who don’t want too much space taken from their landscaping. Click here to buy this putting green at (Sponsored) Amazon.
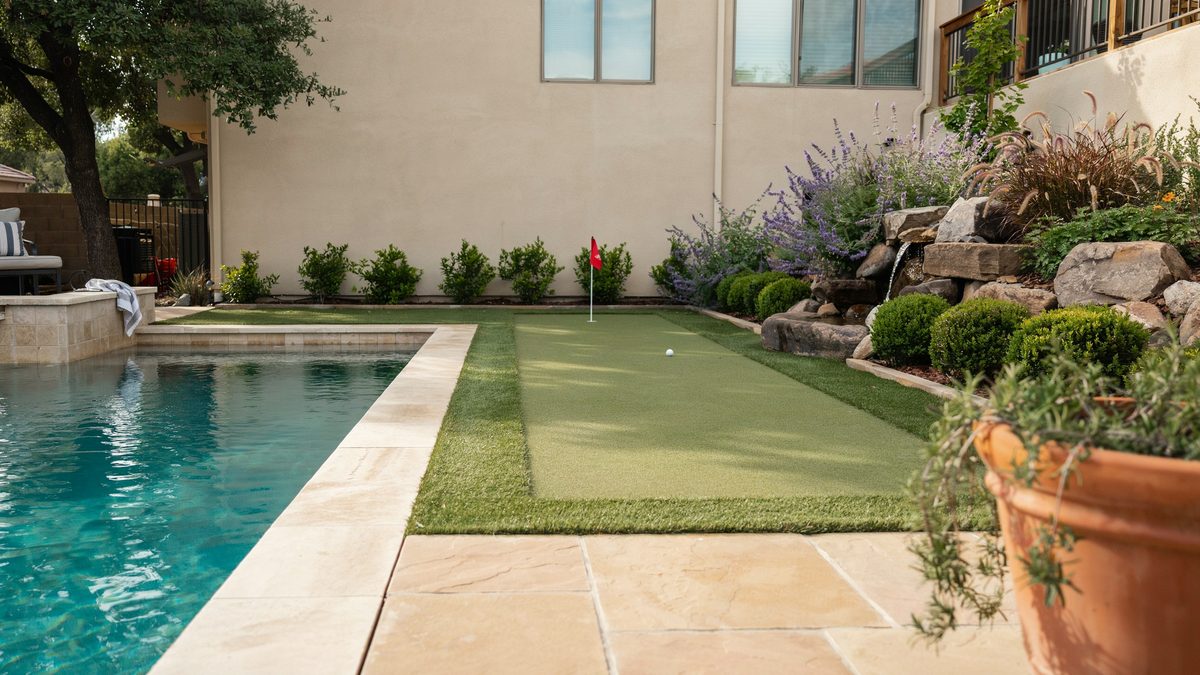
This backyard putting green is sandwiched between two amazing landscaping elements – a backyard swimming pool for the family and a small rock and bush garden to the back of the yard. A variety of activities and choices await homeowners with this type of layout and landscape design.
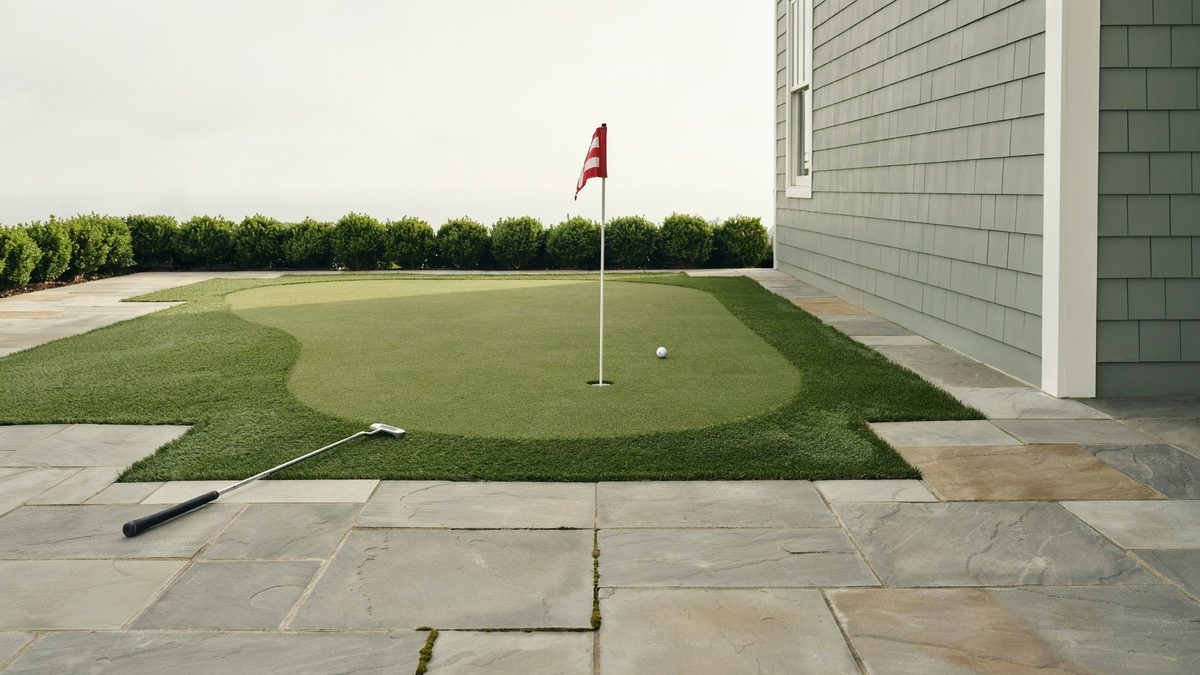
The lack of any softscape or soil surfaces shouldn’t stop any designer from building up an outdoor golf green. In this example, despite the clear lack of any grass cover, turf was set up smack dab in the middle of the outdoor stone tile flooring. The clear contrast between the turf and the hardscape tiles creates a very nice design aesthetic.
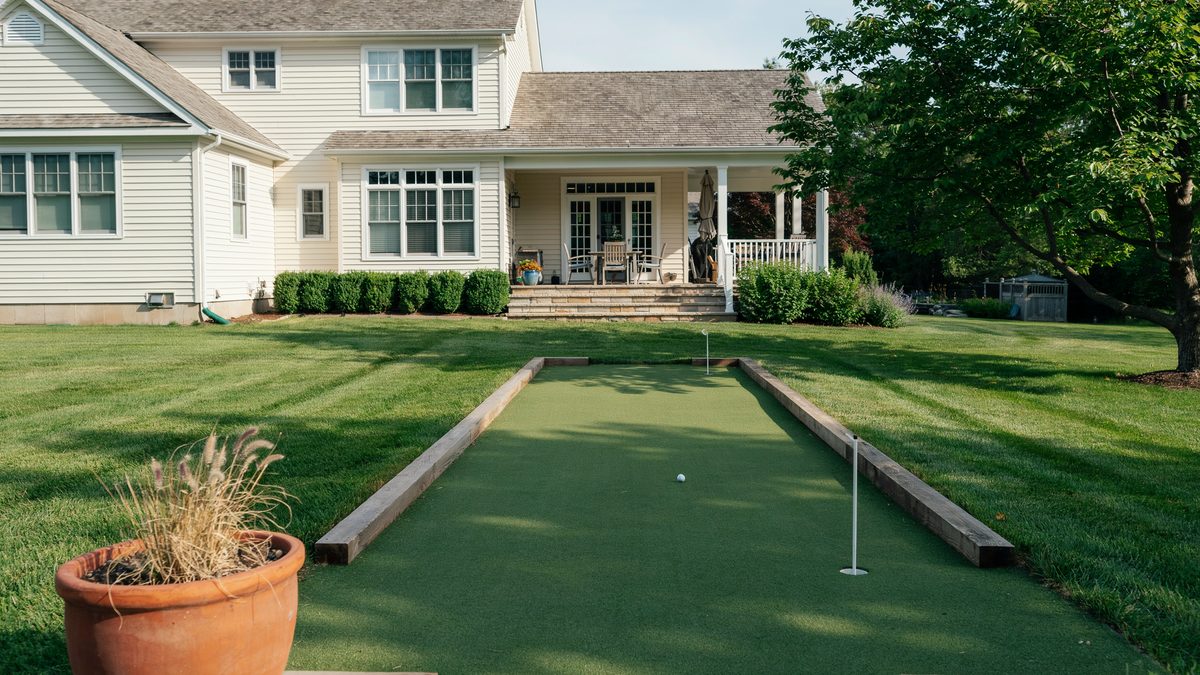
Clear-cut boundaries can be used to separate putting greens from the rest of the yard. In this example, small wooden retaining walls were used to separate the green and its artificial turf covering from the tree and grass parts of the yard.
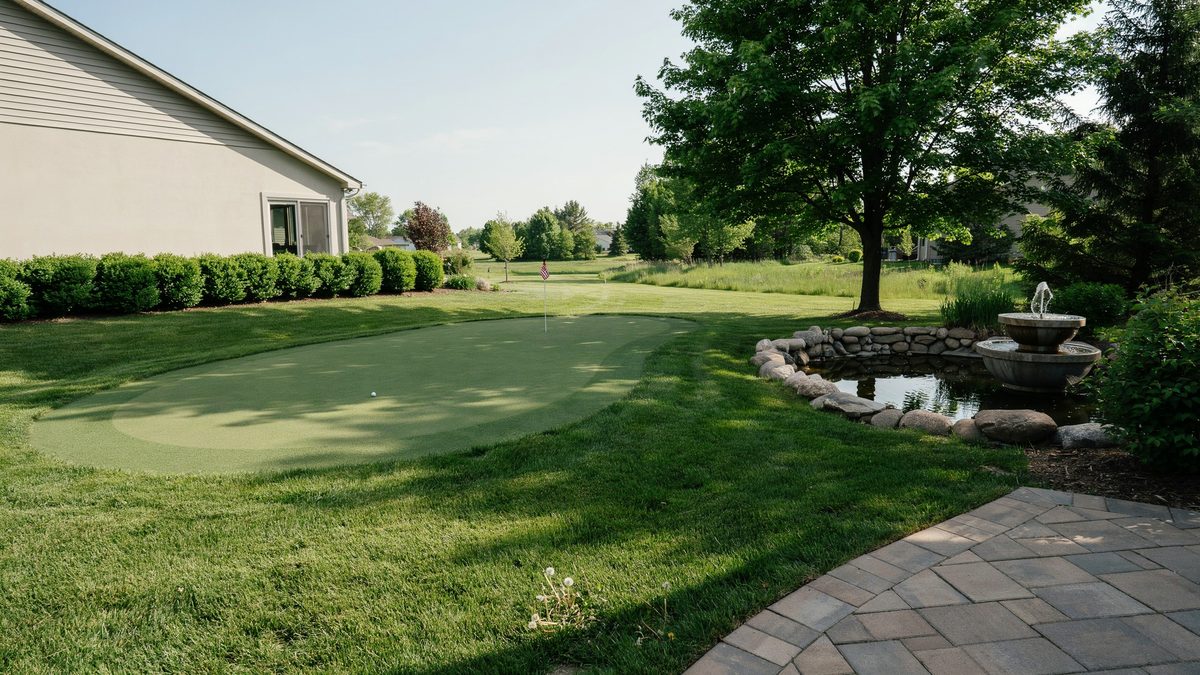
This interesting putting green design features real grass surrounding the fake turf of the green. In addition to the real grass there’s a rock water feature pond with a small fountain to provide some natural ambiance.
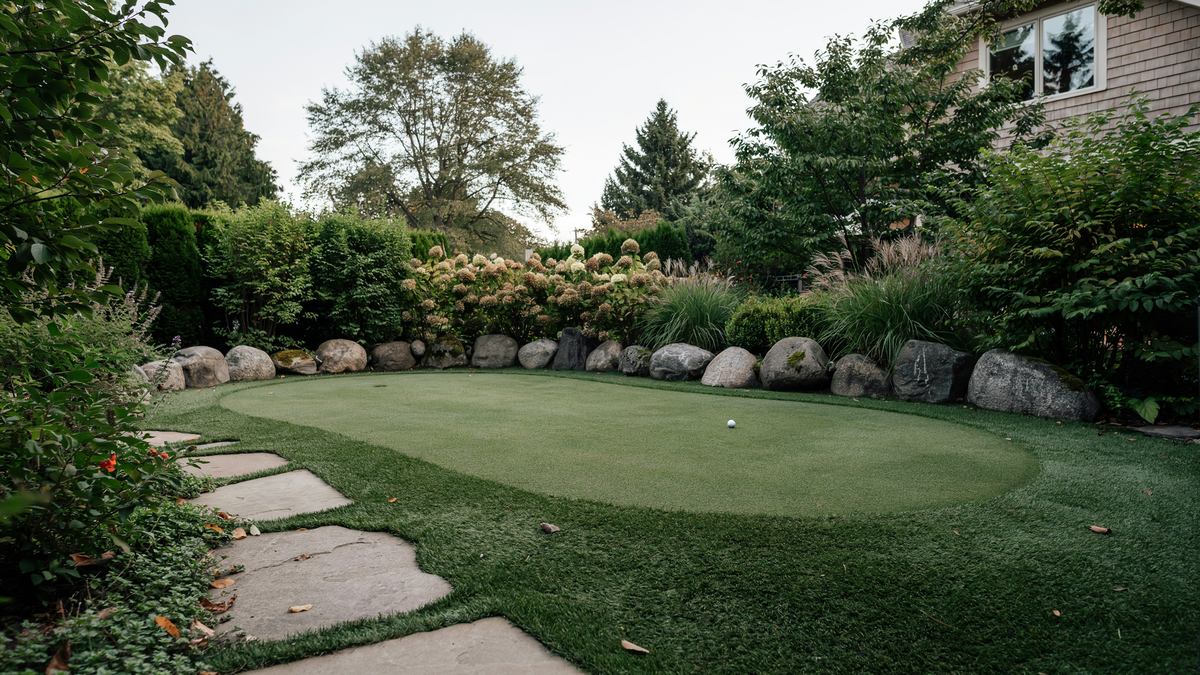
This artificial turf putting green setup is cozily nestled within surrounding landscaping bushes and trees. Large embedded rocks encircle the edges of the green as well as beneath the foot path that leads into the turfed area. This creates a very cozy private putting area perfect for more private home golfers who might appreciate the seclusion.
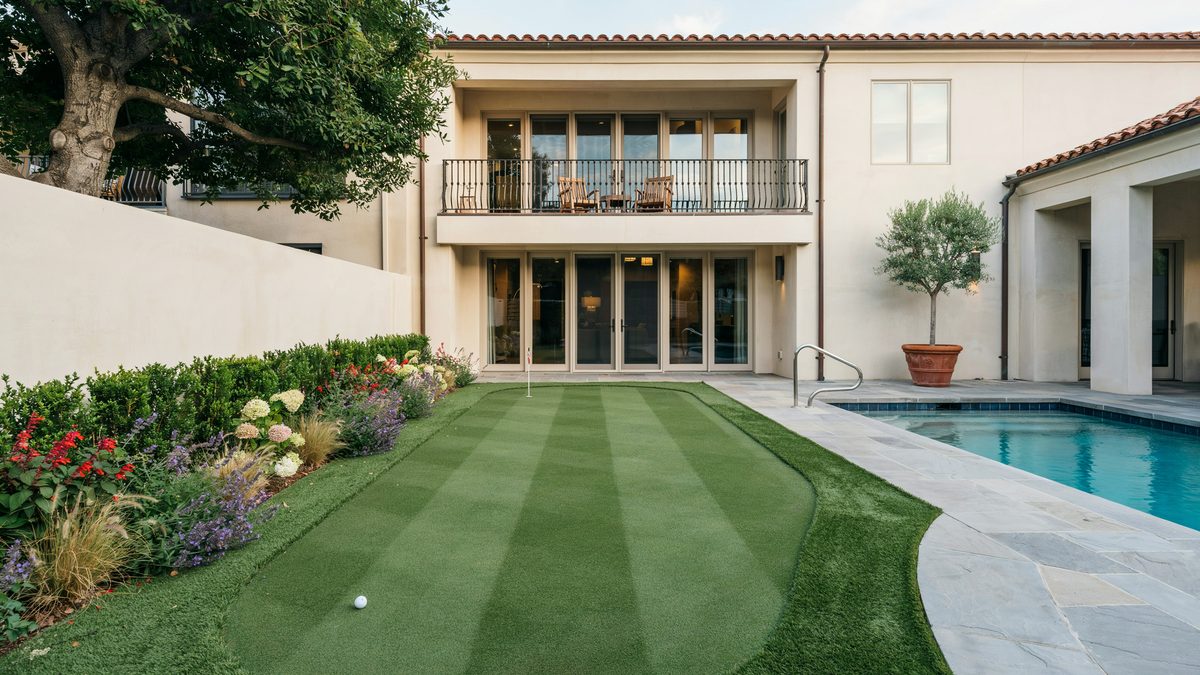
Open backyard putting greens are a clear, popular choice when it comes to home golf practice landscaping. Placing it right between the surrounding edge flower bed and the hardscaped surface of the backyard makes smart use of the space. In this example, the green is also located next to the home’s swimming pool and can be seen from the house’s second floor balcony.
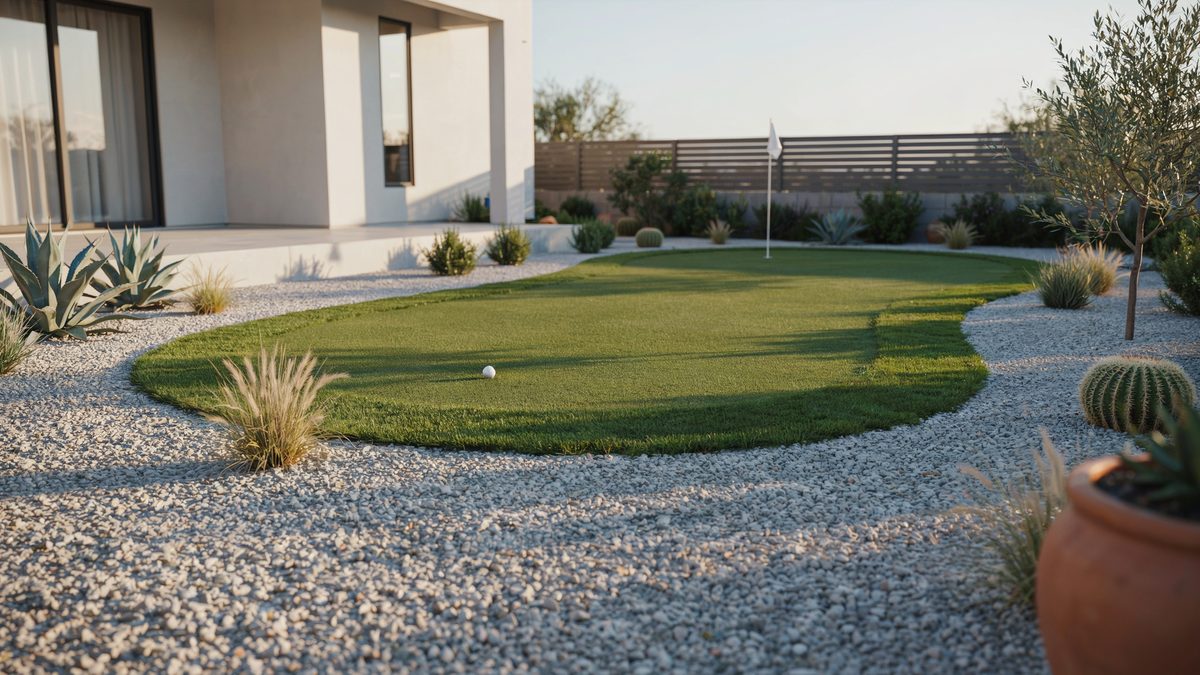
Surrounding this example of a backyard putting green is a pebbled backyard floor cover that really makes the artificial turf area look somewhat like an island in a sea. This minimalist yet still stylish outdoor design feels open and contemporary.
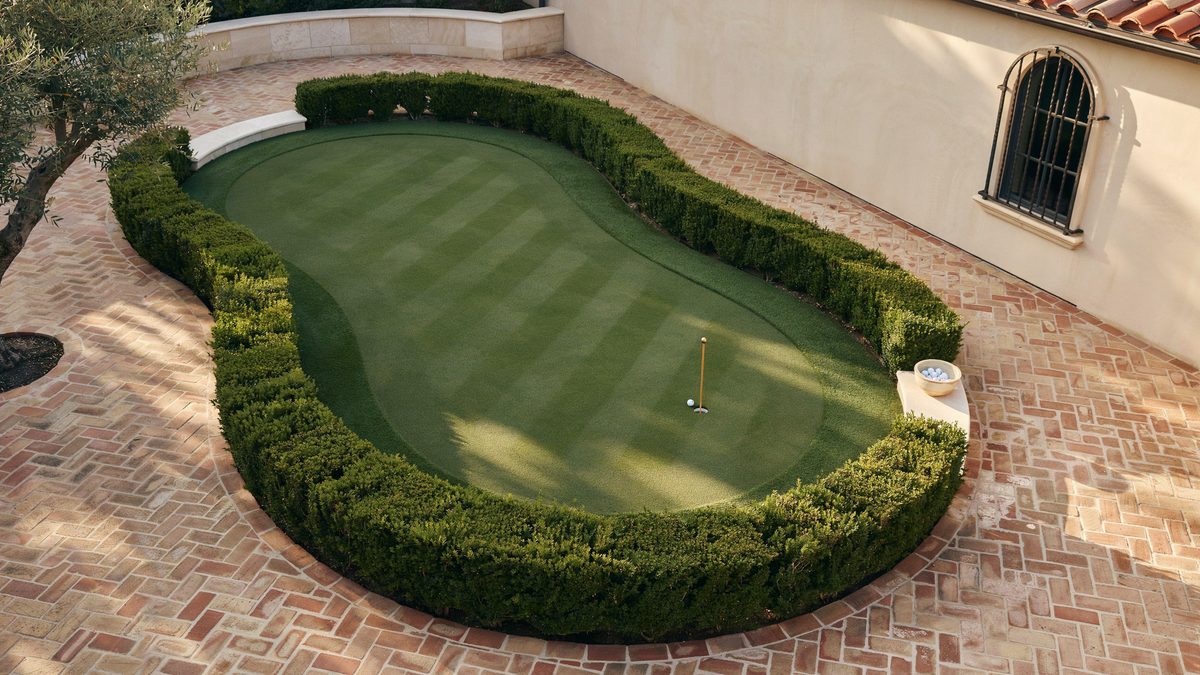
Mediterranean houses can also effortlessly sport backyard putting greens. Here we see the turf working its edges around the geometric patterns of the backyard’s landscaping, creating interesting putting pockets and a more challenging way to practice your short game in golf.
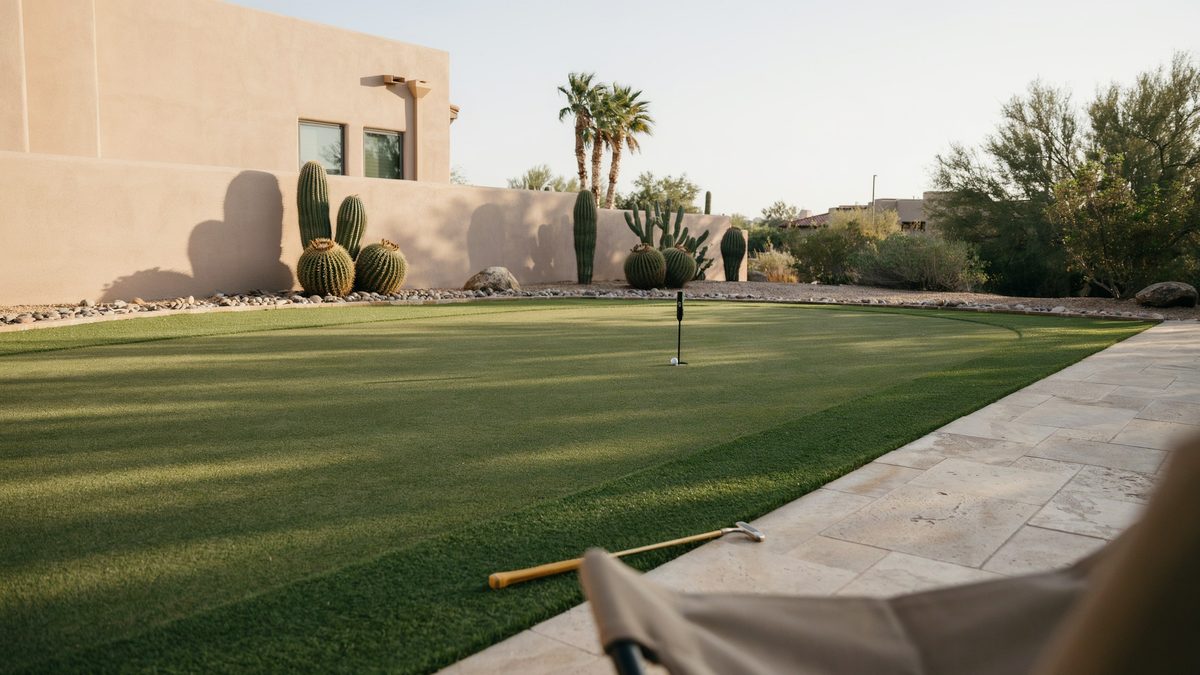
This larger backyard putting green is set in an arid and relatively dry environment which becomes somewhat apparent after noticing the many cacti and palm tree species in the backyard. But desert weather does little to hamper the passions of a true golfer.
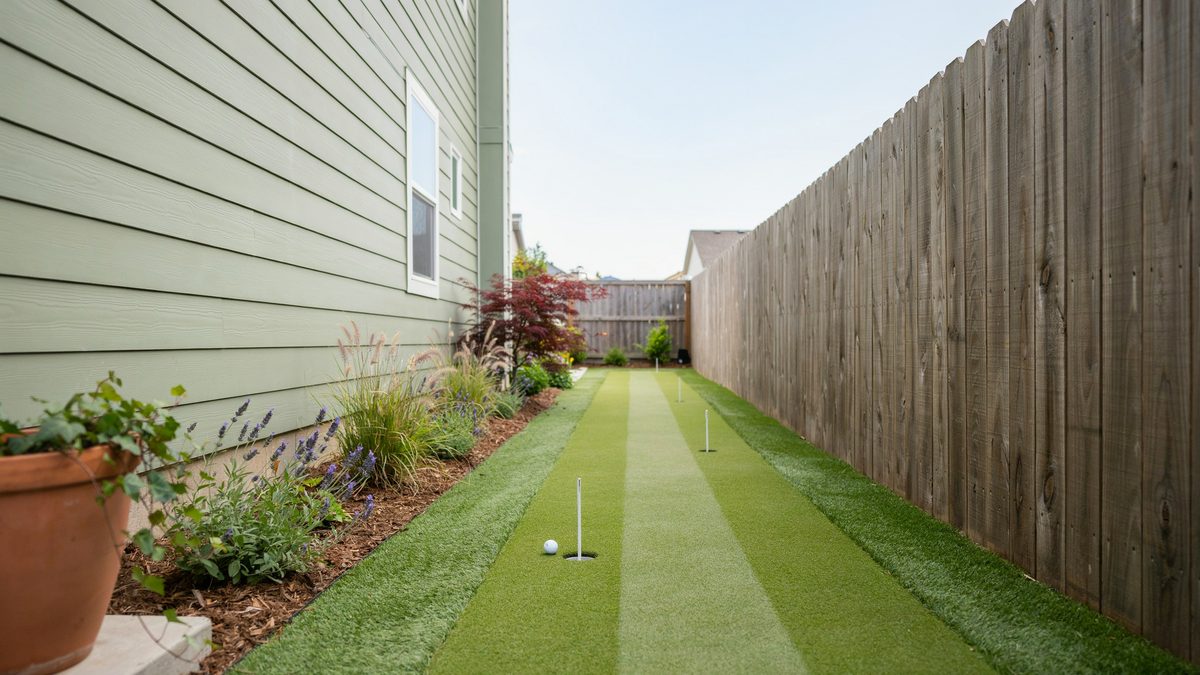
Small narrow spaces can still effectively be used to create good backyard putting greens. The design is simple and straight-forward – a rectangular turfed area with two holes to practice on. A backyard putting green such as this one is perfect for the homeowner with a quaint backyard but a large passion for golf.
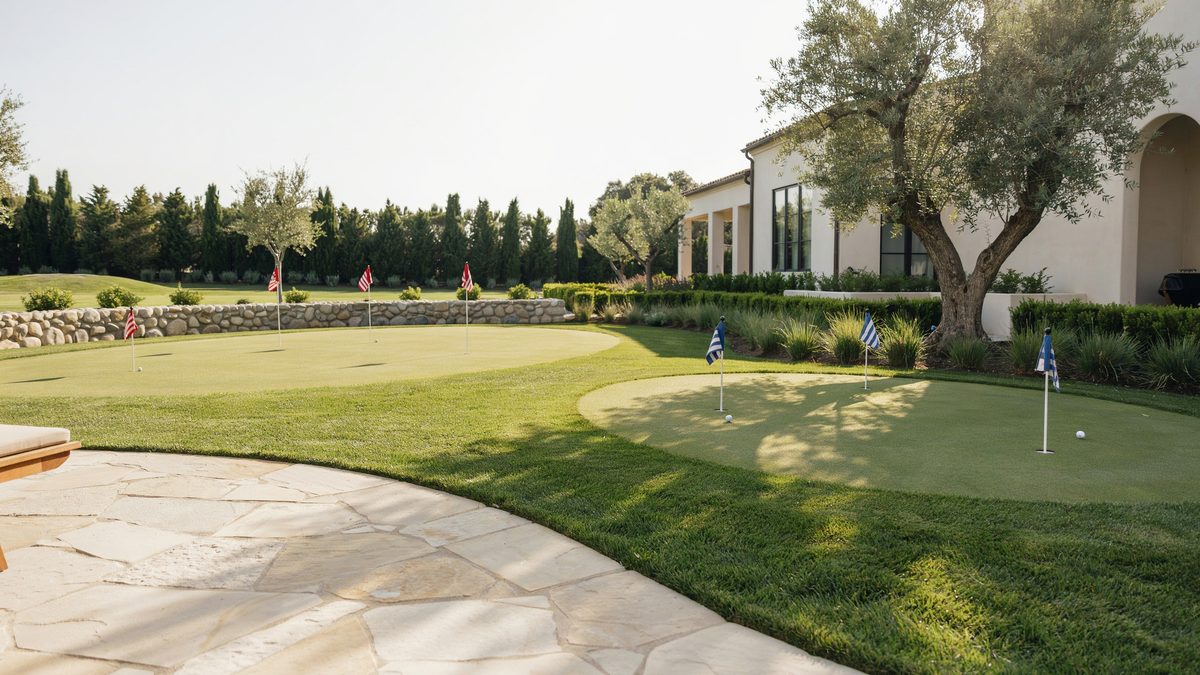
Luxury homes can afford to large sprawling putting greens and, in the case of this one, even more than one turfed area. The double putting greens in this backyard can cater to more than one user at a time and with its numerous practice holes, can function effectively as a practice area for golfers.
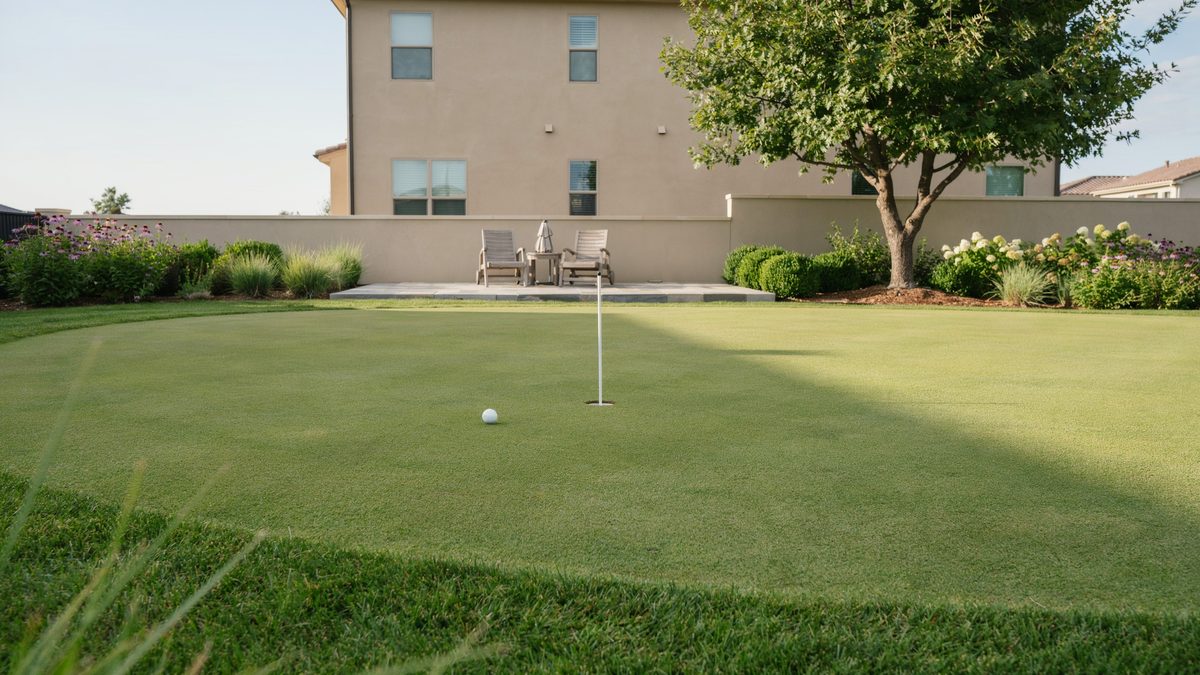
Open putting green areas can sometimes be too open in the sense that there’s not much reprieve from the heat of the sun. With usual putting practices being done during the day time, this is often an issue. This luxury backyard integrated a tree right beside the green to provide ample shading.
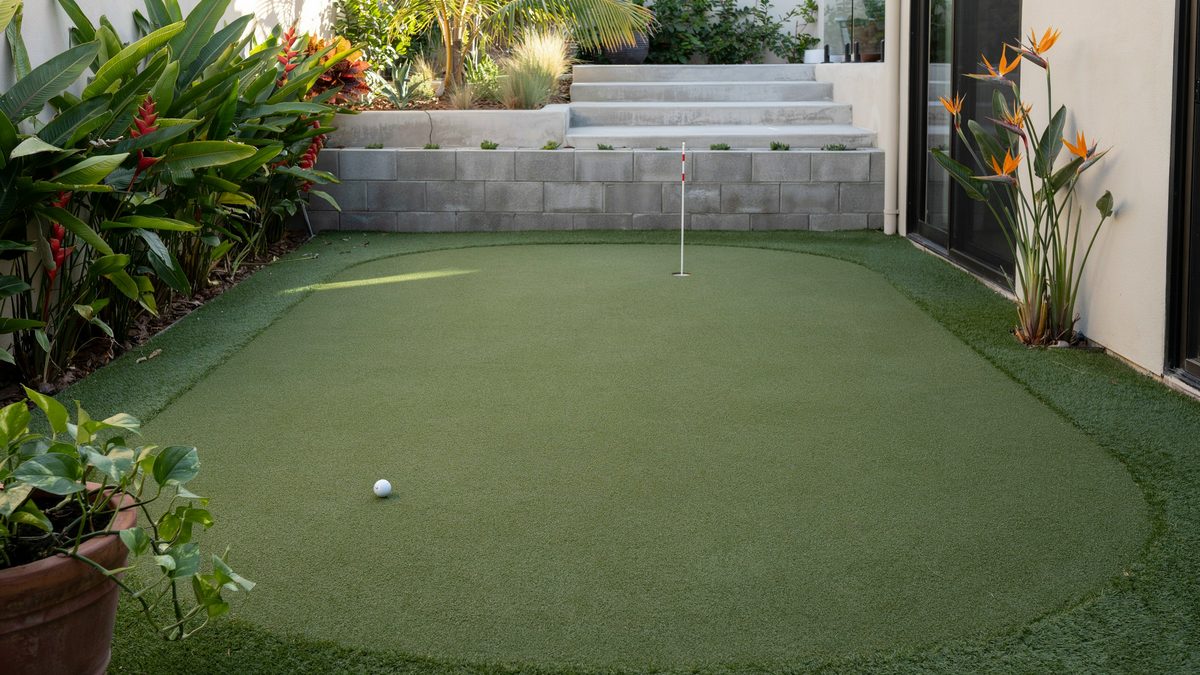
This large backyard putting green is framed by tropical plants and a block wall with stairs leading to a terrace patio.
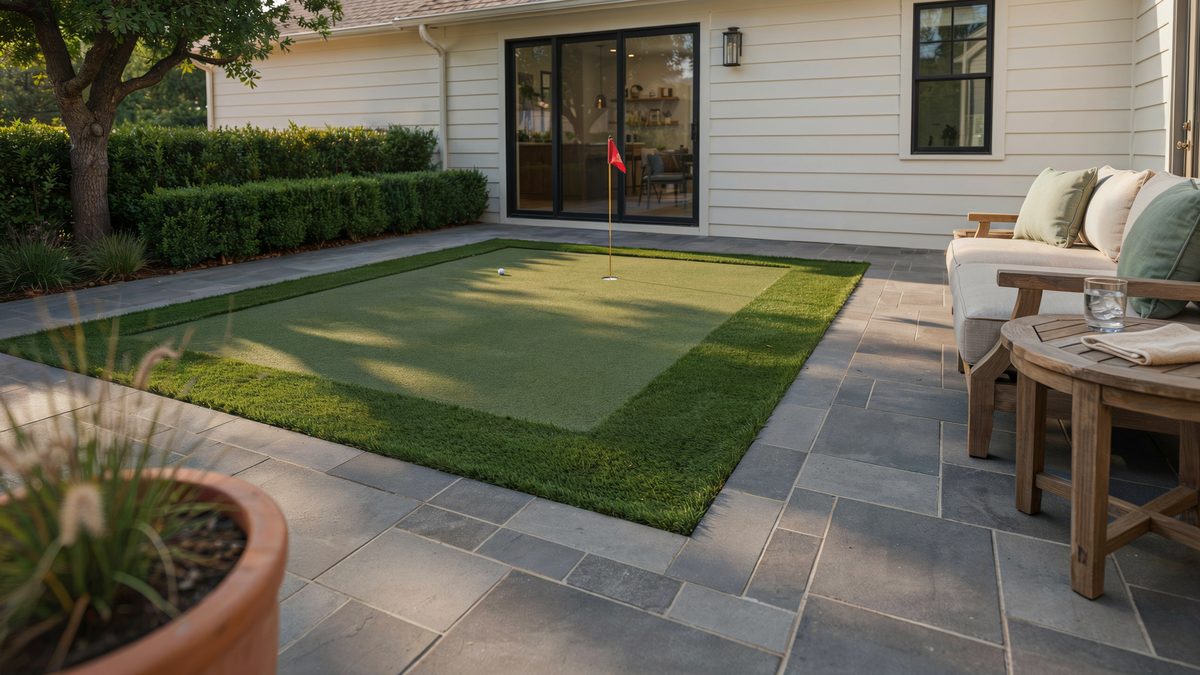
Paver patios are perfect for backyard landscaping. Being able to integrate a backyard putting green into pavers is a creative way to set up a backyard and creates a nice contrast that is pleasing to the senses.
Backyard Putting Green FAQs
How long does a backyard putting green last?
A synthetic green lasts 10 to 15 years or more if the base was done right and you keep up with brushing. Natural grass greens run 5 to 10 years before they need serious rework, and that assumes no disease or heavy wear problems along the way.
How long does it take to build one?
One to five days for most professional installs. Large or heavily contoured greens with bunkers and lighting can stretch past two weeks once you factor in permits, material delivery, and weather.
Do I need a permit?
Maybe, depending on size and features. Check local zoning and your HOA rules early rather than after the sod is up. Contractors usually fold permits into the estimate, but ask so it isn’t a surprise.
What’s a good size for a backyard putting green?
100 to 500 square feet suits most backyards. Under 200 gets you one hole and short putt practice. Around 300 to 500 opens up two to four holes with some variety in length and break.
Can I build it myself?
Yes, and a small no frills green can come in under $500 with kits at $5 to $20 per square foot. Be honest about the base though. Compaction, drainage, and seams are where DIY builds fail, and the fix usually means digging it all out and starting over. Steep slopes, clay soil, or a green sited close to the house are the clearest signals to get a quote first.
Does homeowners insurance cover a putting green?
Most policies cover damage from something like a fire or flood, but not the installation, the maintenance, or normal wear. Call your provider before you assume either way, and ask about liability coverage while you’re at it.
Related Home Design Gallery You May Like:
To showcase highly specific designs, some images on this website use advanced AI-generation software to illustrate ideas and room inspiration. See our editorial policy to learn more.