Sealing Pavers Pros and Cons
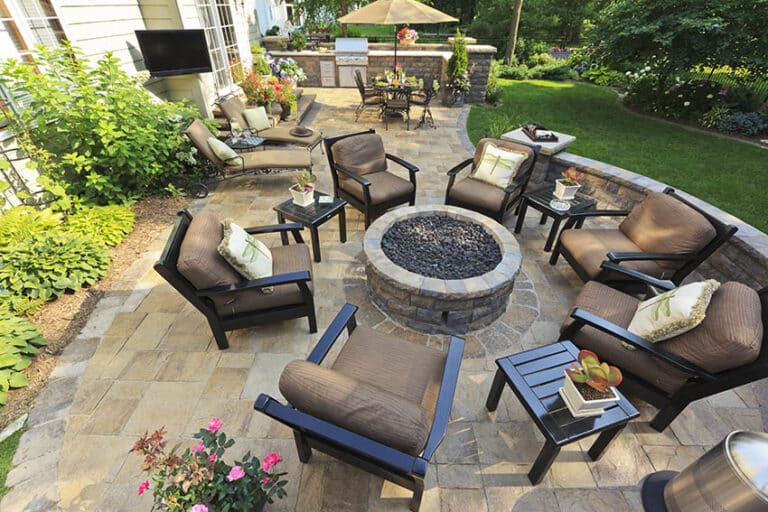
When you cover the yard with a material such as concrete or pavers, it’s known as ‘hardscaping’. The hardscape material has to stand up to the people, furniture, and vehicles that will be placed on top of it, while also existing in an ever-changing environment. Weather and temperature changes affect the pavers or concrete as well as the ground around them.
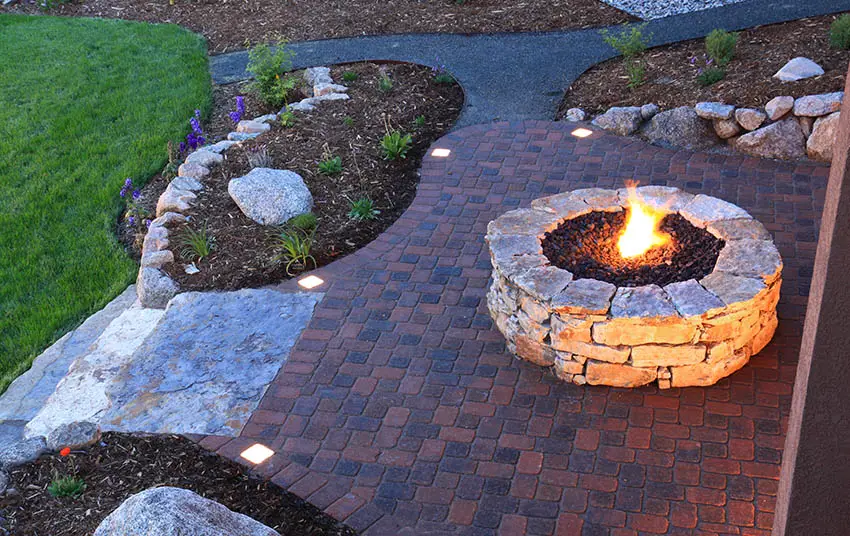
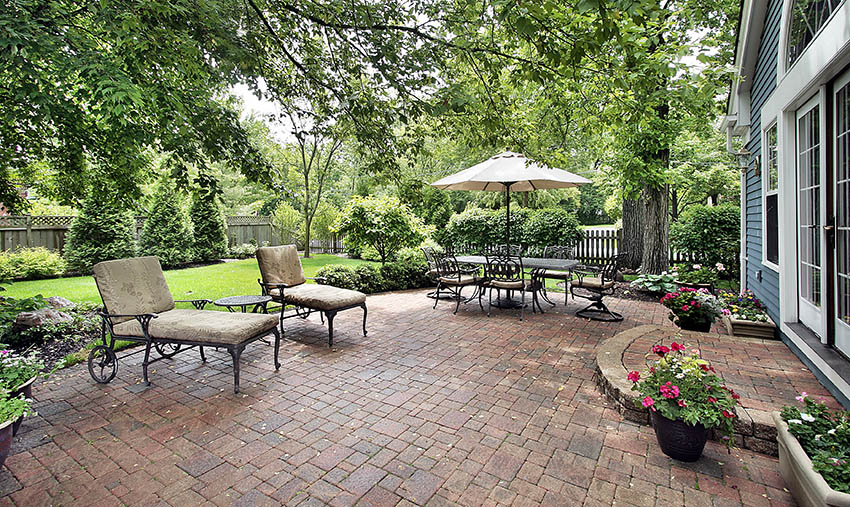
Pavers are a specific type of hardscaping made up of individual shapes, laid in a pattern. They are frequently made from concrete and are used for the patio, driveway, pool, or walkway to a deck. Natural stone pavers made from materials like granite, marble, and slate are also popular. When used for hardscaping, bricks are also considered pavers.
Below we’ll cover whether or not paver surfaces need to be sealed, if sealing prevents weeds from growing, and discuss some different methods for sealing paver patios. Finally, we’ll teach you how to remove sealer and give some recommendations for the best sealers on the market. [toc]
Why Do Pavers Need Sealing?
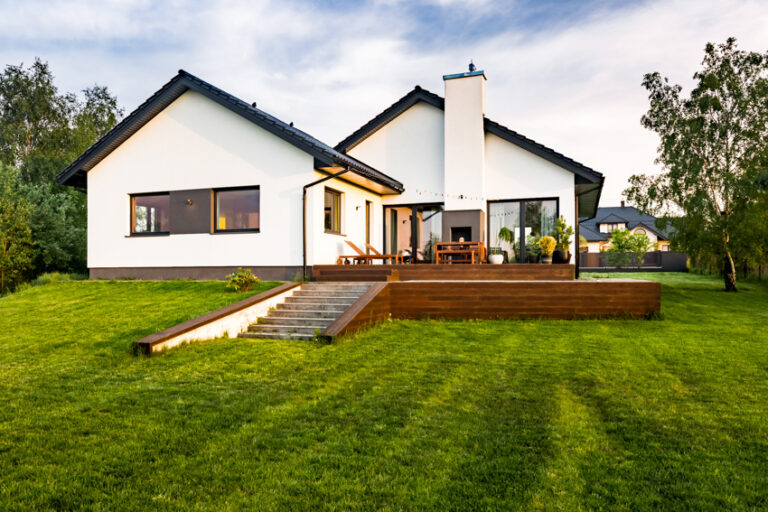
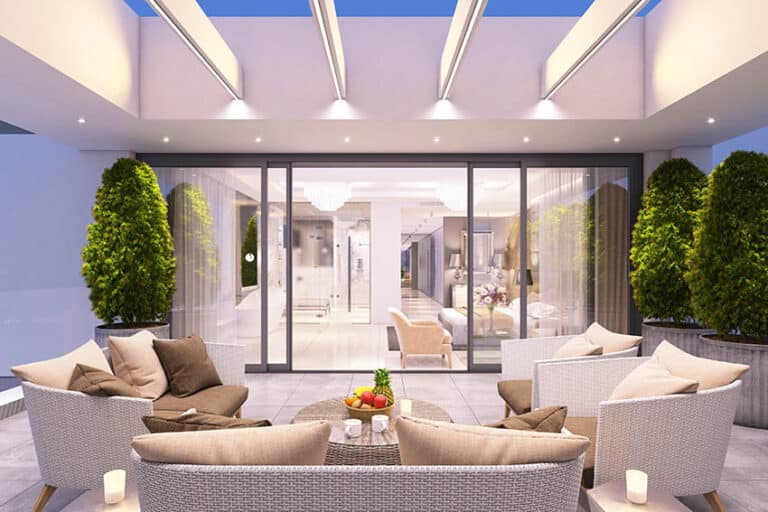
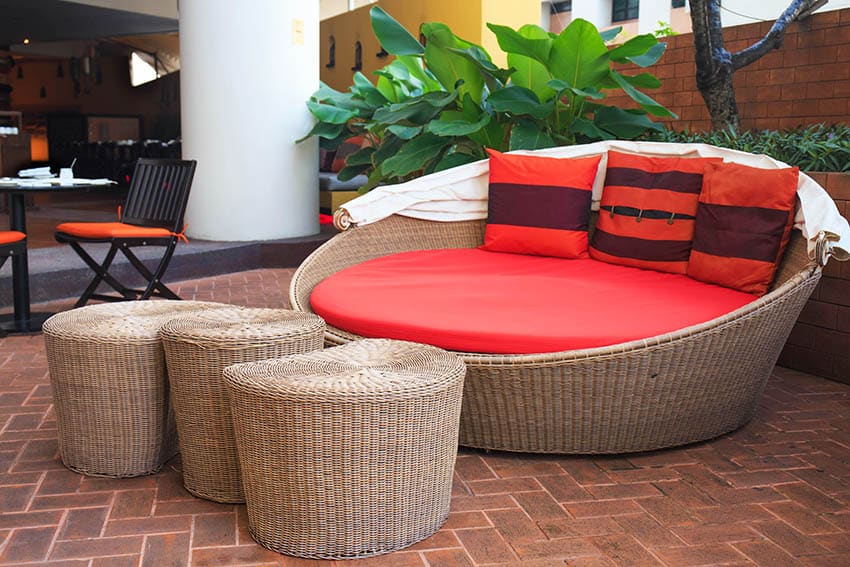
The reasons to install pavers are obvious. They beautify outdoor spaces and make it easier and more comfortable to spend time in them. They can also be used in indoor settings, providing a unique look and feel. It may also increase the value of your home.
However, they do require maintenance to keep them looking clean and tidy. If the base layer isn’t thick enough or the pavers are unprofessionally laid, they may become misaligned after changes in ground temperature.
Weeds can grow up between the cracks and need to be removed. Grime can build up on the surface, requiring effortful cleaning to restore a like-new appearance and reduce slippage.
One solution that homeowners can pursue is sealing their paver-based hardscaping. A chemical sealer forms a protective barrier that coats the surface, improves the overall drainage of your hardscaping, and looks great. This can work especially well for driveways, pool decks, and other outdoor areas that require consistent upkeep.
Of course, there are drawbacks, too. Sealing pavers takes time, carries an additional cost, and isn’t permanent. You must also consider the environmental impact of anything applied to hardscaping.
Here are the sealing pavers’ pros and cons starting with the pros.
Paver Sealing Pros
Stops water from passing through the pavers – The reason most people consider them is because they want to protect the investment they’ve made in hardscaping. Most materials used to make them, such as concrete, brick, and stone, are porous.
That means that water can find its way both into and around the blocks, encouraging mildew, mold, moss, or even grass to grow. Sealing your pavers creates a non-porous barrier, keeping water out.
Helps keep pavers in place – A protective coat of sealant will not only protect the material but also improve the drainage in your outdoor area. Paving stones laid on a firm foundation stay in place.
When water seeps through the blocks and pools in the foundation, slips, and slides start to happen. A layer of sealant will prevent water from soaking into the foundation, directing it off to the sides of the hardscaping.
Consider adding a gravel edge to the outside of your patio, walkway, or terrace for even better drainage.
Can prevent pavers from moving and breaking – If your hardscaping is laid in an area that experiences freezing temperatures, you have another problem. Water that seeps into the blocks will expand when they freeze.
That expansion can cause blocks to break or push away from each other. Not only does this ruin the look of the hardscaping, including walls and other design elements, it can also create a tripping hazard.
While sealed pavers do require some maintenance, offered by professional services or DIY, they should prevent you from having to replace or re-lay individual blocks, saving time on construction or repair projects.
Sealed pavers look more attractive – One of the most important pros of sealing, a service often provided by a professional company, has nothing to do with performance, and everything to do with aesthetics: sealed surfaces look great. This is important to note, as the information on the visual aspect of the pavers can help you make informed decisions regarding their installation and design.
Any sealer you apply will enhance the natural color of the stone. Most sealers feature a glossy, light-reflecting finish that lends the surface a clean, wet look, suitable for a variety of outdoor construction projects.
Helps to stop pavers from fading – Paving stones of any material can fade with exposure to UV rays. Sealing them prevents fading through the use of UV blocking and/or UV absorbing additives, and keeps your hardscaping looking new for longer.
Now that you know the benefits of sealing pavers, let’s talk about the drawbacks.
Paver Sealing Cons
Added maintenance cost – If you’ve just decided to invest in hardscaping, sealing pavers might not have been accounted for in your budget. It is an extra, up-front expense that needs to be arranged either during or shortly after installation.
And it’s not just a one-time cost, either — nothing lasts forever. The first application of a sealant is generally the most expensive, but it must be resealed at regular intervals.
Skipping regular maintenance could mean removing the sealer and restarting – If you wait too long to reseal and the sealer degrades, you may have to strip it off before you can apply another protective product.
This takes both time and money. Using a thick, high-quality sealer will save money in the long run as you won’t have to replace the seal coat as often.
Of course, if you don’t seal your paver surfaces, you will still have maintenance costs. Cleaning pavers, replacing broken or cracked blocks, and perhaps even re-laying entire sections if the foundation fails due to excess moisture.
Leaving the fate of your hardscaping in the hands of the elements is risky. Sealing and resealing is an additional cost, it’s true, but at least it’s a cost you can plan for.
Environmental impact while applying – Finally, consider the impact of sealant on the environment around you. Bushes or plant beds near the area should be well-covered in plastic sheeting to prevent them from being covered in sealer or overspray. Sealing should only be done on a clear, calm day, to prevent it from blowing into your yard or garden.
Safety hazard while applying paver sealer – You’ll also need to consider how to protect yourself and your home from sealer overspray.
Wearing clothes you don’t care about, a face shield and a respirator is a good start. The sealer won’t come out of fabric, so make sure to take any patio furniture or umbrellas inside before application day.
Do Pavers Need to be Sealed?
Sure, sealed pavers look better, improve drainage, and stay protected. All those things are nice to have, but are they really necessary? The strength and appearance of your property‘s driveways and patios can be significantly improved with this option.
That depends on the circumstance. Well-laid pavers with a solid foundation and excellent drainage, located in a tropical climate and in a shady area might not need to be paved. However, it’s essential to consider equipment and contractors when deciding if sealing is necessary for your situation.
They’d still need to be cleaned and maintained regularly. However, there is no circumstance in which hardscaping isn’t improved by sealing it. Asking questions and obtaining an estimate from professionals can help determine if this is the right choice for your property.
If your drainage is less than perfect, your paver surfaces are exposed to sunlight, or your area experiences freezing temperatures, sealing them is necessary to protect the investment that you’ve made.
Does Sealing Prevent Weeds
In a word: Yes. By forming an impermeable barrier on top of your pavers, the sealer prevents any weeds from breaking through to the surface.
Not only that, the sealant permeates the joints between blocks, turning loose sand into solid mortar and removing the opportunity for weed growth.
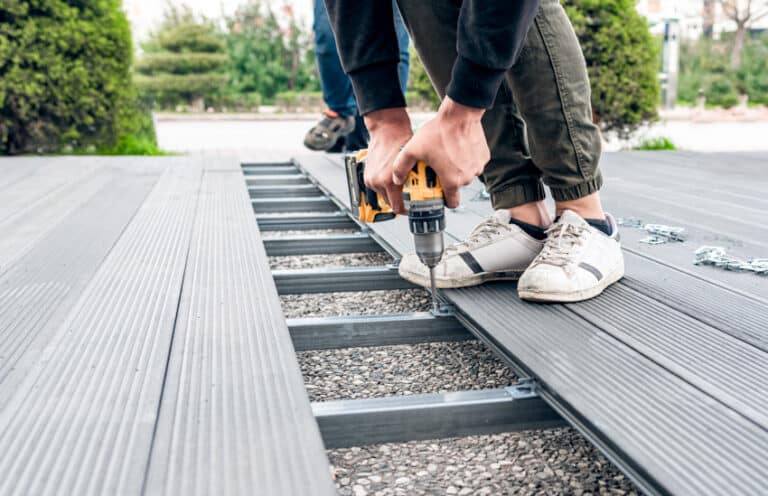
How to Seal Pavers
Sealing pavers is a multistep project. First, you must clean and prepare the surface for sealing using the appropriate equipment and materials.
Then, joint sand must be added to the areas between the blocks. Next, water is used to set the joint sand. The blocks must be cleaned again before the sealant can be applied.
Sealers are usually applied in two thin, even coats. A sprayer is the application method of choice.
Two coats of sealant, applied 2-3 hours apart and allowed to fully dry, should be sufficient. Don’t overapply — the paving stones and joint areas shouldn’t be soaked, just lightly covered.
How Long to Wait Before Sealing
Ideally, you would seal pavers as soon as they are installed before any grime has accumulated. The joint sand needs to be set with water before sealers can be applied, and this process can take a day or two, depending on the size of your hardscaping.
Some installers recommend waiting a few days to allow the foundation, blocks, and joint sand to settle before applying a sealant.
How to Clean Pavers Before Sealing
If you’ve decided to seal pavers that were previously installed, your first step will be to restore them to a like-new condition. Use a screwdriver to scrape out any weeds, and prevent their return with a commercial or home-made weed killer.
Clean paving stones are essential to the sealing process. Dirt, dust, and grime interfere with the sealer’s performance, and once you’ve sealed them in, they are a permanent part of your hardscaping.
You can scrub the surface to remove accumulation using a stiff-bristled brush, but a power washer will be faster and easier. They can be rented for an afternoon or a weekend at many home improvement centers.
Video on How to Clean and Seal Pavers:
How to Seal Pavers with Sand
Three different types of sand can be used to stabilize pavers; regular joint sand, sealant-activated joint sand, and water-activated polymeric joint sand. The second two options will help prevent weeds from growing between them.
Polymeric joint sand looks like regular sand, but when water is added, the loose sand hardens into a mortar-like barrier. Consulting with experienced contractors can help determine which sand type is best for your specific situation.
This prevents weeds from growing between each paver, but will not protect the blocks themselves. Maintaining the appropriate weight on the surface is essential to prevent damages and enable necessary repairs when needed.
Sealant-activated joint sand works similarly to polymeric sand, but instead of requiring water to harden, it needs sealant. This acts as a practical tool for enhancing the strength and durability of the surface, whether on asphalt or patio pavers.
You may need to apply sealant directly to the joints before applying it to the surface of the hardscaping, to allow adequate penetration. Look to the product manufacturer for detailed instructions on using these tools for optimal results.
Regular joint sand is simply fine-grained sand. Adding water will help it settle and compact, reducing movement between pavers, but will not seal them or the joints. If you use regular joint sand and don’t apply a sealer over the top of it, you can expect regular weed growth between blocks.
Whatever type of sand is used, the sand must be carefully poured into the spaces between the blocks using a cup or a funnel. The layer of sand should stop approximately ⅛ of an inch before reaching the top of the pavers. You may need to remove sand if you overfill.
Try to keep the sand off the pavers themselves as much as possible. Gently sweep excess joint sand off the surface and into the joints. Tap the paving stones with a rubber mallet or use a tamper to settle them in the sand.
Wetting the sand with water is the next step for standard joint sand or polymeric sand. Remember that water-activated polymeric sand will begin to harden as soon as it gets wet, so make sure it is exactly how you want it before you add water.
Use a spray bottle to add water to the joints without disturbing the sand. Don’t soak or drench the area as this may displace your sand or cause overflow. Mist every 15 minutes or so, for about one hour, and allow them to dry.
How to Remove Sealer from Pavers
If you’ve inherited a botched sealer job, you may see a plastic-looking or mottled layer sitting on top of the surface. It might be uneven or patchy.
Unfortunately, the only way to fix this is by removing the sealer and starting over from scratch, unless you have the patience to wait a few years for the sealer to degrade naturally.
Paint thinner is used to dissolve the bond between sealer and paver, as well as dilute the sealant so it can be washed away.
To remove the sealer, use a spray bottle to cover the surface with paint thinner. Wait about three minutes for the chemical dissolution to occur. The sealer will mix with the paint thinner and return to a liquid form, which can be wiped up with a rag.
Rinse the paint thinner off the surface. When your hardscaping is dry, inspect it for remaining traces of sealant, and repeat the process if necessary.
Sealed vs Unsealed Pavers
Sealed paving stones are resistant to weed growth, moisture damage, mold, mildew, and moss. They have an attractive shiny finish that accentuates the surface of any material, making them an ideal choice for adding a touch of elegance to your patio or driveway.
Though the sealant should be reapplied every three to five years, the extra expense and effort are worth it to keep your hardscaping looking like new. Plus, sealing protects them from fading in the sun.
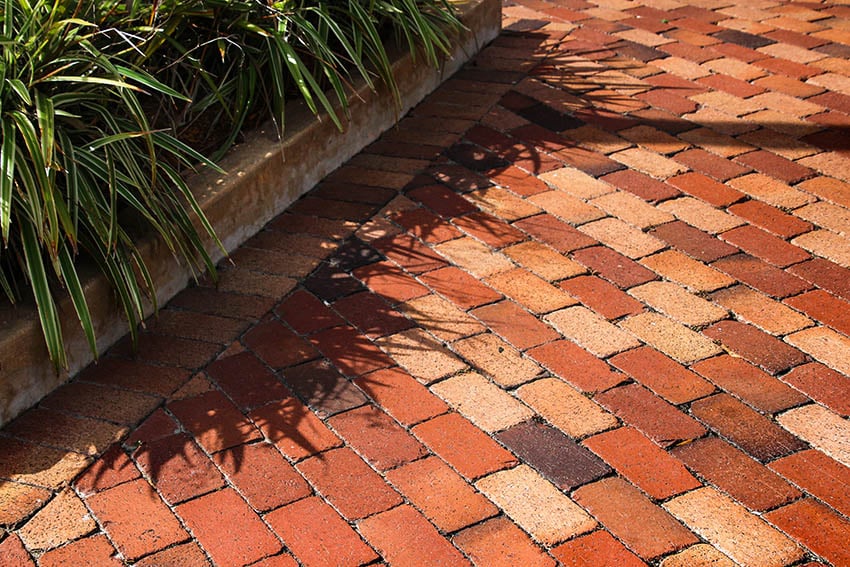
Unsealed pavers have a less finished appearance, and the colors may appear dull. They absorb water and are vulnerable to moisture-related damage. Lack of sealant allows water to penetrate the paver’s foundation, which can shift when it becomes waterlogged.
Unsealed paving stones set with polymeric joint sand are resistant to weed growth. Standard joint sand provides minimal protection from weeds. Visit our gallery to see types of brick paver ideas.
Best Sealer for Concrete Pavers
Paver sealers come in two formulations: Film-forming and non-film-forming. Film-forming sealers have a shiny finish, whereas non-film sealers will dry to a matte finish. Either is appropriate for use with concrete.
To protect concrete pavers, look for a ‘penetrating’ sealant. These products sneak into every nook and cranny of concrete, leaving no space for water to accumulate.
This is especially important for concrete because they are susceptible to expansion and contraction damage when the weather shifts. But penetrating sealants don’t stop there.
Penetrating sealants will filter down into the substrate below the material, providing a firm foundation that prevents shifting.
Are there any sealing pavers pros and cons that we’ve missed? Let us know in the comments whether you feel sealing paving stones is worth the time and cost. For more related content check out our comparison of pavers vs concrete patios here.
To showcase highly specific designs, some images on this website use advanced AI-generation software to illustrate ideas and room inspiration. See our editorial policy to learn more.