How To Remove Granite Backsplash
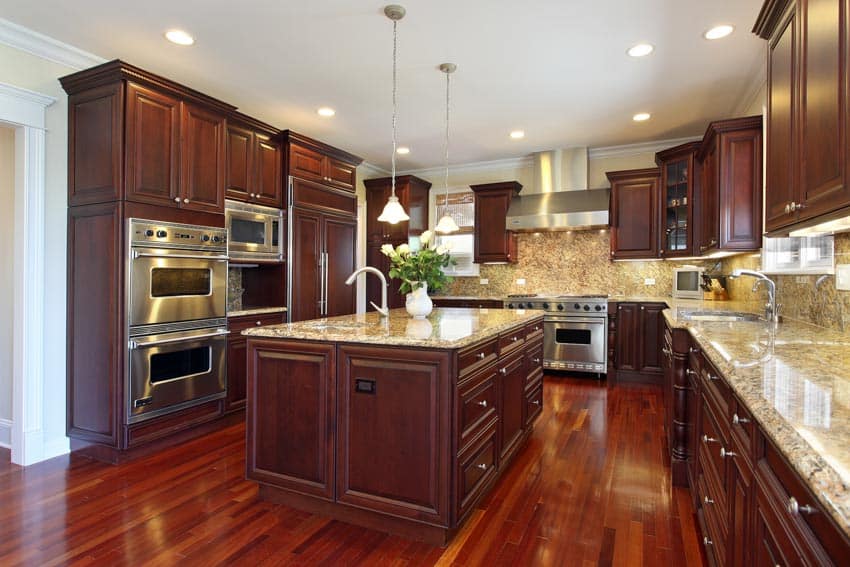
A granite backsplash is an elegant addition to your kitchen and can increase the general value of the space. However, if you’ve been using the same granite backsplash for years, it can get old and boring. Granite may be an elegant material but getting used to it may take away from that effect. With that, you can always remove your granite backsplash and replace it with something new!

Removing the backsplash from drywall takes a lot of effort; you would simply want professionals to do it for you. If you’re up to the challenge and like DIY projects, here are the steps required. [toc]
Quick Overview of the Granite Backsplash Removal Process:
How To Remove Backsplash From Drywall
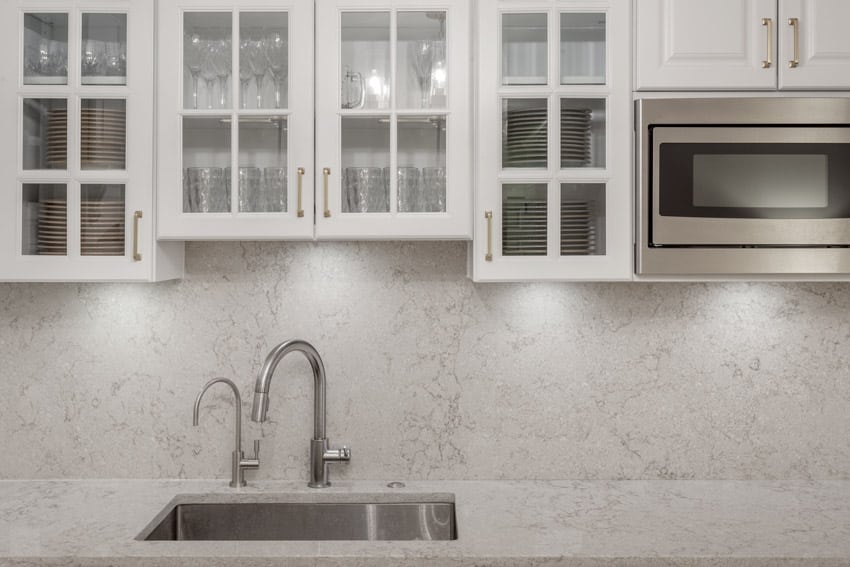
Since granite is known for its durability, removing it will be difficult, and it’s almost impossible to complete the task and leave the wall unscathed. This means you will need a replacement to cover that damage and simultaneously add aesthetic value.
In removing granite backsplash from most types of drywall, you must also deal with the clear caulk used to seal the backsplash to the countertop and the wall. If you choose the DIY path, you need to know the steps to follow to accomplish this task.
Steps To Remove Granite Backsplash
Since removing granite backsplash can be a herculean task, DIY-ing this task will require as much help as you can have (without actually hiring a professional help!). Since granite backsplash was created to stand the test of time, it is not surprising that it would also take a lot of power to remove it.
Step 1: Prepping the Wall
Since it is difficult to remove the granite backsplash, prepping the wall is necessary to make the work somehow easier for you. In preparing the wall, the first step is to take the necessary actions to protect your surfaces.
Protect your wall and minimize possible damages during the removal by covering high-risk areas using a drop cloth (or even just a newspaper!) secured with painters or masking tape.
Some of these high-risk areas include floors, countertops, and kitchen cabinets, which are prone to scratches and other damages while you work on removing your granite backsplash.
Step 2: Remove Fixture Covers (Wall Plates & Outlet Covers)
Cut the electricity running in the backsplash area and remove wall plates, outlet covers, and other fixture covers you have installed in your backsplash using a screwdriver.
Step 3: Strip The Old Caulking
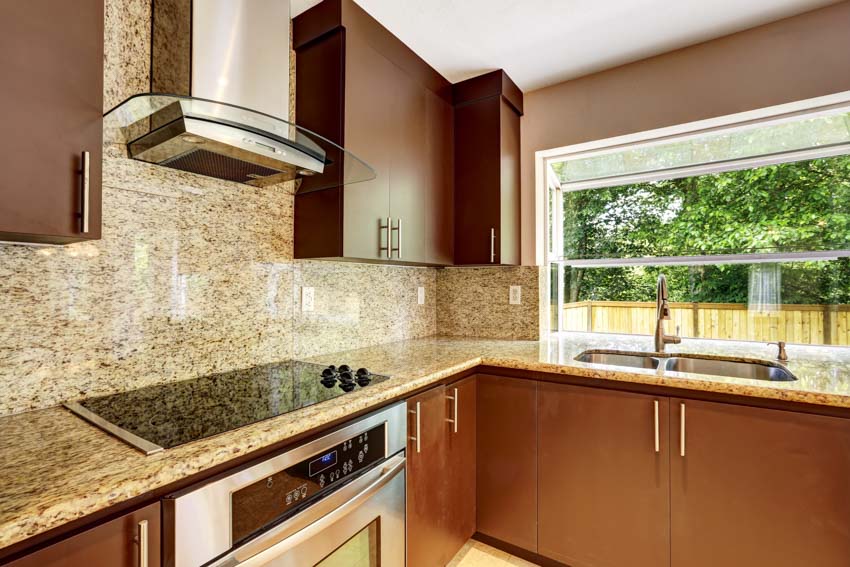
Granite backsplash is protected by caulking coat, and you need to strip this old coating to remove this durable material. Start from the edges of the granite. This is particularly in the area where the backsplash meets the edges of most types of kitchen countertops.
Use your utility knife to carefully separate the coat from the surface and scrape it off both from the top and the bottom of the backsplash. Be careful that you don’t damage the countertop.
Step 4: Use Putty Knife To Chisel Off The Tile
With the caulking off, use your putty knife to slowly chisel off the tile by sliding tit carefully between the seam between the granite backsplash and the wall.
Use a hammer or mallet and gently tap the handle of the putty knife to slowly pry the granite backsplash and separate it from the wall, cutting the tile loose from the glue. Make sure not to damage the drywall.
Do not rush this step because it is the part where your work will decide if the drywall will have many scratches and damages or not. If you find that the tile is really stubborn to remove try heating the area with a heat gun or hair dryer.
Step 5: Repeat Chiseling The Granite Off The Wall From The Top
Take out the putty knife and reinsert it into the seam of the backsplash top edge to have a different approach in prying the backsplash away from the wall.
Keep tapping the handle of the knife with the hammer within the seam and open end. Continue separating the backsplash from the wall and loosen the backsplash from the glue more.
Step 6: Move Your Putty Knife Along The Seam
Move your putty knife in the seam and slide it in the length in between the backsplash and the wall. Loosen the glue in all parts of the seam connecting the backsplash and the wall. Continue tapping your hammer until the backsplash is entirely separated from the wall.
Step 7: Take Out The Adhesive
After taking the backsplash completely from the wall, remove the hardened adhesive from the wall with your putty knife. It can be an easy task if it’s semi-soft or requires a bit of effort if it’s rock-hard.
You can apply some elbow grease if it’s the latter type of glue. And if it’s still not enough, you can take out grit sandpaper to scrape the glue off the wall.
Step 8: Smooth The Walls
Once you got rid of all hardened clumps of glue on the wall, look for damages and holes that would need fixing. Patch up all the holes you find on your drywall with a drywall patching compound.
Make sure you have a smooth wall using 120-grit sandpaper. Give it time for the drywall patching compound to completely dry.
Materials Needed
Are you ready to remove the granite backsplash in your kitchen? Consider these items to prepare for the DIY project you have at hand.
Proper Protection Equipment
• Safety goggles
• Suede or leather work gloves
• Long-sleeved shirt
DIY Granite Backsplash Removal
• Drop cloth or newspaper
• Screwdriver
• Putty knife (wide scraper)
• Hammer or rubber mallet
• Hand sander or electric sander
• Drywall sanding pad
• Drywall joint compound
• Grit sandpaper
(You may also need a heat gun or hair dryer for hard to loosen areas)
Gather all the items in one area before working on this DIY project. Having them handy and within reach will make accomplishing this task easier.
How to Safely Remove Backsplash Video
Granite Removal Tips
Removing granite types of kitchen backsplash requires hard work and you will need all the help you can get, either from other people or from a simple guide to assist you in this project.
Take Your Time and Be As Careful As Possible: There is a high chance you will damage your drywall and you have to accept that but there is something you can do to minimize the damage as much as possible.
In loosening the backsplash from the wall, you can only take your time to make as little damage as possible as you go along the entire thing. Be gentle in tapping your hammer and be strategic in easing your putty knife in the seams.
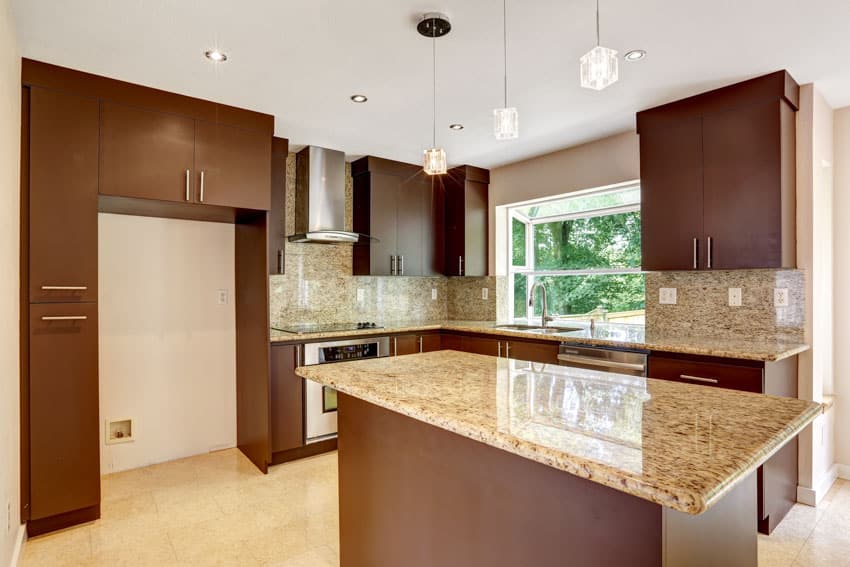
If Planning to Install New Backsplash, Apply Thick Layer of Thinset: If after the removal of your granite backsplash you plan to install a new one, make sure to apply a thick layer of thinset on the surface of the drywall.
Since the removal of granite backsplash can undeniably cause damages, the thinset will hide the scars, scratches, and roughness left by the hardened glue on the wall.
Wear Proper Protective Equipment Before Starting the DIY Project: Wear proper protective equipment before you even start the project and prep the wall.
Besides safety goggles and suede/leather work gloves, wear a long-sleeved shirt for additional protection. Wearing proper protective equipment will give you the protection you will need while completing this DIY project.
Get Help from Someone: Granite is a heavy material and somewhere along the way of working on this project, you might need help.
Ask someone to help you when it comes to separating the backsplash from the wall because granite can be quite heavy and you might not be able to handle lifting it alone. Having someone to help you can take out the possibility of injuries and accidents.
Don’t Use A Heat Gun: Even if you read tips about using a heat gun to soften the adhesive between the granite backsplash and the wall, never use it. Depending on the adhesive used, here are some of the results that may occur:
• If the adhesive used on the wall is a thinset mortar, heat is not an element that can affect it and make it easier for you to separate the backsplash from the wall.
• If mastic is used to glue the backsplash on the wall, using a heat gun will only turn it into a gooey mess that will be difficult to clean up and get rid of.
It will even be more difficult if you don’t know what adhesive was used for your backsplash and guessing which one can turn your DIY project into a big mess.
Hire Professionals If You Can’t Do It: Let’s be real, dealing with granite backsplash can turn into a complete disaster even if you have enough information at hand and materials ready to be used for the project. Granite backsplashes do not easily go down without a fight, especially since they are made and installed to last for years.
If you realize that this DIY project is too challenging for you, hiring for professional help is not something to be ashamed of. Removing granite backsplash is not easy and if what you have in the kitchen is installed properly and excellently, it will definitely require more effort than necessary.
See more related content in our article about backsplash for busy granite on this page.
To showcase highly specific designs, some images on this website use advanced AI-generation software to illustrate ideas and room inspiration. See our editorial policy to learn more.