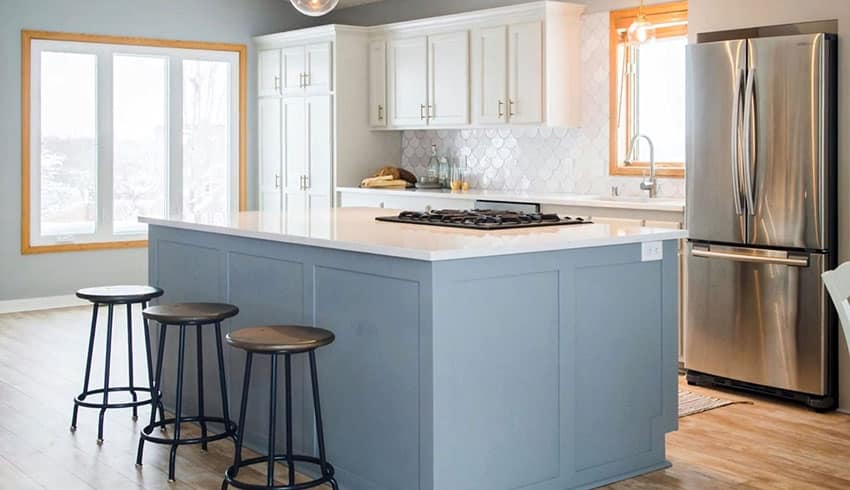
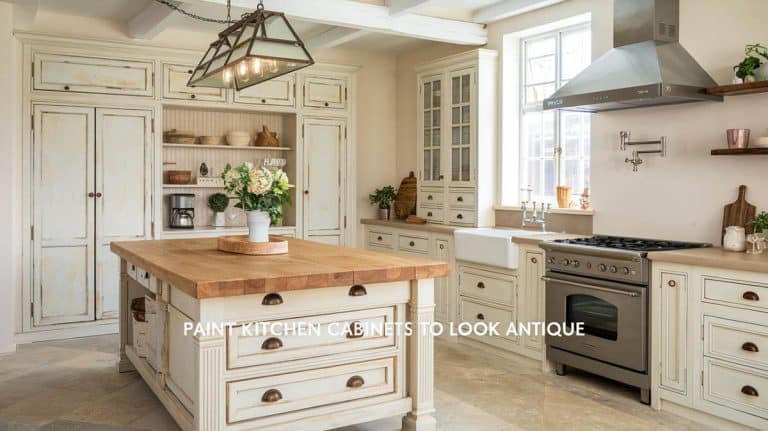
How To Fix Worn Spots on Kitchen Cabinets
Learn how to fix worn spots on kitchen cabinets with step by step method like applying putty, stain and more.
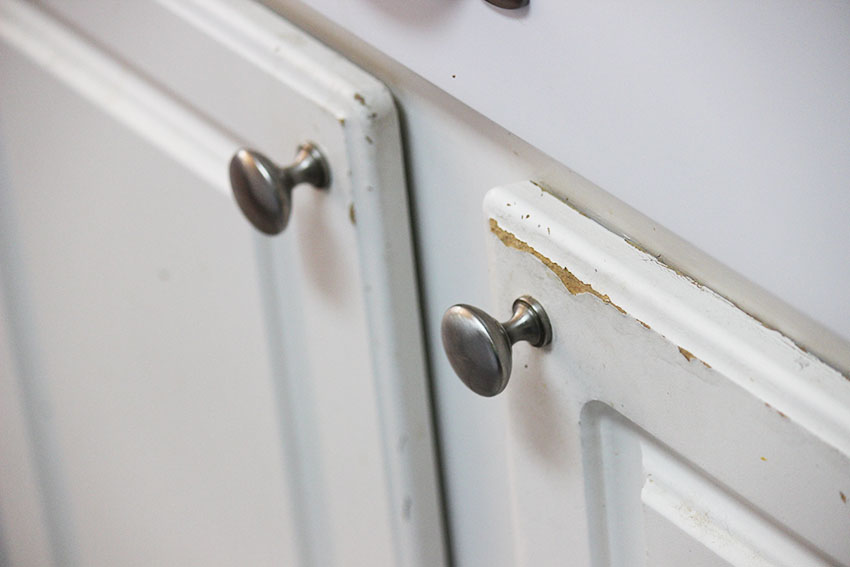
But while your cabinets streamline your kitchen activity, they are likely to show various worn spots over time. Worn spots can be anything from discoloration to scratches to dents – all coming from the constant use of your cabinets in the busiest place in the house.
Surely anybody would agree that these imperfections do not look good in the kitchen at all. You’ve probably thought of getting new cabinets, but the price and hassle of re-construction do not sound so wise. Fortunately, you can opt for cabinet maintenance and it isn’t as difficult as it sounds! [toc]
How To Fix Worn Spots on Kitchen Cabinets
If you’re ready to get into more detail, then follow the steps on how to fix worn spots on kitchen cabinets below.
Check the Types of Cabinets
Before anything else, you should identify what your cabinets are made of because different materials have varying responses against damaging elements.
While most cabinets are made of wood, there’s still a wide range of wood types. Each type may have different tolerances and reactions to light, water, temperature, or physical impact.
For instance, hardwood is prone to discoloration. Particleboards tend to sag, while plywood can warp – making your fixture susceptible to dents.
Continue your visual inspection by looking for water damage, peeling, nicks, chips, and other unappealing issues. After your overall assessment, you can better gauge the damage and the extent of treatment you need to do.
Read our article about types of kitchen cabinet materials for a complete guide.
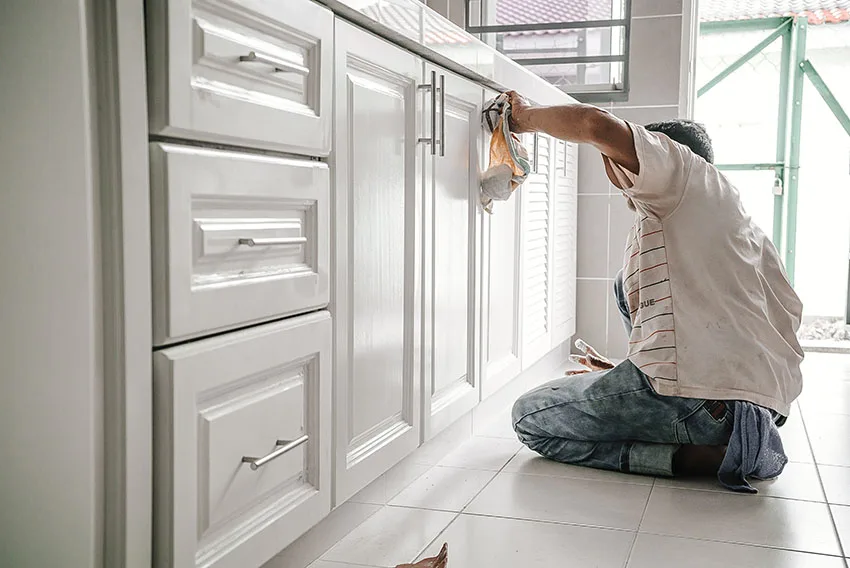
Clean the Affected Cabinets
Clean off dirt and grime from your cabinets with a damp cloth. Allow your cabinetry to dry before moving forward. This process brings imperfections further into the light so you’ll be able to treat them properly. It also makes touching up areas much easier later.
After cleaning, you will have a more accurate assessment of your cabinet’s state. The condition dictates what tools and equipment you need for the next step.
Use the Right Tools for the Job
The things you’ll need for refurbishing are most likely already in your toolbox or are easily bought in hardware stores. If you see minor scuffs on your cabinets, you can use a touch-up marker to cover them. Make sure to select the same color or at least most similar to your cabinet.
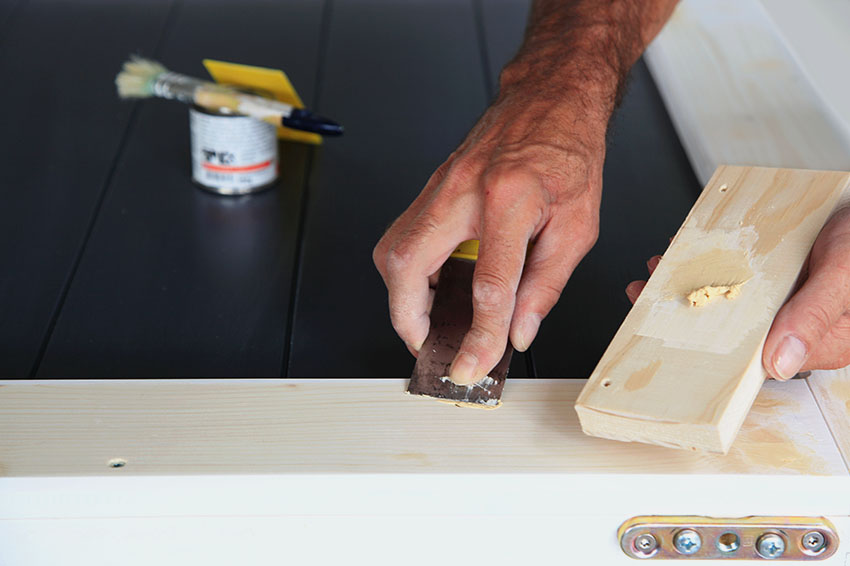
For heavier wood spots and discoloration, however, you may have to sand down worn spots or the whole cabinet if deemed necessary. The panels’ old finish, if any, must be removed so new finishes will adhere better.
In this case, you need medium and fine-grit sandpaper, gloves, safety glasses, a respirator mask, and a tack cloth. You can follow the steps below:
- Work in a ventilated area and wear your protective equipment.
- If possible, remove any door handles or accessories that will get in the way during sanding.
- Sand down worn spots using medium-grit sandpaper. Depending on the condition of your cabinets, some prefer to sand all surfaces evenly.
- Smoothen the surface using fine-grit sandpaper.
- Wipe the dust away using a tack cloth.
You can use a buffer or polisher if you have one at home to have a smoother surface. At this stage, it is best to have no trace of the old finish for the subsequent steps to work better.
Apply Putty if Needed
For small gouges, you can use putty sticks and let them dry for several days before finishing. For larger holes, you can use either wood filler or putty. Both are available in wood tones that may camouflage the imperfection on your cabinet.
Wood putty behaves like clay that’s easy to apply over large areas. It is known to be affordable and durable. However, it stays wet for a long time and can extend your project for a few days.
Wood filler, on the other hand, is more quick-drying. It has large coverage as well, although it has a tendency to shrink or expand in extreme temperatures.
After you fill in gaps, you can sand certain areas again to ensure a totally level surface.
Apply New Stain or Paint
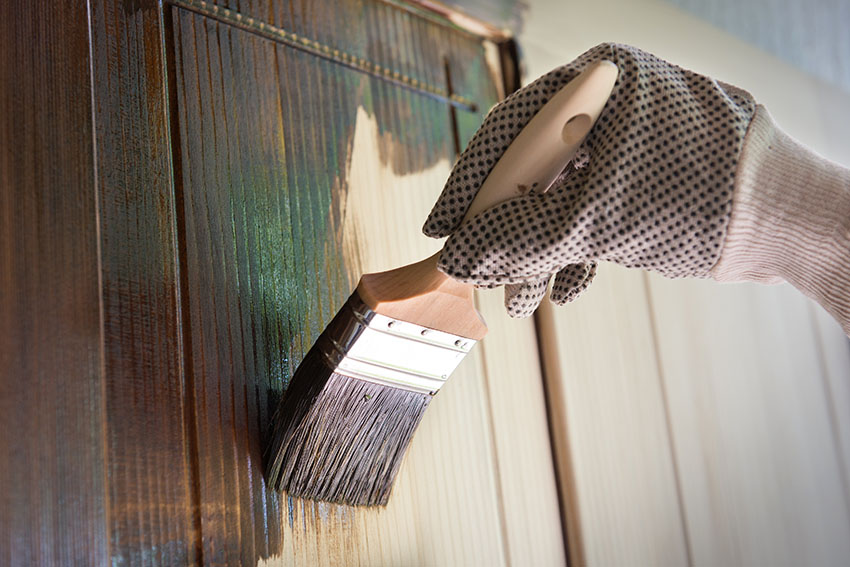
Let your first coat dry and assess if you need a second coat. Allow subsequent coats to dry before moving to the next step. You can also read more about paint vs stain kitchen cabinets for comparison.
Apply a Polyurethane Coating
Finally, you can apply a layer of polyurethane over a fixed spot or the whole cabinet using a different paintbrush. This coating will protect your cupboards from various causes of deterioration such as abrasion and water damage.
In addition to durability, polyurethane coating gives wood surfaces a smooth, glossy finish that contributes to them looking good as new!
How To Fix Scratches on Wood Cabinets With Paint
Scratches on wood cabinets are inevitable, especially in kitchens. And although they are minor damages, they are still noticeable and make your kitchen look aged.
In many cases, the scratches you find on the wood are just wax build-ups. You can easily remove these using wax remover solvents or a homemade solution of vinegar and cream of tartar.
For actual scratched wood, however, you may need a little more than solvents. You’ll have to cover the scratches with paint or a pigment that matches the rest of your cabinet to “hide” it.
Here are a couple of easy remedies:
Paint Over The Scratch
You can hide scratches on wood by painting over them like an artist. Though just like fixing worn spots, your cabinet can benefit from cleaning, sanding, and dusting off the scratched sections first.
Again, you have a choice whether to work on select sections only or repaint all surfaces evenly.
- Wear protective equipment and work in a clean, well-ventilated area.
- Sand out any scratches using medium-grit sandpaper or a sander. Dust off the surface with a clean rag afterward.
- In case of very deep scratches or crevices, apply an appropriate amount of filler.
- Smooth the filler over using the flat end of a palette knife to remove any excess.
- Sand the surface again, but this time with a fine-grit sandpaper. Dust off and clean afterward.
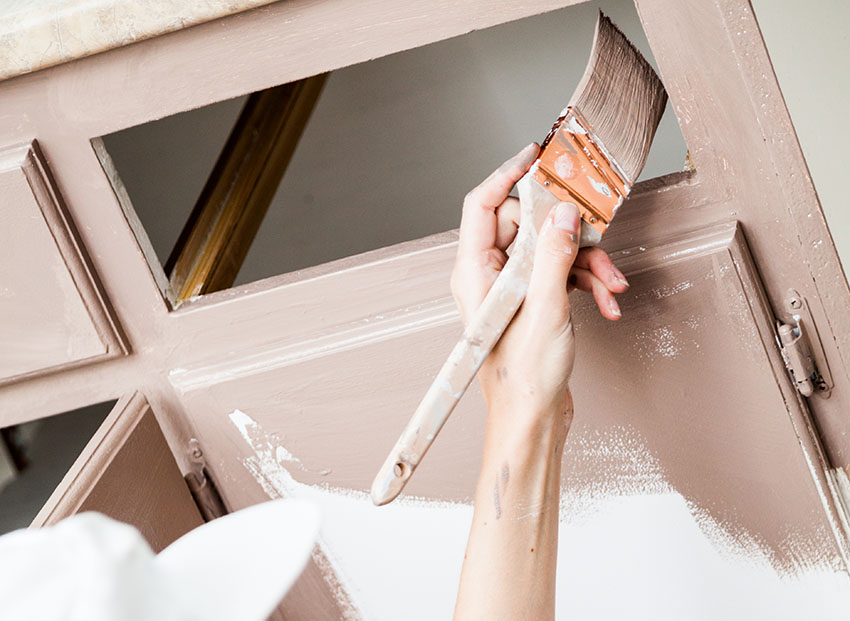
- Apply a primer using a flag-tipped paint brush and let dry. Apply subsequent coats if necessary and let dry.
- Apply your desired paint color (or matching paint color) to your cabinet using a high-quality enamel paintbrush. Leave to dry.
When you apply paint over the surface of a cabinet, try to work on small sections at a time (even if you are repainting the entire cabinet and not just some scratched sections). Spread the paint from the brush with one long stroke.
For the next strokes, overlap slightly where the previous one ended. This method results in a uniform paint finish.
Use Furniture Repair Markers
While not paint per se, there are paint-markers especially made to repair wood furniture and flooring. They come in the most common wood shades so you can choose a color that matches your cabinet. You can also blend a lighter color with a dark one to achieve the perfect shade.
All you have to do is to draw over visible scratches until the whole spot is covered by the paint marker. Rub lightly around the perimeter so it blends perfectly well with the existing cabinet. This method is best for small scratches only.
How Do You Make Wood Cabinets Look New Again?
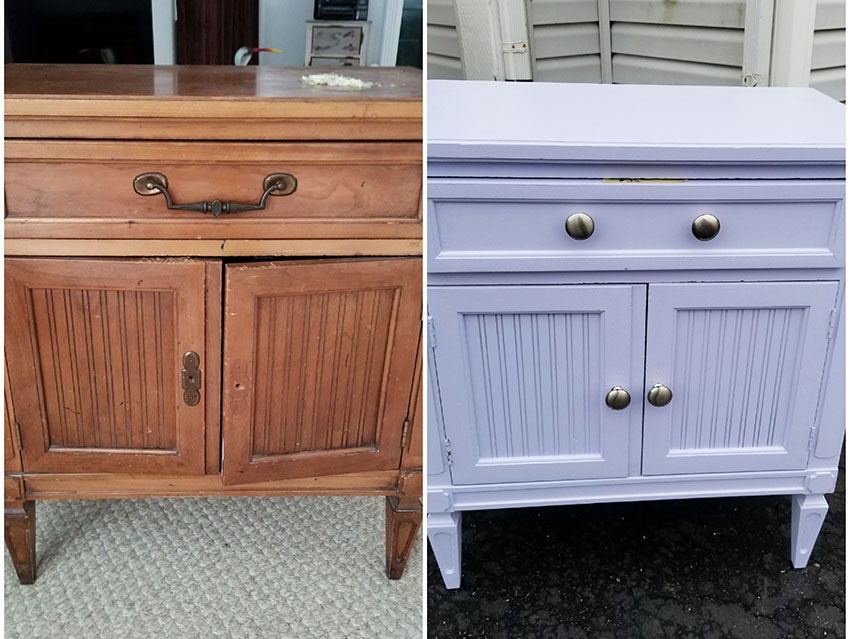
If you’re seeing scratches, dents, discoloration, and other signs of wear, don’t fret! There are several ways to make your cabinets look new again.
Minor issues can be remedied with touch-up markers. More visible issues can be refurbished with sanding and restaining to bring back their vibrant natural surface. If you want an entirely “new” cabinet, you can even repaint the exterior a different color!
Most of all, you can make your cabinets look – not just new again, but new always – by simply cleaning them regularly. All you need is a damp cloth and a quality cleaning solution. To keep them shiny, you can apply a coat of polish or protective sealant.
Furthermore, you have to look out for the usual causes of deterioration. Inspect your cabinets from time to time so you can remedy certain issues before it goes out of hand.
See more related content at our article about ways to update kitchen cabinets here.
To showcase highly specific designs, some images on this website use advanced AI-generation software to illustrate ideas and room inspiration. See our editorial policy to learn more.