How To Fix A Cracked Mirror (DIY Tips)
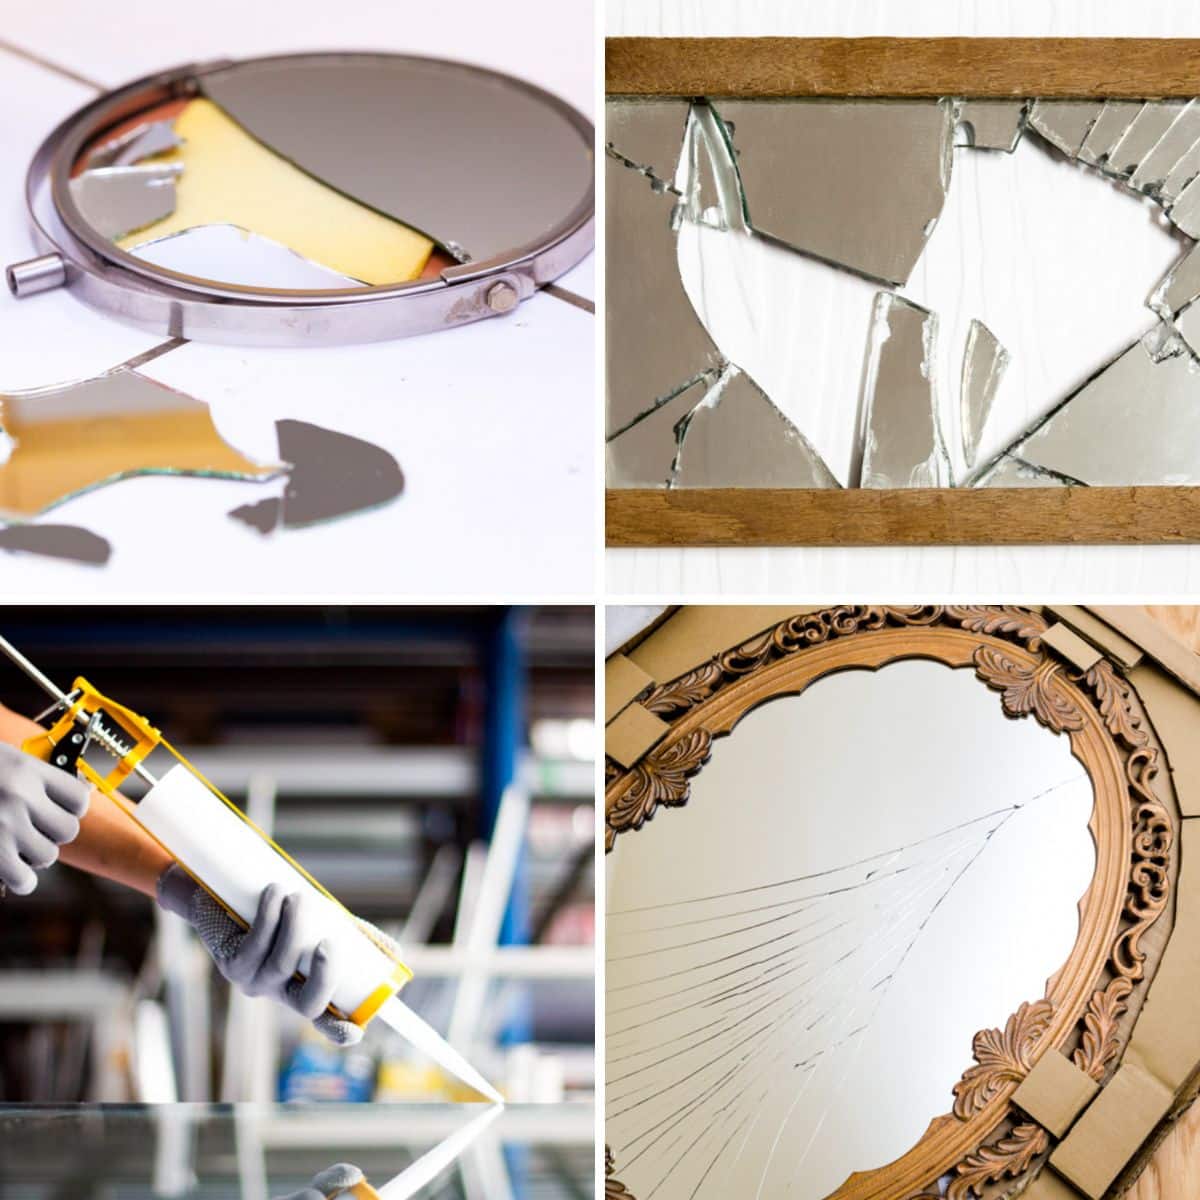
Oh no! Your mirror just cracked! The suspicious side of you wants to immediately throw it out and get the negative and unlucky vibes you’re supposed to get when you have a cracked mirror out of the way. The practical side of you though thinks that there is still something you can do and that this mirror has lots of sentimental value. Which side will you listen to? If you lean more on your practical side, the next question would be is it even possible to fix a cracked mirror? Here we share our how to fix a cracked mirror guide including the repair process, the kinds of cracks and how to make them disappear.
Is It Possible To Repair My Mirror?
It’s a great thing to be practical, but is it even possible for you to repair your mirror? The straight answer is yes, it’s possible to repair it. If you have the time and the know-how to repair a mirror, you can do it yourself. If you don’t have either, trust a specialist to do the job for you.

Upload a photo and get instant before-and-after room designs.
No design experience needed — join 2.39 million+ happy users.
👉 Try the AI design tool now
There are different ways you can fix your mirror , and it would highly depend on how bad the damage was. Is it a crack? Are there scratches or discoloration on the mirror?
Most methods, despite the difference in damages, are the same. Here are some things you can consider:
• Windshield repair kit
• Nail polish
• Vinegar and Mustard Powder
• Cerium Oxide
But these are only some options you can consider. You can also go and ask for the help of a professional for a more definite fix.
How To Fix A Crack In A Mirror At Home
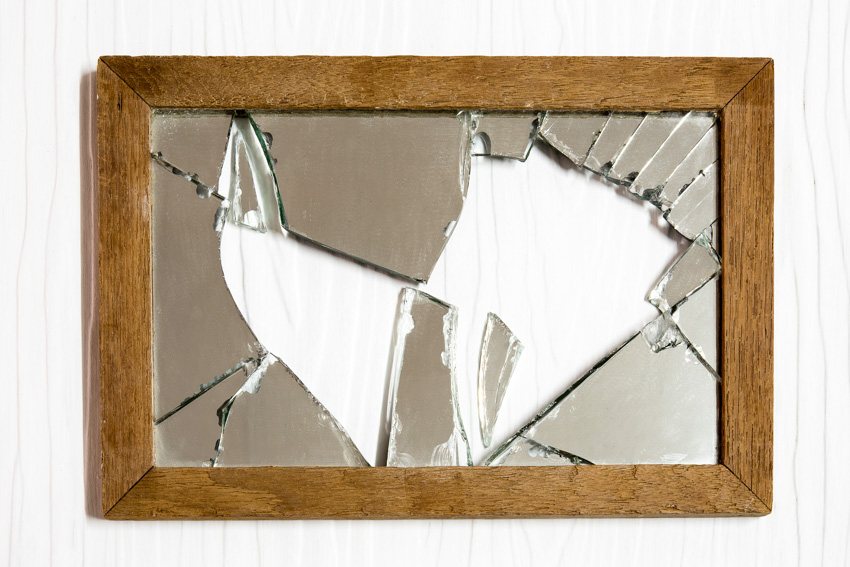
If you want to fix it yourself at home, let’s take it one step at a time. In preparation for what you will need in this little project, you have to visit the local auto supply store to buy a standard windshield repair kit.
In general, though, these are the materials you will need to fix a cracked mirror at home:
• Warm Water
• Soap
• Sponge
• Clean Cloth
• Stabilizer Strip
• Syringe/Applicator Tip
• Epoxy Adhesive Resin
• Razor
• Glass Cleaner
After gathering everything you will need in this little fix, here are the steps you need to take.
Step 1 – Remove Mirror Glass
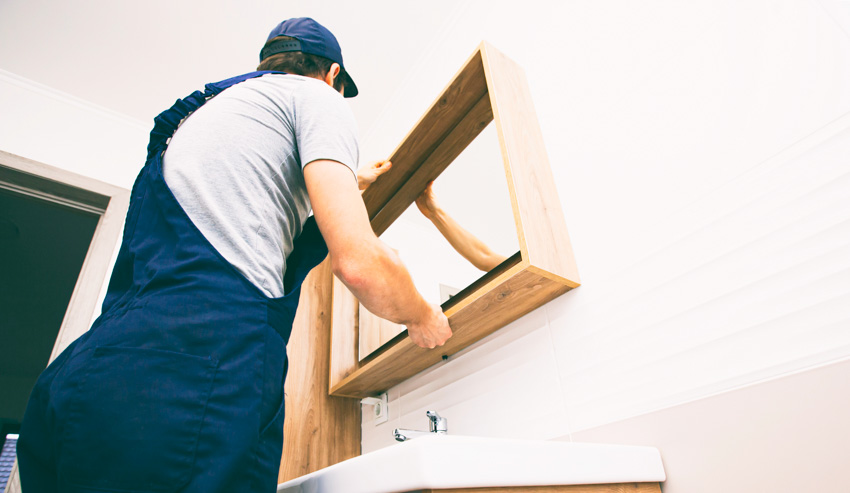
Remove the glass carefully from its frame (if your mirror has a frame)
Step 2 – Clean the Mirror
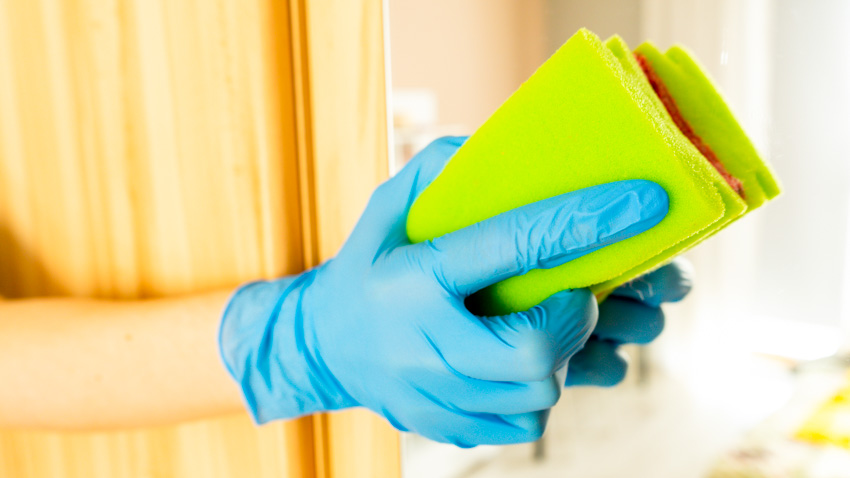
Clean the mirror, specifically the damaged area. You can do this using the following:
• Soft clean cloth/sponge
• Dish soap
• Warm water
Soak the soft clean cloth or sponge in the warm water. Put a drop of dish soap on a clean cloth or sponge and gently wipe the cracked area, as well as the entire surface.
Tip: Make sure to remove dirt and dust in the crack, and even loose fragments that may have been left in the crack.
Step 3 – Apply Stabilizer Film
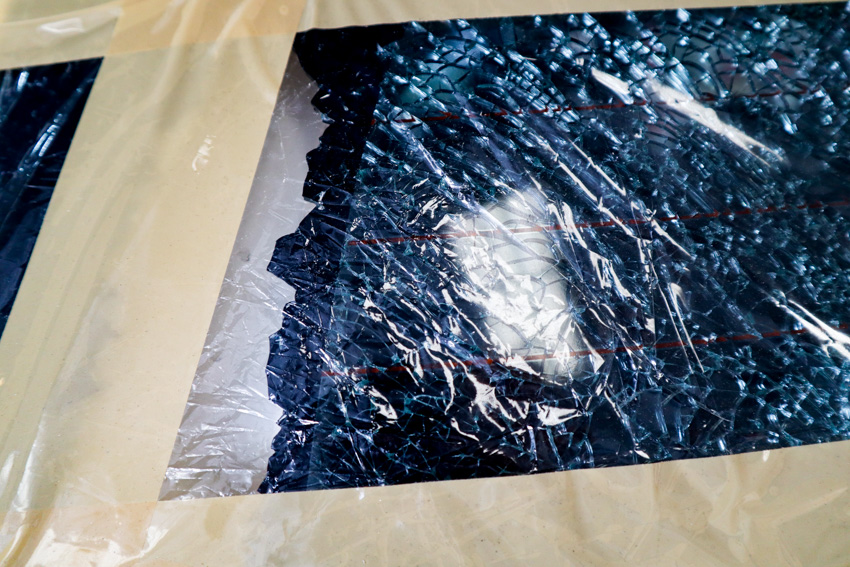
Get the stabilizer film, peel the adhesive backing, and carefully but confidently press the film over the crack in the mirror. Make sure that no air is trapped beneath the film.
If there are air bubbles, smooth the film out using your fingertip and remove bubbles and creases.
Tip: There’s a chance you have to use more than 1 stabilizer film, especially if the crack is big.
Step 4 – Fill the Cracks in the Mirror
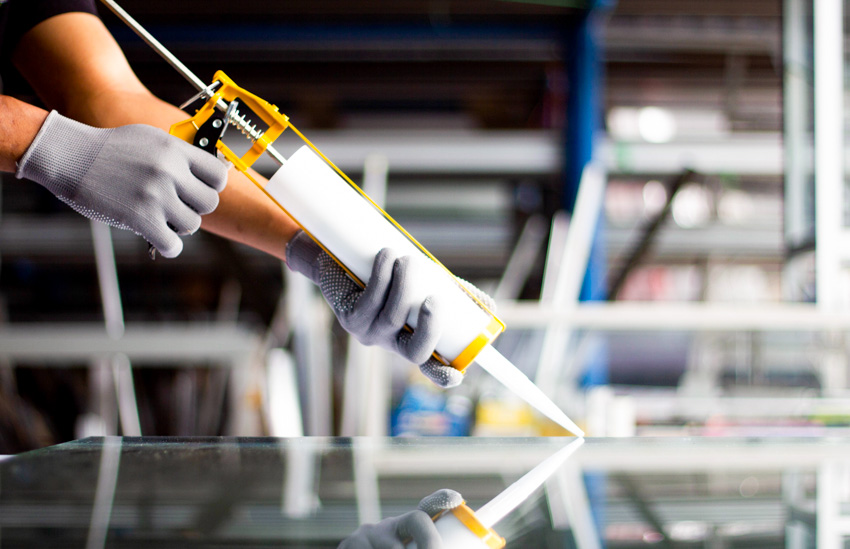
Fill the crack using a syringe and epoxy resin adhesive. Put the syringe in the resin container to take out some resin (Most kit comes with a syringe or an applicator tip you can use).
Insert the syringe’s tip through the stabilizer film and push the resin into the crack. Slowly push the resin out to fill the crack.
Let the resin sit and harden for 20 minutes then slowly pull the syringe out of the film. Time another 10 minutes to let the resin harden undisturbed in the crack.
Tip: Make sure to apply the resin slowly and a small amount at a time.
Step 5 – Cure the Resin & Remove the Film
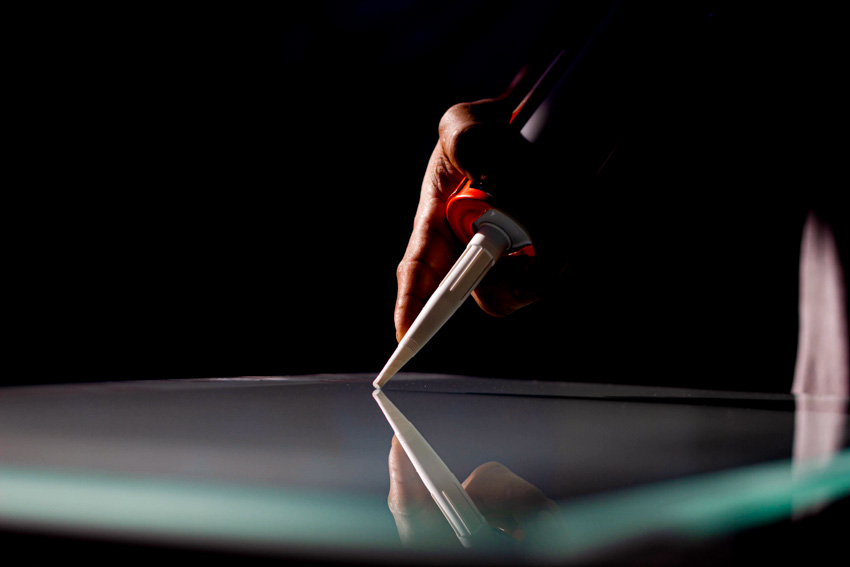
Start curing the resin. Peel the stabilizer film in one quick and smooth motion. Add another drop of resin over the filled crack and get the curing film to press it over the crack.
Smooth out the film to get air bubbles out. You can use your fingers or a razor blade. Allow the resin to settle for one hour and leave it completely undisturbed.
After an hour is over, slowly peel the curing film off in 1 smooth motion and scrape off excess resin over the crack.
Tip: If you’re having a hard time peeling the film off, use a razor blade to get underneath the film.
Step 6 – Clean the Surface

Get a glass cleaner and spray it over the surface. Clean the object with the glass cleaner using a piece of cloth.
Make circular motions as you rub the surface. And that’s it!
Now you got your mirror back, and you didn’t even need the help of a professional to do it. You just need to learn these 6 simple steps.
If you feel like your mirror is broken beyond repair but you still can’t throw it out due to sentimental value, there’s still something you can do!
What to Do with a Broken Mirror
Here are several crafty and creative ways to use broken mirrors.
• Use it as unique wall art and use the shattered glass look as a good living room decor on a budget.
• Hang pieces of the glass and light them up to create a sparkling panorama.
• Build a jewelry organizer with the broken pieces.
• Glue pieces of the glass to your dresser.
• Reuse the frame as a picture frame.
• Use the shattered glass to decorate an old furniture piece’s top or sides
Can You Fix A Mirror Crack With Toothpaste?
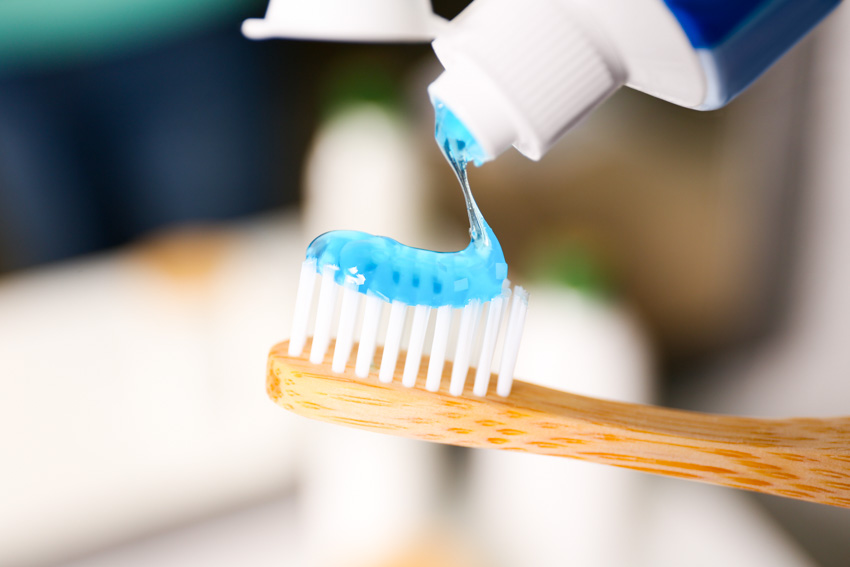
If we’re talking about scratches in the mirror, you can polish them out by rubbing them with toothpaste. But you can also fill the cracks in with toothpaste. This, of course, depends on the gravity of the damage. Are the cracks reparable or are they broken beyond repair?
Can Cracked Glass In A Mirror Be Repaired?
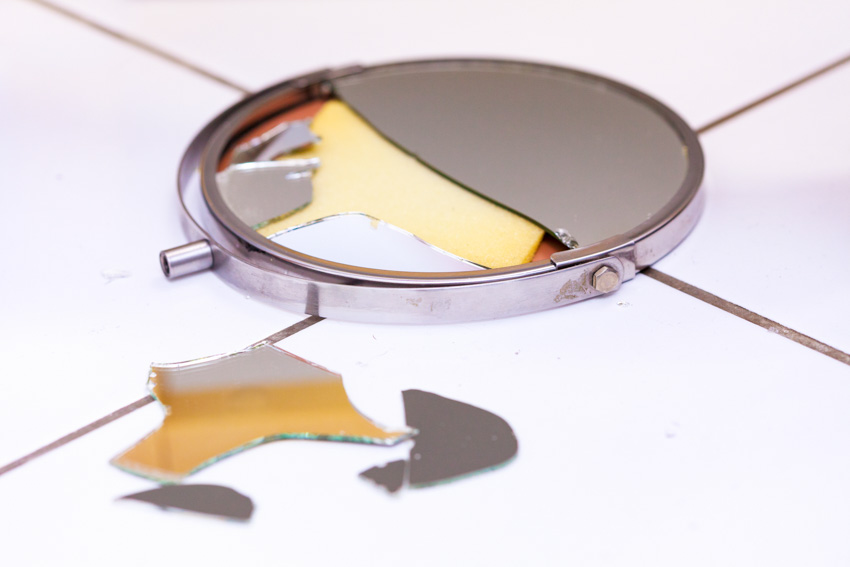
While not all broken mirrors are repairable, there are some cases where they are. If the crack is small, it will surely be easy for you to repair the glass.
Make sure to observe the cracks and keep them from growing. But one of the ways to know if you can deal with the cracks is to know which kinds of glass cracks can be repaired.
What Kind Of Glass Cracks Can Be Repaired?
If you are planning to work on fixing your mirror, the first step to take is to learn more about the damage.
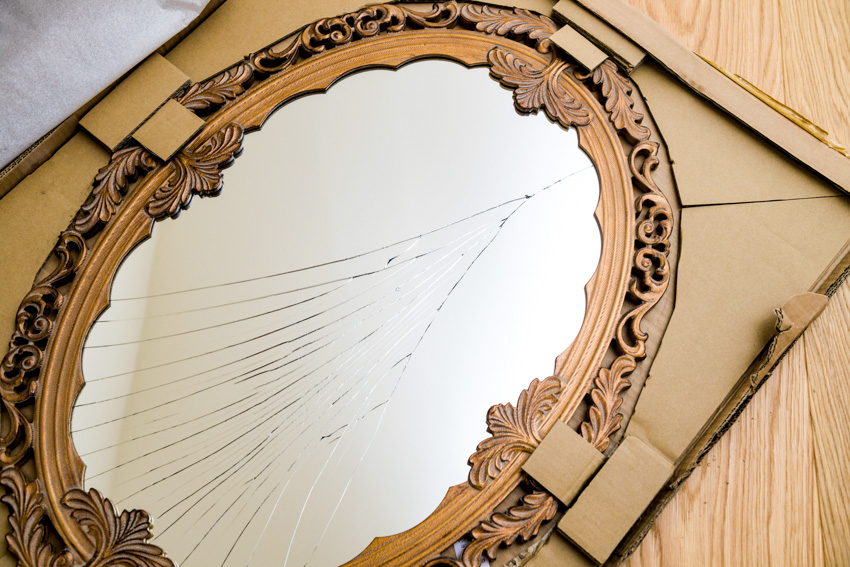
There are different kinds of glass cracks and in order to know how to repair them, the key is to identify them. Here are the different kinds of glass cracks you might encounter.
• Chips (May become cracks when not noticed in time): can be caused by either temperature or impact (mostly impact though) and while may start as little blemishes can spread across the entire window
• Impact Cracks (the most common type of crack): created upon collision with objects, from a ball to a heavy rock
• Temperature Stress Cracks: most common cracks in glass doors and windows. If a mirror is exposed to heat, it is most likely that it will develop cracks over time.
How To Make A Crack In Glass Disappear
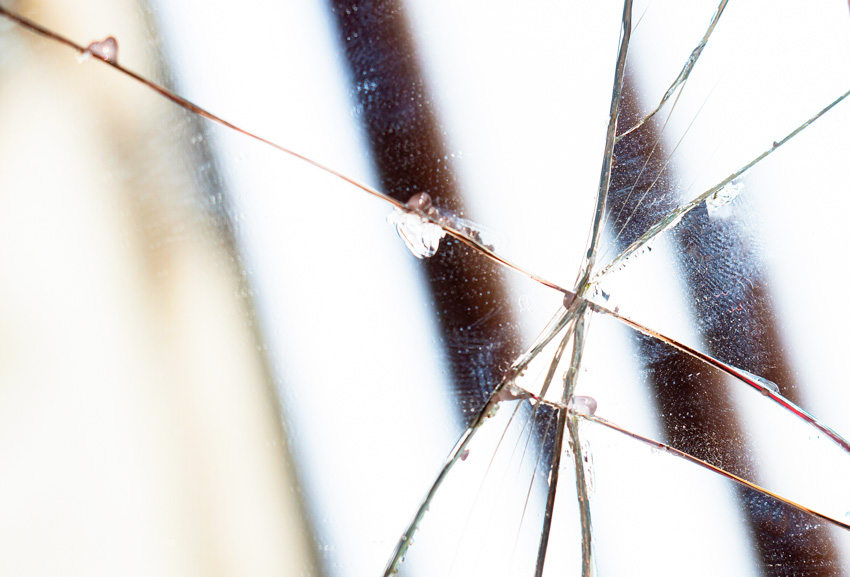
There are a variety of methods you can use to make a crack in glass disappear. It only depends on what materials are available for you and the level of damage in the glass. Some solutions have smoother results while others have a more patch-up kind of job.
The decision for how you want your mirror fixed is up to you. To give you more options though, here are ways you can make that crack disappear.
• Basic glass repair kit: you will have everything you need to make a crack disappear but you need to know how to do it in the first place
• Clear adhesive tape: the easiest but not the smoothest solution for a crack in the glass since it’s like putting a bandaid on a wound
• Glue/nail polish: when you use clear nail polish, this can do the job. Make sure to let it dry and apply the polish as needed
• Epoxy: offers the cleanest and smoothest look when getting rid of cracks, as well as the strongest seal. If you want something more long-lasting, this might be your choice.
How Do You Fix A Black Spot On A Mirror?
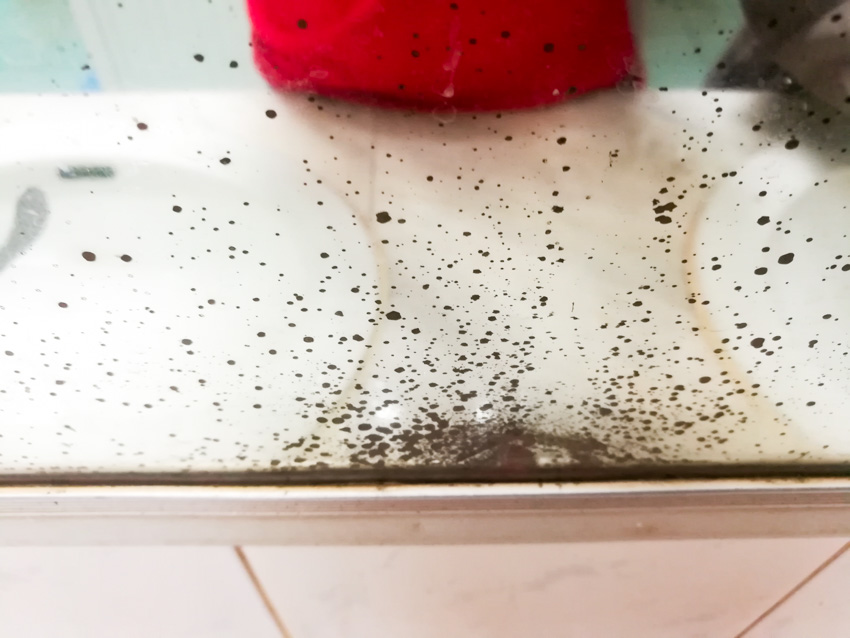
Now, besides cracks, black spots can also afflict your reflective surface. You can usually see this in vintage mirrors passed down by your grandmother or at the flea market. If you found it at the flea market and don’t have time to waste on it, just buy a new one.
However, if the vintage object you have has sentimental value and you’d like to keep it, here are your options to keep it alive and at home.
Use Aluminum Foil On The Spots
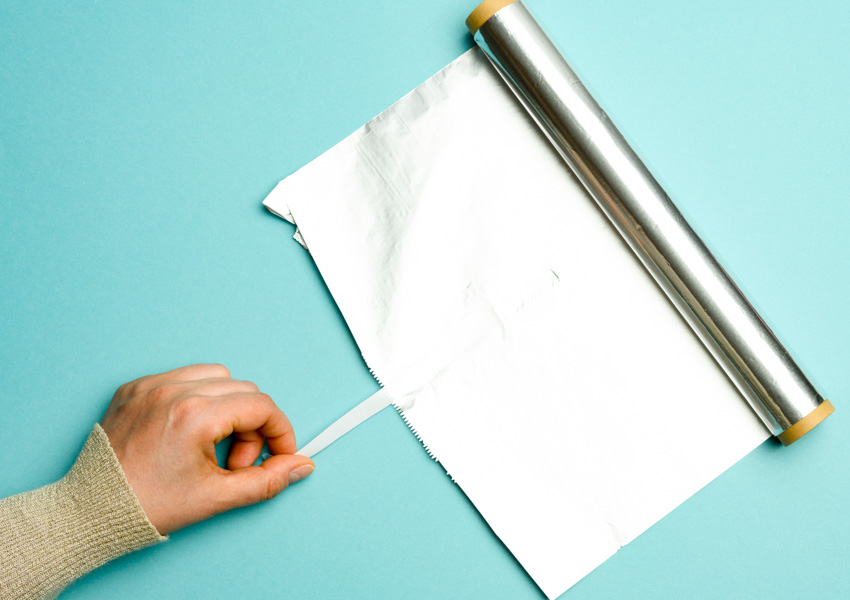
Using aluminum foil on a mirror’s black spots works fantastically. You can cut off small pieces of aluminum foil and use clear tape to glue them at the back of the mirror. Since the foil is reflective, it can unnoticeably act as a mirror.
Paint The Edges Of The Mirror Where The Spots Are
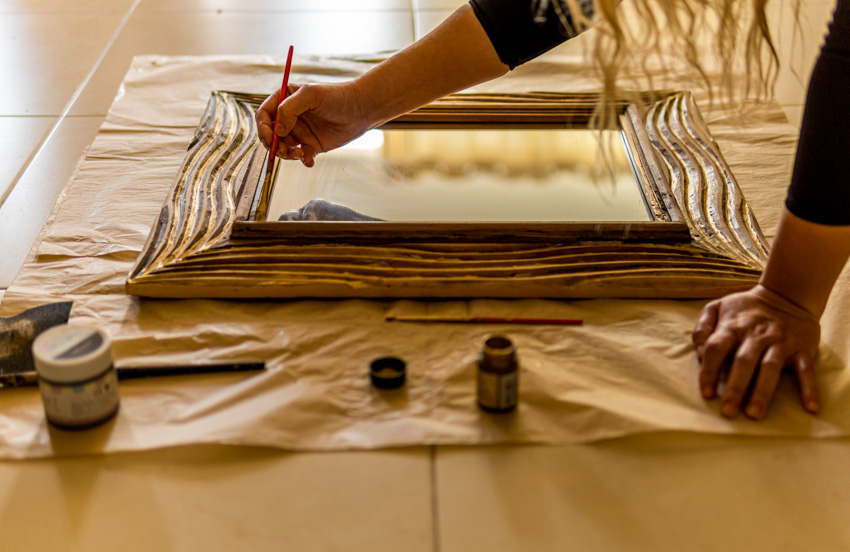
Most black spots are found near or at the edge of the mirror. This happens mostly in the bathroom where water gets splashed on the mirror.
One thing you can do is paint the edges of the mirror and style it in a creative way.
Start by taping on the area where the mirror starts at the edge of the new frame. And then paint the edges however you want them to be. Just be careful in doing this because it’s hard to get paint off glass when you go over the mirror’s surface.
Glue Decorative Glass Or Beads Over The Spots

Dig deep into your creative side and transform your mirror into a trendy accessory or a cute idea for girls’ bedrooms. Black spots in the middle of the mirror will be difficult to hide or fix so why not make the best out of it?
Turn your mirror into a piece of art while at the same time still using it as a mirror. You can even glue some beads and make it as trendy and chic as you are.
Use Mirror-like Spray Paint
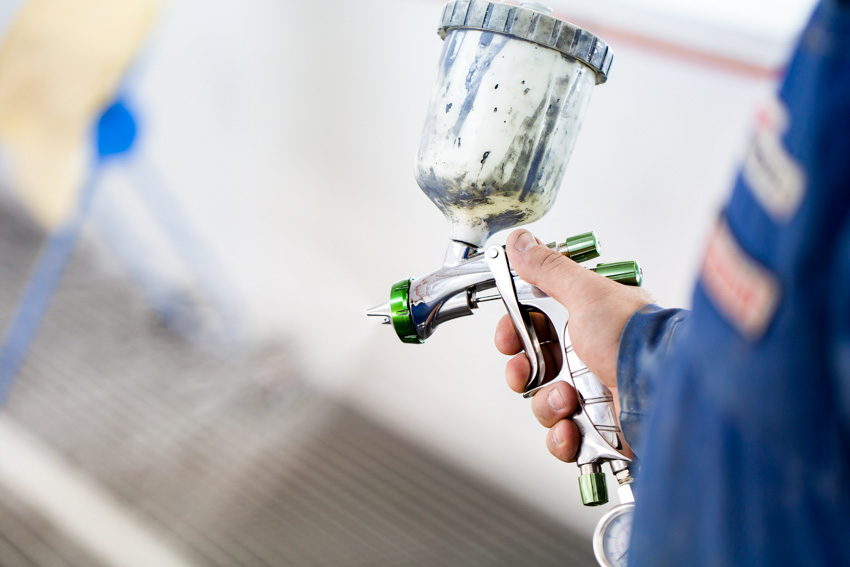
A mirror-like spray paint acts the same way as aluminum foil in a way that it disguises itself as a mirror and uses its reflective characteristic to do so.
You can do this instead of aluminum foil in cases where you have a lot of black spots all over your mirror.
Re-Silver Your Mirror

When you re-silver your mirror, you have to meticulously remove the silver protective backing of the surface (together with the black spots) and re-apply them.
The silver on mirrors is apt to be affected by variations in temperature, causing it to contract or expand , and when this happens the silver falls off in small flakes. – Modern Painter, 1914
The downside to this is that there is a method to it, and if you don’t know how to do it, you’ll just end up destroying the object and wasting money on a re-silvering kit.
If your mirror is just small but filled with black spots, this can be a good option for you. If it’s a big surface though, you will find it harder to re-silver.
If you’re up for the challenge though, here are the things you will need to re-silver a mirror:
• Razor
• ⅛-inch surface cut to your original mirror’s exact size
• Nitric acid
• Face mask
Gather all these materials and follow these simple steps:
1. Place the mirror face down on a sturdy surface and use a razor to scrape away its current silver backing. (Don’t forget to dispose of it appropriately)
2. You can also use a chemical remover (like nitric acid) to rake out the silver backing if the razor does not work for you.
3. Place a new pane or new silver coating on the back to replace the silver backing.
4. Install the ⅛-inch mirror you have and return it to its original place.
Tip: Make sure that the mirror is not antique or very old. If it is, there is a chance that it is made with harmful agents like mercury. You can either wear protective clothing or leave it to the expert to do the job.
How Much Does It Cost To Fix A Surface Crack In A Mirror?
Fixing a cracked more will cost you around $100 to more than $500, depending on the following elements:
• Size of the object
• Type of glass
• The extent of the damage
• Prices in the local market
If your mirror is an antique, check its worth first since you might be destroying something with high value. You should also make sure that the object is reparable in the first place.
If you are not sure about it, you can check with an expert on what he thinks about your mirror and how much you might need to pay for the services they offer.
Did we miss any important information about performing a DIY fix on broken mirrors? Leave a comment to share your experience and best repair tips with our readers below. See more related content in our article about kitchen mirror backsplash pros and cons on this page.


