Grooved Kitchen Cabinets (Covering & Cleaning Tips)
Here’s our guide to grooved kitchen cabinets including what the grooves in cabinets are called, different types, and tips on how to cover, clean, and fill in kitchen cabinets with grooves.
What Are The Grooves In Cabinets Called?
How the joints are made is that opposing wood pieces are cut with a tenon or what is otherwise called as a collared protrusion. These protrusions are then slipped snugly right into the mortise.

Upload a photo and get instant before-and-after room designs.
No design experience needed — join 2.39 million+ happy users.
👉 Try the AI design tool now
This results in being the vertical strip. It divides frames specifically when it came to kitchen cabinets that had more than one door (which is often the case).
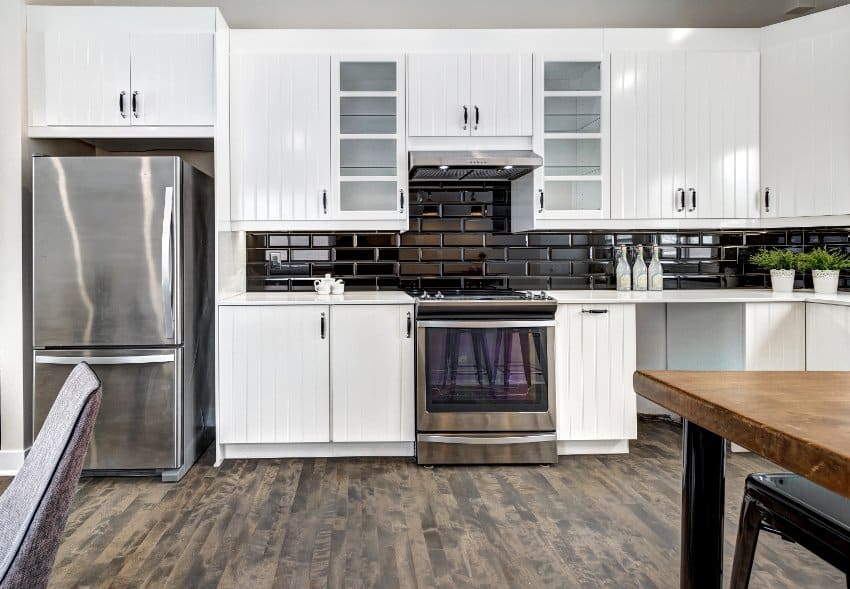
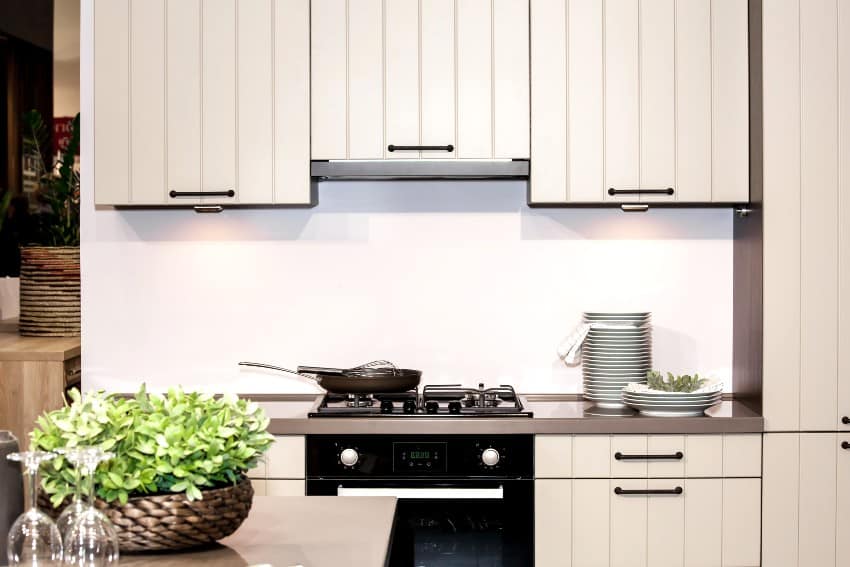
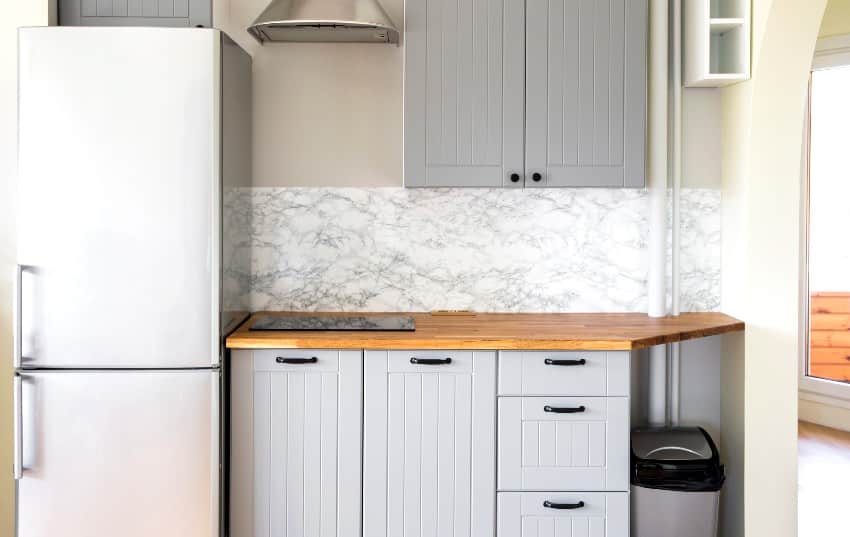
These types of grooved cabinets are often called beadboard kitchen cabinets and are frequently used in farmhouse, rustic or country style kitchen designs.
How To Cover Grooves On Kitchen Cabinets
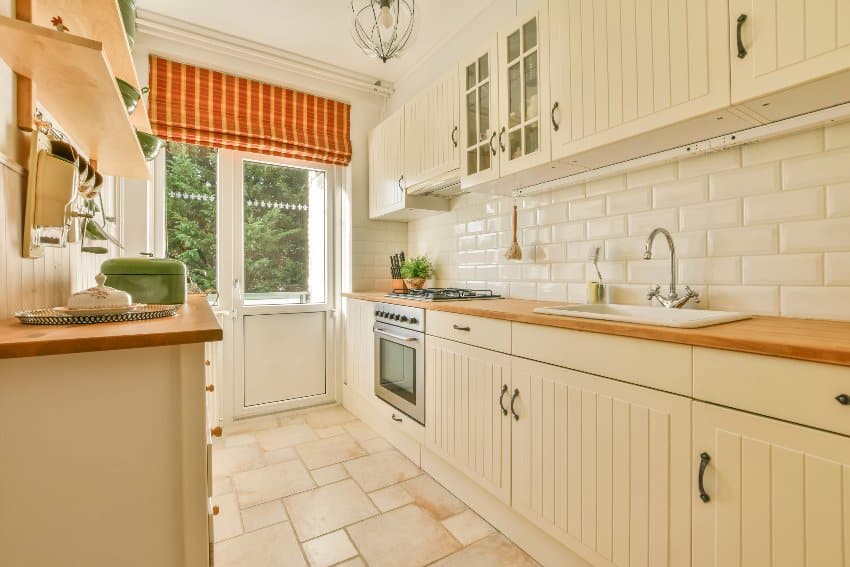
This can impact not just your overall design theme for the space but even the perceived real estate value of your home. If you aren’t a fan of grooved kitchen cabinets, replacing them altogether can be a huge expense. A smarter way to get around that cost would be to get the grooves covered up instead.
Here are some ways for you to cover the grooves on kitchen cabinets:
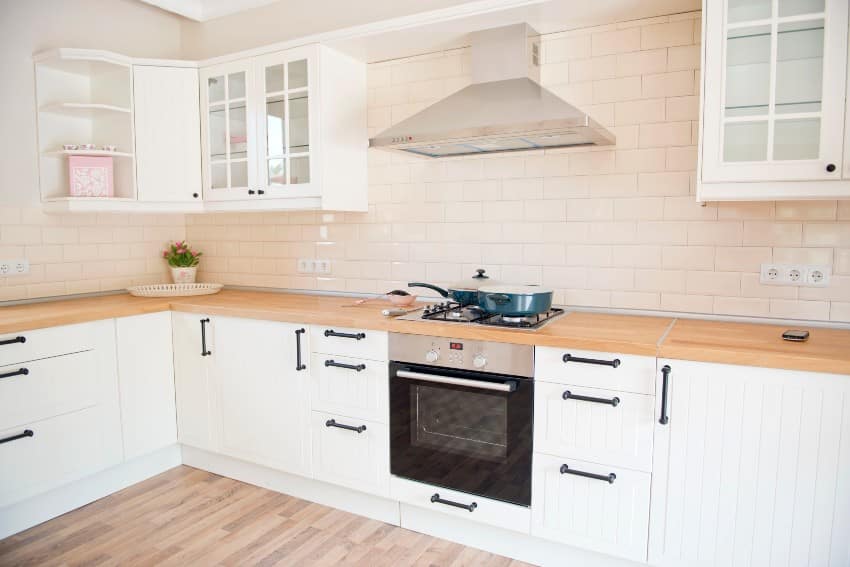
Get the doors framed – You can upgrade your kitchen cabinet’s appearance by filling in the indented design with a frame that’s ¼ inch thick. This can upgrade the overall appearance of the kitchen cabinets.
The basic moldings can easily hide the furrows, making the cabinet doors appear more recessed instead of grooved. Get them painted with the same color as with the rest of the cabinet and that will upgrade the look overall.
Use laminate panels – If you want to go for a more streamlined look for your kitchen cabinets, using laminate panels might work better for you. You need to remove the cabinet doors and get them laid flat though before you can apply the laminate panels. Visit our laminate kitchen cabinets design guide here.
You are going to need some contact cement to get the laminates applied. It makes for quick and easy work if you get the contact cement applied with the use of paint rollers.
Textured wallpaper – Another way for you to get the grooves covered is by using textured wallpaper. They come in a variety of thicknesses, colors, designs, and textures.
This is a great way for you to get your kitchen cabinets updated for only a fraction of the cost. The wallpaper is tight when it dries out and it can definitely be effective not just in hiding small imperfections and dents but the actual grooves in the kitchen cabinets as well.
Can You Wrap Kitchen Cabinets With Grooves?
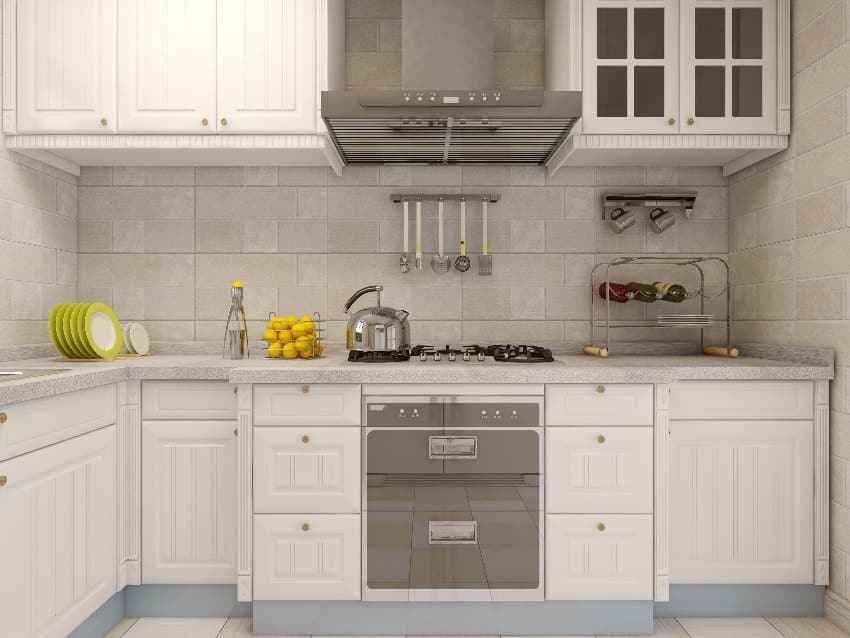
Vinyl is something that actually easily wraps around the cabinet doors. You can easily get the vinyl to wrap around the doors with the use of a heat gun or even a high-powered blow dryer. Once the material is melted, you can meld it into literally anything you need for your grooved kitchen cabinets.
The cost is low, it isn’t that much of a hassle to update every so often, and you don’t have to be stressed out too much whenever you feel like there’s a need for you to redecorate your kitchen cabinets. Check out peel and stick laminate for cabinets for more ideas.
How To Fill In Grooves In Kitchen Cabinets
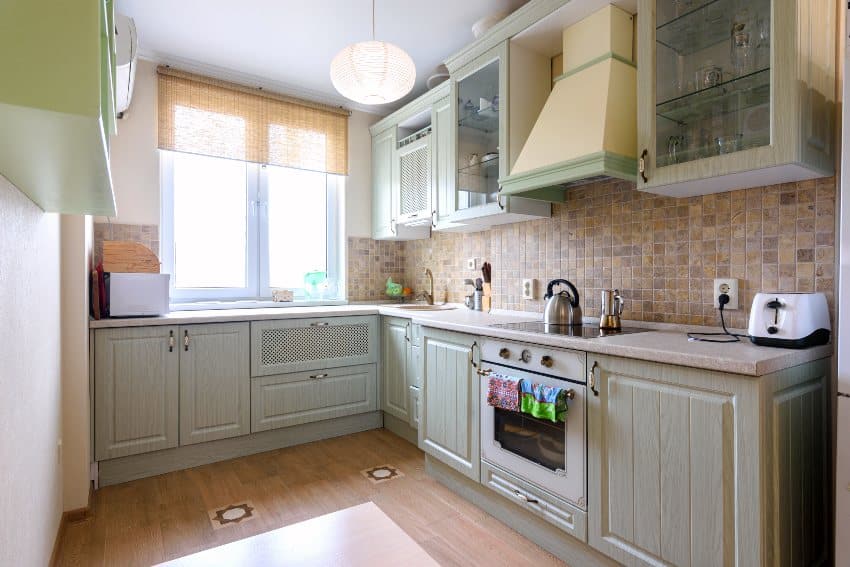
You can also take advantage of the use of mineral spirits to clean the wood out more easily than basic soap and water can. Once you’ve cleaned out the initial dirt from the grooves, you can begin with sealing the actual grooves of the cabinets.
Make sure that you sand it down until it’s completely smooth. And from there on out, you can begin with getting the kitchen cabinets repainted. See our cabinet refacing vs painting guide for more ideas.
Painting Kitchen Cabinets With Grooves
Aside from a wood filler, there are other options for you to fill this in such as with the use of an auto body filler. It’s made out of a malleable putty and you can easily drag it out in the grooves with the use of a flat piece of plywood or with the use of a putty knife.
Smooth it out and make sure that all of the grooves are filled completely. Make sure that the putty hardens in between coats. There may be voids in the putty that can cause the appearance of bubbles so make sure that you watch out for that.
Once the putty has dried thoroughly (make sure that you dry them out in between coats), get it sanded lightly down. Pay attention to how the putty is shaped when you get them sanded down.
Once you have a nice and flat surface and once the putty or whatever filler you used has dried all throughout, wipe it down with a clean rag. You now have a clean surface that you can apply some paint on.
How To Clean Grooves In Kitchen Cabinets
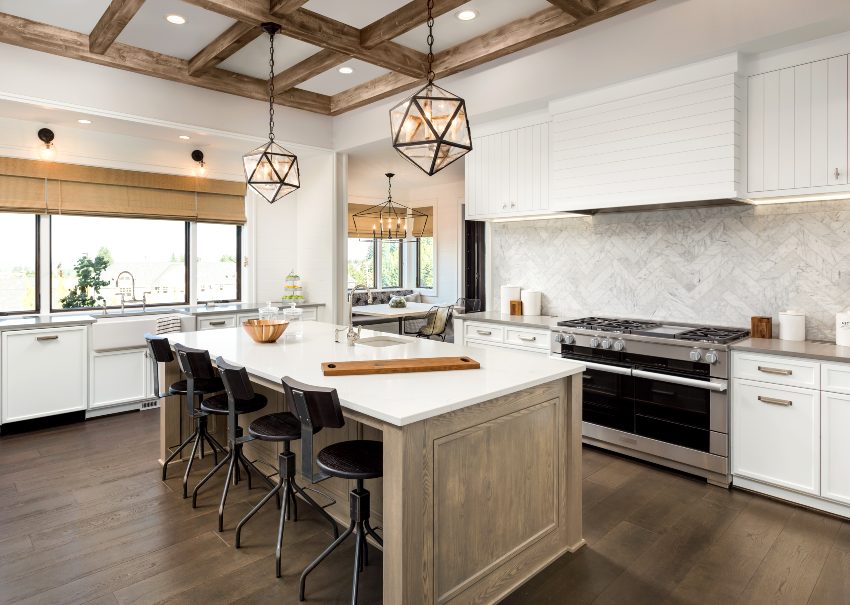
One way for you to take care of such a challenge is to use a strong cleaning solution and perhaps an old toothbrush. A degreasing dish detergent diluted with some water may work to remove caked-on grime.
A quick home made solution you can also use is by combining one part vinegar with two part water to create a cleaning mixture that can help penetrate greasy crevices. You can use this to get deep into the grooves, get them cleaned out, and keep your grooved kitchen cabinets in spic and span condition.
For more related articles, visit our gallery featuring rustic kitchen cabinets.

