Bookmatch Wood (Designs & Wood Grain Patterns)
See bookmatch wood designs including what it is, the different wood grain patterns, slabs, panels, veneer, and what kind of bookmatched wood to use for furniture & countertops.
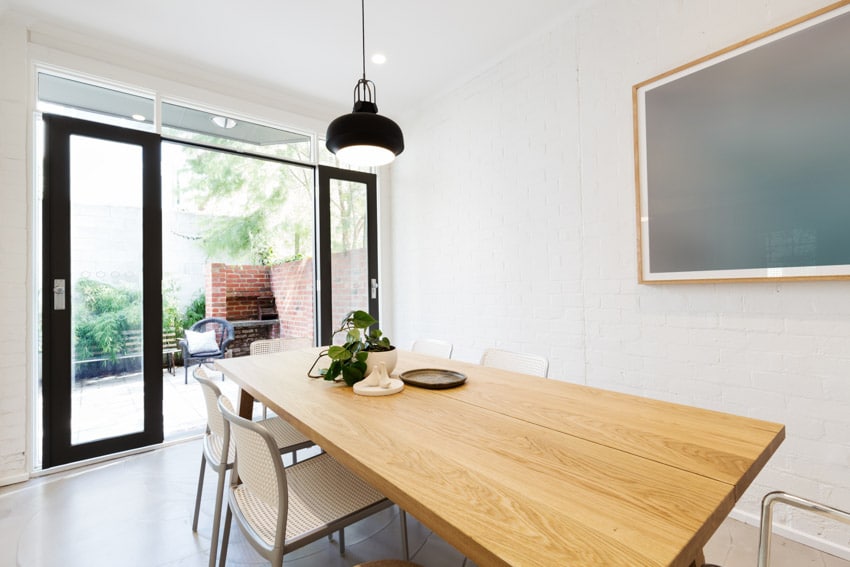
For bookmatching, you should look for lumber with a lot of movement and veining. The action and features required for a book match can also be found in many different types of natural stones.
Wooden slabs can even be quad-matched, which means that instead of just two slabs. A total of four slabs will be matched in veining and movement to produce an even more powerful statement.

Upload a photo and get instant before-and-after room designs.
No design experience needed — join 2.39 million+ happy users.
👉 Try the AI design tool now
What Is Bookmatched Wood
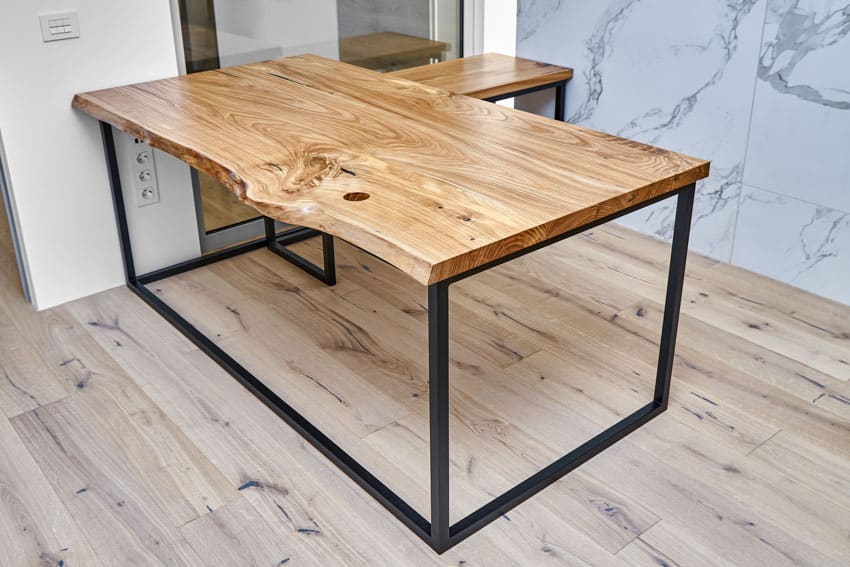
A few configurations can be utilized for a bookmatched pair, including selecting an exact mirror of each other or rotating one slab through 180 degrees. It is possible to use bookmatch wood pairings for river-pour epoxy tables as well.
The practice of bookmatching divides a single piece of wooden board into two more manageable halves. After the pieces have been sawn in half, they may be opened like a book to show two slabs of wood that are an exact mirror image of one another.
Wood that has been bookmatched can be used for various uses. Still, it is particularly helpful in manufacturing musical instruments of the highest possible quality.
Cutting a piece of lumber in such a way that it is bookmatched is not tricky. A sawing motion across the middle of the wood is required for the process. This is because the length and width of the bookmatch wood parts are identical to those of the original piece. But the depth of each piece is cut in half. When opened like a book, these two pieces will expose two pieces of lumber that are mirror images of one another in terms of the grain.
When working with pieces of lumber that have been quarter-sawn, bookmatching is at its most effective. The first step in this cutting method is to see a log into quarters, and then you will see those quarters into boards. Even though there are fewer large boards produced. As a result, the grain and overall quality of the board are improved.
When quarter-sawn boards are bookmatched, the resulting grain pattern is significantly more symmetrical when the two pieces are opened. Because the beauty of the bookmatch wood grain is improved dramatically and the wood ages in a predictable manner, quarter-sawn lumber is the best material to use in the construction of musical instruments.
Bookmatched Wood Grain
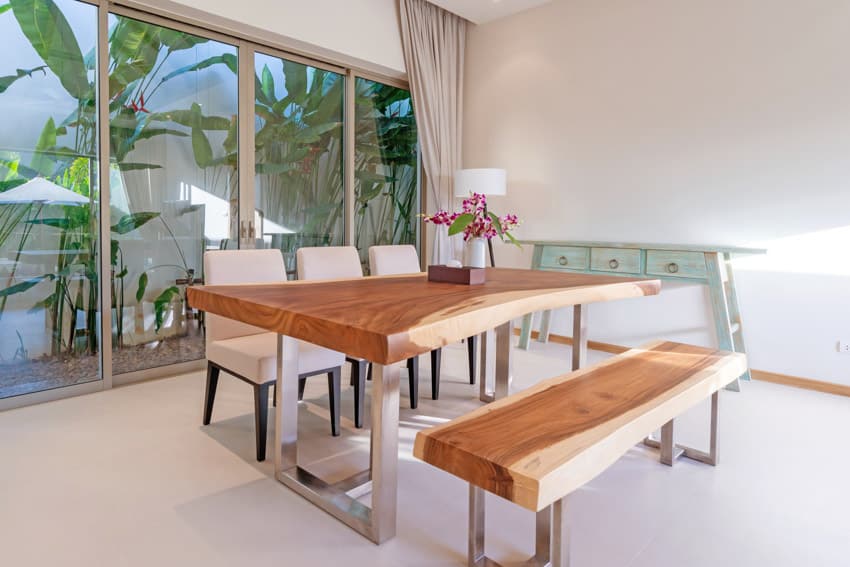
The direction in which the individual fibers of a piece of wood are arranged. This arrangement is referred to as the grain of wood. When the tree is chopped down, these fibers expose a visible pattern of somewhat darker and lighter wood.
This pattern is generally referred to as the grain, but a more precise term would be the “figure.” The grain of the wood has an impact, as well, on the texture of a piece of sawn timber.
These fibers’ size, arrangement, and type of fiber contribute to how sawn wood looks. Sawing bookmatch wood in different ways can expose a variety of distinct grain patterns. Still, the approach that is used most frequently is called quarter sawing. This process involves cutting a log into even boards that form parallel plains.
Each timber has its own one-of-a-kind grain pattern because of how the wood grows. No pair is identical! There are more than 60,000 distinct tree species across the globe, which results in an astounding number of grain patterns, figure patterns, and textural variations. Here are the most common types of wood grain:
Open grain: Hardwoods are said to have an open grain (or a coarse grain, which can also be referred to as “ring-porous” trees) if they have many pores. An open grain is characteristic of trees that grow more quickly in the spring and more slowly in the summer.
This results in a variety in the composition and arrangement of their cells. As a direct consequence, the grain patterns of these woods are frequently more robust and prominent.
Oak and ash are two examples of popular types of wood with open-grain patterns. The grain patterns in certain bookmatch woods can give the impression of being natural, even country-like. Woods with open grain might either have straight or uneven grain.
A daring and audacious design can also be accomplished with the help of other kinds of open-grained woods, especially for bookmatching purposes.
Closed grain: Other types of hardwoods have pores that aren’t as large and don’t vary in size as much; these types of trees are referred to as having a “closed grain,” also known as “fine grain,” “tight grain,” or “ring-diffuse” trees. These types of wood typically have a straight grain because the growth rings are closer together.
This gives the wood an appearance that is more understated, straightforward, and clean, making it suitable for settings that are more refined, sleek, or airy. Examples of popular closed-grained hardwoods include varieties of maple.
They work particularly well in interiors designed in the Scandinavian style and numerous types of fruit woods, such as cherry. Other types of fine-grained timber, such as holly and basswood, have a grain pattern virtually invisible to the naked eye.
• Figured woods: The distinctive visual grain patterns of highly figured woods can lend an air of exclusivity to any undertaking. Many of these markings are highly desirable because a tree grows and is subsequently sawn. Some of the most common ones are as follows:
• Bird’s eye: Maple trees are almost always affected by this. It refers to a peculiar visual pattern that seems like a flock of tiny eyeballs scattered over the wood grain.
• Silver grain: Ray cells produce this silvery pattern that may be seen in quarter-sawn oak.
• Burl: This type of figure is also referred to as a burr. It results from a distorted growth on the trunk or a tree branch. It also resembles a wart and is produced by either an injury or an infection. This results in a very distinctive grain pattern that is wavy and twisted. Walnut, ash, European elm, and poplar trees are shared hosts for this parasite.
• Quilted: This pattern, unique to maple wood and described as wavy, rippling, and bubble-like gives the impression of three dimensions.
• Crotch: This depicts a pattern like a Y created when a branch meets with the tree trunk. The mahogany and walnut species are the most likely to contain this element.
• Ribbon curl: This defines a shimmering and ever-so-slightly twisted ribbon appearance, which can frequently be seen in species such as mahogany.
• Fiddleback: Fiddleback is a characteristic of maple that gives the grain a wavy, flame-like look. This characteristic of maple is also referred to as “curly maple” and “flame maple.” This particular style of figure is in extremely high demand for use on musical instruments.
• Curly: This can refer to several more specific types of figures; however, more specifically, it describes grain direction contortions that create the appearance of undulating waves. It is widespread in trees of the maple and birch families.
Bookmatched Wood Slabs
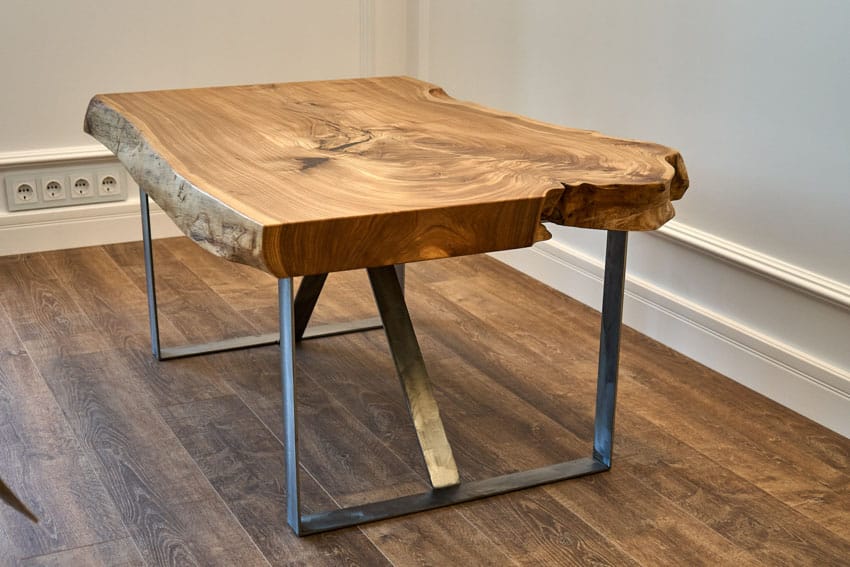
Even though no two slabs will ever be exact, the more comparable they are, the more accurate your bookmatch wood will be. Utilizing many slabs cut from the same log is the most effective method for completing this goal.
The appearance of having both sides closely mirror one another is what is meant when people talk about bookmatching their appearance. It is a term frequently used to describe the process of matching live edge slabs, stone, wood instruments, and other similar items.
The breadth of a live edge wood slab can be increased by using bookmatching, allowing the slab to be utilized for larger projects such as building tables or other pieces of furniture.
Bookmatched Wood Panels
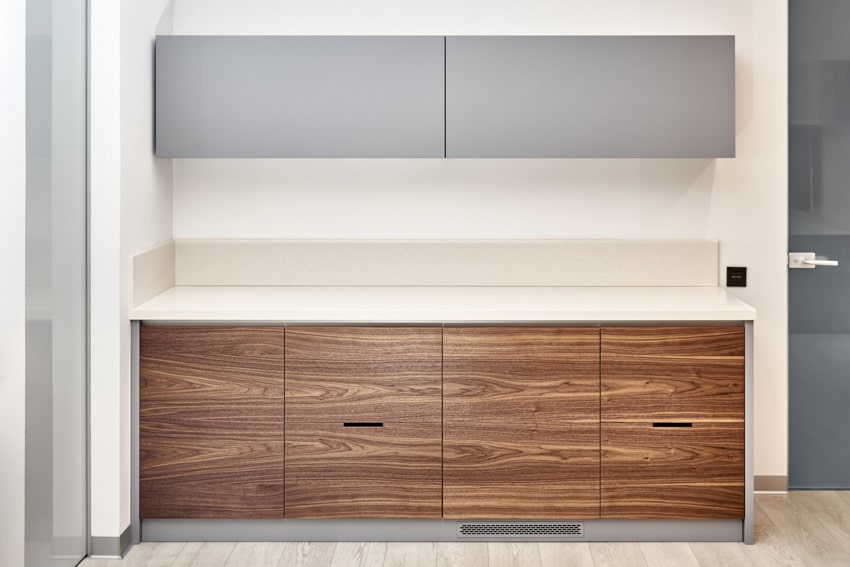
The procedure is relatively easy to follow. Simply resaw the material. Open it up like a book to expose surfaces that are almost exact mirror images, then edge-glue the pieces together in the same orientation as an “open book.”
The thoughtful selection of stocks is essential in producing an eye-catching panel. Look for wood that has a distinctive grain, a knot, or a color difference that, when mirrored, will create a visually appealing pattern.
The whirling grain or eyeballs that can be seen in burls and the decay-induced lines that may be found in spalted wood are both beautiful possibilities. Here’s how to efficiently create your bookmatch wood panels:
Resaw your workpiece: Start with 34 “-thick stock to produce a 14” panel. 1/4 “removing saw blade markings, planing, and sanding to final thickness. On one edge, draw a centerline. 12” bandsaw. Resaw the item with a 4-tooth blade and a push stick.
Plane and glue your panels: Plane the resawn faces of the parts to remove saw marks and provide a uniform thickness of more than 14″ (After glue-up, plane panel to final thickness.) Excessive planing can expose new grain patterns or traits that don’t match.
Edge-glue and clamp the pieces as shown, aligning the grain pattern. Scrap 3/4″ stock cauls to keep the panel flat. Apply painter’s tape on cauls to prevent glue squeeze-out sticking.
Finishing touches: Because the panel halves have reversed grain orientation, they can fracture when planed. This happened when planing cherry. Use sharp planer blades and light cuts to avoid this, or use a drum sander. Set your planer’s speed control for maximum cuts per inch (typically the finishing position).
Trim your panels: Make a paper mask with a panel-sized opening to help you identify the most fascinating spot. When you’ve framed the best character, outline the mask with a pencil. Crosscut and rip the panel to the marked lines to use in your project.
Bookmatch Veneer
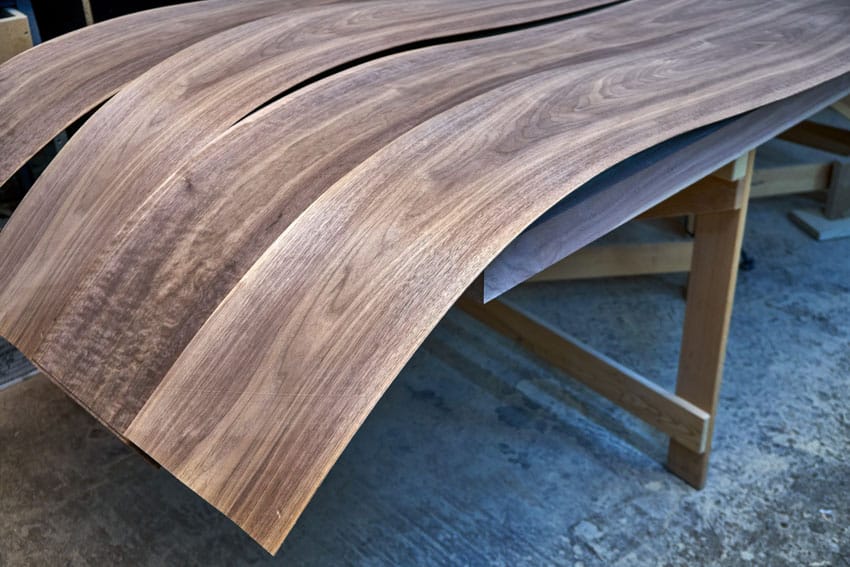
Because of its opulent appearance, bookmatched wood veneer is popular among many consumers. It is frequently used in the construction of high-end furniture and cabinetry. However, it can also be utilized in less expensive projects, such as a straightforward coffee table or bookshelf that one makes themselves.
Consider using bookmatch wood veneer in your house if you’re searching for a way to make it look more sophisticated. It is simple to locate and not overly expensive, and it may significantly influence the overall appearance of your area. Here are the different methods of veneer bookmatching:
Book match: The process of book matching involves placing the leaves of the book in successive order. They are confronted directly by one another. The procedure is somewhat reminiscent of reading from an open book.
The leaves are similar to the pages of a book in that they reflect each other. This results in the formation of a very symmetrical pattern. This is the most popular method used to fit veneer pieces together to create sheets. The vast majority of flat-cut or plain-sliced veneer is assembled using this method.
In addition, this pattern highlights the wood grain and its ornamental appearance. However, due to the potential dangers involved, this kind of book matching requires a great deal of caution. This is because even a minor mistake might result in a distinct hue difference.
If you do not precisely turn each veneer sheet, the finished product will have the appearance of barber poles. The “barber pole effect” phenomenon occurs when individual leaf faces alternate between being tight and slack. As a result, there is no universal acceptance of either light or stain.
Slip Match: The veneer sheets used in the Slip Match procedure are typically quarter or rift sliced, depending on whether or not the grain is straighter. During this process step, the matching sequence is created by sliding one veneer sheet after another in a row.
It establishes the panel face of the board when done in this manner. As a result, it is possible to observe that all sides have the same look and are exposed. The figure of the grain appears multiple times throughout the visual impact.
On the other hand, the joints do not follow a grain pattern match of the same kind. This is done rather frequently to prevent the appearance of a “barber pole.” To avoid giving the impression that the panels are made of planks.
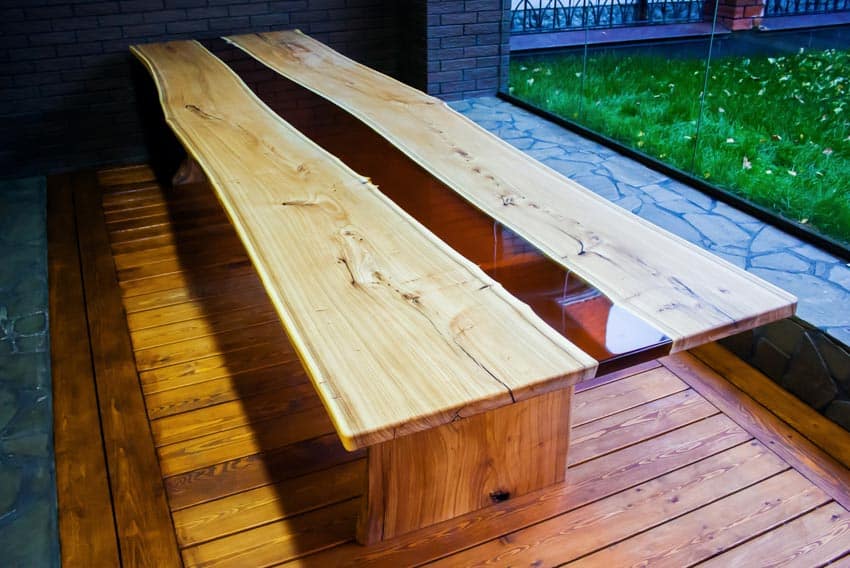
A planked appearance that is currently highly popular in Knotty Hickory, Aromatic Cedar, Knotty Alder, and White Oak, in addition to a few other species of wood. The overall impression is that of haphazard planks that have been stacked together. To achieve the required appearance, mismatching is the key to success here.
End Match: The End match, often known as the Butt match, is fascinating. One leaf’s tip is woven into the tip of the second leaf so that the two meet in the middle. This produces a lengthy panel consisting of sheets of wood veneer.
The end match is typically helpful if there is a need to increase the length of the veneer sheets that are currently accessible. This is especially useful for panels mounted on high walls or used as long tables. There will be a line that can be seen, but the veneer will flow together to help diminish the impact of this line.
There are two distinct varieties of final matches. The architectural type that matches the leaves end-to-end comes first, followed by the kind that matches the leaves side-by-side. This results in a consistent and extensive pattern being created.
The second match is the Match to End the Panel. On the subassemblies, the veneer leaves are matched up with one another. This is a more efficient approach to end matching that also saves money. In addition to that, the overall presentation is beautiful.
Radial Starburst Match: Radial matching is a method that is only moderately complicated. You cut a segment or a few segments. The segments are to be cut from a flitch with veneer sheets cut in consecutive order.
After that, you will need to join these sheets together using an edge angled inward toward the structure’s core. As a result, you will get edge joints that are book-matched and scattered outward from the core point. Starburst matching is something that may be created with radial matching.
Bookmatched Wood Table
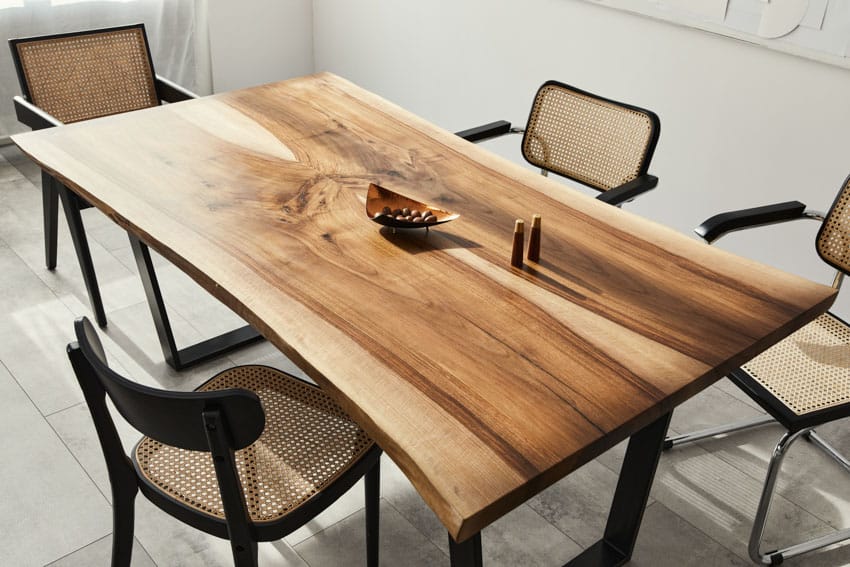
Typically, this is a more cost-effective option than purchasing larger slabs. Cost is another advantage because large live-edge slabs require decades-old trees, making them more expensive. You can bookmatch smaller portions if you have a tight budget.
Table tops made from bookmatch wood slabs are more stable and less likely to deform than those made from a single slab. Last, bookmatched slabs move less. Many specialists cut and glued huge slabs for this purpose. Cutting the slabs relieves stress on the log’s pith, where the slabs strain.
What Wood To Use For Bookmatching
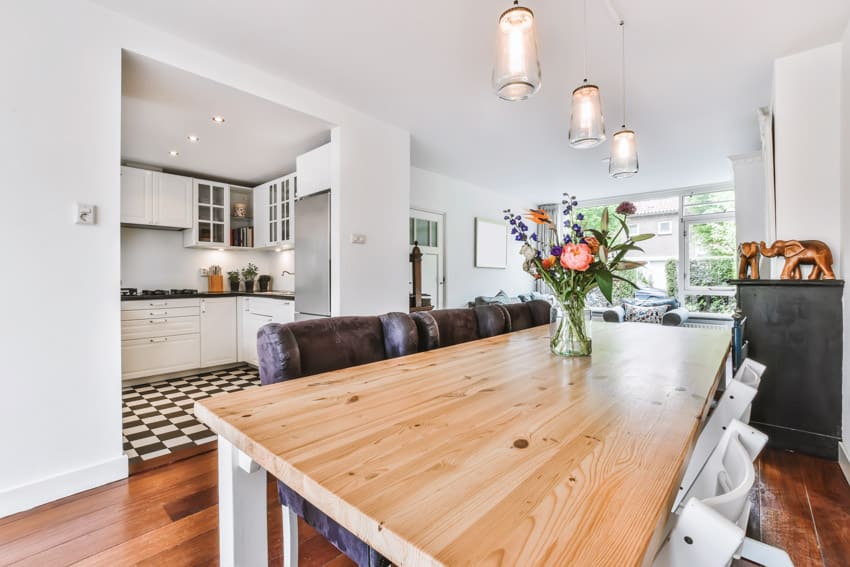
Although hickory is not as famous as oak wood flooring or furniture. The fact that it is less prevalent means it will be an even more distinctive addition to your house.
The rich color variations, strong character marks, and hickory intricate grain patterns make this wood so well-known. Because of its naturally occurring deeper character marks, hickory is an excellent material for use in the house of anyone looking to achieve a cozy, country-style ambiance.
Because hickory is so easy to stain, you’ll have an even simpler time selecting the hue and shade that are just right for your house if you go with this material. There’s a solid reason oak has been a go-to for homeowners and builders for as long as we can remember.
This trendy option provides a diverse palette of colors and tones, making it simple to complement any style you envision for your house’s interior design.
When it comes to the best wood for bookmatching the three that are often used are oak, walnut and chestnut. These all feature beautiful colors, natural wood grains and are durable.
How To Bookmatch Wood Slabs
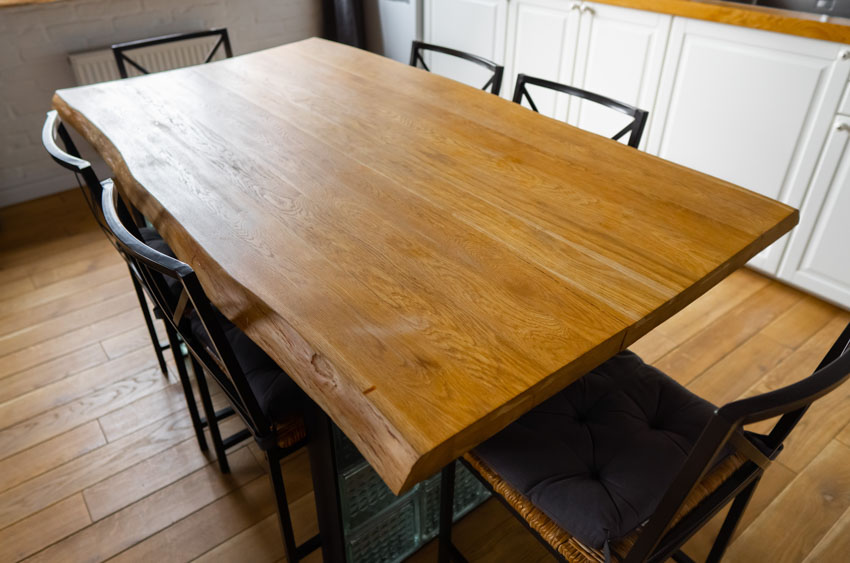
Flatten your slab out: To level the slab’s surface, you will need to use either a slab flattener or a planer.
Inside each slab, make a straight cut along one of the edges: Use a straight edge when you want a cut that is as flat as it can get.
Get rid of the high points: To smooth out the joint between the slabs, you can either use a hand planer or a jointer to remove the high spots.
Redo the first two steps: Re-flatten your slab and trim out the edges again.
Spread them out evenly: Place both of the bookmatch wood slabs in a flat side-by-side position. If there is no space between them across the joint, they are prepared to be joined together.
If there are any spaces, mark them, and continue jointing the slabs until there is a perfect fit between them. If there are any gaps, it will be challenging to complete the bookmatch, so make sure that they are a tight fit.
Put glue on the joints of the slab: Coat both sides of the joint with wood glue and let it dry. Applying it uniformly requires the use of a foam paintbrush. To add additional support, you should also use a biscuit joint or a domino joint.
This will ensure the joint is as strong as possible by providing support for the wood pieces in both the vertical and horizontal planes. The domino joints are depicted here.
Join the slabs together using clamps: After applying the adhesive, you can assemble the slab at this point. When doing this, you should use clamps to hold the two pieces tightly together while the glue dries. Attach clamps to the slab at regular intervals.
In addition, we suggest clamps on pieces of lumber to retain the seam of the slabs in a flat position, as shown in the figure.
Allow the glue to dry completely overnight: After the bookmatch wood slabs have been held together by the adhesive for the previous night, the clamps can be released. In most cases, the glue will be dry in about an hour and completely cured in 24 hours.
Sand and complete the finish on the slab: After the slabs have been bookmatched, you need to sand them using a wide belt sander as if they were a single piece. After that, your work is ready for the finishing touches!
• If you’re a bit of a perfectionist, these additional tips might come in handy:
• Use two slabs that came from the same log. For the best results, use slabs cut next to each other so that the grain and color are as similar as possible.
• Employing a jointer on the edges ensures that the joint will be as close to flawless as is humanly possible.
• Dominoes or biscuit joints can be used to provide support for your slab in both the with-grain and against-grain orientations. This provides a significant amount of additional structural support for your item and will assist in preventing the joint from fracturing.
• If your piece of bookmatch wood has fissures or cracks, you can patch them up by combining wood glue with the sawdust removed from the slab. This has the potential to conceal microscopic spaces. If significant voids may be seen, you should reconsider utilizing your jointer.
Book Matched Vs Slip Matched
The term “slip matching” refers to combining individual components side by side as they are removed from the log. This method only needs to flip over some other features. The ultimate effect is an uneven look along the splice line and all over the face.
The difference in appearance between book and slip-matched faces can be an acceptable trade-off. This helps reduce the dark or light “barber pole” appearance. This appearance is commonly seen as a result of the different absorption characteristics in maple and species that are similar to maple.
See more related content in our article about bookmacthed marble on this page.

