Types Of Spider Plants (Varieties & Growing Tips)
Spider plants have been a beloved and timeless house plant in the U.S. since the era of tie dye and lava lamps, but in nature, they have existed for dozens of thousands of years in South Africa.
First gaining popularity back in the Victorian era with the advent of the Wardian case, which was a vessel much like terrariums we see today meant for the transport of tropical specimens, spider plants are still one of the most common houseplants in the world today. Believe it or not, spider plants are a member of the asparagus family, though they aren’t edible themselves.
Aside from their long and interesting history, spider plants make fantastic plants for beginners and experts alike. Their nonchalant nature gives them the ability to withstand rigorous over-watering, and it’s likely that if you left town for a few days, they wouldn’t notice.
When they are especially happy, they may put out flower stems, which produce tiny white flowers and meristems on the ends. These little pups, given some soil and water, will grow roots and become their own independent plants if allowed to grow a solid root system before being plucked from the mother plant. [toc]
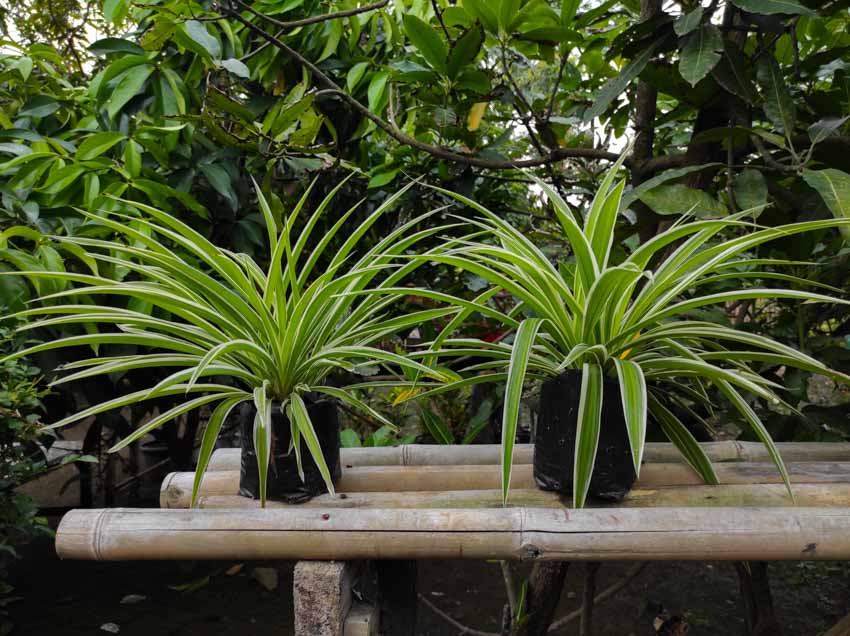
Spider Plant Varieties
Technically, there are around 70 types of spider plants that are documented to this day, but an even greater number likely exist either as man-made hybrids or as separate species in the wild.
That being said, not all species are available for purchase, as some simply won’t survive in a household environment and require hotter temperatures than what humans can withstand on a day-to-day basis. The good news is that because of this wide variety of species, there’s also a huge array of different colors and variations available.
Studies have shown that spider plants are effective at cleaning indoor air by absorbing chemicals such as formaldehyde, xylene, benzene, and carbon monoxide, making them a healthy addition to homes or offices according to Rolling Nature.
Here are a few of the most popular types of spider plants:
Bonnie Variegations
Bonnie spider plants are those with prominent white stripping down the middle of each leaf or “tendril”. Bonnie varieties are typically listed as Chlorophytum comosum “Bonnie”.
These plants are usually available in a curly variety, meaning their leaves predominantly curl inward (much like a spider), and a standard Bonnie, which more closely resembles the natural spread of a spider plant.
These varieties are great for adding some contrast and color to a space, and their brightness lends a warm and relaxing feel to their indoor environment.
Ocean Spider-Plant

This variety has a little more substance than most. The ocean spider plant is a short and stout variety that bears slightly thicker leaves that don’t grow beyond 10 inches in length.
This species is named Chlorophytum comosum “Ocean”, but can be sold under similar botanical names. Their leaves are primarily a bright green with white striping along just the leaf edges.
Ocean spider plants require a bit more humidity than most other varieties, so be sure to give it a small spritz with water a few times per week at the base of the plant to simulate a humid climate.
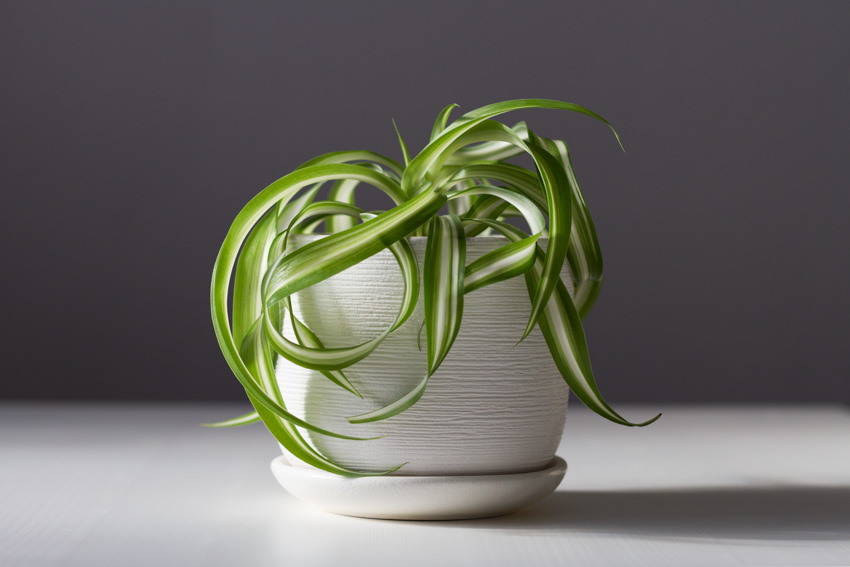
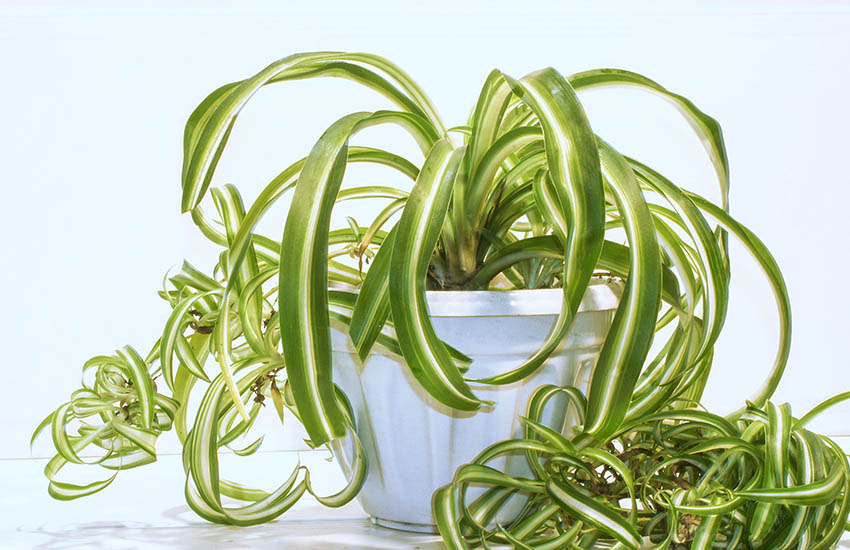
Curly Spider-Plants
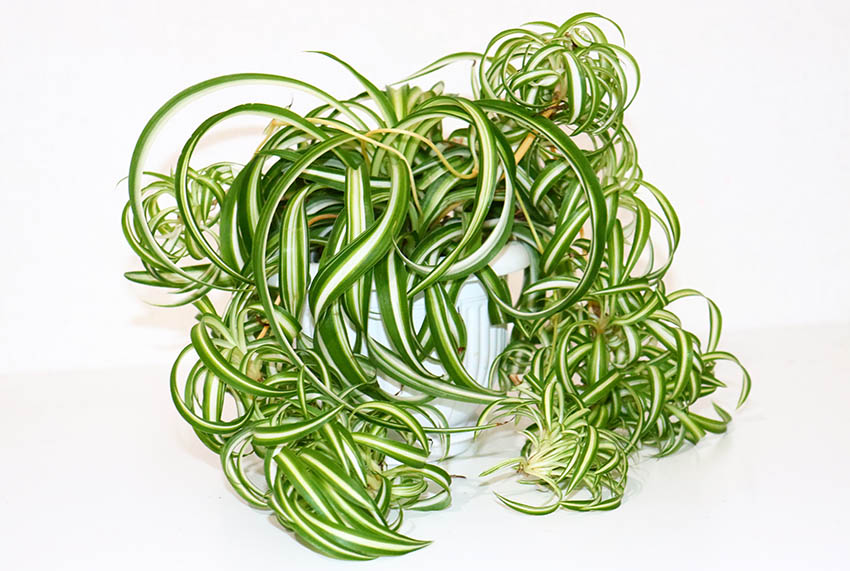
Curly spider plants are any variety that grows following a certain growth pattern. These will develop leaves that curl in toward the roots, sometimes even in loose coils, and stay relatively short compared to other varieties.
That being said, curly spider plants put out the same small, white flowers with pups. They are also among the indoor plants that like direct sunlight and can grow with the right amount of water.
Curly spider plants are considered a Chlorophytum comosum “Curly”, but some other variegations can be found with this same growth pattern. With curly varieties, be certain that the leaves don’t curl directly down into the soil, which can cause rot and other health complications for the plant.
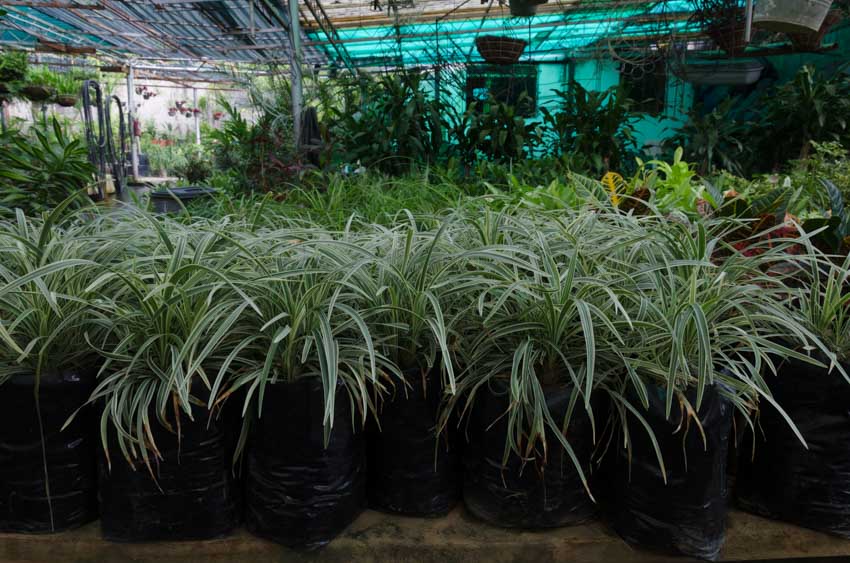
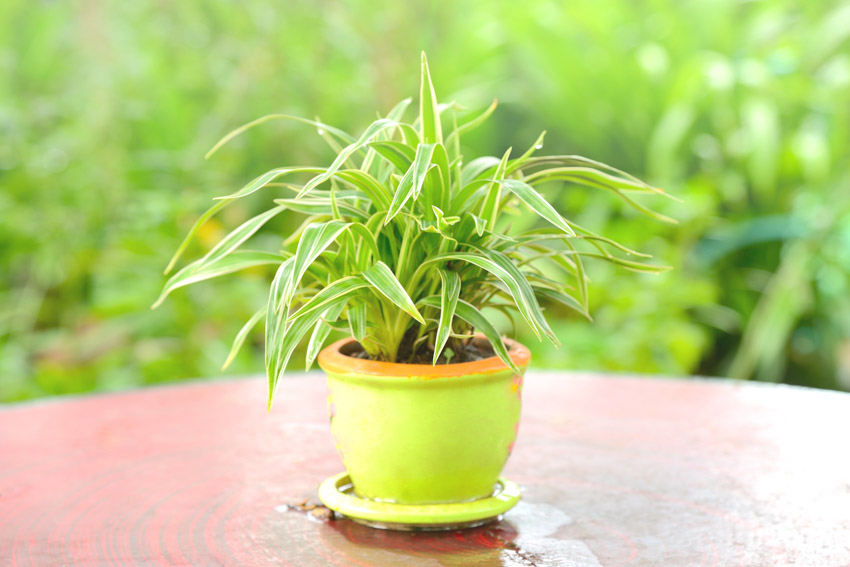
Variegated Spider-Plants
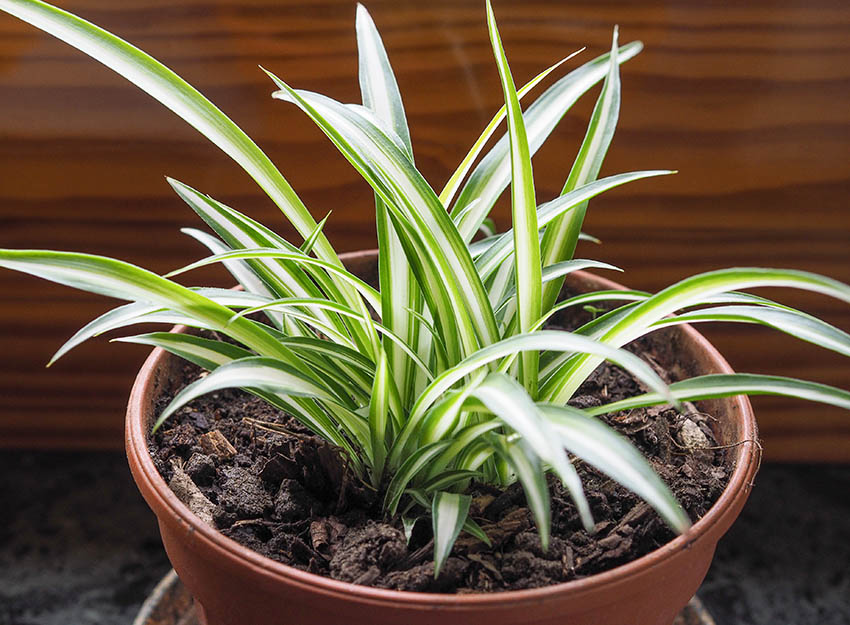
Beloved for their gorgeous white center striping, variegated spider plants are perhaps the most popular types found in nurseries, homes, restaurants, and offices.
Species in this category are those that begin with Chlorophytum comosum, and will usually be listed as “variegated” or “varied” on a plant tag. Because of commercial breeding, variegated varieties can literally vary tons in appearance, from almost solid-white leaves to small pinstripes of color.
All boast the same small white flowers and pups, and they generally prefer temperate climates with moderate humidity according to WISC. Typically, the more sunlight a variegated plant gets, the more prominent the white portions will be; however, too much hot, direct light will bleach out the green color as well, and the plant will sustain burns on its leaves.
Fire Flash Spider-Plants
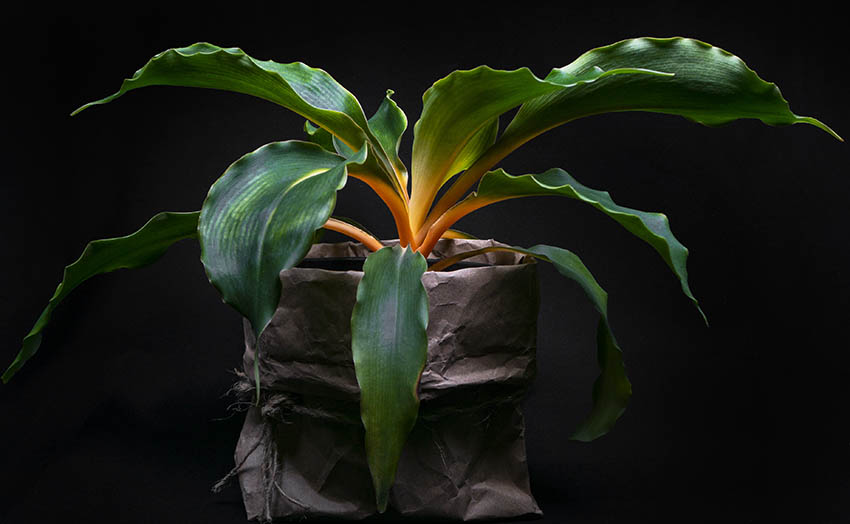
Fire flash are a very unique species characterized by unusually wide and short leaves, but the stems appear in bright orange shades at the base which fades into bright green patterned leaves with oval tendencies.
While this variety is technically a spider plant, named as Chlorophytum orchidastrum, it looks very little like your typical spider plant from a box store. This variety needs long hours of bright, indirect light to thrive, along with frequent water and porous soil.
Fire flash also produces the signature tendrils featuring dainty flowers and pups on their ends, but this process doesn’t happen as often with this species.
What Type Of Soil Is Best For Spider-Plants?
All spider plants require roughly the same amounts of soil amendments and water, but each plant can be different of its own accord. Since spider plants are typically a connoisseur of opportunity in their natural habitats, they can grow virtually anywhere within the right conditions.
These types prefer that their soil is similar in makeup to that of the tropical forests and oceanside environments of South Africa. For this, you can mix your own potting soil at home using a few different methods.
The first method is to use a pre-mixed potting soil meant for indoor house plants and add in your own components. Spider plants need airflow in their root systems to prevent rot, as their tuber roots can break down if left constantly submerged in waterlogged soil.
For this, you can add 1 part perlite or vermiculite to 4 parts pre-mixed soil. If the soil is heavy to peat (the lightweight fluffy part of the soil), try adding an even smaller amount of uncolored sand to help simulate the subtropical beach soil that spider plants have evolved to love.
Another way is to build your spider plant soil from scratch. You can start with fine orchid bark, add in an equal amount of peat and fine coco husk, and then add in 1 part perlite or vermiculite to 4 parts of the soil you’ve mixed already.
This mixture caters to both under and over watering, allows for good airflow, and makes it easy to transplant your plants as they grow out of their containers.
Orchid bark also takes a long time to break down, so you can easily get away with only repotting your plants once every year or two if they have adequate room to grow. This mixture is great for allowing spider plants to build a solid root foundation.
What Type Of Fertilizer Is Best For Spider-Plants

While you can use almost any type of indoor plant fertilizer, using fertilizer that is designed for tropical plants is ideal. If you don’t know what to look for, try looking at the numerical mixture on the label.
A well-balanced indoor fertilizer will be close to a 1-1-1 mixture, which means that it contains equal parts nitrogen, phosphate, and potash. It’s also important to note how much and how often the fertilizer container suggests for use, because spider plants need their food to grow and following recommendations listed on the bottle you purchase is imperative.
If you don’t want to add fertilizer often, try using balanced fertilizer stakes which can be inserted into the soil every 6 to 12 months, depending on the brand and size.
Do try to avoid using commercial outdoor fertilizers. These are often far too heavy-duty for indoor use, and while they might yield great results in your flower bed, they’ll likely be too acidic for your spider plants to handle.
Stick to fertilizers that are formulated for use in tropical plants and other indoor types, but not those for cacti and orchids, as these have varying levels of nutrients in them that may not meet all the needs of tropical greenery such as spider plants.
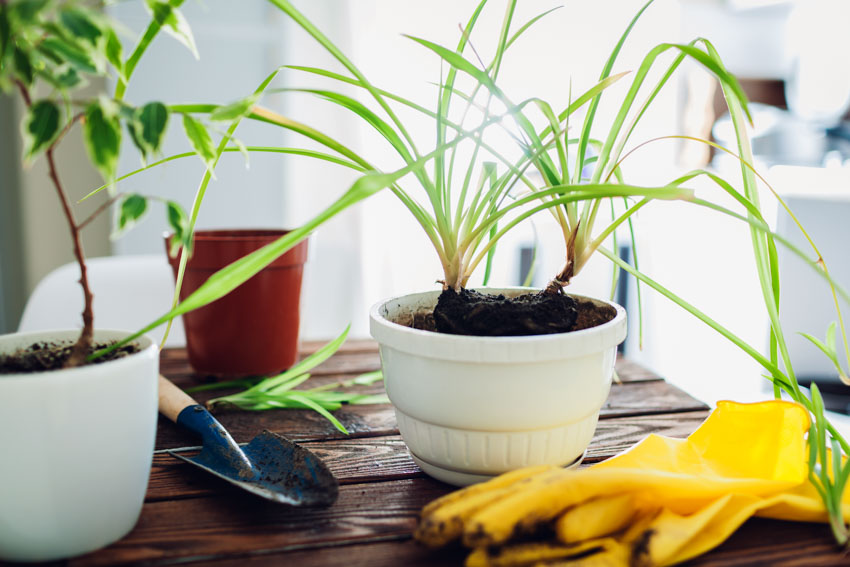
What Types Of Pots For Spider Plants?
Spider plants typically aren’t picky about where they live, but to make sure your plant is happy, the right pot makes a big difference. Not every adorable deco pot is well suited for spider plants, or any plant for that matter, so it’s important to look for function ahead of fashion.
Pots need to be made of sturdy material that doesn’t leach chemicals or break down in the sunlight. A good pot will make your plant grow well and evenly. Here are a few things to consider when searching for the right planter:
• Drainage: Make sure that any planter you purchase for your spider plant has free and open drainage. Some planters feature a build-in tray that allows you to water the plant from the bottom, but if you choose to go with one of these, be sure that there’s room for airflow as well.
If water sits in the reservoir constantly, then air won’t be able to get through, which will leave you with a soggy mess in your planter and unhappy roots. Hanging baskets generally have a great airflow system, and spider plants love to be free to dangle, so these are a perfect option if you have a sunny spot to hang them.
• Size: It may seem counterintuitive, but a planter that is too big or too small will prevent a spider plant from growing at a healthy rate. While the root system shouldn’t be crammed into a pot with barely any soil, it also shouldn’t be swimming in wet soil; this makes for a bad situation for any plant.
The size of the pot should be big enough to allow for 1-2 inches around the roots between them and the sides of the container. By sticking to this rule, spider plants have enough room to happily grow for about a year without sitting in soggy soil or gasping for air. Make sure there’s also at least an inch of space between the bottom of the root cluster and the pot as well.
• Material: A flimsy plastic pot simply will not do. Since spider plants need adequate sunlight, they’ll be exposed to the sun’s rays regularly, which breaks down thin plastic quickly and causes it to become brittle.
To avoid this, aim for a pot that has either thick plastic sides or another material such as metal or pottery. This will ensure that your plant won’t be harmed by a broken pot if it takes a fall, and if you also have a cat, then it’s likely this will happen at some point in your plant’s lifetime.
Having a solid vessel will also help to regulate the temperature inside the pot, keeping it from overheating (greenhouse effect) or freezing for lack of insulation near a cold window.
What Type Of Light Do Spider-Plants Need?

Since spider plants are evolved to grow in bright, sunny environments such as those in South Africa, it’s no surprise that they prefer to have bright, indirect sunlight. This means that they need at least 8 hours of sunlight per day, either from a bright window or from artificial types of lighting fixtures such as a full-spectrum LED light.
If you choose to use artificial light, keep in mind that these aren’t nearly as powerful as the sun, so they should be placed about 1-2 feet above the plant so that it can take advantage of every color in the light spectrum needed for photosynthesis.
If you have adequate light from the sun in your house, you can place spider plants near a bright window, but they do need filtered light to prevent burns.
Sheer curtains or adjacent placement to a bright window will usually suffice, but spider plants will need to be turned every few weeks to prevent them from growing lopsided. This ensures that you have a nice symmetrical leaves and helps to prevent your plant from tipping.
Where Should I Put A Spider-Plant In My House?
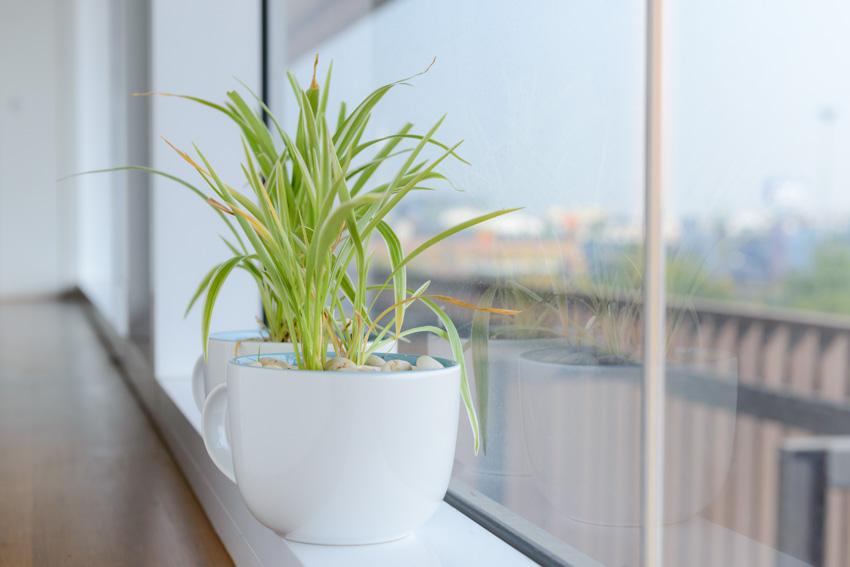
Placement is key to spider plant survival. These plants like to have some humidity, so large open rooms are less ideal for them unless you plan to spray them with water a few times a week to help simulate the humidity in their natural environments. That being said, there are a few places in every house that tend to have higher humidity than most.
If your spider plant doesn’t seem to be thriving in its usual spot, try moving it to a bright bathroom or kitchen. These types of rooms in a house tend to have humidity present at least sometimes, either when showering or cooking, and this humidity helps them feel more at home in your house.
In some more temperate, humid climates, they can be placed outside out of direct sunlight to soak up moisture in the air during the daytime. They should be kept indoors in cold or dry climates. Spider plants do well with pets such as cats and dogs, so keeping them in out of the way isn’t a problem.
How To Propagate Spider-Plants
With all those little pups dangling on the ends of flower stems, you might wonder what to do with them. While some people enjoy the look of several pups dangling off the mother plant, others simply trim them off to keep a cleaner look.
In the end, if pups are left on the mother plant for too long, it will essentially kick them out of the nest and let them fend for themselves. In nature, this usually works well; the pups will be dropped on a growing medium and take root, forming clusters of spider plants. Our floors are much less appealing.
Instead, you can propagate these little plant babies to make even more spider plants. They’re fun to share with friends and family, or even to add more foliage to your own home. Either way, all varieties eventually make their own pups, and yours will be no different. Here’s how to make the best of it:
• Collect the pups: Once a spider plant is done flowering, smaller shoots will grow along these stems. Wait until these are well-nourished and big enough to sustain themselves on their own, usually when there are visible root clusters coming from the base of each pup.
At this point, you can trim away the stem from each side of the pup near the base, being careful not to nip any roots.
• Grow their roots: For this, you can either simply plop the plants into about an inch of water, or you can first use a rooting hormone to help the little root clusters develop more before they meet the soil.
A very important step here is to frequently clean the water that the pups live in, as it can become contaminated with bacteria that will suffocate the roots. It’s best to change the water out every few days.
• Plant in soil: Once the pups have several leaves and nice long roots, they can be planted in soil. Use the guide above on choosing planters and soil, and care for them as an adult plants until they, too, reach maturity and produce pups of their own!
See more related content in our article about the different plants that look like spider plants on this page.