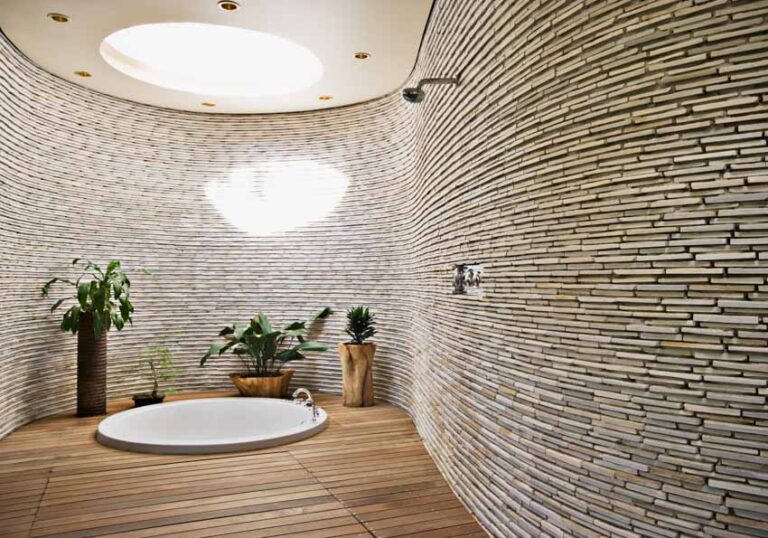
Stone Resin Shower (Pros and Cons)
Increasingly, consumers are choosing showers over bathtubs in bathroom design and renovations for space efficiency, water conservation, and a modern look. As a result of this phenomenon, manufacturers compete to innovate and improve on traditional acrylic options. Many shower components, including enclosures and trays, are crafted from resin and crushed stone, making stone resin showers an emerging favorite for their unique benefits.
Let us talk about the benfits of stone resin showers in this article. [toc]
What Is A Resin Shower?
Trays, walls, tubs, and floors that are made out of stone resin use a mixture of natural crushed stone and a resin compound that offer a superb balance between the heavier ceramic, fireclay materials, and the lightweight acrylic options.
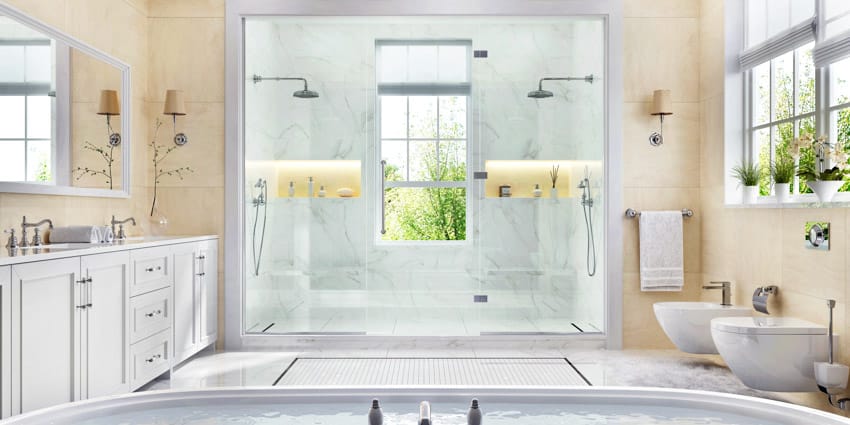
Stone resin types of bathroom showers offer a durable structure, incredible longevity, warm-to-the-touch feeling, and they are available in a broad range of finishes.
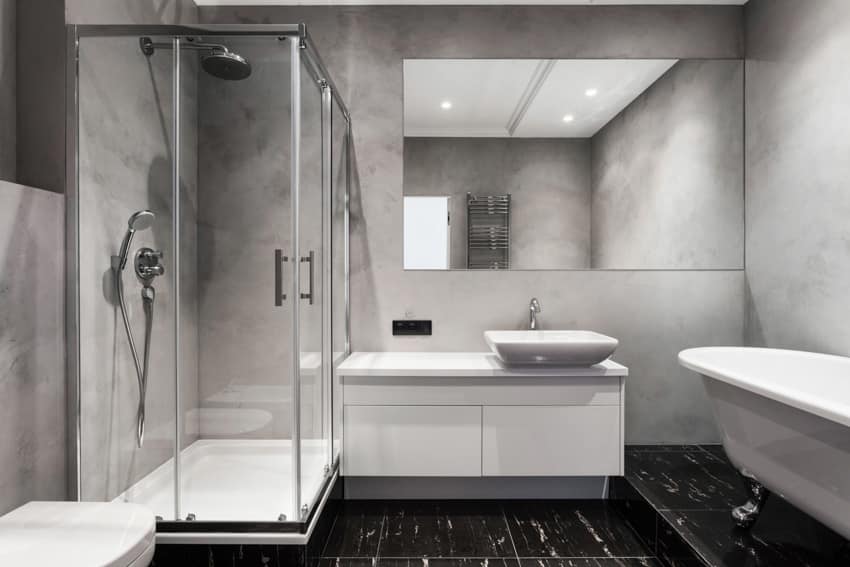
A stone resin shower tray is both practical and appealing. The crushed stone and resin compound mixture is normally put into a mold and hardened.
The tray is then coated with a layer of gel-based compound to seal it. Their structure also includes non-slip technology.
Resin Showers Pros and Cons
Here, we share the advantages and disadvantages of stone resin showers.
Pros:
Extreme Durability and Longevity: Nobody wants to redesign their bathroom every several years.
That is why it is valuable to select solutions that will provide you with a trouble-free operation for a much longer duration. When it comes to bathroom supplies, the very first thing to consider is durability.
Although acrylic shower trays, walls, and floors might appear to be a decent selection, stone and resin shower trays, walls, and floors will undoubtedly provide considerably more durability and solidity.
They are tougher, can withstand higher loads, and have a more protective outer layer against scratches and cracks. If you are a dog owner, you will appreciate stone resin shower trays and floors. Bathing a mischievous dog will no longer result in a severely scratched shower base.
Easy and Accurate Installation: A stone resin base is substantially more durable than its competitors due to the materials utilized. This considerably facilitates the installation process as well.
Hence, the base will not flex or distort, allowing for correct alignment.
Both the components and technology utilized in the manufacturing of these shower bases made from stone resin allow for more precision of measurements and shapes, which is critical during installation in your bathroom.
Furthermore, stone resin shower bases are normally lighter than ceramic options and easier to assemble. When it comes to installing the base, there are numerous options.
Incredible Waterproofing Properties: Its toughness and tensile strength make it considerably easier to properly seal your shower bases.
You do not have to be concerned that the gel sealant will begin to strip off and crack after several baths owing to severe deformation of the base.
A zero-deflection shower base will also ensure a secure and long-lasting linkage of the siphon trap with the drainage pipe, which is frequently a dilemma with acrylic types of shower pans.
Efficient Soundproofing Capabilities: The mixture of stone and resin and its positioning near the floor provides far greater soundproofing than lightweight acrylic shower trays and many other materials.
Wider and denser stone resin shower base walls will absorb a significant proportion of bathing sounds.
Modern Finish and Antibacterial Properties: Applying a unique gel coating to complete the top layer has numerous advantages. First and foremost, you are not restricted to the typical white, clear, and shiny shower tray, floor, or wall surface.
You can select a coarse finish resembling genuine stone, 3D wood, or even grass. Aside from the unique appearance, you also get a superb non-slip surface with antibacterial and fungicidal qualities.
Cons:
Some Brands are Quite Expensive: Because of the incredible durability and longevity of stone resin bathtubs, shower trays, walls, and floors, you can find some quite expensive brands.
However, if you browse thoroughly, you can find some somewhat affordable options that offer excellent value.
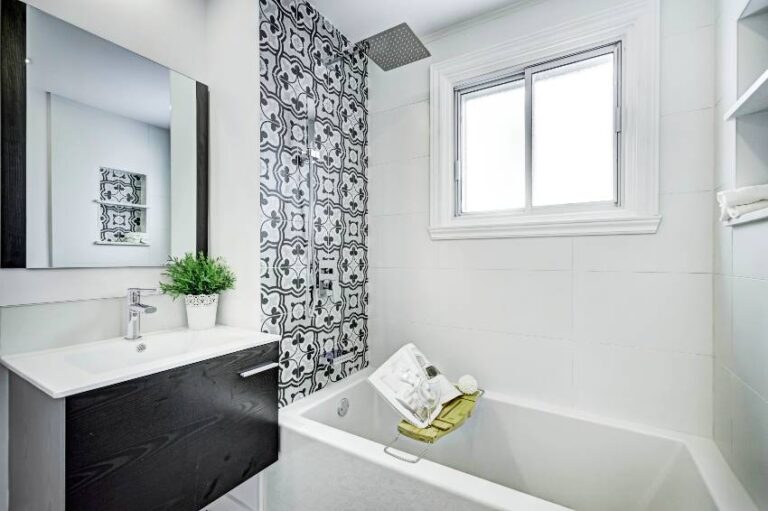
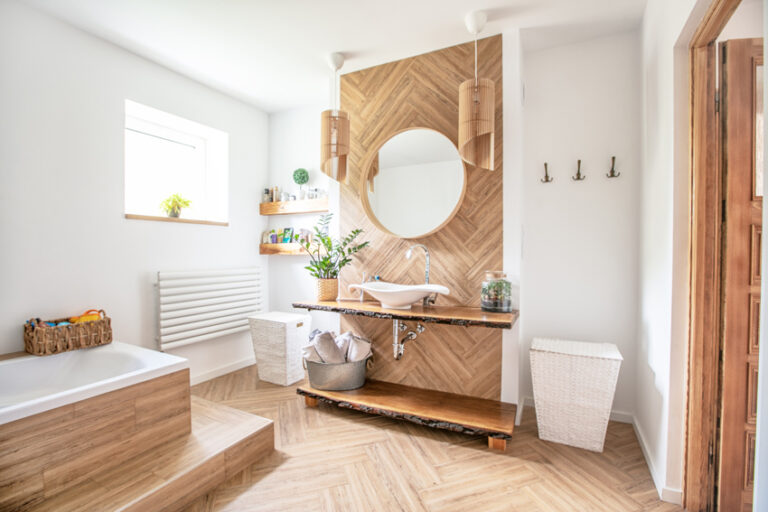
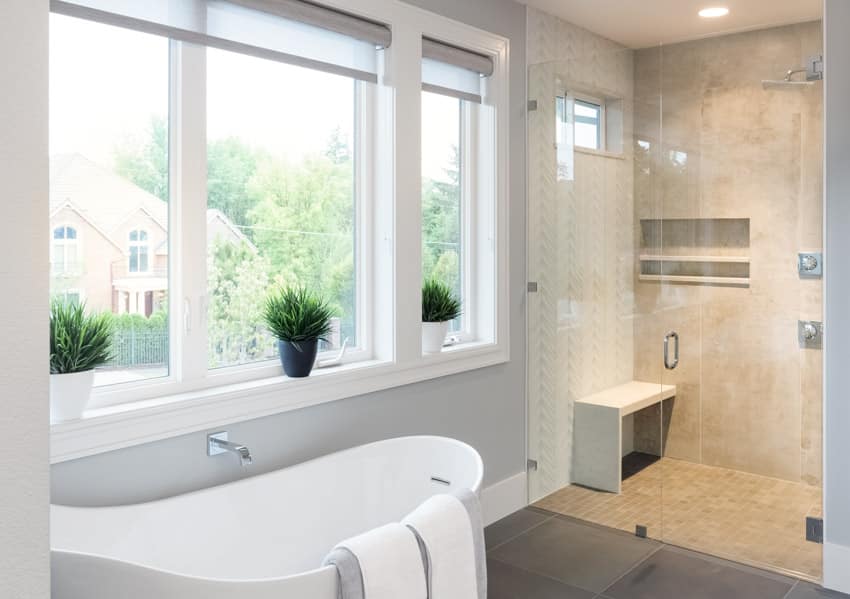
Shower With Resin Walls
Stone resin walls are entirely seamless, so there is no risk of bacteria growing in any crevices or joints. Resin walls are also extremely long-lasting and can sustain daily use; they are also impervious to gunk and mold.
Stone resin is a suitable option because it is among the economical materials used for low maintenance shower walls.You can use stone resin panels on your bathroom walls or anywhere that you would ordinarily utilize tiling.
They can be used to surround the bath, as backsplashes, wall panels, and, most significantly, in the shower are. You may even utilize the panels to cover sections like the window sill.
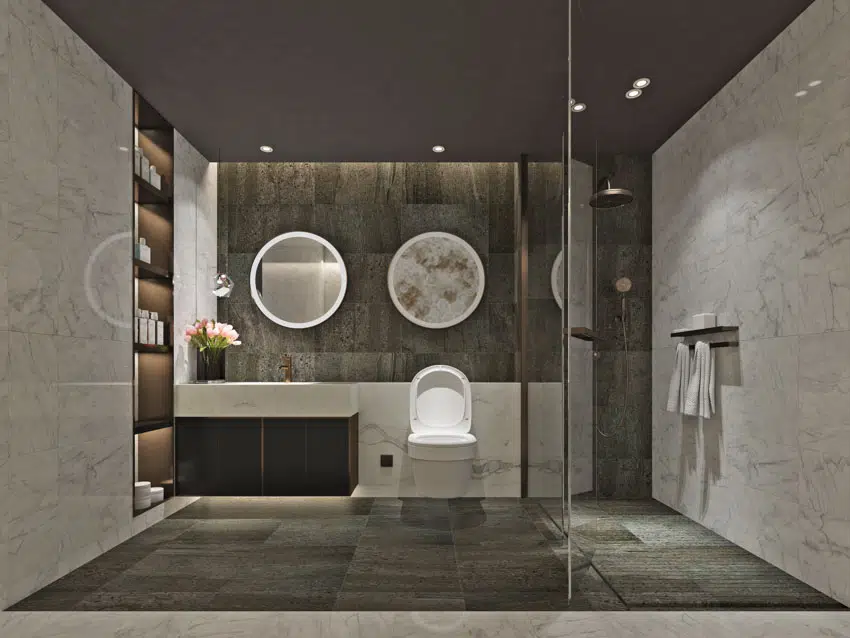
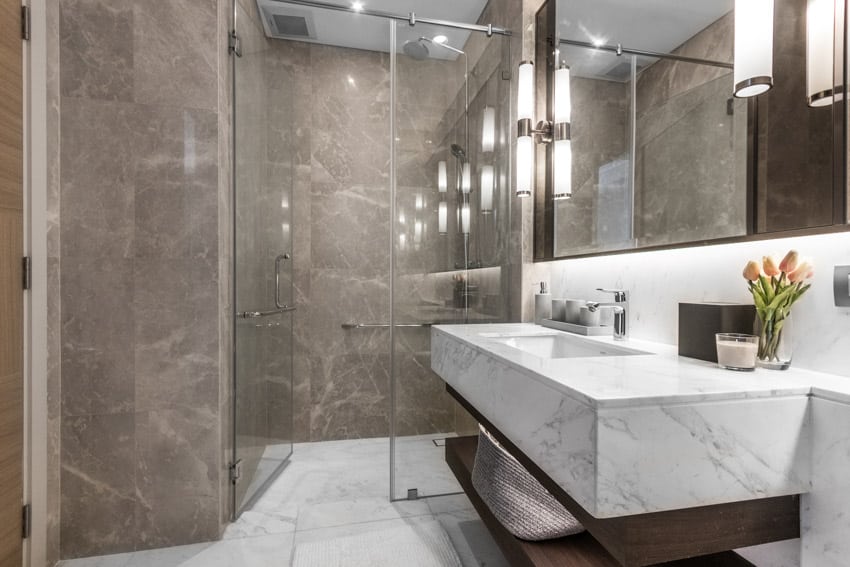
Shower With Resin Floor
Stone resin can be constructed to generate a lot of basic home components, and it can be among the bathroom floor tile ideas you can consider.
This material, unlike fiberglass and acrylic, will not deform over time, nor will it crack, shatter, or flake as a result of major impacts from unintended spills or falls, as porcelain floor tiles will.
This material is very durable and almost unbreakable, like cast iron, but its weight is five times lighter than it! Indeed, stone resin walls are non-porous, which implies they will not contain moisture, unlike fiberglass and acrylic, and hence their structural strength will never deteriorate.
Furthermore, it offers exceptional heat retention comparable to higher-end materials such as enameled steel.
Stone resin floor panels do not require grouting but rather are installed using sanitary-grade silicone. Since there is no grouting needed, no discolorations and trapping dirt will happen.
Stone resin flooring panels come in a wide variety of colors and styles. Natural stone, granite, traditional marble, and various modern sparkling finishes are available.
DIY Shower With Resin Solid Surface Walls
Unlike tiling, which may be a time-consuming procedure to install, stone resin solid surface bathroom wall panels can be pre-ordered and cut at the factory, making installation a breeze.
Simply order the panel sizes you desire and install them. You can also purchase bigger stone resin panels and trim them on-site for a flawless fit.
After getting your stone resin products, you can follow these basic step-by-step guidelines:
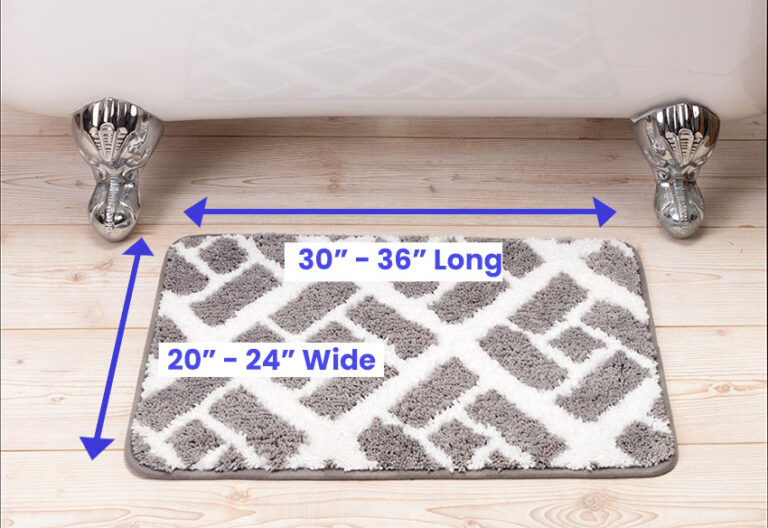
1. To begin, measure the area where your wall panels will be installed. Horizontal and vertical measures are included. If necessary, apply the same step for each wall. Read more about shower sizes here.
2. Before you begin installing, sanitizing your panels is a good idea. Cleaning them with an antibacterial chemical will ensure they are ready to use as soon as installed. To accomplish this, lay the panels evenly.
3. Place the panel evenly on supports, facing up, and then draw the trimming lines where you need to trim. If necessary, cover the edges with tape to protect them during cutting.
Cut and eliminate the unneeded wall panel using a fine-tooth or electric saw. When using these pieces of equipment, wear safety glasses.
4. Sand the cut edges with sandpaper. Turn the stone resin panel over and use the sandpaper to roughen the surface so your glue can adhere to it much more firmly.
5. Upon fitting your stone resin panel, you must first attach the trim it will fit into. Use an adhesive sealant for this and screw it into the wall as well.
Apply sealant to the wall and arrange the corner piece. Install tile spacers beneath your panels so that sealant can be applied afterward.
6. Apply adhesive sealant to the trim’s interior that will be attached to the stone resin wall panel and the extreme edge of the wall panel itself.
Lift your panel into place and insert it into the trim component at an angle.
7. After you have all of your stone resin panels in position, apply a sealant to each base. Some corner, base, and ending trims for your panels will have a finishing cover that locks into place.
See more related information in our article about the pros and cons of onyx showers on this page.
To showcase highly specific designs, some images on this website use advanced AI-generation software to illustrate ideas and room inspiration. See our editorial policy to learn more.