How To End Backsplash On Open Wall
Find out how to end backsplash on an open wall, including some ideas on where to properly place it on your kitchen cabinets, countertops, or corners.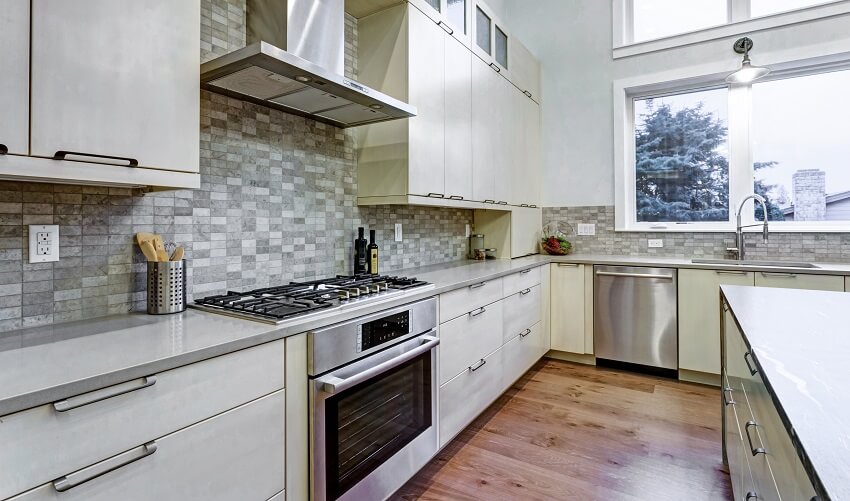
Backsplashes are a valuable part of the functionality and aesthetic of your kitchen. It defends your walls from frequent cooking spills and provides visual appeal to your design.
The backsplash usually starts at the countertop, but where does it end? What is the ideal height for the backsplash? Should it end horizontally at the cabinet or the kitchen counter? When deciding where to end your backsplashes, there are several factors to consider.
However, we will go over all of them in further depth here, as well as answer some of the most frequently asked questions concerning wall coverings. By the conclusion, you can establish where your backsplash should finish, especially if you have an open wall properly.
Where Should Backsplash End?
Normally, the backsplash would be built at an overall height of about 4 inches in a place with a kitchen countertop. This means there will be a large gap between the peak of the wall covering and the base of the wall cabinets.
Most old houses that still have their earliest kitchens may have 4-inch backsplashes. Instead of tile, backsplashes like these were frequently constructed of the identical material as the kitchen countertop.
A granite countertop, for instance, could have a 4-inch height granite wall guard, creating the impression that the countertop is starting to grow up your wall.
Over the last decades, extending the backsplash up to the base of the wall cabinets has been considerably more ubiquitous, and this has become the typical technique to implement in kitchens.
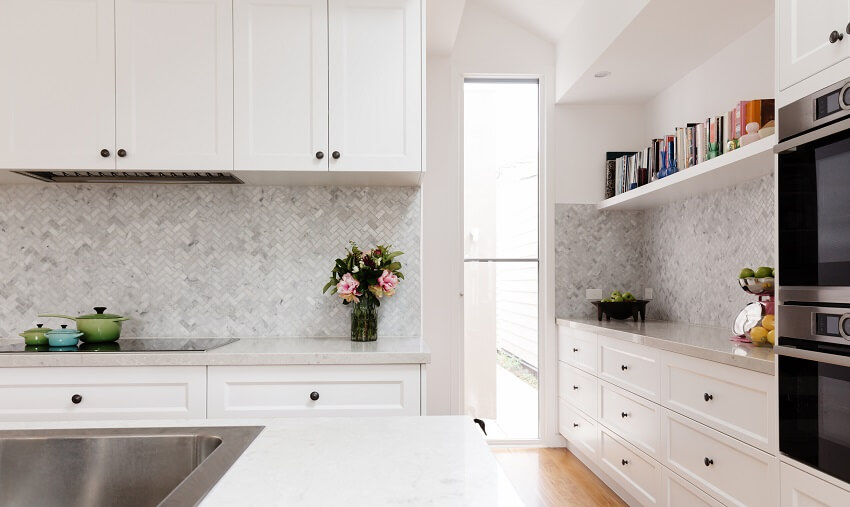
For many years, determining where to end the backsplash has been an important part of kitchen design and remodeling.
Furthermore, it worked effectively in terms of providing additional coverage to the walls so that additional surface space could be easily wiped clean in the case of a spill, and it means that the tiles can be made more of a centerpiece.
Another more innovative twist on the traditional backsplash is to cover the whole wall with tiles, from the kitchen counter up to the ceiling. This offers the walls a very streamlined and attractive appearance while also providing maximum protection.
Going all the way up to the ceiling in tiles eliminates the need to pick a wall paint coverage and hides any irregularities in the walls.
Moreover, numerous kitchens have a natural border or line where the backsplash should finish, making selecting an ending place for the material a simple process. A wall covering might be ended when it reaches the wall cabinets or is in line with the base of an adjacent window or wall shelf.
Where Should Backsplash End On A Wall
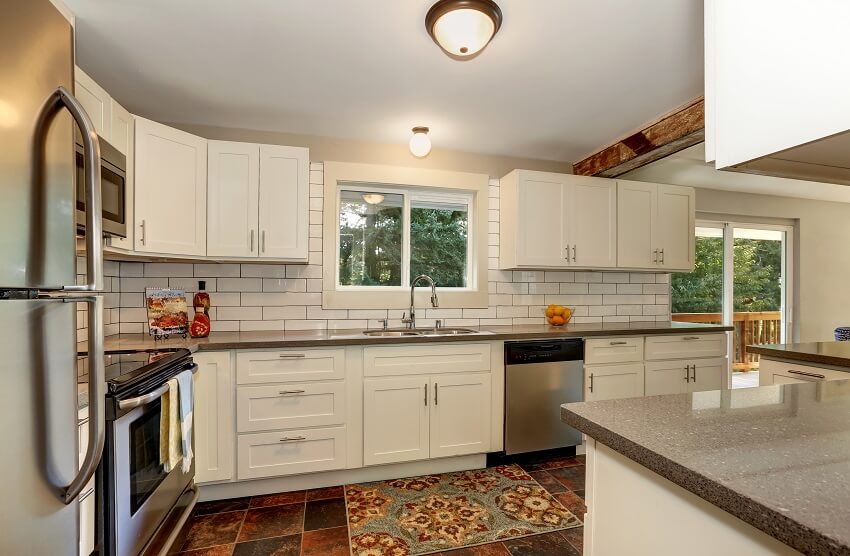
Nevertheless, if you ask where the backsplash should end if there is no visible ending place, such as on an open wall, you must remember there is no universal rule for this, but there are a few options to explore.
You can try finding a pre-existing line and end there. Your kitchen countertop and cabinets should ultimately end on a similar vertical line. Continue the wall covering until that point.
Even though most individuals see the wall covering continuing the full length of the countertop, some developers choose to utilize upper cabinets as a recommendation for where to end the material on an open wall.
This eliminates unpleasant transitions and the visual contradiction of the backsplash protruding into the empty wall area. Moreover, another inventive solution to this problem is to use tiles that can be tapered off in a fascinating style.
End Backsplash At Counter Or Cabinet
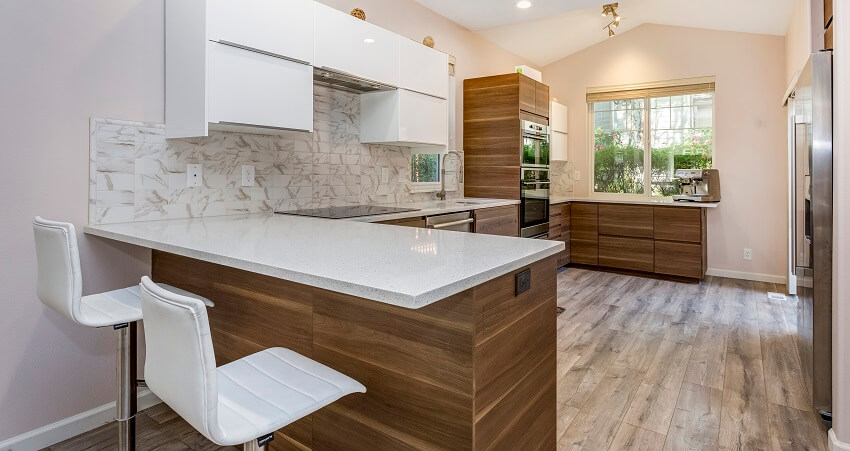
Many homeowners opt to extend their backsplashes down to the countertop since its primary practical purpose is to defend the wall from spills that occur on the countertop, and so its entire presence is tied with the countertop.
If you don’t have upper cabinets, extending your backsplash to the ceiling is a truly eye-catching and attractive option. This results in a modern style that will function best in current kitchens. Select a tile that you like because you’ll be seeing it a lot.
You have a few alternatives if your counter and cabinets are not aligned. The wall covering might be stopped where the upper cabinets end. However, it is normally preferred that it is lined up with the corner or where the countertops or peninsula ends.
Furthermore, you can taper your tile or angle your backsplash to link the top to the bottom naturally. Another alternative is to align the backsplash with the base cabinets and extend it to the ceiling. This is an excellent option for open-concept rooms since it creates a boundary for the kitchen.
Where To Stop Backsplash Behind Stove
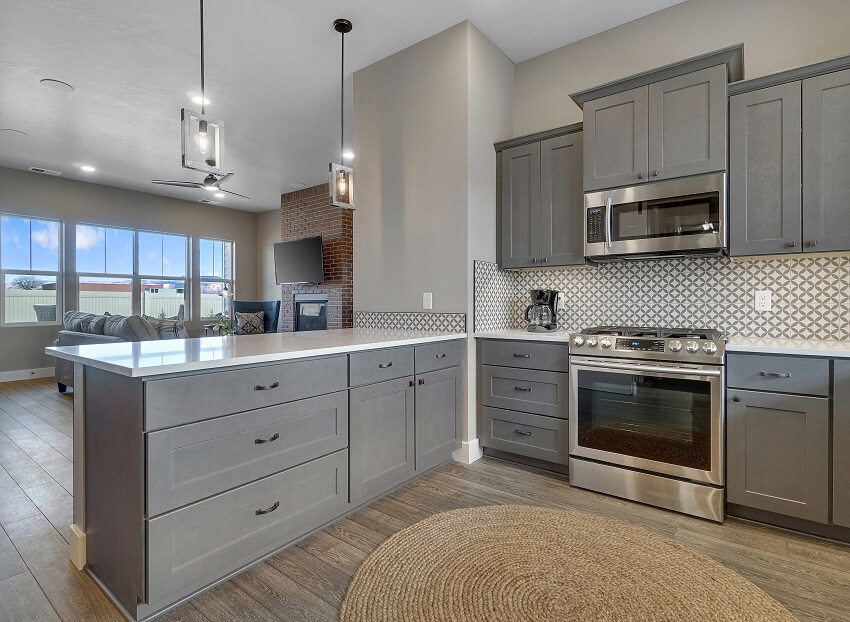
If you are on a low budget but still want a gorgeous backsplash, you may always choose to install it behind the stove exclusively. In this instance, the wall covering should stop in the area only where the stove is positioned.
Here are some of the practical placement options for wall covering behind the stove:
| Wall Option | Description |
|---|---|
| Continuous Above Countertop | Match the height of the countertop’s backdrop. |
| Under the Hood Range | End the tile just beneath the range hood or oven vent. |
| Full Wall | Extend tile from countertop to ceiling. |
| Invisible Floating Line | Stop at natural break points like shelves & windows. |
| Splash & Spill Height | Cover typical “splash zone” (24-30 inches above cooktop). |
| Align with Cabinets | Align with cabinetry tops. |
| Custom Inlay Designs | custom tile inlays & borders with decorative designs. |
Regarding practicality, the types of backsplash materials you pick must prevent food stains from occurring on your wall. However, you still have to be creative when doing this.
If you want to build a behind-the-stove accent wall, it is highly recommended to go for one with a bold and eye-catching color.
How To End Backsplash
• Look for Appropriate Transitions
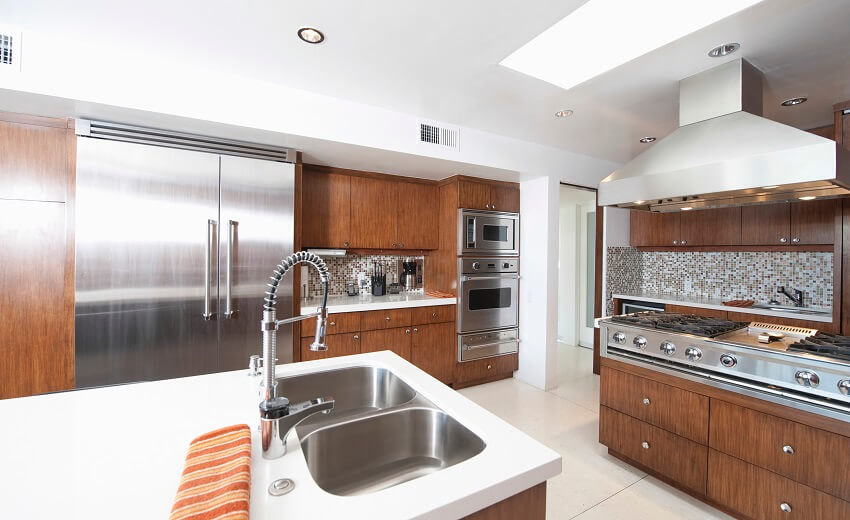
Choose a smooth transition to function as the backsplash’s finishing point. Find existing lines in the area and continue them with the top border of your wall covering.
The common lines to consider for where to end your backsplashes are the base of the upper cabinets, the bottom of your window, and the range hood.
Numerous lines in a space can make it appear disconnected, but extending existing lines maintains the look consistent and neat.
• End Within A Corner
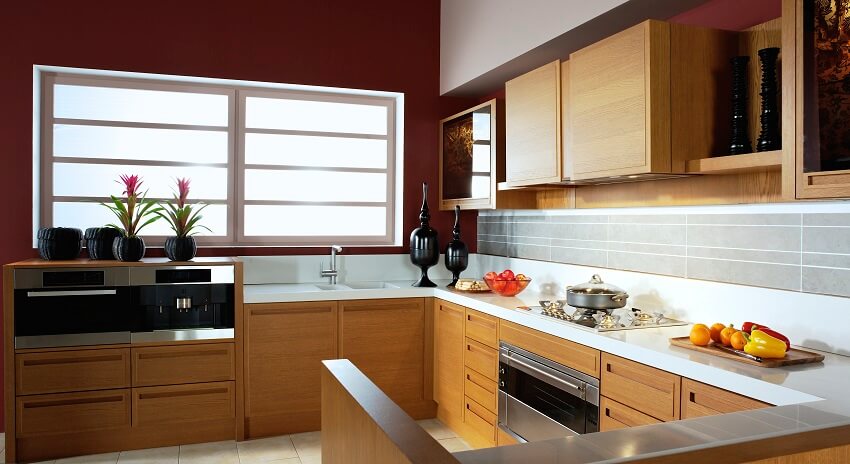
After determining the height of your backsplash, examine how far it should stretch vertically. Most design professionals believe that an inside corner is an excellent area to transition from one material to the other. You get the inside corner if your countertop pushes up against a sidewall.
• Stick Only to the Primary Cabinet Walls.
When it comes to backsplashes, more isn’t always better. The splash guards’ purpose is to keep food splatters, cooking oil, and water stains off the walls above the counter.
Although it is okay to stretch its borders for aesthetic reasons, there isn’t a practical need to go all the way to the ceiling. However, it does look fantastic.
• Sync Your Kitchen Counter, Cabinet, and Your Backsplash
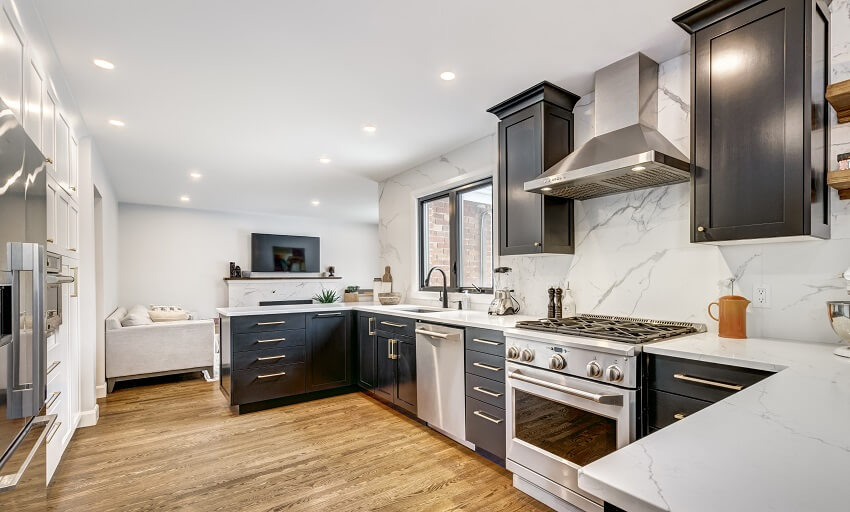
If you are building a new kitchen or remodeling an existing one, it is recommended to complete your countertop, top cabinets, and backsplash in a uniform vertical line.
Keeping these boundaries aligned gives the area a neat, clean appearance. If your countertop and cabinets are already in position and not aligned, then you’ll have to be a little more innovative to make them appear beautiful and eye-pleasing.
Visit our guide on kitchen backsplash designs for more related content.

