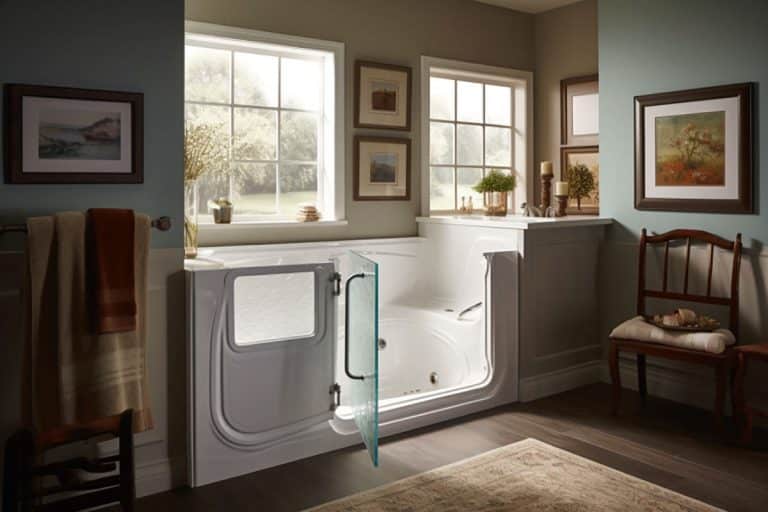
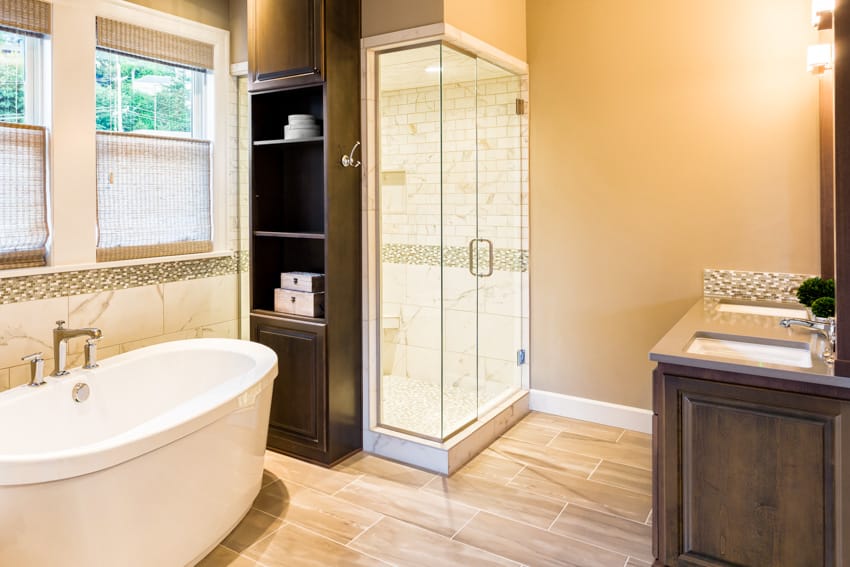
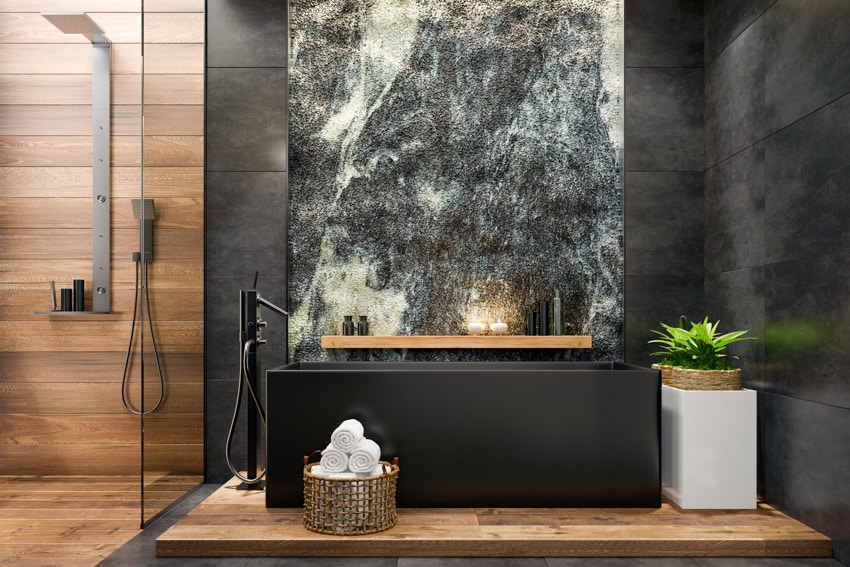
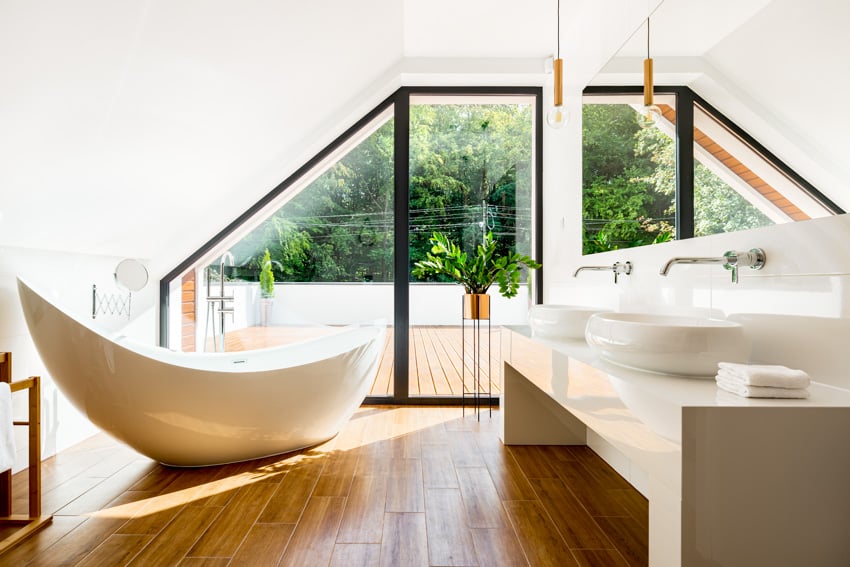
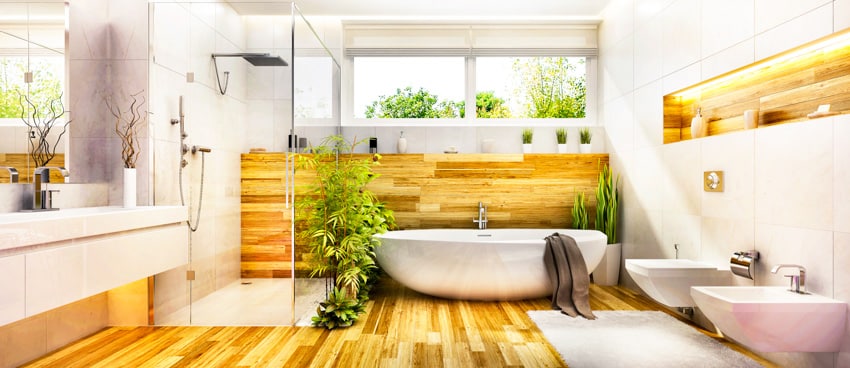
Engineered Wood Flooring In The Bathroom
Here we share our engineered wood flooring in the bathroom design guide including what it is, when to use it, its pros and cons, buying tips, and how to install it.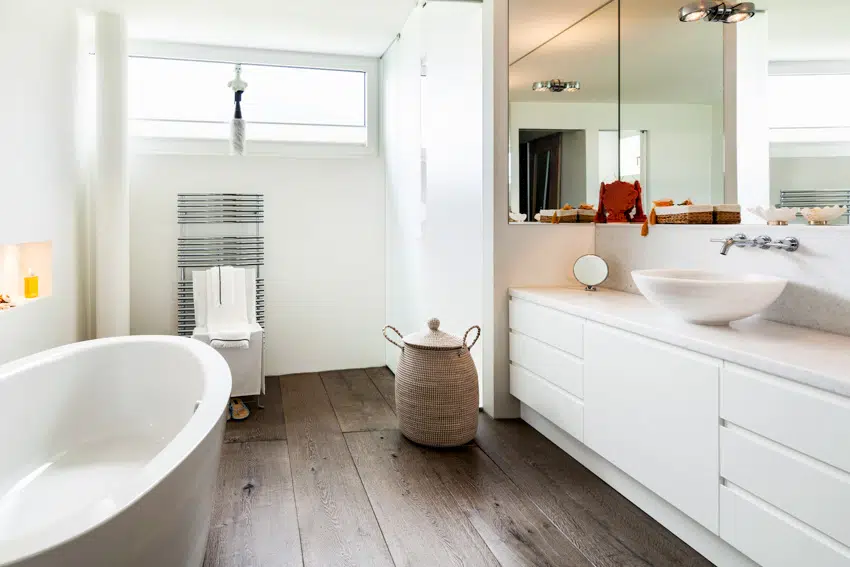
Our experts are here to tell you what they’re all about and why you should consider it for your bathroom’s refurbishment, from the bottom up. Or in this case, on the whole of its bottom, if we may say so. [toc]
What Is Engineered Wood Flooring?
Engineered wood flooring is characterized by how it utilizes timber for its construction via binding. Hence, “layering” in manufactured planks.
It’s a frequently preferred choice because of two factors: function and aesthetic, with both often at the helm of what distinguishes this material from the rest.
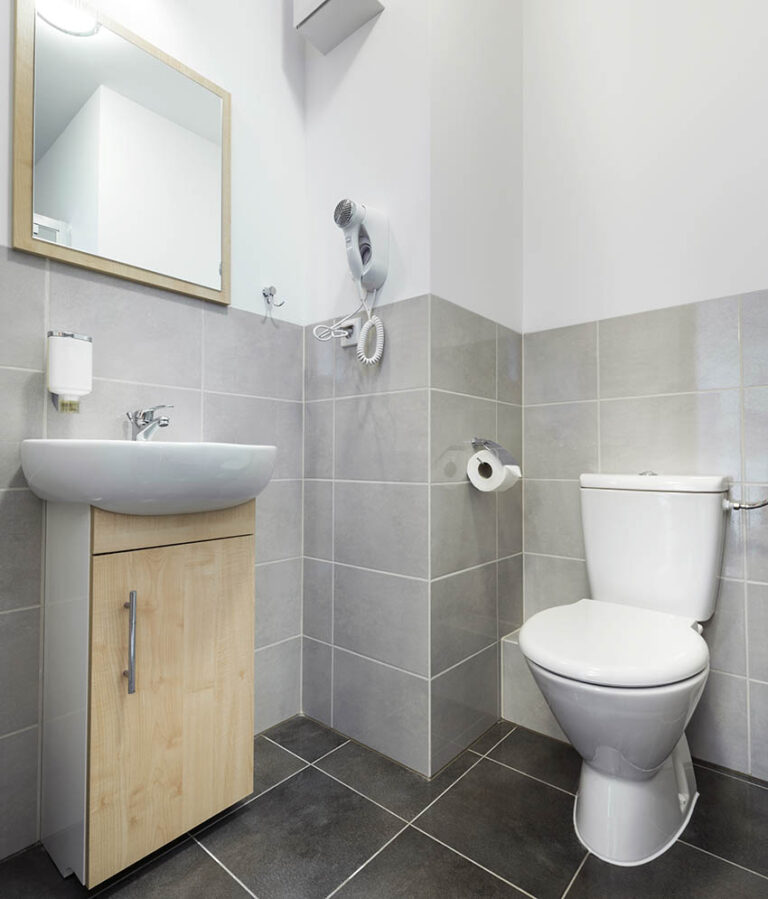
Can You Use Engineered Wood Flooring In A Bathroom?
Hardwood And Moisture: A No Go
This is because certain species of wood do not age well when frequently exposed to humidity and moisture. In fact, these elements can be detrimental to the structural integrity of hardwood. Even the smallest empty slits in wood surfaces can collect moisture.
Over time, this will cause it to shrink. It’s a blow both to how it looks, as well as to its durability. Moisture can weaken it and quicken its deterioration.
In contrast, this is where engineered wood shines the most. Literally AND metaphorically! Engineered wood undergoes particular finishing so that it can withstand varying temperatures and levels of moisture. That’s a definite advantage, bathroom-wise.
Yes To Engineered Wood And Bathrooms
Therefore, the answer is a resounding “YES”. Engineered floors are the way to go for surfaces that are ideal for washroom purposes. That is, as long as you contact the right contractor and supplier that will help put together suitable flooring for your washroom’s overall setting.
Pros And Cons Of Engineered Hardwood In The Bathroom
The Pros
Multilayer Effect
Engineered hardwood is known for housing a plywood core that can be counted in “multilayers”. Although the thickness of the plank (core and top layer) differs in lieu of the wood source and the manufacturing standards for the same, it spells “quality” from the inside out.
We mean “quality” when speaking of material caliber and aesthetic appeal. Two birds in a single hammer-hit— that’s what you’ll immediately get with engineered hardwood.
Thick Layers Equals Premium Materials Equals Durability
Directly related to engineered wood having multi-layers is that this very feature is what makes it durable. Each layer reinforces the one above it and the ones below. It’s a reason why engineered wood flooring lasts for years on end.
The Cons
May Incur Dents And Scratches
It’s natural for engineered wood to incur abrasions through wear and tear. Professional contractors and interior designers alike count these instances as an appealing feature.
The “worn” look of wood floorings brings a character and sophistication that cannot be replicated with their newer alternatives. Still, it will be beneficial to be careful with the type of fittings you move across your new wooden bathroom flooring.
Can Fade Over Time
Engineered wood contains many species of wood They are susceptible to fading over a long period of time, especially when consistently exposed to elements such as sunlight. The absence of sealers or oxide finish also helps it fade faster.
By and large, results may vary regarding the latter, and according to the wood species you select. It is recommended that you contact your supplier and inquire about what sealers will work best on your chosen engineered wood type.
Bathroom Wood Floor Buying Guide
-
Layers Galore
Ask your supplier about the number of layers their flooring planks contain. Parts are frequently divided into the top veneer layer, and underneath it, several other overlays. The number of layers is indicative of the quality of the wood.
-
Veneer Thickness
Veneer thickness directly corresponds to the durability of wood flooring. The thickness equates to ranking high on scales for resilience against weight and pressures. These are the components they will be subjected to through the years.
When talking about thickness, 2mm is the standard. But if you want to veer away from “standard” and into the tougher kinds, 3mm and above is the marker.
-
Stable Core
The numbers to watch out for typically run between three to 13mm in terms of layers. The higher the number of ply layers, the thicker the plank, and the more stable the core.
The number of layers also corresponds with pricing. You can always weigh your engineered wood material options against your budget, with the assistance of your contractor or supplier.
Installation Tips
-
Clean Floor Surface
The first act is to clean the surface to clear dirt and debris off it. This is a general rule of thumb for most flooring operations.
Wait for it to dry completely, in case you use a damp mop on it. This should be done before you commence the wood flooring installation.
-
Tar Paper
Lay tar paper flat on the floor to absorb moisture. This is a crucial variable to consider take as you prep your bathroom deck. It can be counted as a safeguard, as instructed in step one above.
Keeping the exterior free of moisture prevents condensation from taking place. Condensation is an occurrence that can quicken the rotting of timber.
-
Plank Practice
Whether you decide to use a single type of wood plank or mix different varieties together, practice setting the pieces on the floor first. This way, you can see which of the planks surpass the flooring’s outline.
This practice will also tell you which ones need half a slab more for the row to be filled in. In a way, this is a flooring puzzle-piece solving, as we like to call it.
-
The Installation Proper
Start per row, and from the section of the bathroom’s longest wall. A pneumatic flooring stapler will aid you greatly in this task.
Pro contractors also suggest that the groove of the wooden planks be posted towards the room. You can also position them towards the tongue side and the walls.
Grooves are to be drilled down at a near-45-degree angle. Additionally, staples are to be positioned at least seven to eight inches apart.
Once you reach adjacent walls, that’ll be the exception. A length of 12 inches will be enough for these specific board requirements.
-
Finishing
The baseboard is the finishing touch to the now-wooded flooring. It’s the solution for seams that are a couple of millimeters away from the wall. Finally, saw away edges that extend beyond thresholds.
See more related content at our article about how to pick the right wood floor pattern on this page.
To showcase highly specific designs, some images on this website use advanced AI-generation software to illustrate ideas and room inspiration. See our editorial policy to learn more.

Upload a photo and get instant before-and-after room designs.
No design experience needed — join 2.39 million+ happy users.
👉 Try the AI design tool now