Stucco Shower Walls (10 Finishes & Designs)
Homeowners often ask if they can apply stucco on their shower walls because of the aesthetics that it can offer. Stucco shower walls are also incredibly easy to clean and maintain, which adds even more to its appeal.
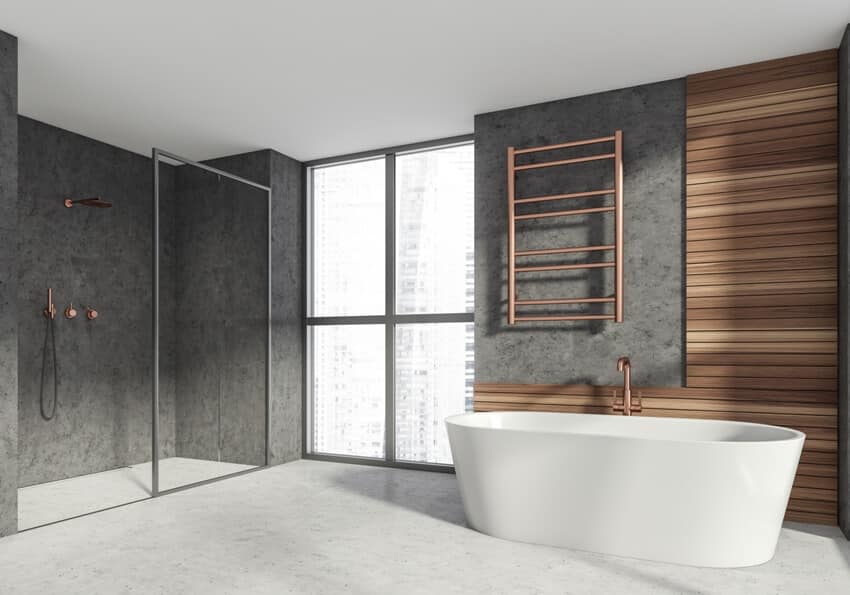
The first thing you need to know about opting for stucco shower walls is that it’s an ambitious attempt at a bathroom upgrade. It is worth it if you like the style, however, it does come with some pros and cons.

Upload a photo and get instant before-and-after room designs.
No design experience needed — join 2.39 million+ happy users.
👉 Try the AI design tool now
Stucco alone is water resistant by design but it isn’t waterproof. It can have cracks or imperfections over time that will let the water in. The best way to use stucco for your shower walls would be to make sure that you lay out a waterproof barrier on the walls and ceiling after you lay the stucco on. This can be done with some waterproof paint or some sealant applied over it.
Can You Use Stucco In A Shower?
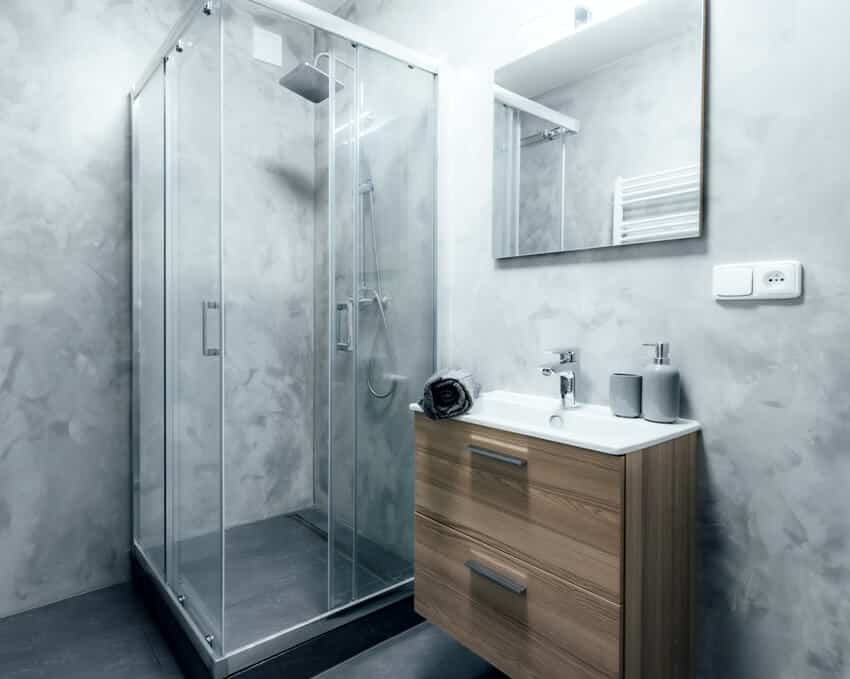
Yes, you can. Stucco helps you create smooth shower walls and you don’t have to worry about grout lines at all. It really all depends on the technique used for its application.
You can create anything from an industrial look or design to something smoother and more luxurious, depending on what your preference is for the finished look.
By default, it provides a white smooth finish that can make your shower area look bigger than it actually is. However, if you prefer some color in your walls, the stucco can also be tinted, making it easy to make your shower walls cohesive with the rest of your bathroom design.
Stucco Shower Finishes
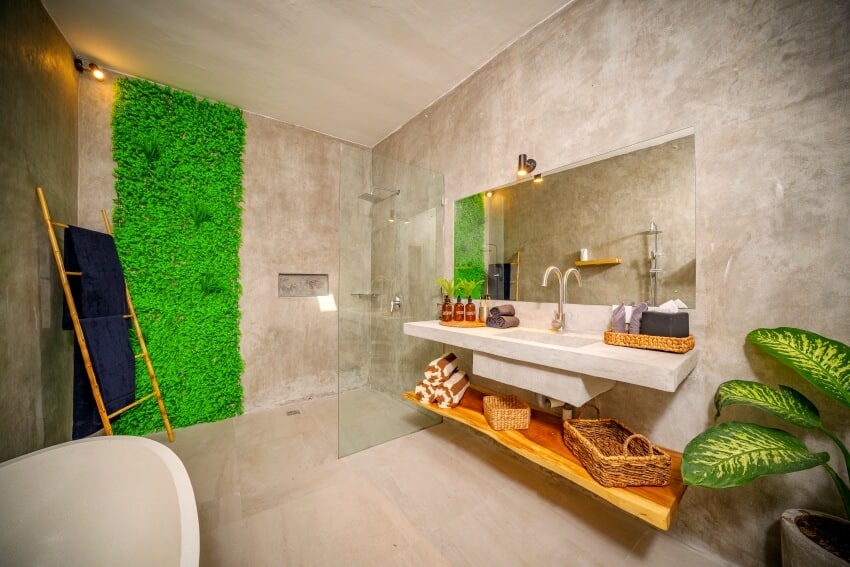
Stucco is a highly sought-after wall finish for your shower walls. It’s moderately priced, easy to maintain, and can last for a very long time as long as it has the proper application.
Stucco textures and the finishes that they come along with are widely varied though and before opting for it, it would be best for you to know what they are.
Here are the different types of stucco shower finishes to help you pick the perfect type for your bathrooms at home.
Cat Face Finish
This is interchangeably called the Montalvo or California finish. As the name implies, it has a texture that tends to look like cat faces, with a little bit of imagination.
It has a smooth surface with certain rough patches scattered all over it. They can be small large or irregular, depending on how closely or widely spaced they are from each other. It really all depends on your personal preference.
Dash Finish
This finish is also regarded as a roughcast finish. It’s a highly textured type of stucco finish. It has a very rough texture and is usually sprayed on, which gives it its gritty or textured appearance.
There are several variations to the dash finish, depending on how rough you want your shower walls to be. They can be in roughcast, fine dash, pebble dash, heavy dash, or in “knockdown” finish.
Lace Finish
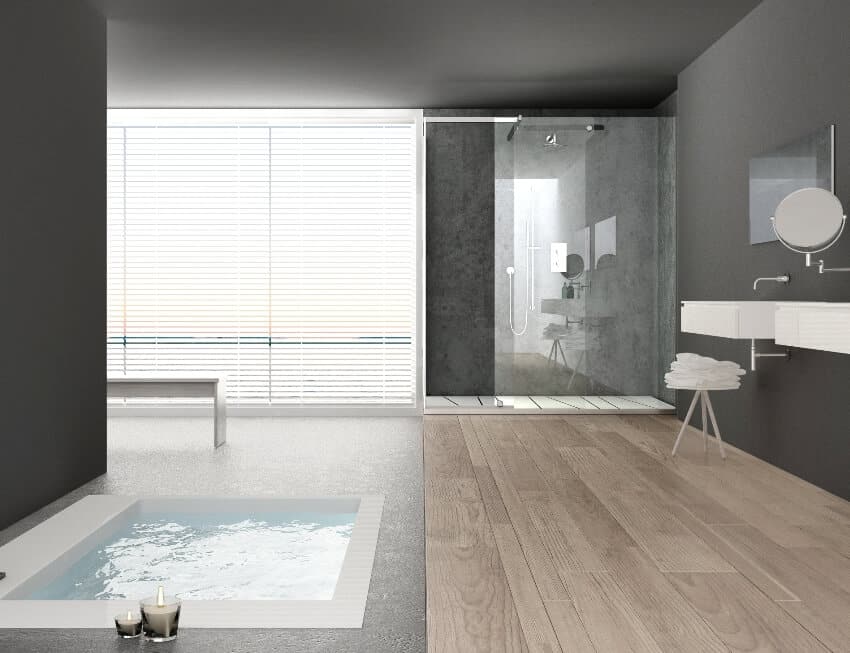
This finish is unique and can actually come in a lot of different looks. It’s great for hiding imperfections in the shower walls and mimics the texture and look of lace, explaining why it was named after it.
Sand Finish
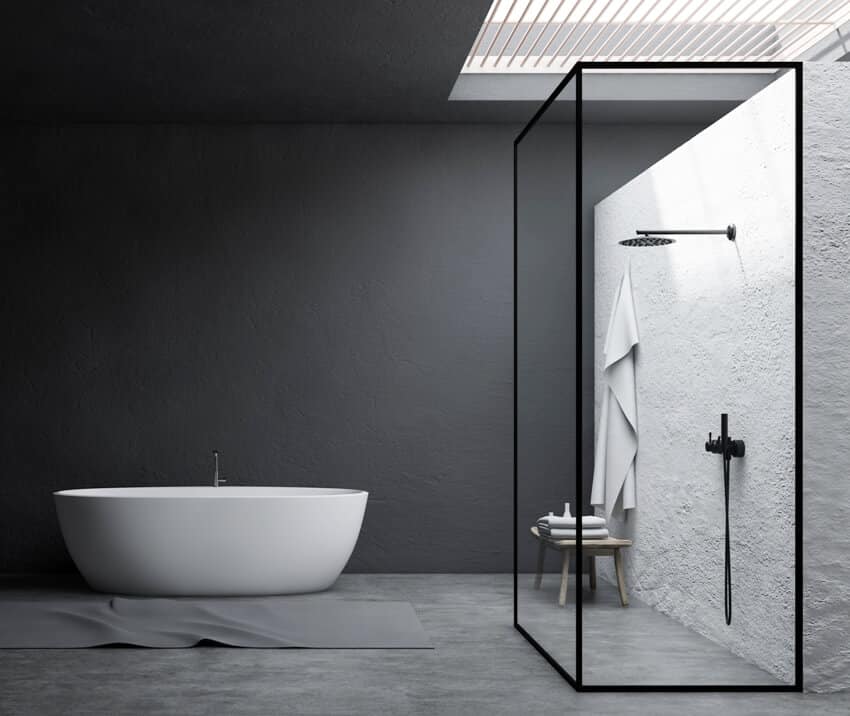
Sand stucco is also popularly called or known as float finish. This is mainly because of the tool material that’s being used to finish off its texturing, which is sand. Sand lends the finish its grainy texture, which can be appealing to some homeowners.
Smooth Finish
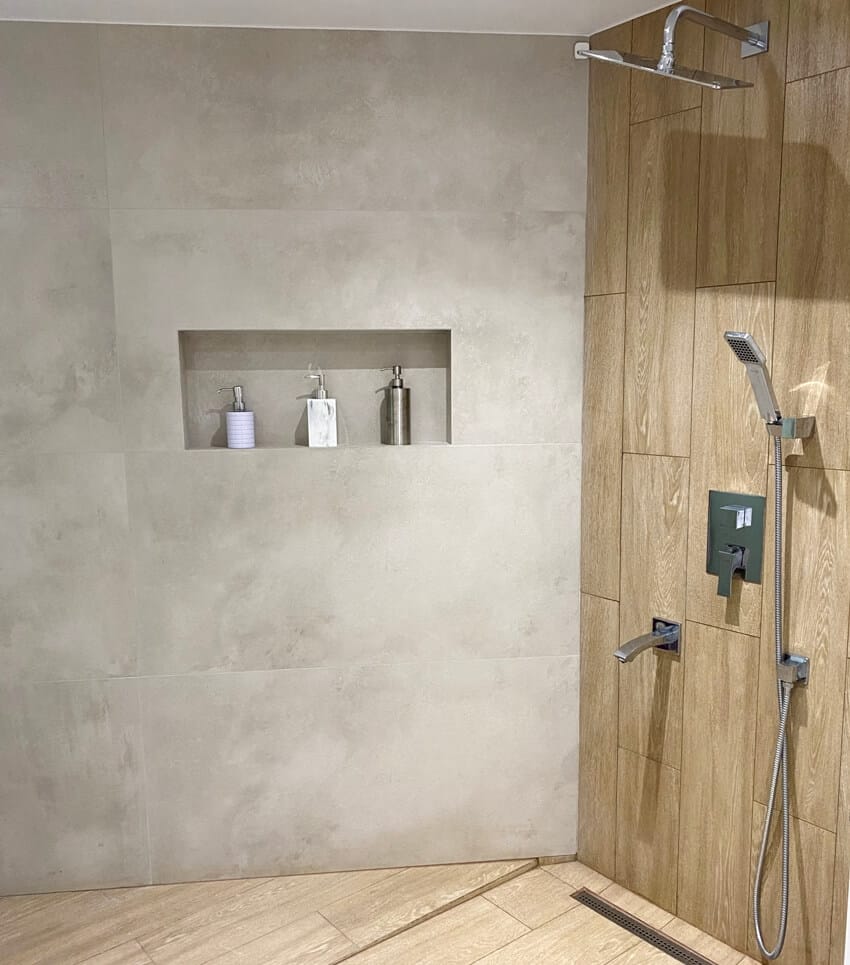
This is probably the most popular out of all of the stucco finishes and can be commonly seen in Mediterranean-style houses as an exterior finishing. When used in the shower walls, it can give your bathroom a luxurious look and feel. Check our luxury showers design guide here.
It’s very similar to what you see in the pictures of Santorini, Greece. It’s typically white and extremely smooth. Out of all of the finishes, this is the most technical and difficult one to achieve so it would be best if you hire a skilled contractor to get the job done.
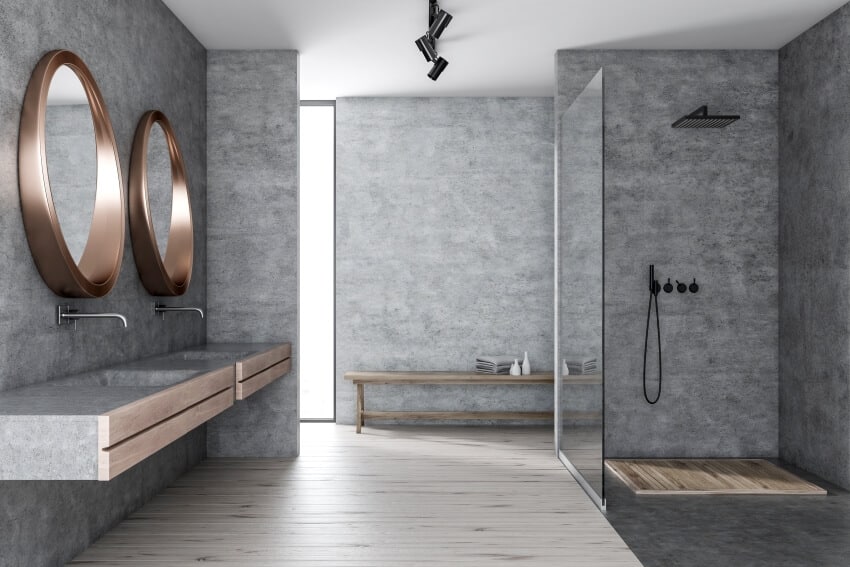
Achieving a smooth stucco shower can be a long and laborious process but when done right, it can give your shower walls a look that’s just naturally elegant and clean. Any type of stucco can be turned into a smooth finish shower with the proper technique.
This typically includes sanding the surface down to make it as smooth as possible. The surface is then washed off with a hose to get rid of any loose particles and dust.
Then, there’s a coat of primer applied. A smoothening filler is added to take care of any uneven surfaces. The wall is then sanded one last time before applying the final finishing coat.
Santa Barbara Finish
This is an extremely elegant stucco finish. It comes with a natural-looking mottled pattern that’s often left unpainted for added effect.
It’s best suited if you’re going for a Spanish villa type of design or look for your shower walls. Although it can technically be categorized under the smooth finish type, it stands out because of its semi-smooth texture with irregular patterns appearing here and there.
Worm Finish
This is one of the most common finishes seen in most homes. Staying true to its namesake, this finish has grooves that form patterns that look as if there are worms that have been pressed against the wall. It is also nicknamed as Swirl or Putz. This comes in 3 variations in its texture: fine, medium, and heavy.
Diy Stucco
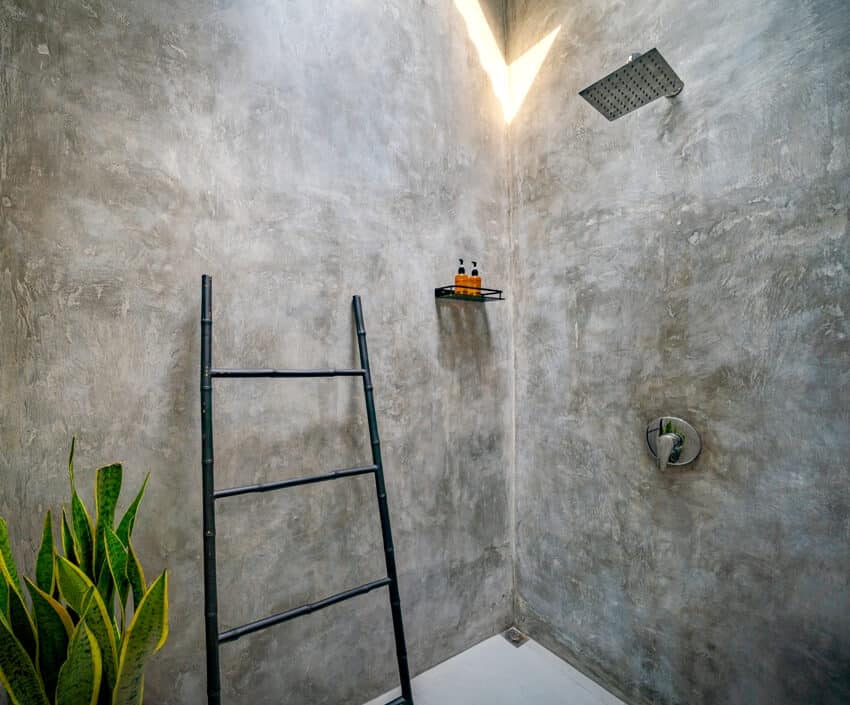
Although it takes a little bit of skill and effort, you can definitely opt to DIY your stucco shower. We’d also like to mention that it is a worthy challenge with the results being well worth your efforts as it can lend a high end look to your finished bathroom walls.
Here are the steps you need to take to achieve a flawless stucco finish that will last you for a long time.
Start off by applying a water-resistant substrate. This helps keep your stucco from cracking, keeping it waterproof. Go for a fiber-reinforced plaster for your first coat, paying special attention to the areas around the faucets and other fixtures.
Once it dries, apply a polyester or fiberglass mesh on the faucet and tap areas for added reinforcements. Apply your second coat and lay over another layer of the same mesh this time to the enter shower wall. Once it dries, finish off with a third coat.
Next, is waterproofing the walls. Apply a solvent-based paraffin wax. Keep in mind that this treatment needs to be repeated a few times every few months just to maintain its waterproof traits.
Another option is for you to opt for a polyurethane varnish. Start off with a universal primer, keeping a ratio of 1 part primer and 14 parts water. Then proceed with applying 2-3 coats of the varnish.
Create a shadow gap between the wall and the shower tray and fill it with anti mold silicone as this can be a weak point in the shower wall since water tends to penetrate through it if left unchecked.
Merlex Super Shower Finish
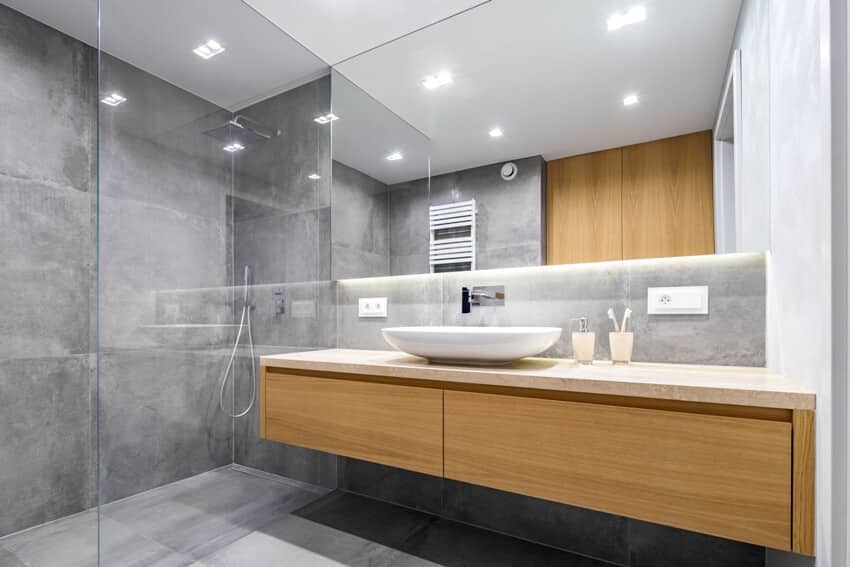
This is a type of Portland cement that’s been polymer-modified. It creates a premium and high end look without the ensuing price tag.
You can opt to add dry color pigments if you have a specific color that you’d like to achieve for your bathroom walls. This shower finish is great as a standalone but is also great when paired with tile or stone options for the bathroom. See the popular types of bathroom tiles here.
Eco Stucco

Eco stucco is a material that naturally hardens upon application. Once it dries, it hardens and forms a chemical reaction, converting it into calcium carbonate more commonly known as limestone.
It offers long-lasting protection to your shower walls and is highly known for its easy application as well as for its durability.
Eco stucco is considered the eco-friendly and sustainable choice because it can come in white or naturally tinted colors that aren’t toxic compared to its other counterparts. Check out more ideas on the best tile for shower walls here.
The process used is similar to a popular Moroccan plaster technique called Tadelakt which uses lime plaster, marble, or limestone combined with natural soap to create a durable and waterproof surface. However, unlike eco stucco, a Tadelakt finish requires a labor-intensive process requiring an installation of up to seven layers.
How Do You Clean A Shower Made from Stucco?
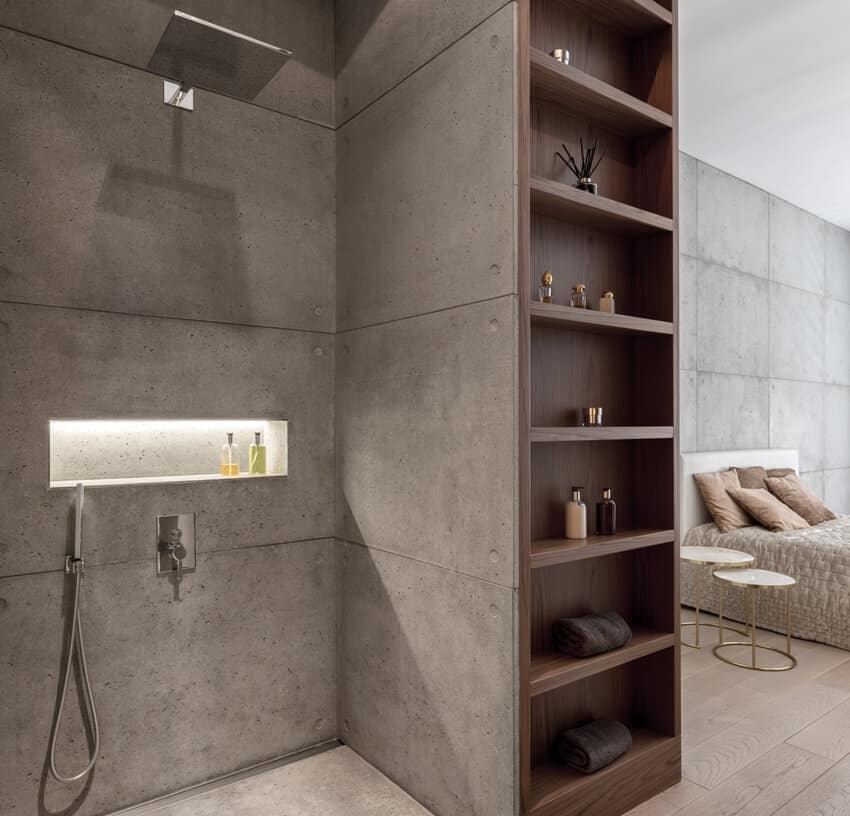
Start off by inspecting the shower wall surfaces. Look for any signs of damage such as cracks, openings, or any types of gaps. Washing directly without first inspecting the surface for damages can let water enter through the cracks, allowing molds and mildew to grow, and damaging your walls from within.
Seal off any cracks. It’s important that you repair any cracks in the stucco walls before washing. Go for an exterior acrylic caulk that matches the color of your walls. Sand off any gritty areas to smooth out the surfaces right after.
Rinse. Rinse the wall surfaces down with water. This will wash off any dust particles or debris. If you’re opting for a pressure washer, keep it at a level of 1,500 PSI or below so as not to damage the stucco and make sure that you maintain a distance of 24 inches.
Apply your cleaning solution. If it’s just for basic cleaning, any regular bathroom cleaner or dish soap will do. If you have to clean off molds and mildew, you are going to need something slightly stronger such as some bleach.
Scrub. Make sure that you use a soft bristle brush when scrubbing your stucco walls. Do them in sections and make sure that you go about it gently as stucco can be very delicate when not handled the right way.
Finish off with a last rinse. Make sure that you do it thoroughly, getting rid of any substances that might stick to the walls. Again, keep a 24-inch distance from the hose and if pressure washing, keep the pressure low at 1,500 PSI or less.
For more related ideas visit our guide to quartz shower walls pros and cons page.

