Kitchen Island Trim Ideas (8 Options To Upgrade Your Design)
Kitchen islands that match the color scheme and style of the kitchen create a cohesive design that adds elegance to your space. If you want to give your room a new look, you can place trim on your islands. The job is simple and fun. With the right materials and kitchen island trim ideas, you can update the look with excellent results.

Upload a photo and get instant before-and-after room designs.
No design experience needed — join 2.39 million+ happy users.
👉 Try the AI design tool now
What Is Trim?
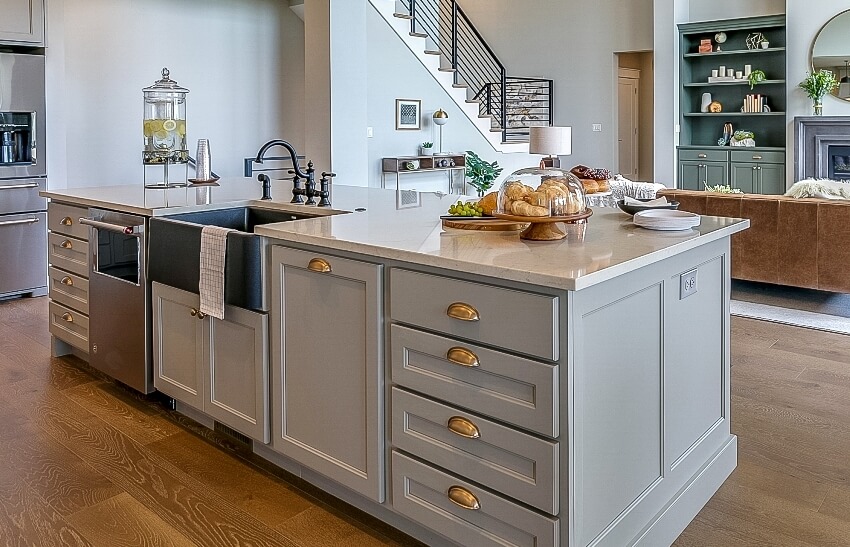
Do you want to enhance the appearance of your kitchen island? One way to do this is to use trim. Trim can be a molding, beadboard, wood, panel, or decorative woodwork materials.
People use trim to conceal holes and gaps in surfaces. Trim serves as a decoration for a plain island. It adds visual interest to storage cabinets and pantry spaces. Some cabinets that serve as center islands may be old already. The countertop might have damaged surfaces, a gap, or a hole.
You can make the countertop look new with a trim. Use a panel to cover the top of moldings to make a decorative design. See our gallery of luxury kitchen island designs here.
You can also paint the countertop. This will lend it a different and new look. Read more about types of kitchen countertops here. Others use cabinet molding to give the island a personal look. Install them on cabinets to make them look finished.
Adding trim to your kitchen islands will enhance the look and layout of the area. The place can look nice and the atmosphere pleasant.
Types Of Trim For Kitchen Islands
Putting a trim on your kitchen island can improve its looks and here are some types of trim that you can use.
Boards
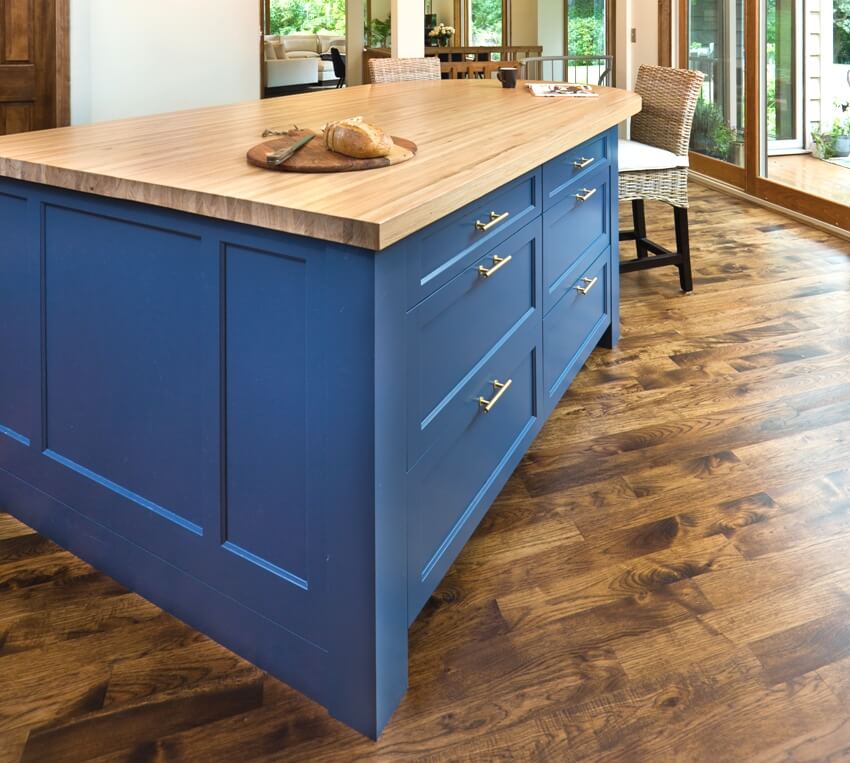
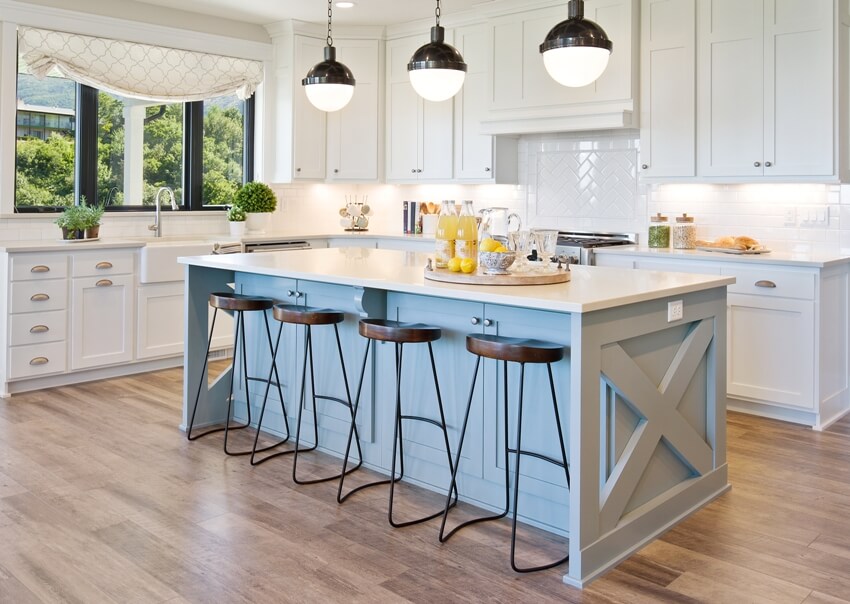
Use strips of the board to make the trim. You can arrange them on the front surface of the kitchen island. Nail the strips at regular intervals. Paint them to match the color scheme of the kitchen.
Screen molding
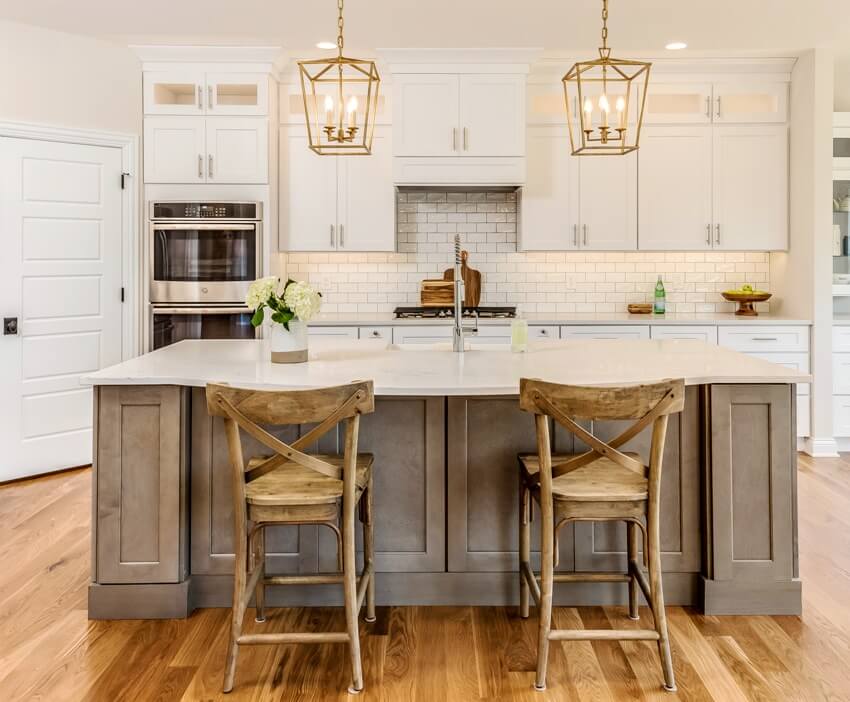
Baseboard and furniture legs
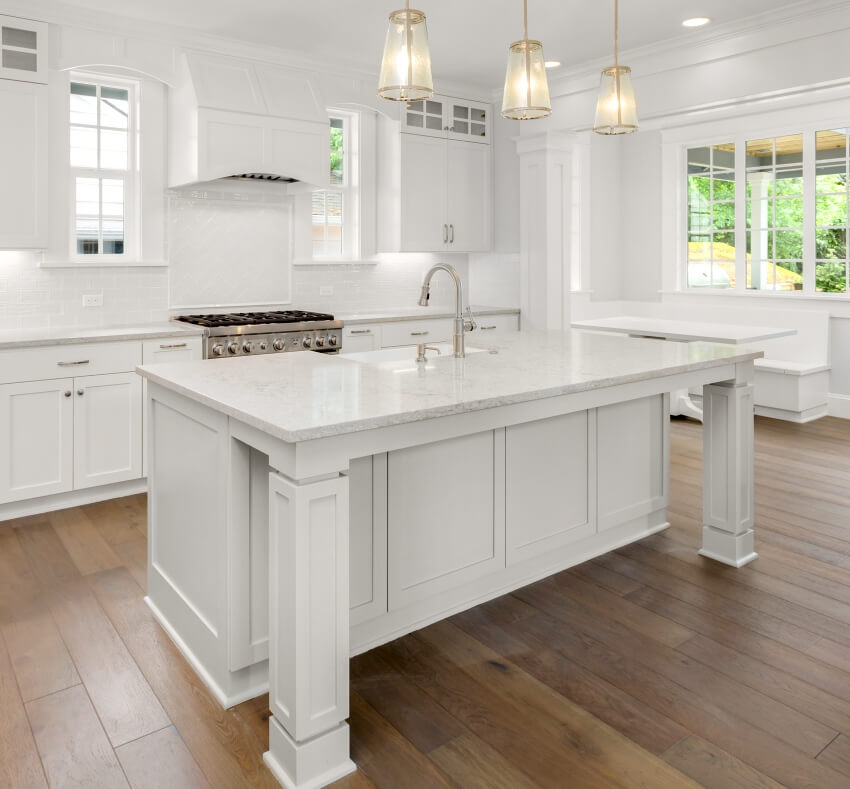
With the leg, it resembles a piece of furniture. Paint it with a color that matches the kitchen’s color scheme. Check out the best kitchen paint colors for more ideas.
Baseboard molding
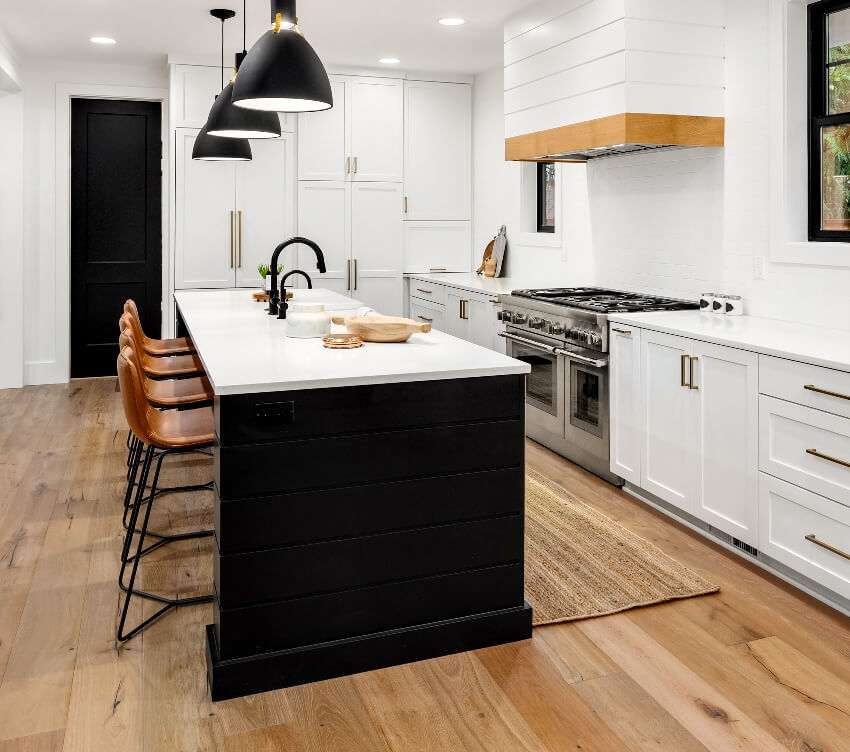
Add a wider baseboard to cover the whole surface. You can have several layers. Paint with a matching color to your kitchen. It gives the finished product a customized look.
Beadboard
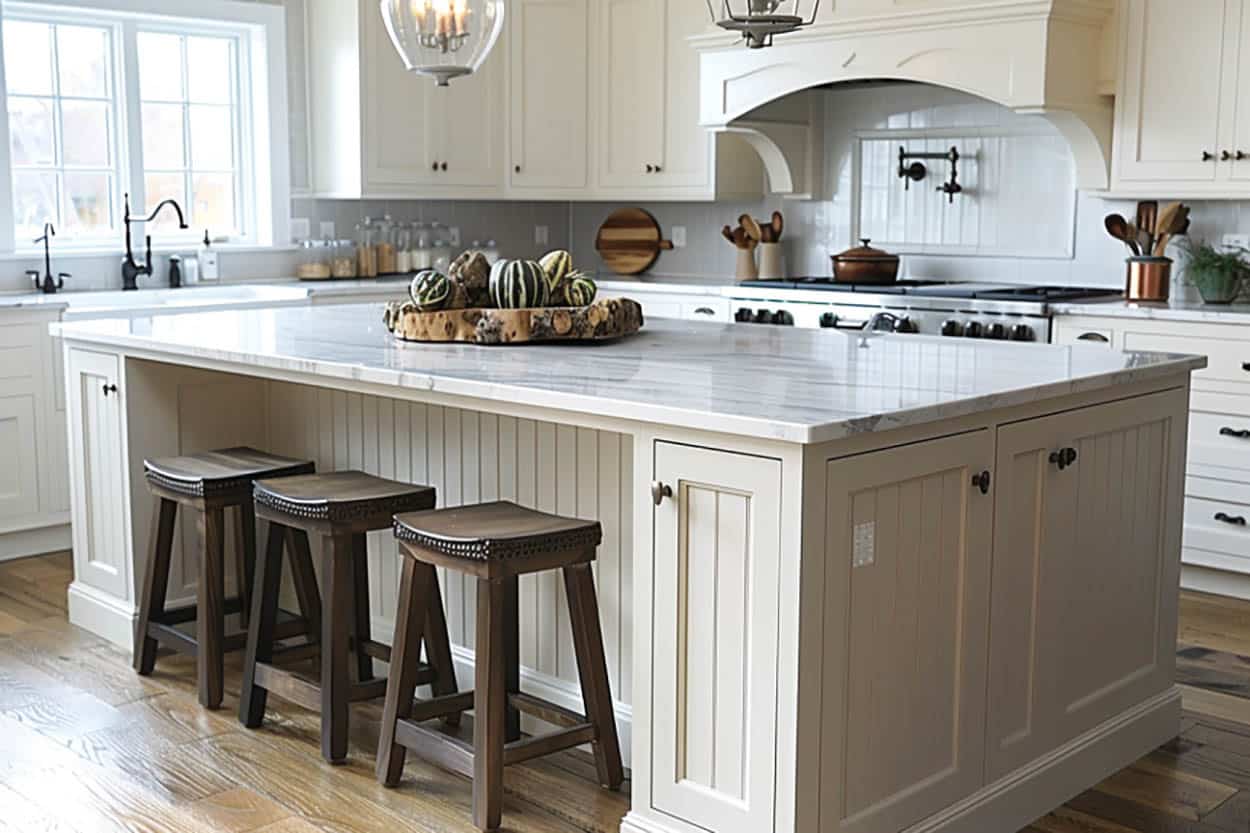
A beadboard refers to horizontal planks or panels made from wood, plastic, or metal. It can be used as trim to wide surfaces. Molding can be used below the board to give it a smooth look.
Craftsman-style baseboard and corbels
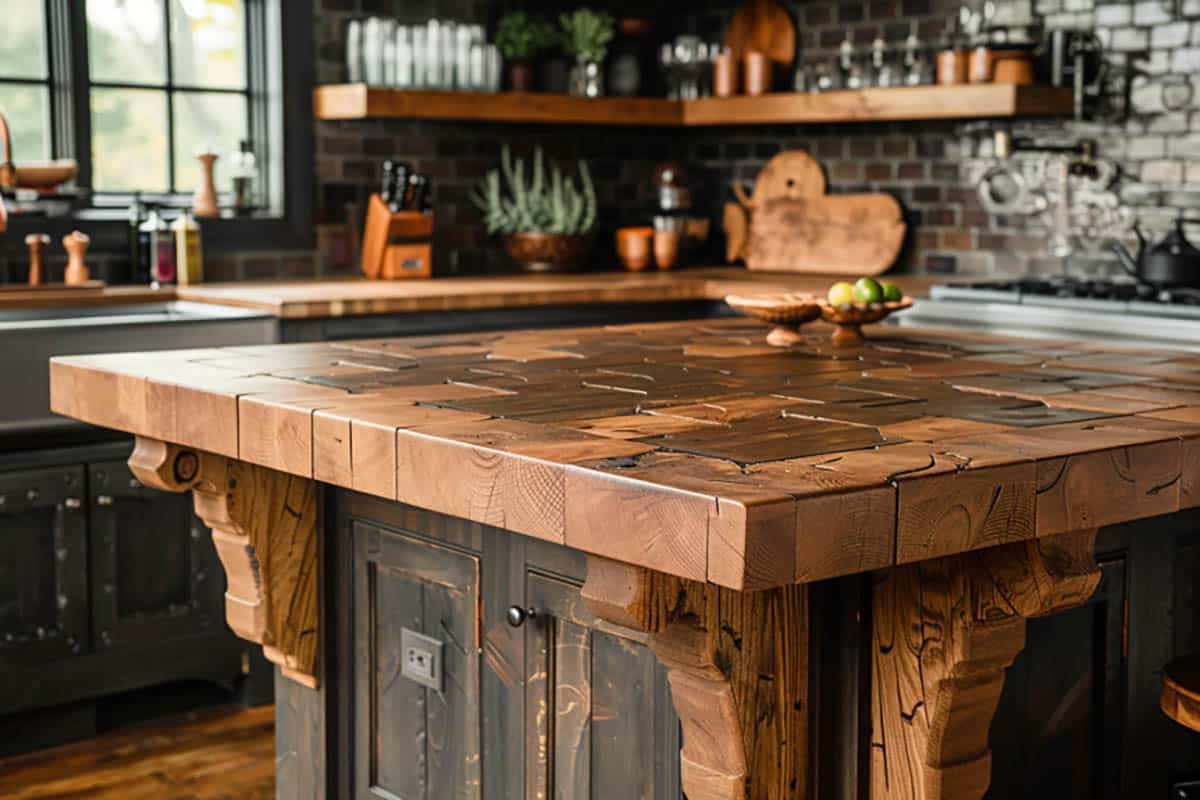
Use the craftsman-style baseboard for the kitchen island surfaces. Add a corbel to give it a different look. Paint with the desired color, considering factors such as lighting, appliance access, and kitchen design to create a cohesive look.
Thin poplar boards
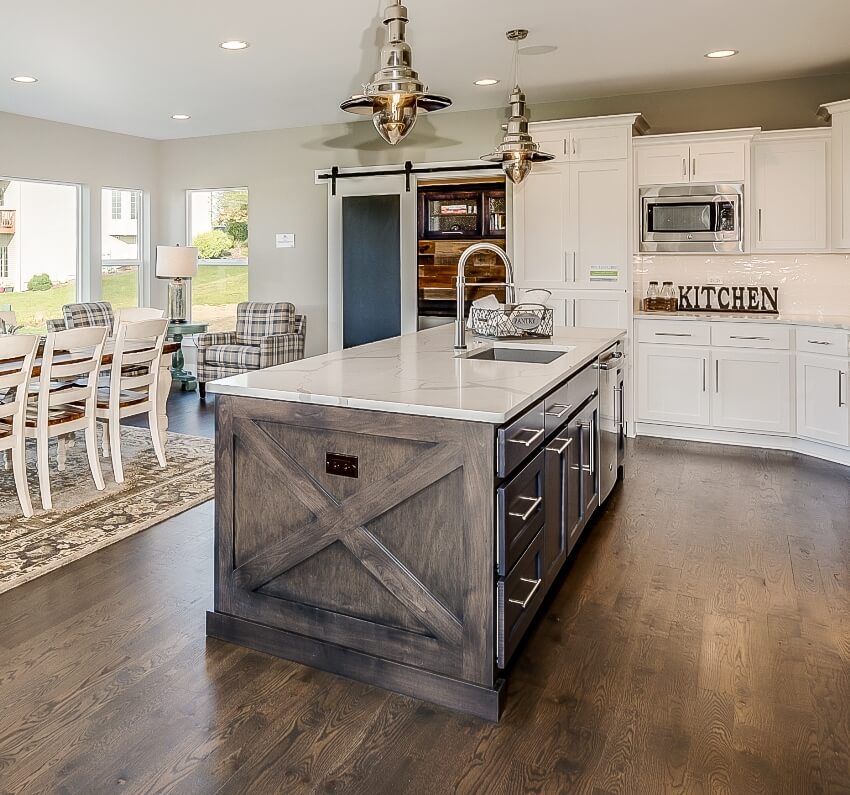
Thin poplar board trim gives a nice effect. You can use them to put trims that depict figures or letters of the alphabet.
Board and batten
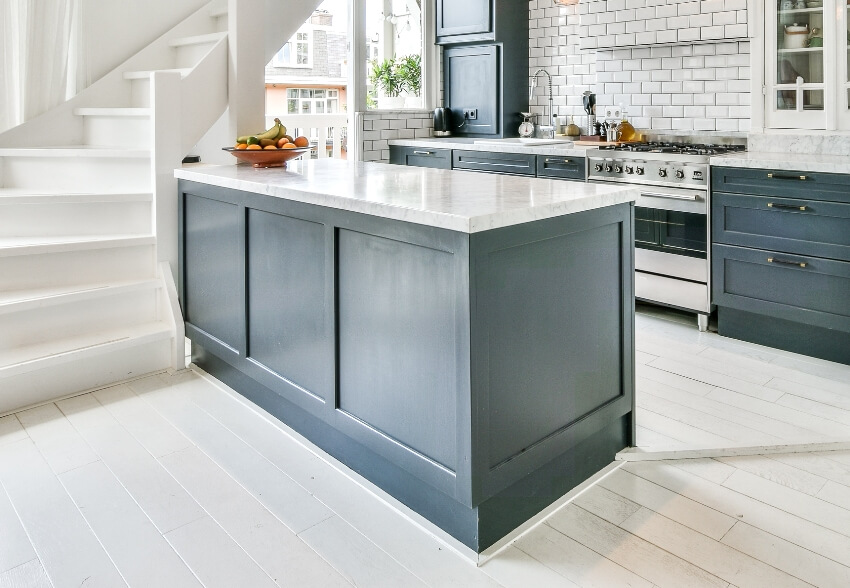
Batten is a strip of solid material such as wood, plastic, metal, or fiberglass. You place them on top of each other to make a trim for the top surface of a kitchen island.
How Do You Trim A Kitchen Island?
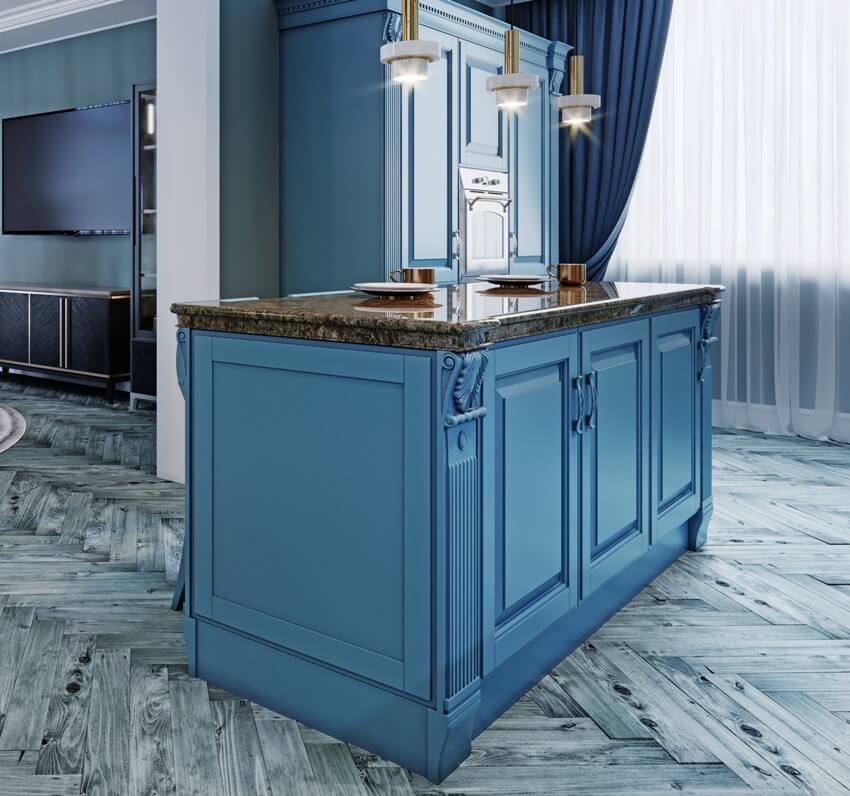
Trimming an island to give it a facelift is easy. It is a favorite do-it-yourself project for many. With the right materials and tools, you can do it.
Here are the steps for trimming your kitchen island.
1. Remove existing trim
Your purpose in placing a trim on your kitchen island is to give it a new look. The existing trim might be old with faded paint. Strip off the peeling paint.
Remove the old trim using a small crowbar. You will also need a nail remover for the task.
Make sure to remove the trim on the corners and on the lower portions. Look for gaps and insert the crowbar. Apply force to remove the old trim.
Check for remaining nails. Make sure to pull them out. Nails on trims do not have heads. Sometimes, they get stuck on the island’s cabinetry.
Remove all nails to prevent stepping on them. It will be safe for you when cleaning the kitchen island.
2. Clean the kitchen island using a sander.
Use a mouse sander to smoothen surfaces. A grit of 150 and 220 is enough. You can also use sandpaper to smoothen the surface. Make sure that you clean all surfaces and crevices.
Finish by wiping all surfaces three times using a rag. Wipe off all the sanding dust. The remaining dust and dirt can affect the outcome of your labor.
3. Cut the molding for a perfect fit.
Make the necessary measurements. Cut the materials based on your measurements. Separate each material for each trim that you want to place. Make sure to carefully get the size to avoid many trips to the home improvement store. You need accurate measurements for a perfect fit.
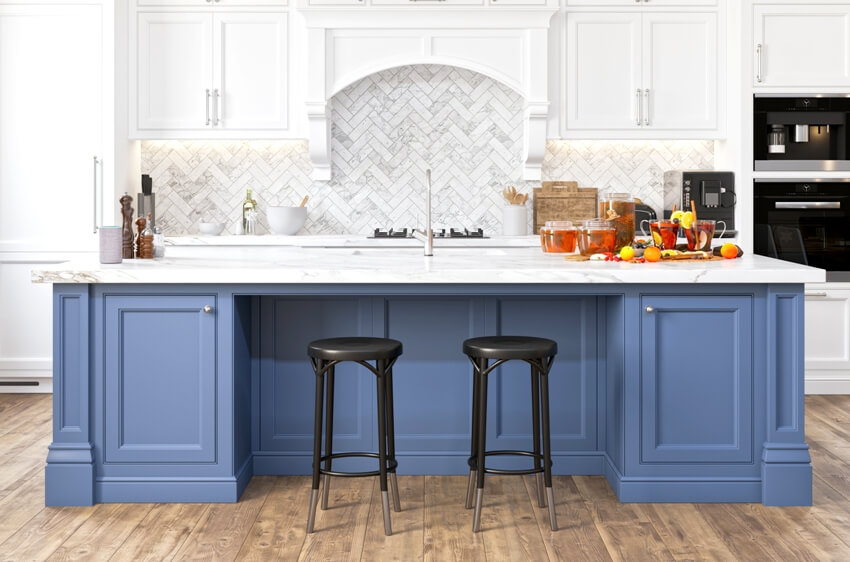
If you think your kitchen needs an upgrade, start with the cabinet hardware, then move on to the island’s trim. They both add character to your kitchen and customizing them can make them look elegant.
For more kitchen island trim ideas, visit our gallery of the most popular types of kitchen islands.

