What To Know About Distressed Kitchen Cabinets (Designer Tips)
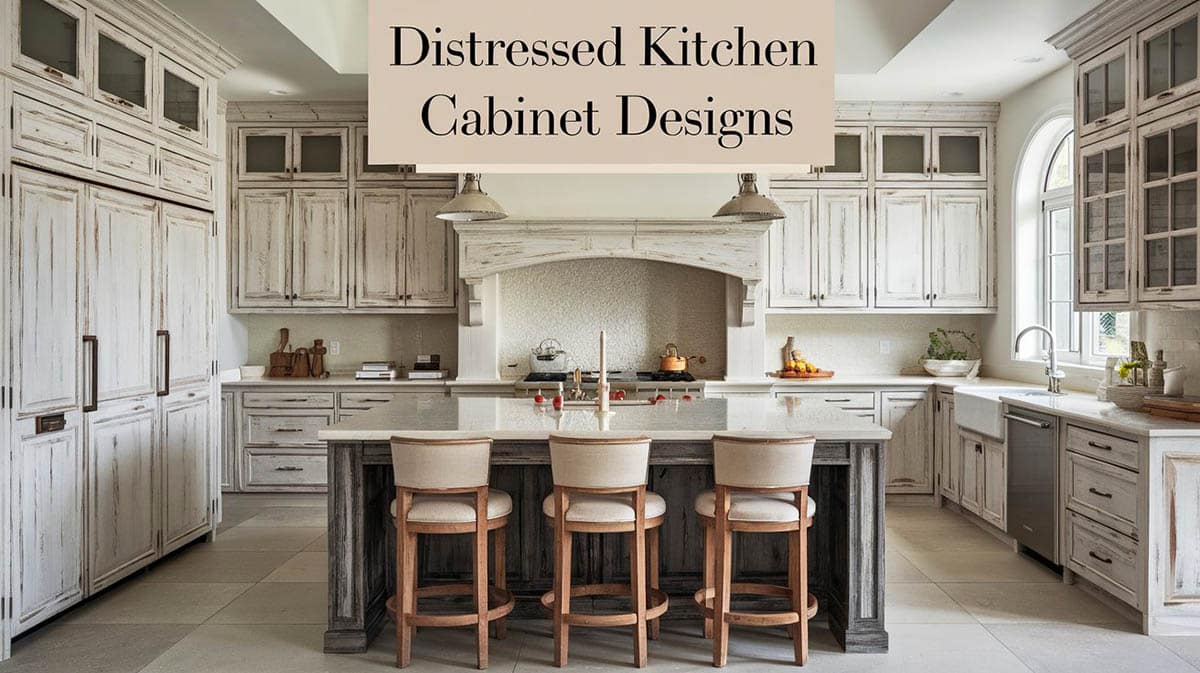
Adding distressed kitchen cabinets to any style of kitchen, whether modern or classic, would instantly give it a different vibe. The unique color and texture they add instantly add a focal point to your kitchen and give it a very warm, “lived-in” feeling. Nowadays, you can easily find DIY materials to achieve a distressed look on your furniture pieces, as well as purchase pre-made boards and cabinets that are already distressed. If you have solid wood cabinets in your kitchen and want to distress them, then you’re in luck because it is easy to distress existing solid wood cabinets. The antiquing glaze can easily absorb into the grains of the wood and create a gorgeous look.
White Distressed Kitchen Cabinets
White cabinets are the easiest to distress, as they easily absorb the pigments of the staining/antiquing glazes. White cabinets that are a bit older and well-used are even easier to work with, as they probably have already worn down their original protective coatings.

Upload a photo and get instant before-and-after room designs.
No design experience needed — join 2.39 million+ happy users.
👉 Try the AI design tool now
Country style kitchens would also look good with distressed kitchen cabinets. These types of kitchens are commonly known for their rugged casual look that has a very warm & homey feel. By using a heavier distressing technique that creates a faux “sanded down/worn-paint” look, a bleak white cabinet surface seems to come to life.
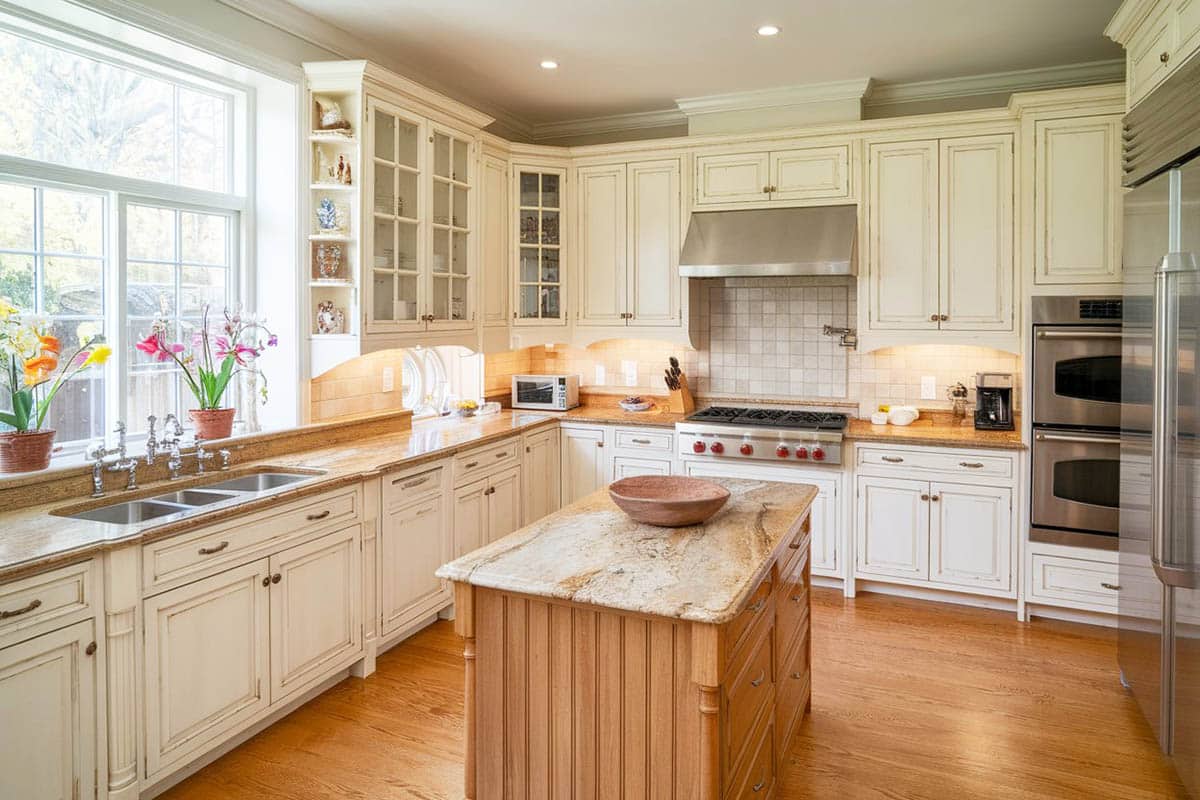
These French style kitchen cabinets used a light-colored antiquing glaze to achieve this “aged” look for its white cabinets. The glaze was applied thinly and sparingly for minimal grain emphasis, but enough to stain the existing white cabinets to achieve a yellowish tone to resemble aged white cabinets. Visit this page for more details about how to paint kitchen cabinets antique.
For this classic Spanish style antique white kitchen, a light-handed distressing approach was also employed, but is noticeable giving more emphasis to small grooves and details of the cabinet moldings. While the flat surfaces have only been lightly stained by the glaze, the small cervices were allowed to seep in more glaze to further emphasize them, thus adding more depth and texture without the wood grains.Similar to the previous example, this kitchen has also only been lightly distressed with more emphasis on grooves and crevices. The glaze used a yellowish green tone to give it a very subtle cool tint.
Grey Distressed Cupboards
White is not the only cabinets you can distress. In fact you can distress any color of kitchen cabinets, given that you use the appropriate color of antiquing glaze for best results. Contemporary and transitional style kitchens would definitely match this type of distressed cabinets.
This contemporary kitchen island has a light gray cabinet base which has been antiqued with a lighter white color to give it a “dusty/dirty” look. The technique used to distress the island gives it an imperfect appeal which contrasts with the other perfectly smooth and plain finishes in the space, helping add more dimension to the kitchen.
Unlike the other example, this classic gray kitchen uses a glaze which is slightly darker than the existing base paint finish. This combination results in a very subtle distressed effect that gives the surfaces more depth and body.
To match the modern industrial look of the kitchen, the light gray kitchen cabinets were lightly distressed. The glaze was used mostly on the cabinet grooves/crevices to further embolden the small details of the kitchen.
A different antiquing technique was employed on the gray cabinets of this U-shape kitchen. The usual route is using one antiquing glaze that is slightly darker than the existing finish, but it usually remains within the same color family. However, this cabinets used 2 different colors so that the it would look like the paint has faded from the wood cabinets. A light beige tone was used in random strokes to create the “faux exposed wood” surface, while a dark gray glaze was also randomly applied to emphasize small wood knots and crevices.
Black Distressed Cabinetry
Black cabinets are little bit trickier to distress, but otherwise not impossible. Depending on the look you want to achieve, a combination of various techniques can be used to distress black kitchen cabinets.
French style kitchen cabinets have always been known for their detailed door panels and moldings. This kitchen uses a very dark black paint finish on its cabinets, but the raised surfaces of the moldings makes them easier to sand down. So instead of applying another layer of glazing which would most likely hardly show on the dark paint surface, the raised edges of the moldings were simply sanded down and resealed to achieve a distressed effect.
Similar to the technique discussed in the previous example, these black cabinets were simply sanded down on the molding edges. This kitchen cabinets specifically sanded down the outer corners of the moldings to help emphasize the details and to “frame” the panels.
If you feel like sanding hard enough to reveal the wood base is too much work, you can also distress black cabinets by using glazes/stains/paint. Because the base color is very dark, you would need to use a more opaque glaze, hence why some people prefer using thinned paint, as it carries more pigments that would show against the black cabinet surface. This example shows thinned white paint used to emphsize the small grooves of the wood paneling on the black kitchen island.
Brown Distressed Cabinetry
Brown glazes and tints give a unique warm and natural effect when used to distress kitchen cabinets. This color helps give cabinets more warmth and can be applied to achieve a subtle or bold distressed effect according to your liking.
Gorgeous cornflower blue country style kitchen cabinets have become the focal point of the kitchen because of its unique distressed effect. The opaque beige glaze was applied using delicate brush strokes to achieve this “sanded down” look, without actually sanding down the paint up to the wood. The contrast of the blue and the warm toned glazes also creates a very unique look.
This kitchen with reclaimed wood island features cabinetry with a brown distressed finish and a off white quartz countertop. Modern finishes give this otherwise rustic space a more contemporary design feel.
This is an elegant French style kitchen which uses cool minty greens combined with white kitchen cabinets. A very light brown glaze was used on the kitchen cabinets to add a wash of warm tone to the otherwise very cool-toned color scheme, helping achieve balance without going away from the original color scheme. A distressed wood flooring can also be used to complete the design.
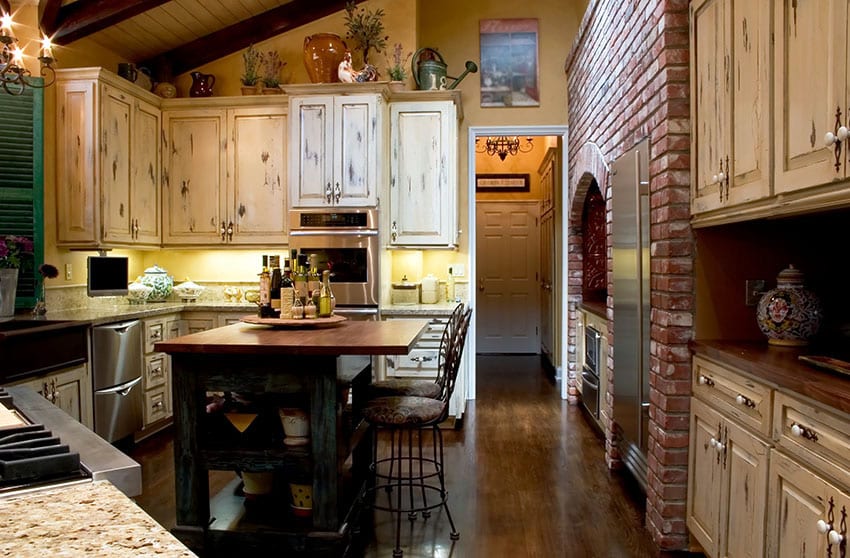
Unlike the previous examples which were mostly lightly distressed, this kitchen goes for a bolder distressed look – a more worn-down/weather feel. To achieve this, a darker/more opaque glaze was used on the white kitchen cabinets to produce the random patches of faux paint damage.
DIY Distressed Cabinets
While distressing cabinets are best left on the hands of professionals and those with a knack for painting or art, you can still easily DIY you existing cabinets to achieve a distressed look. After all, distressed kitchen cabinets is not about perfection, but actually celebrates various levels of imperfection to achieve a “weathered” feel.
How to Distress Cabinets
Follow the following steps to create an antiqued finish on your cabinets:
- Disassemble your cabinets – remove all the hardware and take your cabinets apart, if possible. It will be easier to work on your cabinets that way.
- Sanding – using a sanding block or other similar equipment, sand down your cabinets to remove the gloss of the existing finish.
- Clean – remove all the residue dirt and dust on the surface
- Apply Antiquing glaze – using a brush, apply antiquing glaze (choose a color appropriate for you cabinet’s base color. Do a test to ensure the glaze can achieve desired effect/color) and remove excess using a clean rag.
- Seal – after drying for 24 hours (or as indicated on the antiquing glaze you have used), apply a non-yellowing sealer on top.
If you currently have white kitchen cabinets that you want to distress, a good technique for beginners is to simply glaze and emphasize the modling crevices. This distresing technique is quicker and easier than distressing the whole cabinet surface.
Since the moldings of these kitchen cabinets are smaller, a lighter color glaze was used so that it doesn’t over-darken the corners and grooves of the moldings.


