Concrete Shower Floor (Pros and Cons & Design Guide)
Here’s our concrete shower floor design guide listing the pros and cons, what kind of concrete to use, installation steps, and waterproofing tips.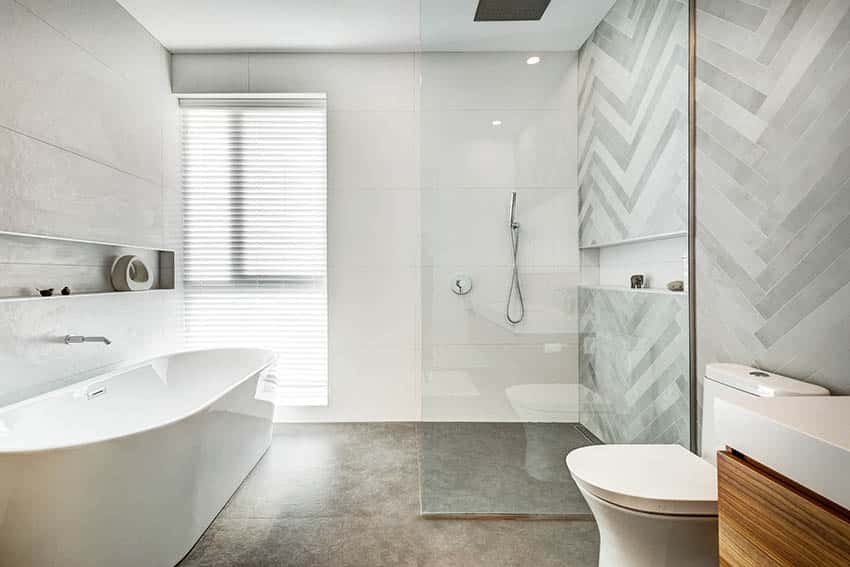
On the subject of ideal shower floor materials, besides aesthetic appeal, several other variables should be given just as much, if not more, attention.
Where to start? With concrete shower floors. Say hello to one of the most reliable materials you can count on for your bathroom shower floor revamping.
Can You Use Concrete For Shower Floors?
The short answer? A resounding “yes”! But perhaps it’s the “why” of it that you should understand. Why use concrete for your bathroom shower floor? What are its benefits? And as it has been around since the 1800s, why remain a constant in shower flooring construction?
Our experts have narrowed down buying with a design guide to help you finally make the right decision for switching to concrete.
Concrete Shower Flooring Design Ideas
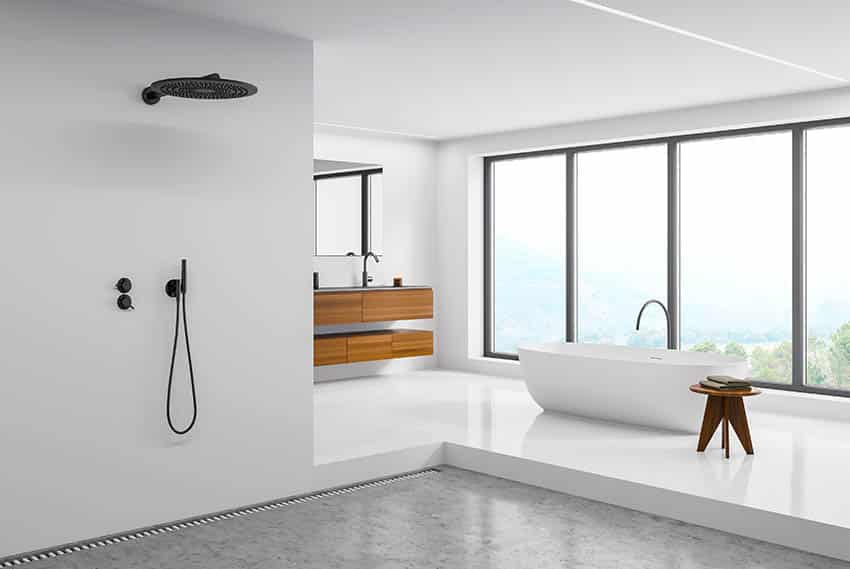
A concrete shower floor can be used in a variety of bathroom styles, but it is particularly popular in modern and industrial-style bathrooms. The clean lines and minimalistic design of these styles complement the sleek, low-maintenance nature of a concrete shower floor.
However, with the ability to customize the color, texture, and pattern of the material, it can also work well in other design aesthetics, such as rustic or contemporary. A concrete floor is a durable and versatile option that can be adapted to fit any bathroom style with the right application and customization.
Here are a few of the popular methods for using concrete for your shower floor:
Concrete Everything. The seamless flow of the industrial stone effortlessly creates an impactful shower area and works well with almost any bathroom style. But for modern bathrooms, the humbling material, together with that sleek glass division, showcases a sophisticated look.
Seamless Concrete Flooring. With a clever drainage system, it creates that curbless design, eliminating the visual boundary between the wet and closed areas in the bathroom. Install a sloped pad and hide away the linear drain with custom tile.
Encaustic Cement Tiles. When looking for a variety of encaustic cement tiles, it is a great option. They come in a wide range of colors and patterns and is made from cement, pigment, and other natural materials. The cement tiles are durable and water-resistant.
Black and White Concrete Combo. These neutral colors are perfect for injecting creative geometry without overwhelming a space while effectively establishing the mood and style. Pair light concrete with dark to create a checkered pattern to create a transitional, art deco, contemporary, or vintage aesthetic.
Use Microcement. For a shower floor without a major renovation, use micro cement. The cement-based coating can be applied thinly on an existing substrate. The thickness will depend on the surface but will usually have a thickness of around 2 to 3 mm.
Shower With Concrete Floors Pros And Cons
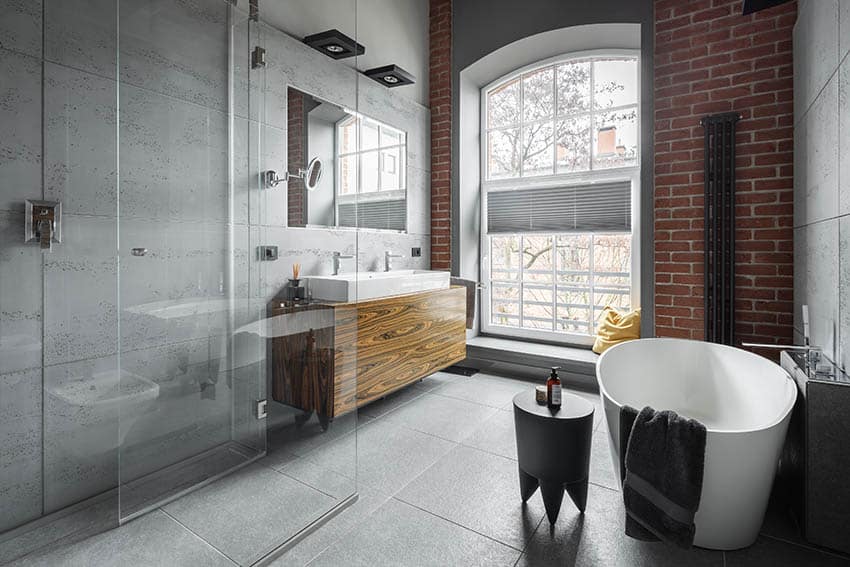
Water Damage Resistance – Many are unaware that concrete does not easily let water seep through it. As long as the surfaces are installed and maintained well, the likelihood of them incurring water damage is low.
With the aid of the best flooring specialists, you can have concrete floors regularly checked so that cracks and fissures are quickly pointed out, covered, and patched up. This will strengthen the affected area and curb the build-up of moisture.
Durability And Longevity – Aside from resilience against water damage, the material has proven durable. It can withstand abrasions, chemical exposure, and weathering elements, all while maintaining its structural quality and integrity.
A reason behind its durability and, ultimately, longevity is how it houses low levels of organic content. Fewer organic content equals a slower rate of deterioration caused by reoccurring natural elements found in the environment.
Cleaning Convenience – Concrete is fairly hassle-free to clean. In fact, dust and dirt will require little effort, from dry-mopping to sweeping and vacuuming. Now and then, you can even use a wet mop for deep cleaning concrete.
Concerning cleaning agents, be sure to ask your supplier about which products will work the best. There are tons of commercial cleaning agents that contain chemicals that discolor concrete , and these should definitely be avoided.
Economical – You’d think that something as durable as concrete flooring materials would equate to hefty price tags. Nevertheless, this isn’t so. It is so cost-effective, that it’s considered one of the most economical in the context of construction materials for flooring.
Concrete comprises simple substances, mainly aggregates (commonly referred to as “rocks”), air, and paste. The “paste” is generally made up of a blend of water and Portland cement.
These are naturally sourced and thus do not entail expensive extraction and manufacturing processes. This makes them ideal for large walk-in shower designs.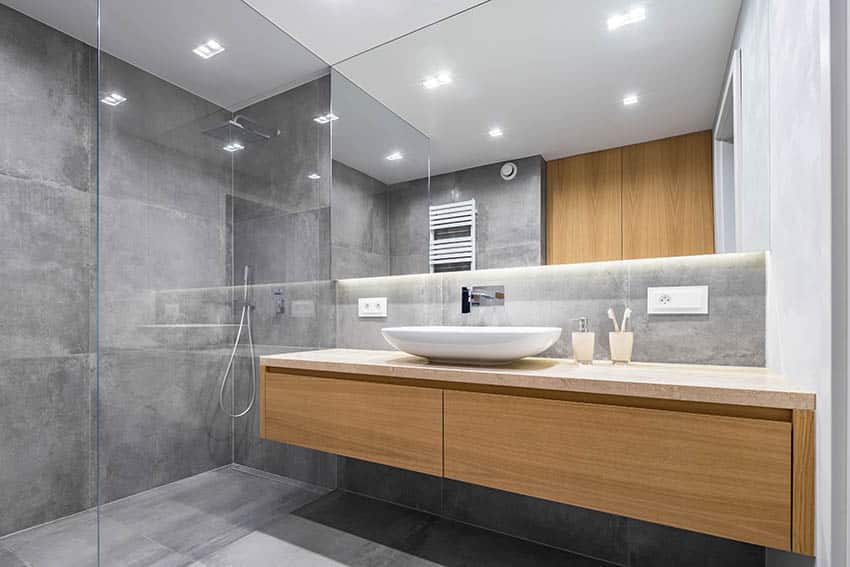
Cons of a concrete shower floor
The Right Surface Finish – The point of the matter is that hitting that “right” concrete finish is usually attainable only with the assistance of expert contractors.
If you’re thinking of DIY-ing this yet have no experience regarding cement pouring and layering, you might end up with a shower floor that’s either too coarse or too slick to be trodden upon.
No Sealant Means Hello Staining – Although cement floors can be cleaned without complications, they can incur staining. And not the artful sort of what we imply by “staining”. But don’t worry, as there is a solution to this— sealants.
What Kind Of Concrete Do You Use For A Floor In The Shower?
Sand Mix
Just as the term implies, a “sand mix” is a combination of cement and sand. The latter is what allows “sand mix” that unique appearance and texture. It has a beautiful grainy finish.
Barring this, sand lets the mortar gain volume. More volume means higher density, which directly translates to physically expanding the product further.
Thinset
Thinset is the preferred pair of cement foundations, particularly for reinforcing tile fittings. After your concrete has been laid, Thinset is the next layer to be spread before tiles are put down and arranged. This type of cement is often used for installation of pebble tile shower floors.
Portland Cement
Portland cement is among the most common type of industrial resources utilized in both residential and commercial spheres. It is also very frequently a material included in many other categories of concrete, mortar, etc. 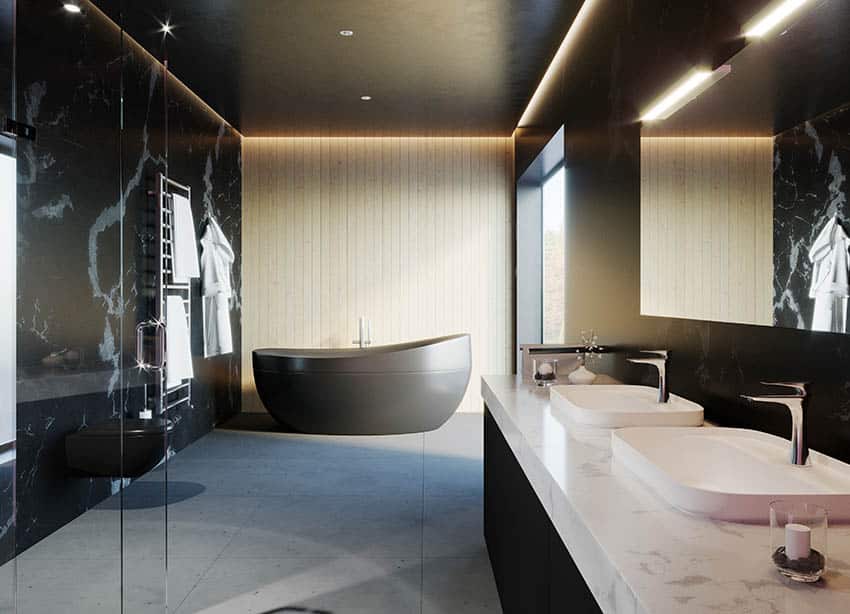
Concrete Floor Installation for Showers
Here are some steps that revolve around a basic design and installation guide for your brand-new shower floor.
Membrane Fastening
A rubber membrane should be spread evenly on the floor surface, with its edges stretching slightly beyond the floor’s diameter.
You can use studs to affix them securely on the form board. And a pro tip— leave at least 8” starting at the bottom of the board.
Drain Hole Cutting Plus Drain Plate
With a utility knife or a similar instrument, cut the drain hole out. Take care that you cut it in the right size. Not-too-large is good enough.
The purpose for this is for it to act as a funnel for those rare instances when water seeps through and needs an outlet to be drained from the flooring.
Subsequently, fasten the drain plate along with the drain. A 1 ¼” allowance is recommended to give the mix ample space to settle.
Mixing the Concrete
Now comes the mixing of the concrete. This may vary according to the type of material you choose.
By and large, you can pour it into a basic bucket and fill it up until about a third of the receptacle.
Afterward, alternate pouring water and a bit more concrete and combine them until they acquire a smoothie-like texture. Likewise, don’t forget to refer to the manufacturer’s instructions for this task.
Pouring And Curing Concrete
The concrete can be distributed via a handheld mortar mixer or a trowel. Follow the aforementioned 1 ¼” leeway closest to the drain. Gently spread out the moist material until it is even and smooth.
How Do You Waterproof A Concrete Shower Floor?
To waterproof a concrete shower floor, you use sealers… In multiple coats.
Sealers can be sprayed on the floors and serve as a protective film against water seepage and moisture accumulation. On several occasions, epoxies are coated on cement, and sealers are distributed as the final overlay.
For both indoor and outdoor showers, there are several different sealing options. A water based polyurethane is often recommended for indoor applications such as the Quikrete Clear Epoxy Coating product.
If you’re looking for an outdoor application, an acrylic masonry sealer like Behr Premium Wet-Look is a good choice.
A Final Tip For Slip-Resistance
It will be beneficial to roughen up your shower floor to prevent slippage lightly. An alternative is to purchase a grit-filled floor supplement as it will work the same way as roughening concrete.
How to Install a Shower Pan Made of Concrete
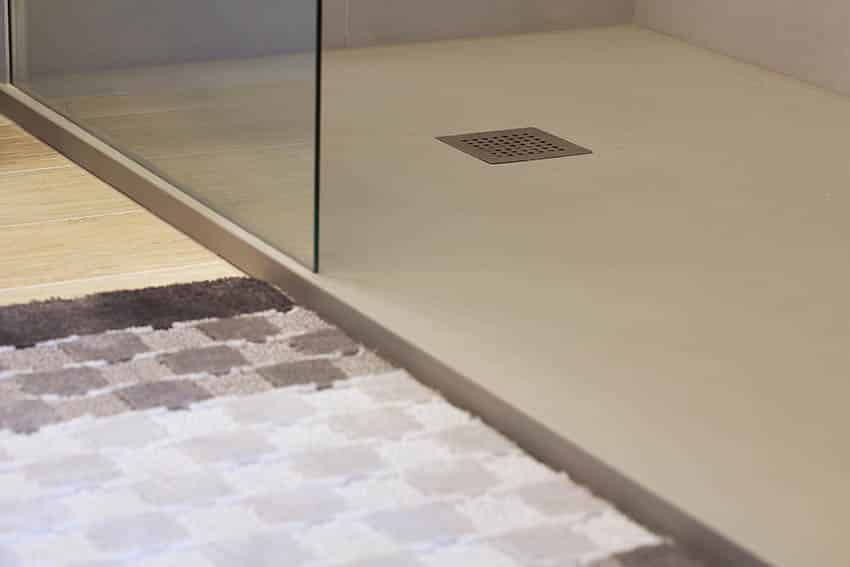
A concrete shower pan is used as a base, and there are ready-made pans available in the market. However, an experienced DIYer might want to try to install a concrete pan for a customized fit.
Materials Needed:
- Measuring tape
- Substrate – The typical thickness is 5/8” plywood, cement board) For concrete floors, there is no need for the substrate.
- PVC liner or waterproofing membrane
- Drain Fixtures/Hardware
- Concrete mix
- Sand
- Gravel
- Trowel
- Level
- Utility knife
- Hammer
- Nails
- Rubber gloves
- Protective goggles
Shower Pan Installation Steps:
Take the Needed Measurements. Measure the shower area to determine the pan size you need to make. The shower pan should be slightly larger than the drain assembly.
Install the Subfloor. Install the plywood or cement board on the subfloor using nails or screws. Make sure the surface is at a level.
Clean the Subfloor. Remove any dampness or debris on the subflooring.
Cover any Cracks. Tape off all cracks and holes so the self-leveler does not leak through. Small gaps can lead to leaks, so ensure no cracks are left uncovered. A penetrating sealer like a water-based polyurethane is effective in sealing cracks.
Assemble and Install the Drain. Install the drain assembly according to the manufacturer’s instructions.
Cut and Fit the PVC liner. Cut the PVC liner or waterproofing membrane to size using a utility knife. The liner should be large enough to cover the entire shower pan and extend upward to the walls by at least 3 inches.
Install the Liner. Place the liner over the subfloor and press it into place, smoothing out any wrinkles or folds. Cut a hole in the center of the liner for the drain assembly.
Create the Base. Fill in the area with a layer of sand, followed by a layer of gravel. Tamp the gravel down firmly to create a stable base.
Mix Concrete. Mix the concrete according to the manufacturer’s instructions. The consistency should be similar to pancake batter. The basic ratio of the concrete mixture is 5 parts sand to 1 part Portland cement. Quikrete’s Floor Mud and Topping mix are great options for assembling a pan.
Pour Concrete. Pour the mixture into the pan, smoothing it out with a trowel. Make sure the surface is level and slopes gently toward the drain. Allow the concrete to cure for at least 24 hours before removing the forms.
How to Install a Shower Base Video
Do you have experience with a concrete shower floor in your bathroom? Share your thoughts on this material in the comments section below. For more related content, visit our gallery of wet room bathroom designs.

It’s great to hear about the economical benefits that a concrete bathroom floor provides. I’m glad that it doesn’t lose any of the benefits that make tiles so popular as a choice for bathroom linings, and yet it’s still somehow cheaper and the more cost-effective solution. I’m planning on getting a gym built here in town and was wondering how I could save money during the construction. It seems that this is a great way to achieve that, I’ll be sure to reach out to any commercial concrete suppliers in town and ask about how they can help me out.