Should You Use Pergo Laminate Flooring In Your Kitchen?

When it comes to today’s high-end options, Pergo laminate flooring in the kitchen is a fantastic choice because of its durability and a variety of design options that come close to the real thing. This type is manufactured with several layers of materials such as a melamine wear layer that protects the laminate from damage, a high-resolution wood photo, a durable and highly dense core board, and a moisture-resistant backing.
Due to this construction, laminates are extremely durable and can withstand high-traffic areas, especially the kitchen where it is exposed to spills and moisture during cooking.

Upload a photo and get instant before-and-after room designs.
No design experience needed — join 2.39 million+ happy users.
👉 Try the AI design tool now
What Is Pergo?
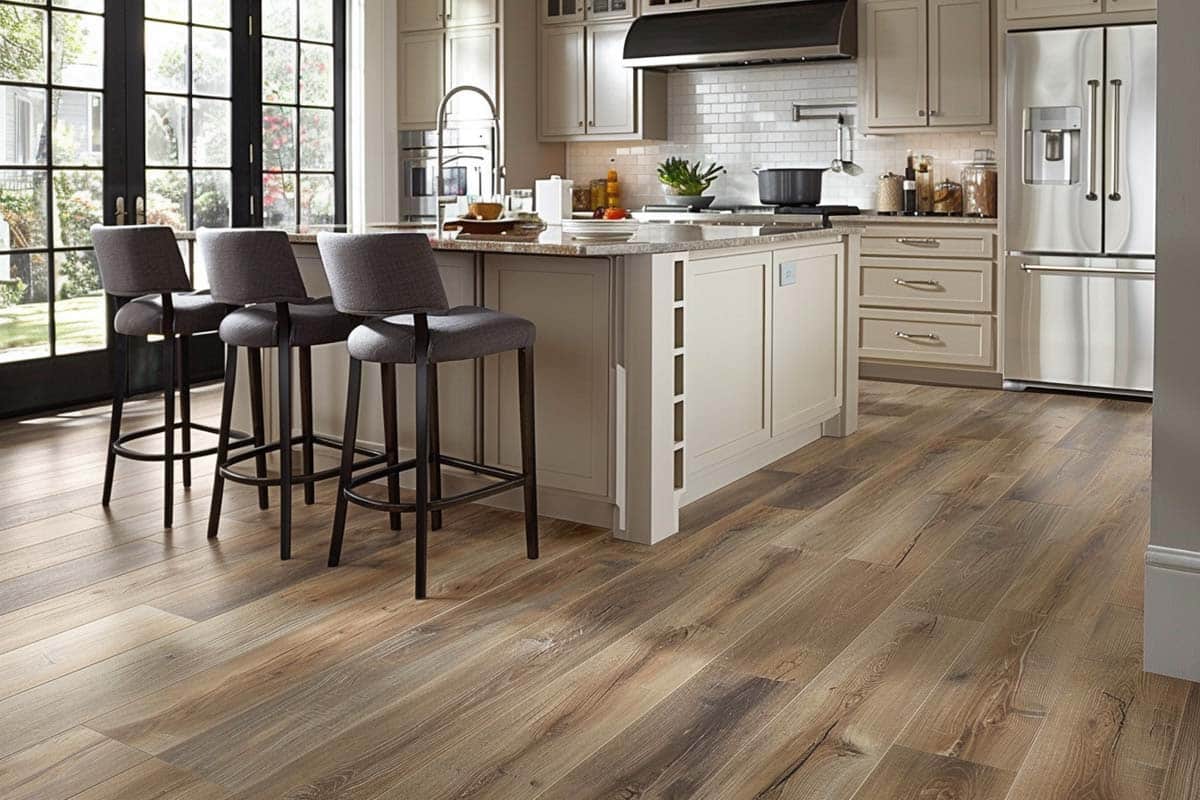
Often used as a byword for laminates because Pergo is the leading, most trusted, and most well-known brand in the flooring industry for over four decades. As a US brand, Pergo pioneered plank-style laminate that mimics the aesthetics of hardwood floor at a much lower cost.
Today, Pergo laminate floors have set the best standard for high quality, durability, and resistance, setting it apart from other laminated flooring. Pergo has a triple-layer system to easily handle high-foot traffic, enhance the durability of each plank, and reduce noise between the subfloors where these laminates are being installed.
Pergo laminate flooring is the best choice when working with non-level subfloors because of its thickness plus you get excellent coverage and a manufacturer’s guarantee to back up the quality of these Pergo products.
Can Pergo Flooring Be Used In The Kitchen?
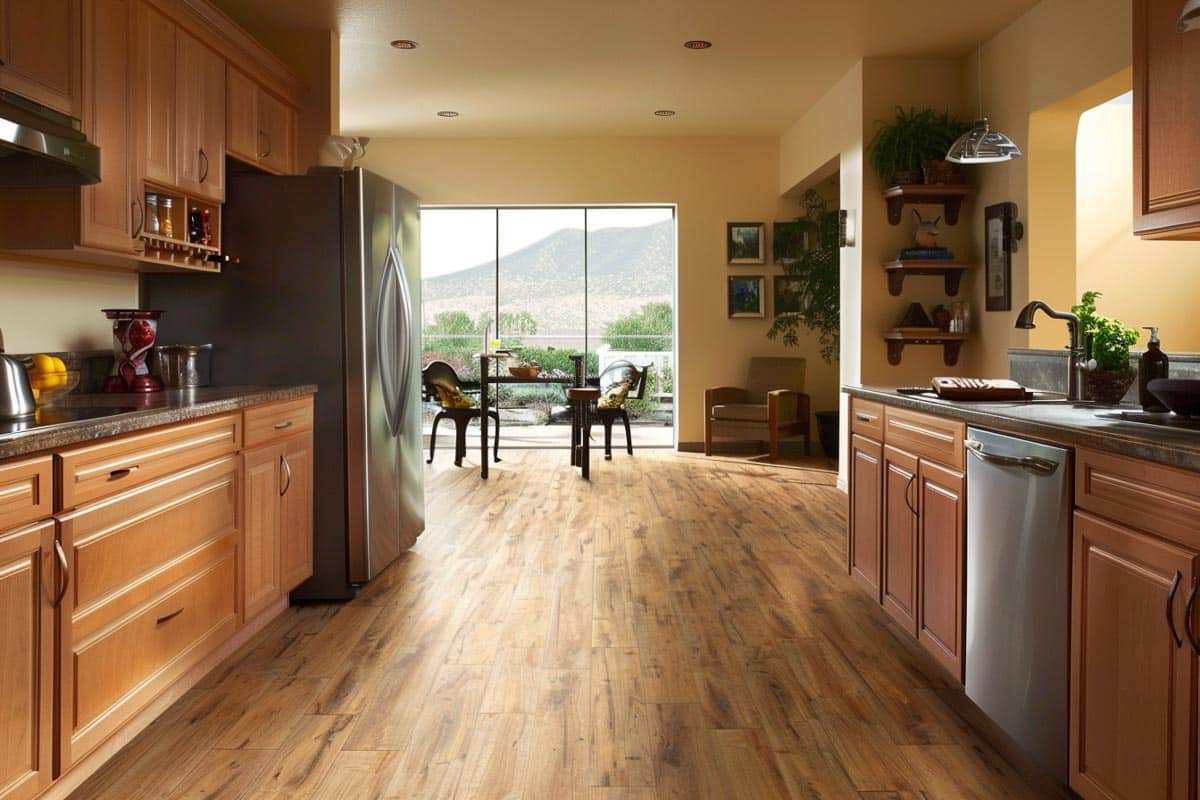
Let us tell you why Pergo laminated flooring in the kitchen is the best option – because all Pergo laminated floors are water resistant. Pergo has developed what they call AquaSafe technology which guarantees 100% watertight surface right down to the bottom most layer preventing water from penetrating the floor.
With this in-house technology, it provides your kitchen floors with great protection against stains because of its easy-to-clean surface and offers up to 15 years of wet warranty.
Pros and Cons of Pergo in the Kitchen
Pros:
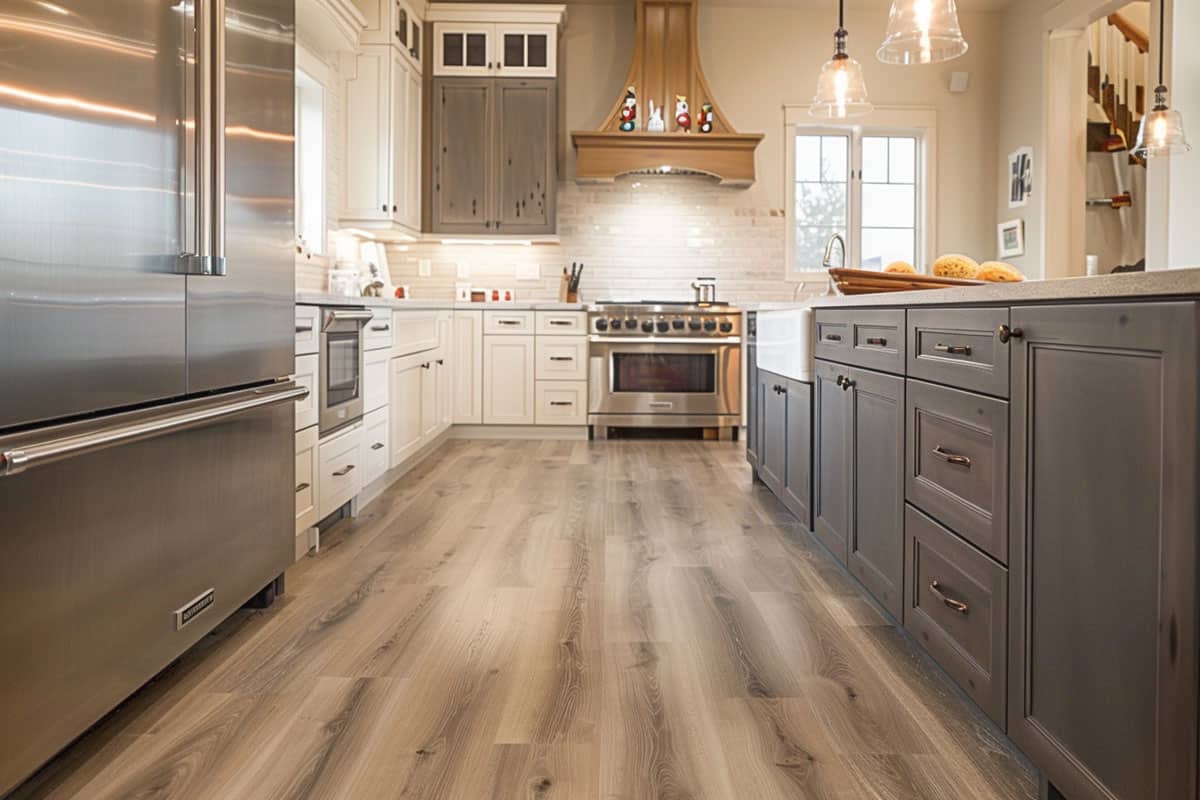
Aesthetic Appeal – The extensive range of their design collections that look realistic caters to a variety of design styles. Pergo takes pride in the craftsmanship that is put into manufacturing this synthetic laminate flooring.
Ease of Installation – Installation of Pergo is extremely easy since the pieces are locked in place together to create a firm surface suitable for kitchen floor surfaces. However, it always helps to call a professional who can install this laminated flooring to save you from the warranty voids just in case.
Less Expensive – Pergo is still the affordable choice in the market when it comes to kitchen flooring since they offer mid-range prices that would suit every homeowner’s remodel budget.
Durability – Pergo laminates are manufactured to be tougher than most of the brands out there in the market. They are created for better resistance from scratches and any spillage that happens frequently in the kitchen.
Maintenance – It protective stain resistant wear layer make maintenance easier. Maintaing is as easy as sweeping combined with occasional mopping to keep it looking like new.
Well-known Brand – Spanning for over 40 years in the market industry, Pergo has already established its brand recognition producing diverse and excellent quality flooring that suits every homeowner’s and designer’s needs.
Warranty – Due to their dedication to manufacturing only the best laminated flooring, Pergo offers excellent warranty plans. On the other hand, these warranties are not transferrable in case you sell your property, and the new homeowners lose the coverage. As mentioned earlier, if the standard installation procedure isn’t followed, any claim will be voided.
Cons:
Potential Water Damage – While these materials are known for being water resistant they are not water-proof. This means that continual exposure to water can lead to damage.
Can Swell with Water Exposure – In addition to damage the boards can swell if water penetrates the seams.
Noise – When walked on these materials can be noisy. To help alleviate this make sure to have an underlayment installed to dampen footsteps.
Hardness – It is a hard material which could be uncomfortable while standing and cooking in the kitchen. In addition being a hard surface it can also be cold. One could purchase padded mats to help with this or even go so far as installing radiant heating underneath at a much higher price tag.
Fading – One of the shocking attributes of these surfaces is they can fade when exposed to prolonged direct sunlight. Once faded the material will need to be replaced as it can not be sanded and refinished like wood.
Installing Pergo Flooring

One thing that is unique about Pergo flooring is that they are designed to be installed as floating floors, which means they are not installed by nailing or gluing it to the subfloor of your home. Each plank is fastened together using uniquely designed tongues and groove joinery that locks the planks together across the floor, providing a stable and even surface.
The basic first step in installing laminate floors such as Pergo is to prepare your subfloor by removing any existing floor covering, including any padding or other flooring materials used on the subfloor.
However, you can install Pergo flooring over parquet, planks, or other wood boards, provided these floor bases are clean, dry, flat, firm, and free from unevenness. For the concrete subfloor, we recommend installing a vapor barrier of about .15mm of non-recycled resin polyethylene film as a moisture barrier beneath your Pergo floor.
Keep in mind that like most materials, Pergo flooring expands and contracts with changes in temperature and humidity. It is best to leave a 3⁄ 8″ expansion space around the floor’s perimeter to allow for movement. To give your Pergo planks a chance to acclimate to the temperature and moisture level of the room, place the unopened Pergo cartons in the middle of the room for 48 hours before you install them.
For excellent sound reduction and thermal resistance, as well as to help level out the subfloor we advise using a Pergo underlay; this will ensure that the installation of Pergo flooring will go much smoother.
Today, laminate flooring is one of the most popular styles in the world, and Pergo is still the most popular brand – so much so that in America, all laminate, even if it’s not made by Perstorp, is referred to as”pergo.” – Uncle John’s 24-Karat Gold Bathroom Reader, Bathroom Readers’ Institute
Installing the first row of Pergo planks, cut off the tongue part of the planks that stick out on the side that goes against the wall; and continue to do so for any side that’s against the wall to ensure the proper expansion gap.
In laying the Pergo planks, set a spacer block on the short side and long side of the plank then start in the back left corner of the room. Connect the second plank at a 20 to 30-degree angle and then slide it in to connect with the first plank. You will hear a click that tells you the planks are locked into place and arrange the first row of planks end to end.
Keep in mind that the end joints of two successive rows should never be in line with one another. Pergo recommends that you trim the first plank of the second row by a minimum of 12 inches. Continue the same process until you have covered the whole floor area, and remember to trim the first plank of every other row so that the joints are staggered across the entire floor.
Since we are installing Pergo flooring in the kitchen, it is best to add sealant to fill the 3/8 inches of expansion space to block leaks. Make sure you use 100% silicone sealant and not an acrylic sealant which is a common mistake. You can also finish off your Pergo flooring project in style by installing matching skirtings or finishing profiles.

