Is a Kitchen Island with a Sink a Good Idea? (Design Guide)
Is there a cook in the world who didn’t wish for more counter space? Probably not. That’s one reason kitchen islands are so popular. A basic island countertop provides a place to prep your meals before cooking and adds under-counter storage to your kitchen’s footprint.
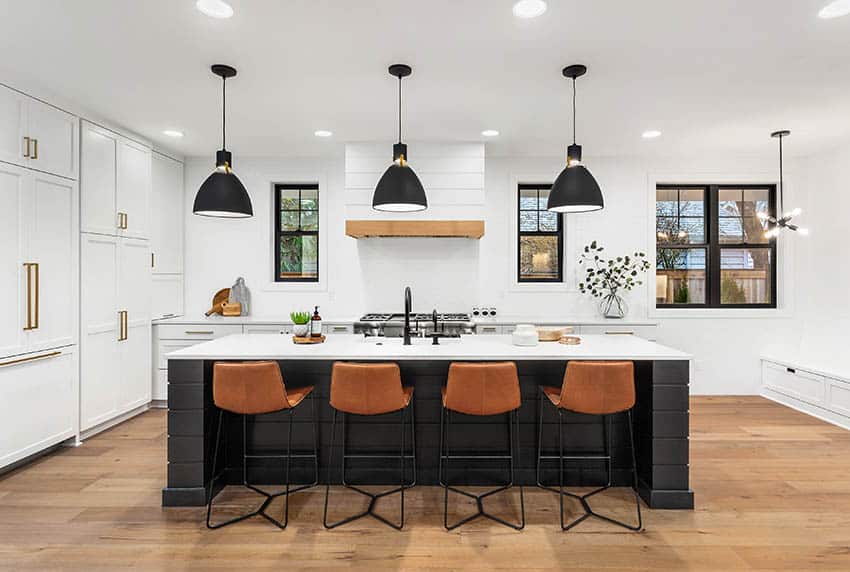
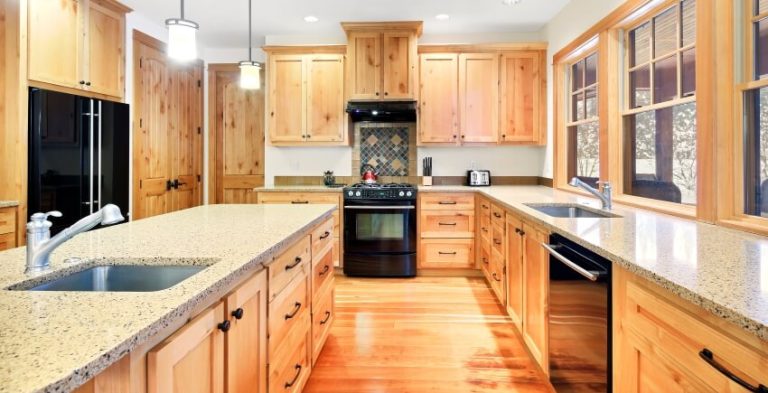
But why stop at basic? Consider installing a sink on the kitchen island to go the extra mile in your home renovation, redesign, or construction.
Should You Put A Sink In An Island?
Installing your sink on the island instead of on the main countertop is an innovative trend in kitchen design. Before jumping on the bandwagon, ask yourself these questions to determine if an island sink is right for you. First, what do you want to look at while doing mundane kitchen chores? Washing dishes is boring. The sink faces a wall in many kitchens, giving you a double dose of boredom. Is it any wonder the dishes pile up?
Changing the location of the basin from the main countertop won’t magically clean your dishes. However, depending on the placement and orientation of your layout, placing the basin on the island might allow you to see out a window or into other rooms and areas of your home. Washing dishes is a lot more attractive when you have something interesting to look at while you do it.
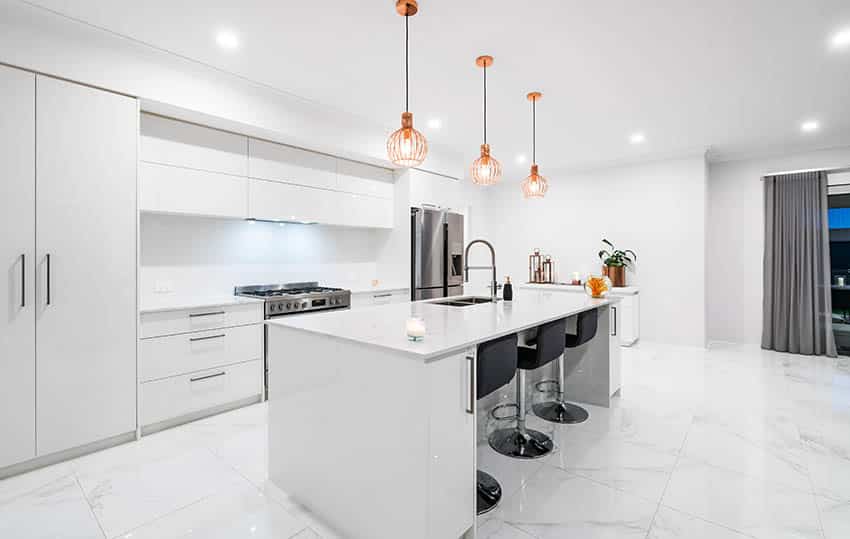
Next, what is the purpose of the kitchen island? If you’re hoping that your school-age children will do their homework there, ensure they have a seating area well away from the splash zone, to protect any papers and electronics from potential water damage.
If you want to encourage your partner to help out more in the kitchen, an extra prep sink on the island can go a long way towards defusing tension and reducing collisions. Finally, how much space do you have to work with? Read more about types of kitchen layouts here.
Kitchen Island Dimensions with Sink
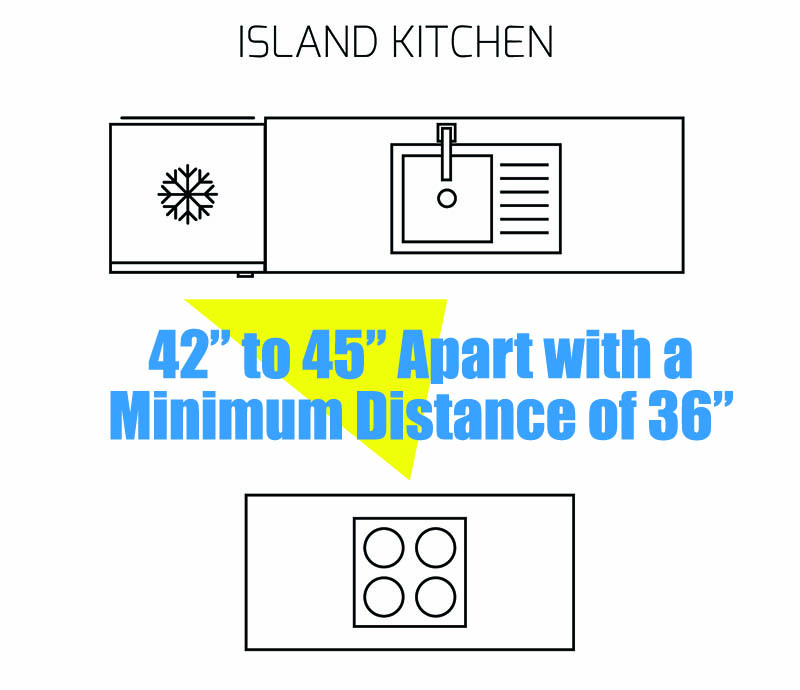
The standard size for a kitchen island is usually two feet by four feet. Islands are never recommended if your room is less than 13 feet wide. The space between your kitchen island and the opposite countertop should be at least 36”, but ideally 42-45”. This allows for free movement when encumbered by pots and pans.
The structure should be at least seven feet long to accommodate a sink. When planning the basin layout, experts recommend that you preserve a ‘landing area’ on both sides — a place to set food or cookware.
Ideally, you’d have 18” of unobstructed counter on one side of the sink, with 24” on the other. The other important dimension to consider when installing a sink on your island is counter height.
Standard counters are 36 inches high, and the average sink is eight inches deep, so the bottom of your basin is about 28 inches off the ground. This is comfortable for most people.
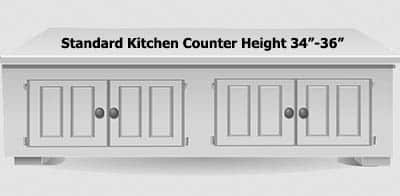
But if your kitchen island was designed with entertainment or breakfast bar seating in mind, it could be taller — 42” is fairly standard. In this configuration, an average sink bottom would be about 34” off the ground. If you have small children or are on the shorter side of average height, this might be inconveniently tall and make it uncomfortable to wash dishes.
On the other hand, if you’re taller than average, you may never want to go back to a standard-height sink again. Read more about kitchen island size guidelines here.
Cost of Island with Sink
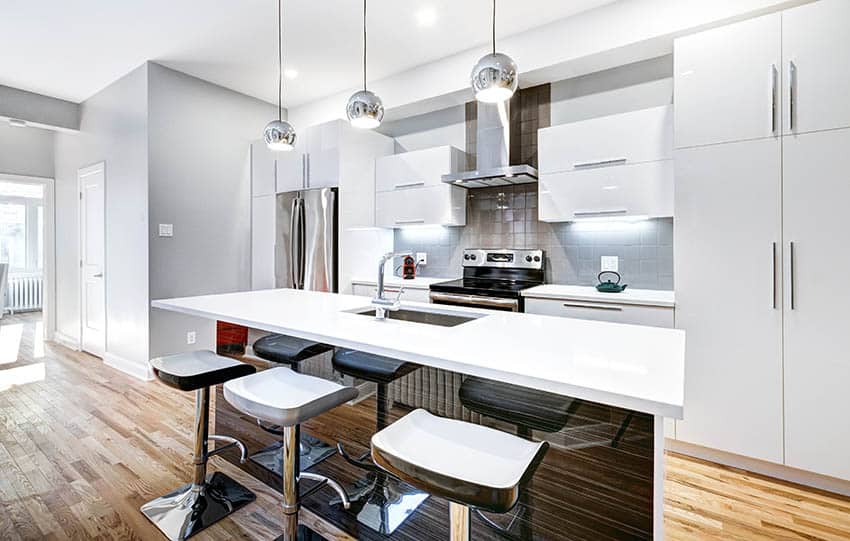
A sink can be purchased relatively cheaply — basic models start around $200 and the average cost is $400, which, when you consider the amount of use it gets, is quite reasonable. That being said, sinks must be connected to water, and for that, you’ll need a plumber.
Plumbers sometimes charge by the hour, with national costs averaging $45-65 per hour of work. They often offer a set price to install a sink, around $200, including the labor and any additional parts needed for the installation. But wait — where is that water coming from? Chances are, your island doesn’t butt up against a wall, so you’ll need to run a new pipe under the floor.
Expect to pay a professional around $500 for the installation of these new pipes and the sink. Of course, the cost is dependent on the orientation and condition of your current plumbing. Running a new pipe may require partial removal of your flooring and subflooring, so make sure to calculate the cost of replacement or repair in the overall cost of installing a basin on your island.
Kitchen With Island Cooktop and Sink
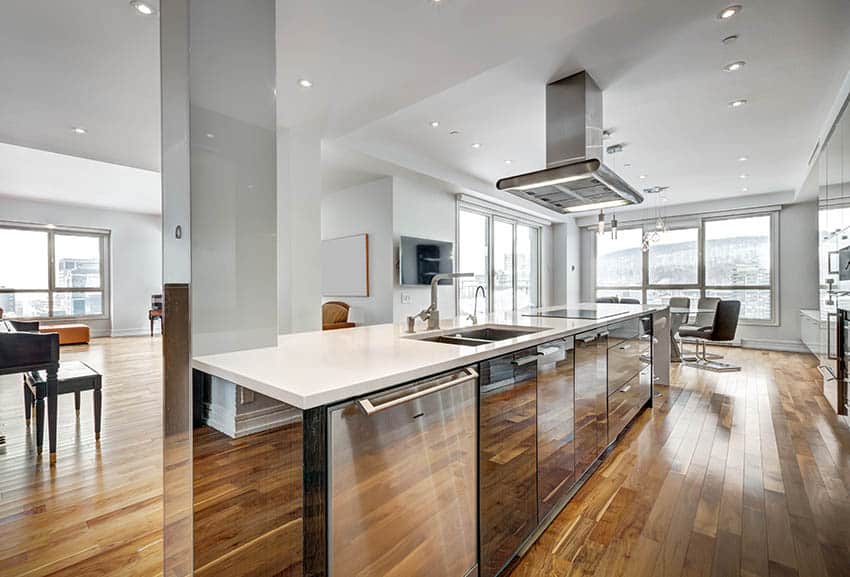
A long kitchen island with a cooktop and washbasin can transform a small one wall kitchen into the heart of your home. It requires a very large island — at least nine feet. The main advantage of this setup is that you don’t face a wall when doing prep, cooking, or washing dishes. Make sure to plan plenty of room around the cooking area — at least 15” of free space on either side is ideal.
Kitchen With Island Stove and Sink
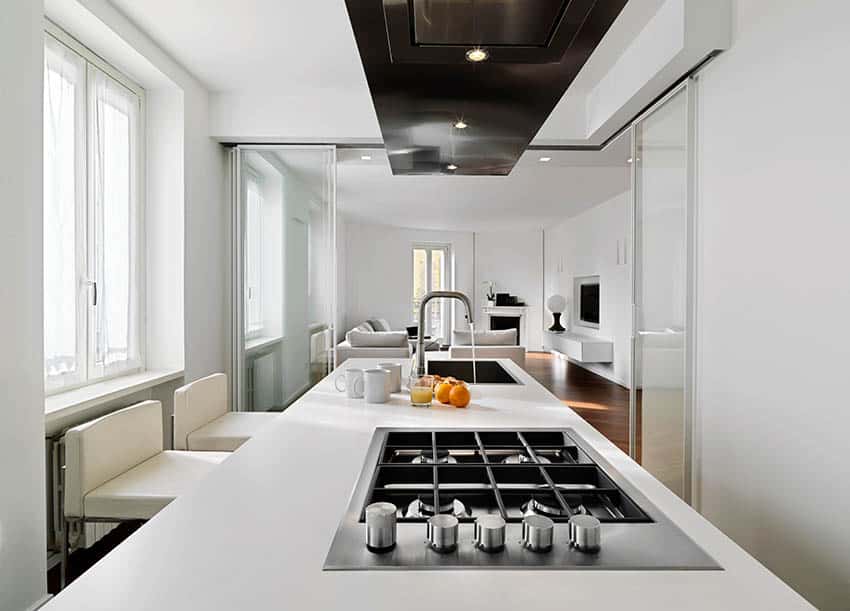
For families with children and a kitchen that faces a play or homework space, this can be a great way to keep an eye on the kids while also getting dinner on the table. You will have to sacrifice some under-counter space to accommodate the oven. Islands will need to be at least nine feet long to accommodate a stove appliance and washbasin. Make sure the oven is completely accessible when the door is fully open.
Island with Prep Sink
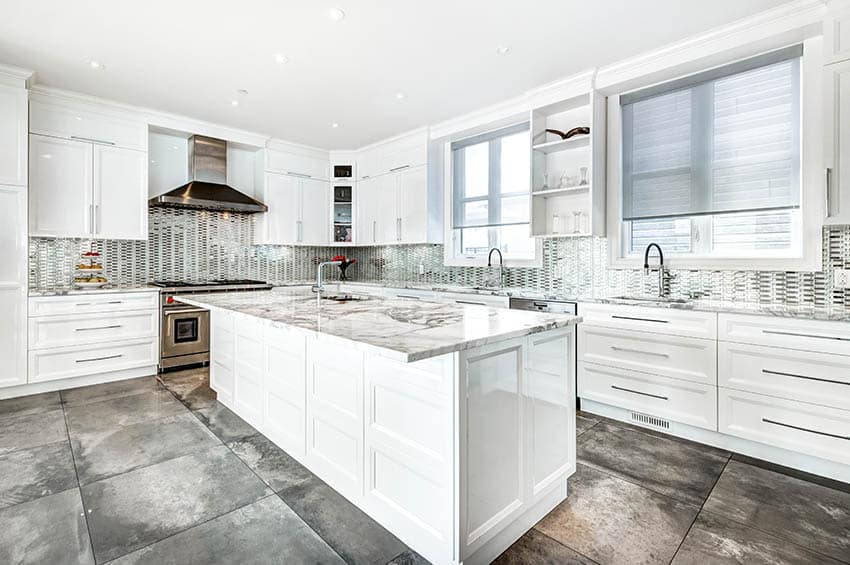
A prep basin is also known as a ‘wet bar’ or ‘entertainment’ sink. The standard size for a prep sink is 15-25” in length, 15” wide, and five to six inches deep, so it’s noticeably smaller than traditional sinks. Its purpose is to wash vegetables, clean utensils, and provide water during cooking. If you plan to use this area as your main prep space, prep sinks are a great idea. See more types of kitchen sinks on this page.
Outdoor Kitchen Prep Island with Sink
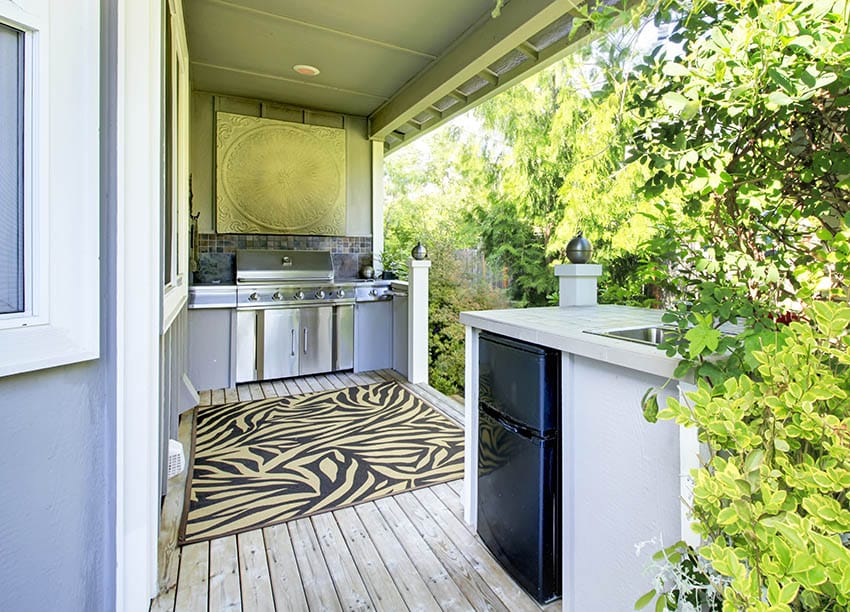
Putting a sink in the outdoor kitchen countertop of the island is a great way to increase the use you get out of your outdoor kitchen. You can save yourself the trips back and forth to the house by bringing all your prep and washing up outside. Some people even keep a second set of dishes outdoors!
Island with Farmhouse Sink
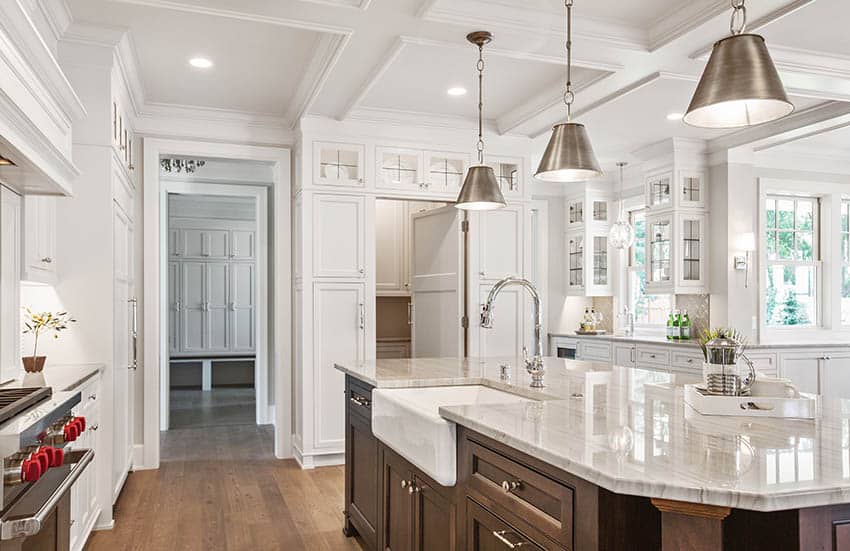
A farmhouse sink looks great just about anywhere. Farmhouse sinks protrude slightly from the island — to avoid bumping your hip as you round the corner, ensure you still have at least the recommended 36 inches of clearance between the protrusion of the basin and the opposite countertop or wall.

