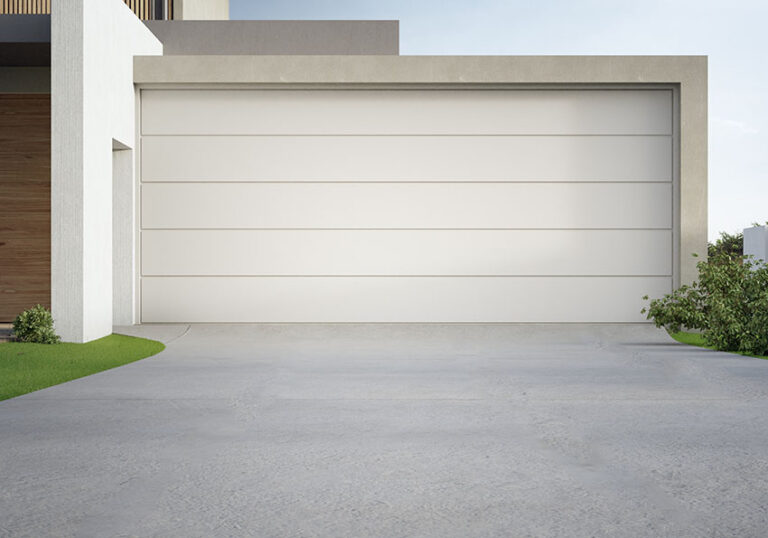
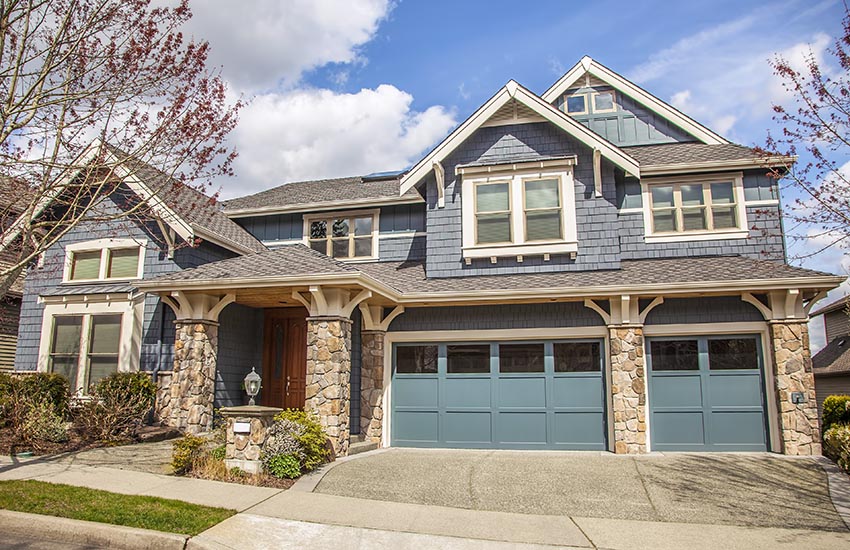
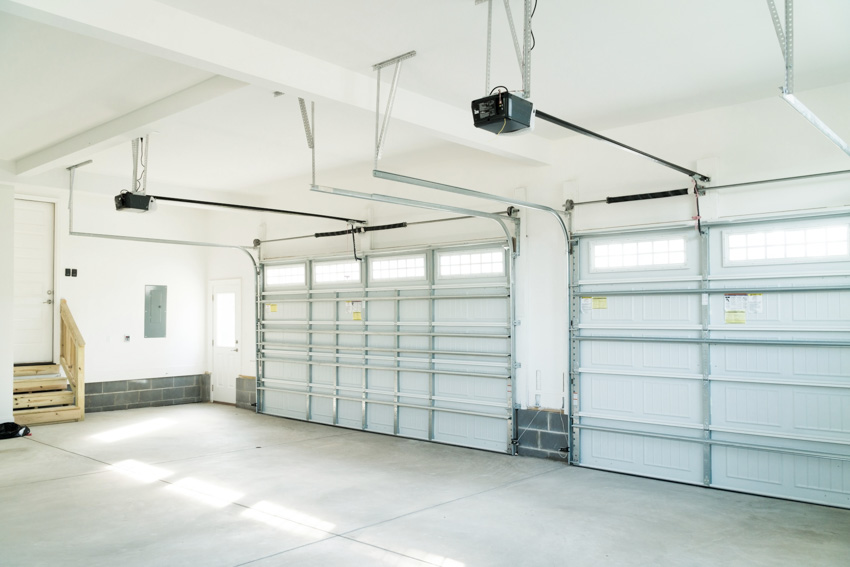
How To Insulate A Garage: 17 Essential Tools & Tips

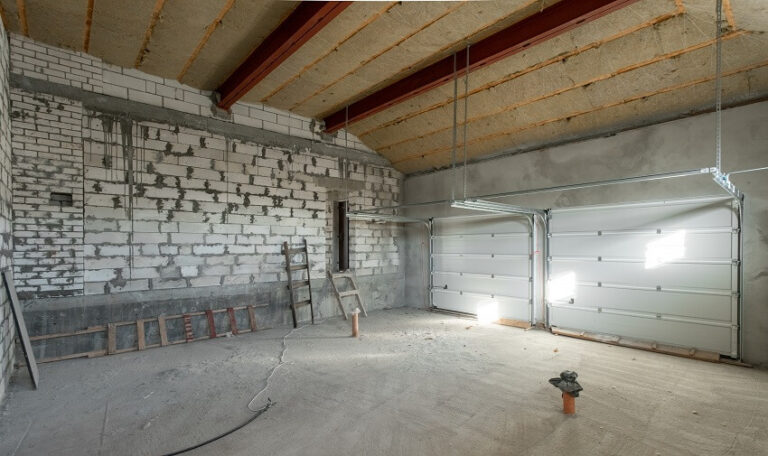
The garage is frequently utilized for purposes other than parking your vehicles, seasonal objects, equipment, and lawnmowers. Numerous homeowners leverage the ample capacity to build a functioning workshop, mudroom, game room, etc. Nonetheless, every summer, the garage may rapidly transform into an immense oven that gets increasingly unpleasant as the temperature increases. And in the winter, it could be too freezing to occupy. [toc]
Fortunately, efficient insulation assists in blocking heat that flows into and out of the area, keeping it pleasant in the summertime and warmer in the wintertime. It can also reduce outdoor sounds, such as cars or noisy neighbors. For expert do-it-yourselfers, insulating an undeveloped garage may be a relatively straightforward process. Continue reading for step-by-step instructions on how to protect your garage from frigid winters and scorching summers.
What You Need Before the Insulation Process
If you are doing your insulation, you must always follow these suitable preventive measures:
• Wear a face mask to keep insulating substances out of your airways.
• Constantly use safety glasses when working with spray-type or blow-in insulation.
• When working with insulating materials, gloves must be used.
• It is important to invest in scaffolding or ladders to ensure your safety and the seamless completion of the job.
• Apply a vapor barrier to keep moisture from collecting on the insulation surface.
• Be certain that the electrical boxes mounted on the ceiling are not covered. Moreover, do not tighten the insulation surrounding the boxes.
• To avoid damage to your wall insulation, eliminate all hanging objects.
• To minimize water damage and mold development, any cracks, fissures, or openings in the outer wall must be fixed before putting in the insulation.
Here are the things you will need during the process of insulating your garage:
Tools and Materials Needed for Insulating Your Garage
| Tools & Materials |
|---|
| Dust mask |
| Eye goggles |
| Gloves |
| Insulation of your choice |
| Ladder or scaffolding |
| Staple gun |
| Vapor barrier |
| Expanding foam |
| Retainer pins |
| Sealant gun |
| Drywall or plywood |
| Drywall screws |
| Utility screws |
| Drill driver |
| Hammer |
| Screwdriver set |
| Weather-stripping |
| Edging strips |
How to Insulate Garage Walls
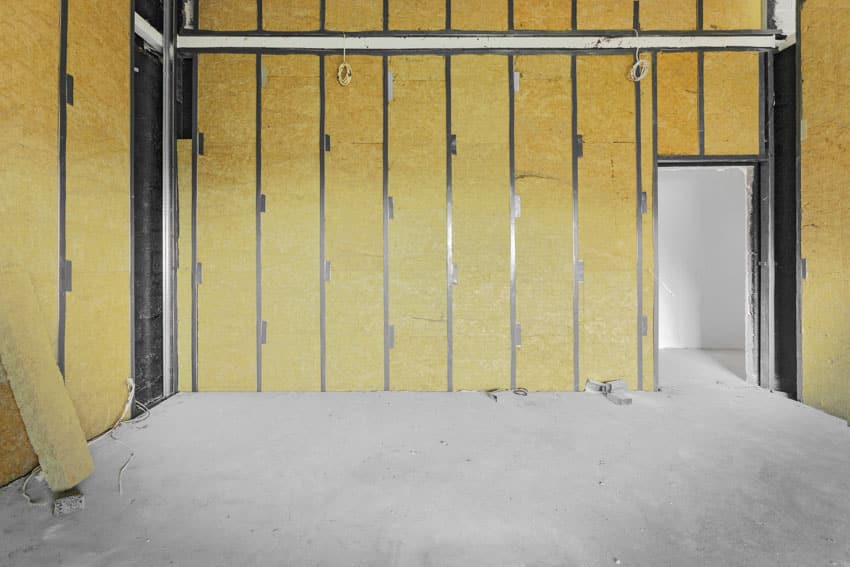
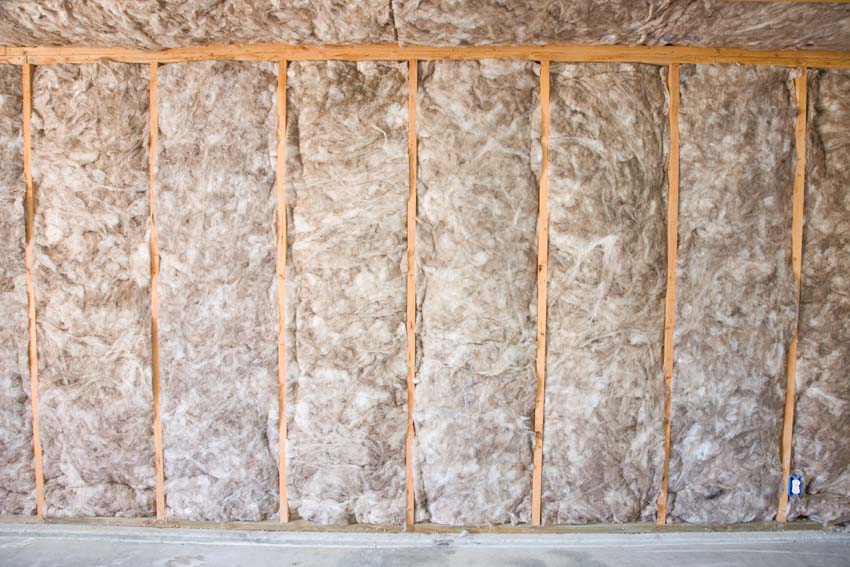
Garage walls are generally inadequately insulated, particularly if your carpost is detached from the remainder of your home. Hence, if you intend to use your carport for purposes apart from storing your vehicle, you must invest in wall insulation. Uninsulated walls might disrupt the cooling or heating process within your garage. Fiberglass foam insulation is a better choice for walls. Without further ado, here are the steps on how you can insulate your walls:
Detach everything that is affixed to your walls
Screws, nails, and clips are typically put on wooden studs so that gardening equipment, ladders, as well as other items, can be hung on the walls while not in operation.
A hammer or screwdriver is usually all that is required to dislodge any hooks, screws, nails, or other attachments that are fastened to the walls to gain access to the wall’s underlying studs. Moreover, make sure to clean your walls before insulating them.
Ensure to seal existing holes or gaps in the exterior wall
Scrutinize both the exterior and interior of your garage for any cracks or gaps. Moreover, it is indeed a smart idea to check for any cracks or holes in the adjoining wall with the house.
Pests as well as other insects can enter via these thin openings, and water can trigger the hole or crack to spread, leading to mold formation and persistent moisture disruption within your garage.
Seal any fissures, holes, or gaps with watertight brickwork sealant with a caulking tool. Before applying insulation, let the sealant dry and solidify as per the manufacturer’s instructions.
Mount fiberglass insulation batts between wall studs and cut them to conform to odd gaps
Once the walls are adequately sealed and free of any screws, nails, hooks, or other mounted objects, the insulation may now be installed. Because of their flexibility and low cost, fiberglass batts and solid panel insulation are the most widely employed choices.
Rather than pushing the insulation to fit the area, insert it into the crevices between the studs and trim it to size using a sharp multipurpose knife.
Add a vapor barrier
After you have finished the insulation process, add a vapor barrier above the insulation and fasten it with staples for added durability. Laying a vapor barrier to the warmer surface of the insulation protects it, the studs, and the external wall surface against problems associated with excessive moisture, such as decay and mold development.
In temperate areas, the vapor barrier is stapled to the wall studs and placed over the insulation on the interior surface. Nonetheless, it is critical that the vapor barrier not be broken since any openings might contain moisture and exacerbate issues within the walls.
Start installing the drywall
Once the insulation and vapor barrier are completed, the project is closely finished, and your garage is now protected from different atmospheric conditions. Nevertheless, the area could be improved with polished and well-finished walls.
Start measuring the walls to determine how many layers of drywall, adhesive, and drywall solution are required to make the area into a finished setting. Afterward, make a preliminary plan for the design. Start hanging the drywall after double-checking all of the measurements.
With drywall screws, attach the drywall sheets onto the wall studs and continue until all of the walls are entirely covered. To achieve a seamless surface, tape and mud the drywall, then sand the drywall substance. Lastly, the walls could be painted to wrap up your renovation.
Video tutorial
How To Insulate A Garage Door
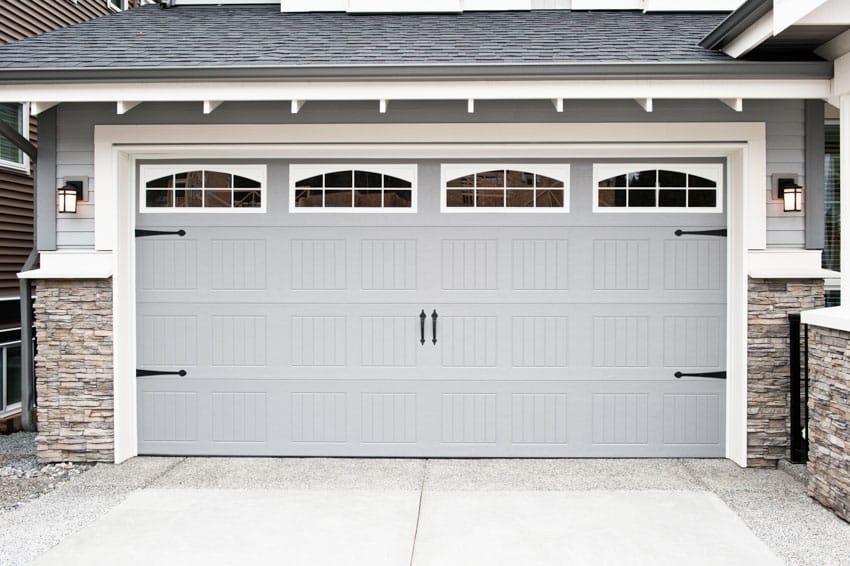
Insulating your door could keep your interiors much cooler in the summertime and substantially warmer during the wintertime. Completely insulated doors are commercially available, but they are somewhat costly. Nonetheless, you may save funds and reduce energy waste by constructing it yourself. In hot climates, solid panels with reflective foil can be used to divert heat away.
Applying insulation on your door would be complex since there are no supports to secure the insulation in position. Alternatively, adhesive retainer hooks would be required to keep the insulation intact. However, here are the steps on how you can insulate your doors.
1. Using cleaning solutions, sanitize and wipe the entire door surface.
2. Every panel’s width and height should be measured because they may vary greatly in size.
3. Trim the insulation to size by following the instructions measurements.
4. Locate a position 12 inches away from the panel’s border and halfway between the lateral slats.
5. Afterward, insert and push the retainer pin into the panel. In every panel, insert two retainer pins.
6. After that, lay the insulation on the panel and press it against the retaining pin. Put the pin cover on top of the pin.
7. Do the same process on the remaining panels.
8. Apply the weather protection above the insulation and seal it with nails afterward.
9. Check the operation of your door. If you raise it and then release it, it must stay in position.
10. If it is not properly fastened and goes off, contact a door servicing professional to have it adjusted.
How To Add Garage Ceiling Insulation
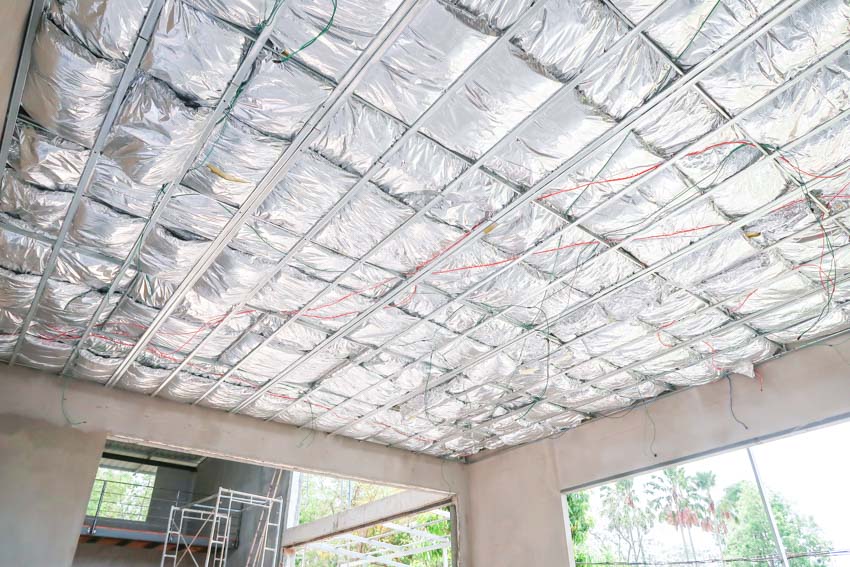
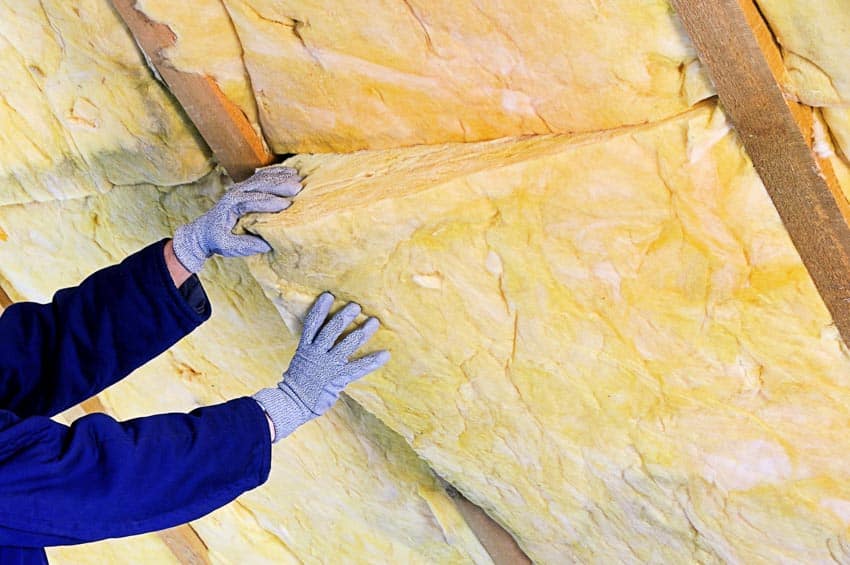
Efficient insulation for your ceiling is undoubtedly required to decrease energy waste, particularly during the cold winter months. Heated air flows upward, and if zero insulation is present, the warmth will be dissipated through fractures and crevices in the ceiling. The ceiling can usually be insulated in the same way as your walls. However, you will normally need at least two individuals – one up on the ladder and the other nearby to handle insulation, distribute tools, and stabilize the ladder.
Here are the basic steps to insulating the usual ceiling design types inside a garage.
How To Insulate The Garage Ceiling
1. Get your ladder or scaffolding ready. If you’re using a ladder, request the assistance of a household member or a friend.
2. Acquire some measurements. Take measurements of the ceiling’s width and length. The area is, therefore, calculated by multiplying the length by width. Furthermore, measure the space between the joists and their depth. They are typically 8 to 10 inches deep.
3. Furthermore, measure the space between the joists and their depth. They are typically 8 to 10 inches deep.
4. Trim the insulating layer as per your measurements.
5. Apply the insulation and fasten it to the ceiling with a nail gun.
6. If any corners remain, trim the insulation to fit them properly. To cover up the spaces, you may alternatively use expanding foam.
7. Plaster the ceiling with plywood or drywall to complete the project.
Different Types of Insulation You Can Install in Your Garage
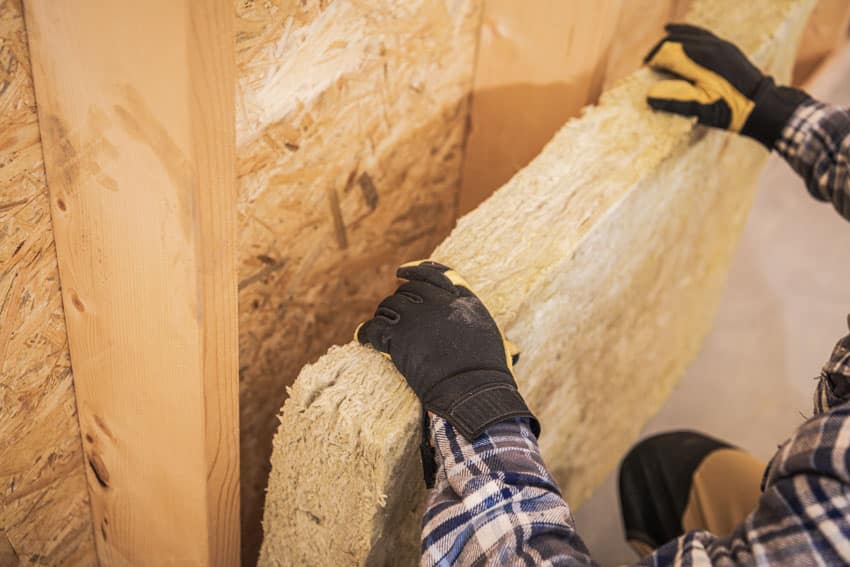
Fiberglass Insulation: This is the most common form of insulation found in residences, particularly in garages. Fiberglass insulation is the least expensive and simplest to construct, rendering it an excellent choice for a do-it-yourself operation. Fiber insulation is available in the following forms:
Bats and blankets to match the wall frames and studs in your ceiling and flooring. Loose-fill fiberglass could be pushed into position, which is exceptionally useful for sealing gaps in ceilings and walls.
If your attic, for instance, has vacant space atop the ceiling, it may be successfully employed to cover it. Moreover, you may rent specialized equipment to blast it in, or you can pour it in manually. However, performing it manually will take a lot of time and effort.
Rigid Foam Insulation: Rigid foam-based insulation is a popular alternative for doors and slender walls. This is not, unfortunately, appropriate for solid walls or floors. It is also suitable for do-it-yourself projects. If you want to remodel your carport and incorporate insulation sheets, this would be an ideal option to begin with.
Cellulose Insulation: Cellulose insulation is constructed of recyclable materials that have been chemically processed to make it fire-resistant. The material is then blasted into holes and gaps using blowing equipment. Because it is loose-fill insulation, it is only suitable for finished areas. It is suitable for use on the completed walls and ceiling.
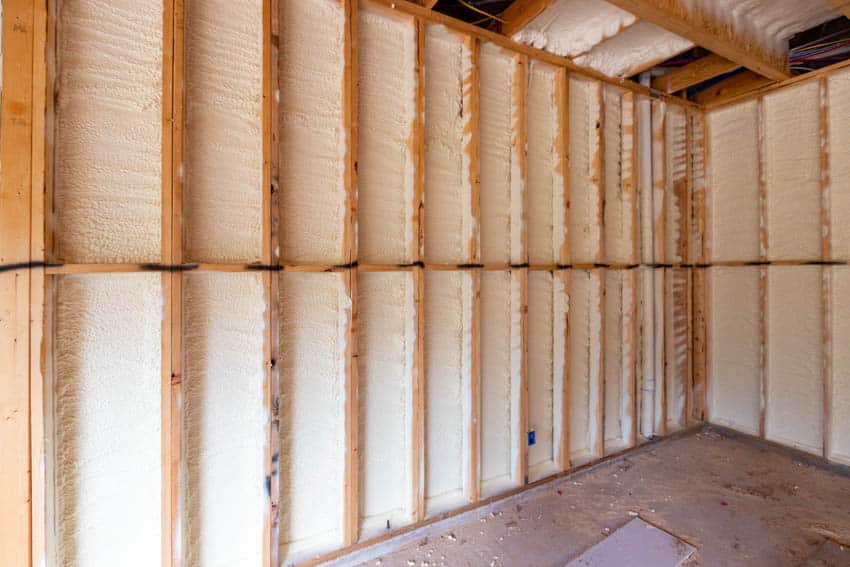
Spray Foam Insulation: Spray foam insulation performs effectively in terms of air sealing. It is costly, and it must only be used if you intend to utilize it as a living area. You may only use it to fill in nooks and corners. This insulation provides the highest-quality air sealing, energy efficiency, robustness, lifespan, and R-value.
Radiant Barriers and Reflective Insulation Systems: Such insulation solutions function by reflecting heat and could maintain a room’s coolness in the summertime, even with the absence of an air conditioner. They are, meanwhile, distinct from other forms of insulation in that an R-value does not assess their efficiency.
Aside from that, they are covered with aluminum foil to provide a reflective barrier. It may be used to reflect heat on the doors. Plus, they are particularly beneficial for attic insulation in tropical climates.
Best Insulation for the Garage
In Terms of Efficiency, Durability, and Longevity – Spray Foam Insulation: Spray foam insulation has great R-value attributes, and it also has exceptional air sealing capabilities.
Spray foam insulation is a higher-end insulating material that is more costly but also extremely energy efficient. Indeed, this would be the best option in terms of longevity, durability, and efficiency, making the space properly and effectively insulated.
In Terms of Affordability, Ease of Installation, and Popularity – Fiberglass Insulation: Fiberglass is undoubtedly the most common insulation option nowadays. It is made out of rolls that are exactly trimmed to fit into a ceiling or wall opening and then fastened in place.
It is so popular since it’s affordable and most people can install it themselves. So, in terms of cost and ease of installation, this type of insulation would be the best option.
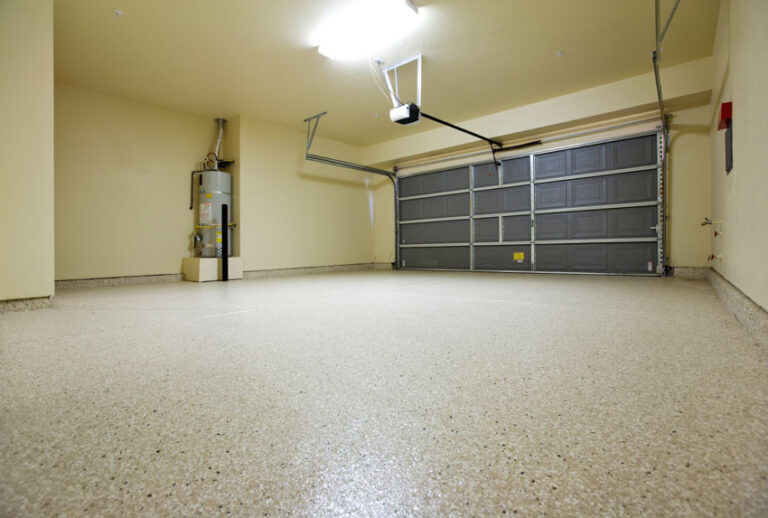
Does Insulating a Garage Keep it Cooler?

Arguably, the answer would be yes. Insulation is a significant cooling component. The majority of carports lack appropriate insulation, even if one is constructed at all. If you use air conditioning in this room, this involves considerable downsides. However, proper insulation will greatly minimize the amount of heat transported from the outdoors to the carport interiors. Insulation will help prevent cool air from fleeing.
Otherwise, your air conditioning unit has to work much harder, your electricity bill rises, and it will take much longer to cool the area. To minimize interior heat, try adding insulation to the walls, ceiling, and doors. When it comes to maintaining the proper temperature, the type of insulating material you use could make a great difference.
Such insulation upgrades will benefit you all year long by lowering your heating and air conditioning expenditures and increasing the value of your property.
What Is the Easiest Way to Add Insulation To A Garage?
Using fiberglass roll insulation is the easiest way to insulate your carport. In fact, if the inner walls have not yet been built, this would be the most inexpensive and quickest type to install. All you have to do is unroll the insulation between the wall studs, ensuring that the vapor barrier faces the interior walls. Place 1/2-inch nails every 2 feet around the border of the insulation into the studs with a nail gun to keep it secure.
Unroll the insulation between the joists and let it rest flat if you are dealing with attics and horizontal surfaces; no fasteners are required. It is critical not to compress and stretch the fiberglass roll material as this will reduce its insulating efficacy.
Is it Worth Insulating an Attached Garage?

Yes. Insulating it will improve the energy efficiency of your house and minimize your power costs. Even if you have a well-insulated attached carport, it may act as a buffer barrier for your home, safeguarding the interior temperature and boosting the level of comfort of all connected rooms. Your house will lose more hot and cool air if your attached garage is not properly insulated.
Is it Worth Insulating a Detached Garage?

Yes. In fact, insulating your carport is not that expensive. Moreover, it has a slew of other benefits that, when weighed against the low cost, make it an excellent idea and worth the investment. Insulated types of garages revamp general comfort regardless of the weather.
It can also safeguard anything stored in your carport. Additionally, whether you use the space as a leisure or a hobby room, you could work and enjoy more comfort all year. Going to the detached carport to grab anything from storage would be a highly enjoyable activity.
It is Time to Insulate your Garage?
It protects the area from drastic temperature fluctuations, allowing homeowners and guests to enjoy the area during the wintertime or the scorching heat of summer. Therefore, It is essential that any fasteners and other hanging items be removed to avoid damage to the insulating material.
Any cracks, holes, or crevices in the exterior wall must be repaired before placing the insulating material to avert insect infestations, moisture-related damage, decaying, and mold formation. To preserve the longevity and efficiency of your room well, it is time to insulate it. Just follow the aforementioned guidelines, and you are good to go. See more related content in our article about garage lighting styles on this page.
To showcase highly specific designs, some images on this website use advanced AI-generation software to illustrate ideas and room inspiration. See our editorial policy to learn more.