How to Cover a Mirror Wall (Creative DIY Ideas)
If you’ve got a house with large reflective panes of glass you want to get rid of, you’ve probably wondered how to cover a mirror wall. Whether you just got a few pointers from a feng shui expert or want to rev up the look of your home by removing that whole stretch of reflective glass panels, there are many ways to breathe new life into your design.

Upload a photo and get instant before-and-after room designs.
No design experience needed — join 2.39 million+ happy users.
👉 Try the AI design tool now
Because completely removing mirrored doors is a major undertaking, not to mention an expensive one, here are a few alternatives to use.
Hang Curtains In Front Of The Mirrored Walls – Easiest And Most Inexpensive Way
If you use the mirrored wall as a backdrop for your TV or multimedia stand and other types of furniture, you can either cover part of it and leave some exposed or completely cover it.
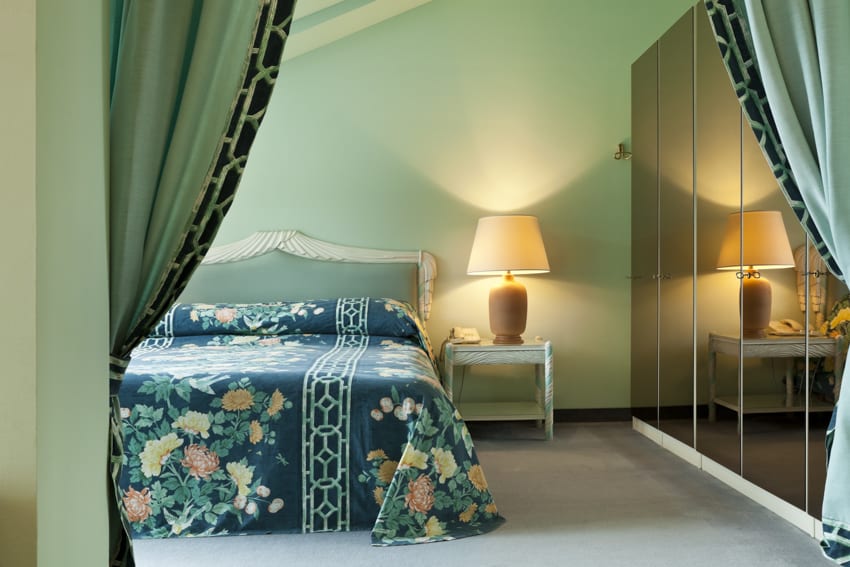
Installing simple curtain rods as close to the ceiling as possible is a straightforward solution for creating a “curtain wall.” Hang a neutral-colored piece of fabric from ring clips so that it just touches the floor.
If you cover the entire mirror wall with drapes, ensure there is space between the furniture and the drapes so the fabric doesn’t look tucked in.
Place framed pictures from the ceiling to make it appear like they are floating in front of the fabric, creating a whimsical effect. Allow space in the middle of the curtains to expose the mirrored wall.
Just with the right coverage, that’s just enough to accommodate your hutch: this is also a creative way of utilizing some of this wall space while concealing most of the panels you don’t want to see.
Consider hanging an empty ornate frame from the ceiling above your hutch, “framing” part of the mirrored wall for a creative, unique look, depending on the height of your hutch.
Use Temporary Wallpaper To Cover Wall – Perfect For Renters

Wallpaper can be used to cover the mirrored surface. You can choose from various self-adhesive options or use double-sided tape instead of glue.
Make sure to consider the entire space when selecting a design. On the whole, simple techniques are the most effective.
Paint The Mirrored Wall – Permanent Coverup
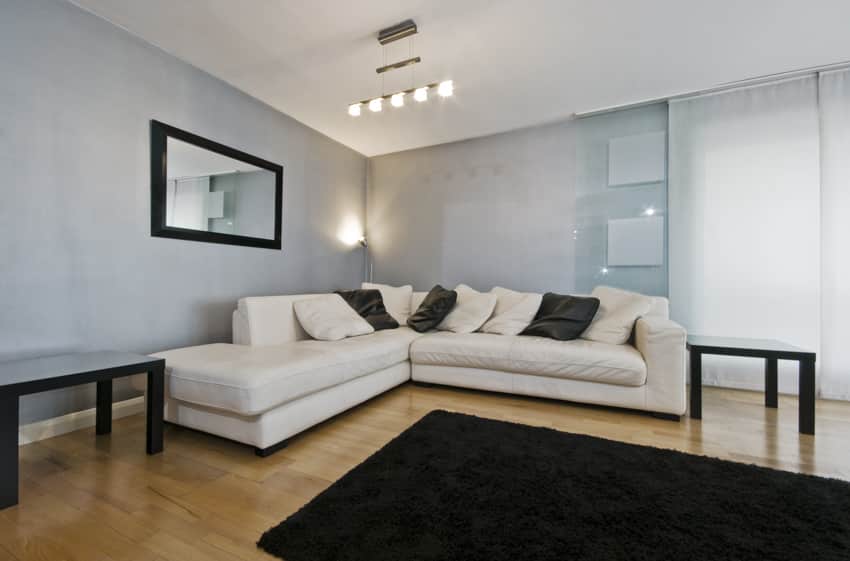
Customize an otherwise mundane mirror with paints for a personalized expression of home decor. While many types of paint stick to reflective panes, some adhere better than others, such as glass paints or craft enamels.
If you aren’t entirely confident about painting on mirror glass, practice on an old scratched mirror or a discount store find to test the paint’s opacity and color first.
Acrylic and water-based enamel craft paints adhere to reflective surfaces and dry to a similar appearance. When acrylic paint dries, it’s easy to scrape it off the glass, but this shouldn’t be an issue with reflective panels.
How To Cover A Mirrored Wall With Fabric?
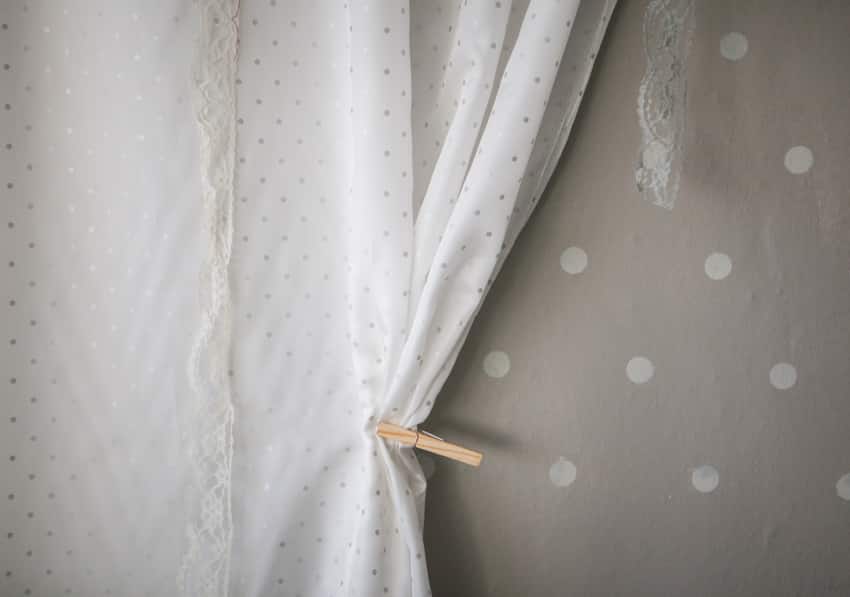
Cut up any good fabric and tack it to the wall above and below the mirror for a cheap and easy alternative. This option is not the most visually appealing, but it serves as a temporary fix or a low-cost alternative when the others are unavailable.
Best Fabric Options:
• Macrame
• Scarf Wall Art
• Tapestry
• Table Runners
Step 1
Measure the area you want to cover: For covering the entire mirrored wall, each panel’s height and length should be measured.
Get the dimensions with a tape measure. Note these measurements and bring them to the store for the right-sized curtains.
Step 2
Adiseal: This product is best for bathrooms and other wet areas. Adiseal is the best adhesive to stick to a reflective glass surface. It’s the strongest mirror-safe adhesive available, stays flexible & is waterproof as well.
Purchase a Rod: Like hanging a curtain, you can hang a fabric using a curtain rod. Get a curtain rod and curtains the same size as your wall panels.
Find a curtain rod that is long enough to stretch across the mirror by taking your measurements to a hardware shop or interior design store. Then, to hide the walls, get curtains that are the right length and height.
Note: If you’re hanging fabric wall art in the kitchen, make sure it’s hung at a safe distance from the stove to prevent the fabric from catching fire.
Creative Ways to Cover Wall Mirrors
Privacy Screen
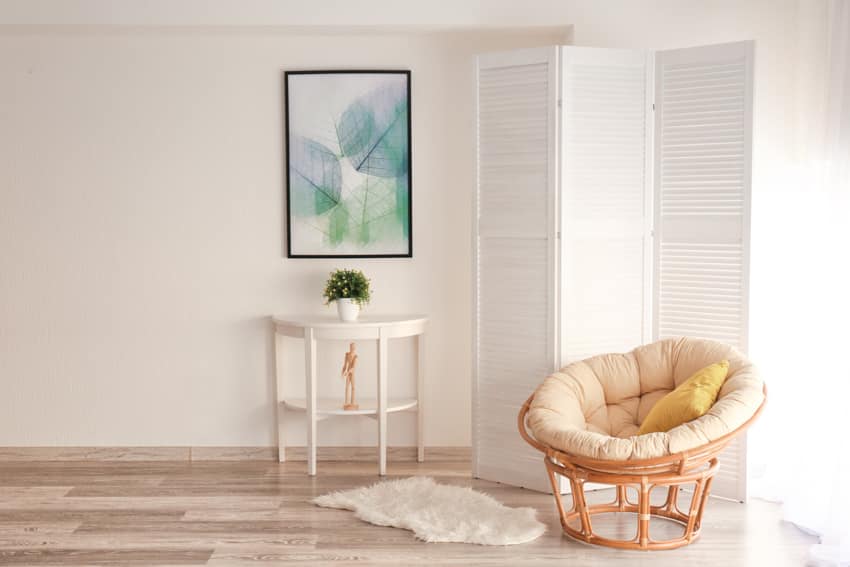
Privacy screens are folding screens that block what’s behind them from view. Vintage privacy screens are all wood with intricate fabric draped behind, beautifully displaying the patterns and images embossed on the fabric.
Current pieces range from metal bases with plain fabric to screens that hold photos for display. Place a privacy screen in areas where the mirror is open to block it from sight.
Rearrange Furniture
Move large furniture items in front of the mirrored wall. With no money to spend, you can quickly eliminate most of the wall from view.
You can also place a cabinet with open shelving with an exposed back to allow it to peek through.
Décor Pieces
Add décor pieces such as collectibles. Although it will not cover the entire surface, it minimizes your reflective wall and glare while creating an attractive backdrop.
Self-adhesive vinyl decals can also be used to update the look of your mirrored wall. Renters who cannot make permanent changes without jeopardizing their security deposits will benefit from the removable versions.
Florals, geometric patterns, scrolling designs reminiscent of the Art Nouveau period, and ornate gingerbread patterns that resemble exterior Victorian woodwork are among the designs available.
Reflective surfaces look better with black, white, and metallic wall decals, but other colors are also available. These may not completely cover the surface area, but they will give it the updated look required while reducing the overbearing feature.
Frosted Window Film
Another method people use to transform their mirrored walls is by applying an opaque window film. With a style similar to sheer fabric, it allows you to work with the mirror rather than against it.
Although you can do it yourself if you’re confident, some people struggle with this task. For example, I can’t cover a schoolbook without making ripples, so I’d advise that you consider hiring a glass repair company. It might not be the cheapest option, but it provides excellent results.
Temporary Mirror Covers
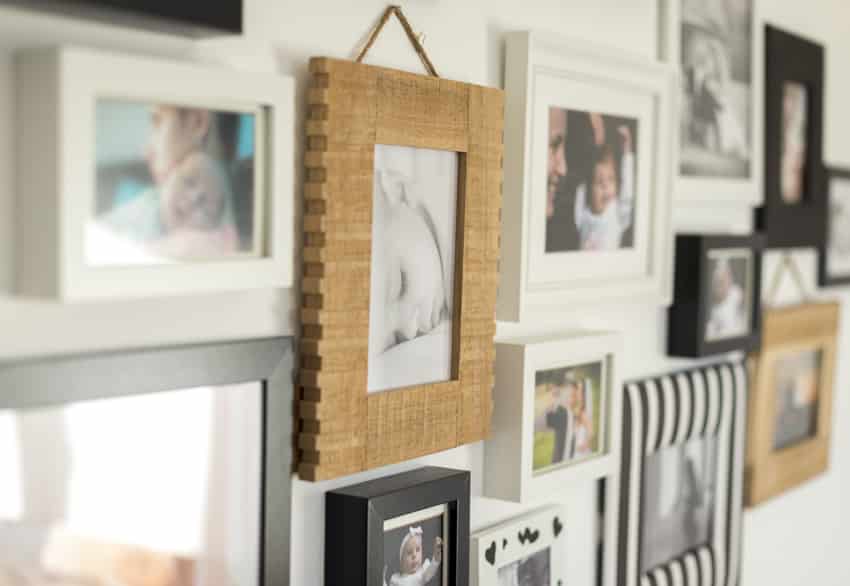
Pictures and Photos
Create a gallery of pictures and photos of the family in a frame. You don’t need to cover the entire surface as it can be a perfect surround.
Use Velcro removable mounting strips or any other temporary adhesives to position and hold your pictures on the mirrored surface.
Adding big picture frames or small photo collages can offer a personal touch and a cluttercore style.
Posters and Prints
Posters are large paper artwork items that easily affix to walls. They are sold in many designs of prints, from classical artists to modern canvas artwork.
Use putty or double-sided tape under all the corners to keep items from falling and clean the appearance.
You can customize the image. There are poster and print services that accept commissioned printouts with your personalized design.
Can You Drywall Over a Mirror?
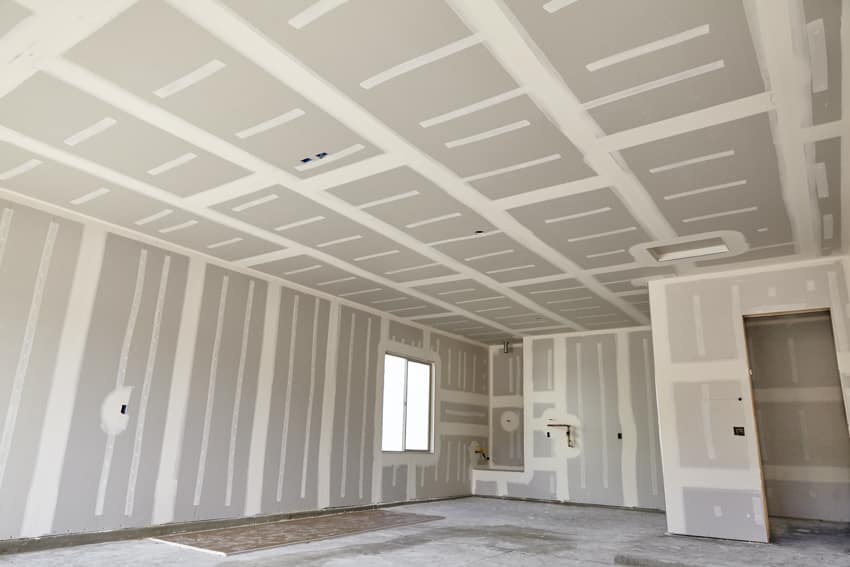
The short answer is yes, but drywall can wiggle and be out of place since you have an unstable mirror subgrade; it is possible but not recommended, especially for an expansive wall.
Most of the time, mirrors are glued to walls with a black, rubber-like adhesive. It’s tough but pliable enough to allow the house to “settle” without shattering. It’s usually applied to the back of of the glass in 8-10 dabs, but I can’t speak for all installations.
You may want to remove your mirror instead. What you’ll need to do is pry back one side of the panel slowly using two flat bars. You’ll hear a “peeling” noise; it is just the drywall’s paper facing coming off.
Next, grab the entire edge of the panel and pull it outward like you were opening a door. Again, go slow. You should once again peel the paper facing off the drywall.
Now take joint drywall compound and use it to coat over the areas where the paper has peeled off: Prime and paint.
See more related content in our article about the different types of mirror on this page.


Can one simply use velcro adhesive strips and place light thin wood shiplap to the mirror surface assuming the mirror is attached well to the drywall?
Hi Steve, that’s a great suggestion and may work well if the wood isn’t too heavy. Thanks for sharing.