Having the right floor plan can make all the difference when building a home theater. Whether you’re working with a 12×16 bedroom conversion, an expansive basement, or a multi-purpose living room, the right layout will help you maximize the space for the best performance. It can be overwhelming to translate the room’s dimensions into an optimal speaker placement, seat arrangements, and screen viewing setup so it feels like a real cinema experience. In this guide, I share five proven home theater layout designs that are optimized for different room dimensions with detailed floor plans and exact measurements so you can remodel your own space with confidence.
This design delivers a true cinematic experience by combining a 5.1 surround sound configuration, acoustic ceiling panels, and optimum viewing distance without requiring a large room.
Easily Create Your Own Room Makeover
Upload a photo and get instant before-and-after room designs. No design experience needed — join 2.39 million+ happy users. 👉 Try the AI design tool now
This 12′ x 16′ home theater layout focuses on creating an effective cinema experience by utilizing a 5.1 surround sound configuration with careful speaker placement and acoustic treatment to maximize the audio performance. The design centers around a TV-based setup rather than a projector, which makes it useful for everyday use while still providing an immersive movie-watching experience.
The room’s layout places a sofa positioned in the middle at the optimal viewing and listening position. There’s a 9’6″ rug placed in front of the seating area, which helps with acoustic treatment by reducing sound reflections. The TV is mounted on the left wall with tower speakers on either side, tilted at 30-degree angles from the center, to create an ideal soundstage. Rear speakers are similarly positioned at 30 degrees behind the couch, while a subwoofer is placed strategically to provide low-frequency sound enhancement.
There is acoustic treatment integrated throughout the space with multiple 24″ x 24″ ceiling panels arranged near the seating area. Side panels are mounted on both left and right walls to control early reflections and also improve sound clarity. The combination of ceiling and wall treatments helps reduce unwanted sound that can disturb the audio.
Key Dimensions:
Overall room size: 12′ W x 16′ L x 8′ H
Total room depth: 12′ (5.583′ + 3.2′ + 3.220′)
Room width: 16′ total (Broken down into 6′ + 6′ + 4′ sections)
Ceiling panels: 24″ x 24″ (six panels total)
Side panels: Three panels on each side wall
Rug size: 9’6″ (In the center, in front of the seating area)
Seating depth: Approximately 72″ x 28″
Entry passage: 24″ wide double doorway on right side
Subwoofer position: 12″ from the front left corner
Speaker angles: 30-degree positioning for front and rear speakers
Pay special attention to the 30-degree speaker angles shown above. This arrangement is needed to get the 5.1 surround sound imaging.
Add the rug to serve dual purposes. It helps define the seating area and also provides acoustic absorption for floor reflections.
Use a thick, plush rug for the maximum acoustic benefit.
Stagger the acoustic panel placement slightly for broader frequency absorption.
Use case: Works well in a spare room, with a single-seat row for a 4K TV.
14×20 Projector Home Theater Layout With Two Seating Rows
With its two seating rows, this home theater balances its acoustic precision through its 7.1 surround sound with dual subwoofers, precise speaker angles, and proper row spacing that keeps all viewers within the immersive audio and visual sweet spot for the best watching experience.
This 14′ x 20′ home theater floor plan uses a cinema-style two-row seating arrangement with a 7.1 surround sound system, designed for movie enthusiasts. The seating setup is arranged to accommodate multiple viewers without compromising audio quality. The room has a projector-based system for true cinema-scale picture size, with careful attention paid to the speaker placement and acoustic treatment for an immersive audio environment. The seating configuration with two distinct rows offers a total of four reclining seats, each measuring 32″ x 33″. The front row consists of two seats with 50″ of space between the back row, while the rear seats mirrors this layout, with an optimal viewing arrangement for a total of five people.
The 7.1 surround sound system is deployed with front left and right tower speakers on either side of the projector screen, with a front surround sound speaker in the center. There are side surround speakers mounted on both the left and right walls, and rear tower speakers that are located at the back corners of the room. Two subwoofers are placed, with one behind the screen against the wall, and the other on the opposite side, providing balanced low-frequency response throughout the space.
Key Dimensions:
Overall room size: 14′ W x 20′ L x 9′ H
Room width: 20′ (front to back)
Room depth: 14′ (side to side)
Individual seat dimensions: 32″ x 33″ each
Front row seat spacing: 50″ between the rows
Row separation: 15′ (measured vertically in this layout)
Front wall sections: Two 12″ sections at the entry area
Subwoofer positions: 2.6’7″ from front the left corner; at the rear right corner
Acoustic panel locations: 2.6’7″ vertical sections on left wall
Projector placement: Right side wall, aligned with center seating
Entry width: Approximately 3-4′ centered on front wall
Edge of riser clearance: Marked as “8H 10°” and “8H 12°” on side walls
Design Tips Specific to This Plan:
Position the subwoofers exactly as shown, to provide even bass distribution across both seating rows.
For the projector placement with a 120 to 150″ diagonal measured screen at this distance, you’ll likely need a projector with a 1.4-1.8:1 throw ratio.
Mount the projector with proper vertical & horizontal lens shift functionality to perfectly line up with your screen without keystone correction, which degrades your image quality.
Construct a seat riser approximately 8 to 12″ high to ensure easy sightlines over the front row.
The 10″ notation indicates the riser edge specifications.
Carpet both the riser and floor with thick, padded material to minimize noise.
Mount the front surround speaker either above or below the screen, in a center channel position.
The circular rear surround should be mounted at ear height when seated.
Use case: For a dedicated theater with a projector and those wanting two seating rows.
12×22 Narrow Basement Theater Floor Plan
This narrow basement design creates a premium Dolby Atmos cinema by using stadium seating, dual subwoofers to manage length-induced room modes, and overhead height speakers to create dimension where lateral width is limited for an impressive audio-visual experience.
Narrow Basement Theater: A Sophisticated 7.1.4 Atmos Configuration
This 12′ x 22′ narrow basement home theater uses a Dolby Atmos 7.1.4 surround sound system with three side-by-side seats, each measuring 29″ x 33″ in a two-row setup. The layout creates an effective cinema experience that accommodates six viewers while maintaining proper acoustic implementation. The narrow width requires a calculated speaker placement and precise seating arrangement to make sure all of the seats receive balanced audio and immersive surround sound with excellent depth for optimal viewing.
The Dolby Atmos 7.1.4 system represents a premium audio configuration that includes low-level speakers, plus four overhead height channels. The front left and right tower speakers are placed at the front corners, on both sides of the projection screen. A front surround sound speaker in the center can be installed above or below the screen. Side surround speakers are mounted on both the left and right walls, with their positions carefully calculated to serve all the seating effectively. The rear tower speakers occupy the back corners. Two subwoofers are positioned by the TV screen.
Key Dimensions:
Overall room size: 12′ W x 22′ L x 8’6″ H
Usable interior width: 9′ (accounting for the wall thickness and acoustic treatments)
Usable interior length: 22′ total
Individual seat dimensions: 29″ x 33″ each (six total seats in two rows)
Front row distance from screen: 10’3″
Riser edge clearance: 27′ marked along the right side
Entry passages: Two 24″ sliding doors on the right wall
Left alcove: 3′ wide x 30″ deep
Wall thickness: 18″ at the bottom left corner
Subwoofer positions: Two locations on the left wall, front and rear sections
Projector centerline: Aligned with the center seating axis
Edge of riser measurements: “10’3” and “27′” indicating platform boundaries
Design Tips Specific to This Plan:
Position the front left and right tower speakers with approximately 8 to 9 feet between them, which is actually ideal for the front row but may feel narrow for the back. Angle the front speakers in by 10 to 15 degrees to widen the soundstage perception.
The Dolby Atmos height speakers are critical in a narrow room because they add dimension where width is limited.
Install four in-ceiling speakers above the front and rear rows.
Build a two-tier riser with the back row elevated 8 to 10″ above the front row.
Ensure there is adequate legroom between rows by aiming for at least 36 to 40″ from the back of one seat to the front of the next.
Side wall acoustic treatments are important in a narrow room. Install acoustic panels at the first reflection points on both walls, near the midpoint between the front speakers and the listening position.
Use case: Excellent for a narrow basement with a projector, two seat rows and a compact back counter bar.
16×22 Large Family Theater & Media Room Layout
This room design works as a versatile family entertainment space that delivers home cinema performance while still remaining inviting and functional for everyday living, gaming, and social gatherings.
This 16′ x 22′ home theater and media room layout offers a flexible, family-friendly design that balances a home cinema with everyday usability as a social gathering space. Unlike dedicated theaters with fixed stadium seats, this floor plan embraces a more casual arrangement with a curved sectional sofa and seating in the back positioned in front of a console table. This setup works equally well for movie nights, gaming sessions, or casual television viewing. The room features a surround sound system with speaker placement and acoustic treatment that encourages a real cinematic movie experience.
The surround sound system consists of multiple speakers distributed throughout the room, with six speakers positioned along the side walls on the top and bottom. There are four tower speakers angled at 30-degree positions from the sectional sofa. These tower speakers provide the main front and rear channels with full-range capability. Two subwoofers anchor the low-frequency response, positioned at opposite corners of the room, with one at the front left corner and the other at the rear right corner. This configuration can be set up for either a 5.1 or 7.1 system, depending on whether all six satellite speakers are used as discrete channels or if some serve dual purposes.
Key Dimensions:
Overall room size: 16′ W x 22′ L x 9′ H
Room width (left to right): 22′
Room depth (front to back): 16′
Individual seat dimensions: 32″ x 38″ each (two recliners in the back)
Ceiling step measurements: 11′, 15′, 17′, 22′ progressive zones
Side wall segments: 2.5′ sections marked at the top and bottom
Entry passage: 16″ opening on the right wall
Console table placement: Front of seating area, center position
Side measurements: 11′ marked along the left side
Tower speaker angles: 30-degree positioning from the sofa listening area
Wall thickness: 2.5′ sections indicated at perimeter
Subwoofer positions: Front left corner and rear right corner (diagonal placement)
Projector location: Center of room, aligned with seating centerline
Edge of riser label: Marked on the right side near the seating area
Design Tips Specific to This Plan:
The 30-degree tower speaker angles shown are optimal, but ensure these angles are calculated based on your actual seating position.
Add the console table behind the recliners for a popcorn maker, or a snack bar for movie nights.
Select a table approximately 48 to 60″ wide and 16 to 20″ deep.
Add an LED light strip around the room’s perimeter to create visual interest and to control the ambiance while entertaining.
Install a solid-core door with weatherstripping to prevent sound from leaking during movies to other areas of the home.
Wall treatment is critical for this multi-purpose space, so install acoustic panels on both side walls.
Consider using fabric-wrapped acoustic panels in colors that complement your decor since this room serves as a living and theater space.
The projector should be ceiling-mounted at the center position.
For a 22-foot wide room, you can comfortably install a 130 to 150″ diagonal screen on the left side.
Ensure your projector’s throw distance work at the distance needed as most projectors will need 14 to 18 feet for this screen size.
Use a motorized screen that retracts when not in use, to maintain the room’s multi-purpose functionality.
Instead of going overly dark on all of the interior wall colors, use a balanced approach, with dark accent walls by the screen and behind the seating to control reflections, but lighter colors on other surfaces to maintain a welcoming atmosphere during day use.
Install dimmable switches with multiple zones, so you can go bright for everyday activities, and dim for movie watching that are controlled via smart home integration or wall-mounted controllers.
Use case: For a multi-use flexible space setup with a big projector screen, sectional, and two recliners with a 7.2.4 Atmos.
15×18 Multi-Purpose Living Area & Movie Room Floor Plan
This room is designed to work as a movie watching and multi-purpose space that uses traditional residential furniture, decor, and architectural elements to hide the technology to create a sophisticated entertainment environment.
This 15′ x 18′ multi-purpose living room gives a good compromise between a serious home theater and the need for everyday living space and convenience. It’s designed as a “stealth” theater as the layout conceals its high-performance audio-visual capabilities in what appears to be a conventional living room. The 5.1.2 surround sound system includes two height channels for enhanced immersion while maintaining a furniture arrangement that facilitates easy conversation, television viewing, and casual entertaining. The seating arrangement centers around a center sofa in the middle of the room, with two additional accent chairs on either side.
The left viewing wall features a prominent console unit that contains two tower speakers and equipment storage with a subwoofer hidden behind. Two additional tower speakers are positioned behind the sofa and there are two surround sound speakers to either side. The room’s entry is positioned on the right wall with dual 24″ sliding door panels for access.
Key Dimensions:
Overall room size: 15′ W x 18′ L x 9′ H
Room width (front to back): 18′
Room depth (side to side): 15′
Primary seating: Large sofa 72″ by 36″
Supplementary seating: Two accent chairs
Ceiling section: 11′ measurement zone
Front wall section: 12″ marked area
Side wall segments: 30″ and 2.5′ sections on left side
Console dimensions: Unit with storage
Entry passages: Two 24″ sliding panels on right wall (45″ total opening)
Side measurements: 10′ marked along left interior wall
Speaker positions: 45-degree angle marked for right tower speaker
Subwoofer location: Front left corner position
Height speaker positions: Front ceiling and rear ceiling (circular symbols)
Design Tips Specific to This Plan:
Consider a high-quality OLED or mini-LED TV measuring 75 to 85″ for this viewing distance.
If using a projector, mount it in a ceiling recess with a motorized lift so it can be hidden when not being used.
Hide the speakers in furniture grade cabinets rather than use obvious home theater designs.
Choose a vertical console that can integrate the left and center channel speakers while concealing AV receivers, media players, and any gaming consoles.
Choose speakers specifically designed for height channel duty, ideally with angled baffles that direct sound toward the listening position rather than straight down. These speakers handle atmospheric effects and overhead sounds in Dolby Atmos or DTS:X soundtracks, creating a more immersive experience without cluttering the room with visible hardware.
Install dimmable recessed LED lights that you can dim for movie viewing.
Add LED strip lights behind the console, and under furniture edges, or in any ceiling coves for ambient lighting while watching movies.
Use proper cable management by running all speaker cables and electronic wiring through walls during construction or renovation, terminating at recessed wall plates behind the furniture.
Select layered window coverings with sheer curtains for daytime privacy and diffusing light, combined with blackout cellular shades or curtains for movie viewing.
Viewing distance (4K content): 1.2 to 1.6× screen diagonal (inches → feet) g., 120″ screen → 10′ to 13′. (See our guide to calculate your viewing spacing here)
L/R mains: 22 to 30° from centerline; place tweeters at ear height (40″ AFF when seated).
Center channel: Align tweeter to L/R height as much as possible; tilt toward ears if below screen.
Surround height: 38 to 42″ above seated ear (68 to 72″ AFF).
Atmos 4-speaker grid: Two pairs slightly in front of and behind MLP, forming a rectangle; elevation 35 to 55°.
Dual subs: Opposite corners or mid-front with a mid-rear to reduce seat-to-seat variance.
Risers: 8 to 12″ tall
To showcase highly specific designs, some images on this website use advanced AI-generation software to illustrate ideas and room inspiration. See our editorial policy to learn more.
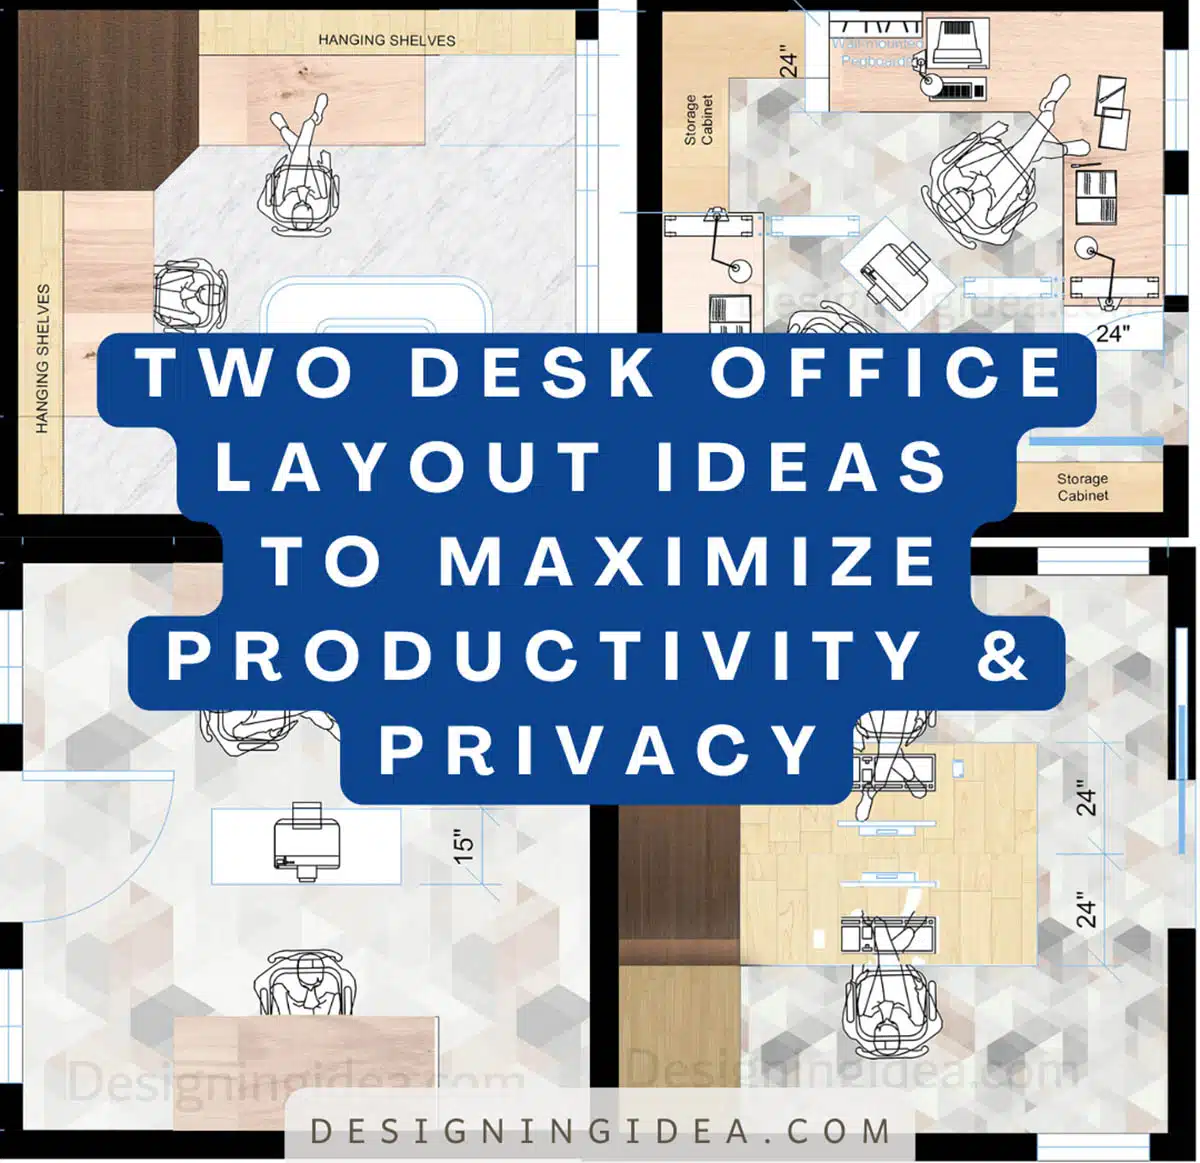
Transform your workspace into a stylish productivity powerhouse with the perfect two-desk office layout ideas. Whether you’re designing a shared home office, a collaborative workspace,…
A Jack and Jill bathroom is a shared bathroom accessible from two separate bedrooms, making it an efficient space-saving design often seen in family homes….
Designing a master bathroom and closet that fits your lifestyle will require you to carefully determine what features are important to you. Knowing your preferences…
Most kitchens can never have enough storage space, especially when it comes to being both functional and efficient. One way to enhance your room’s appeal…
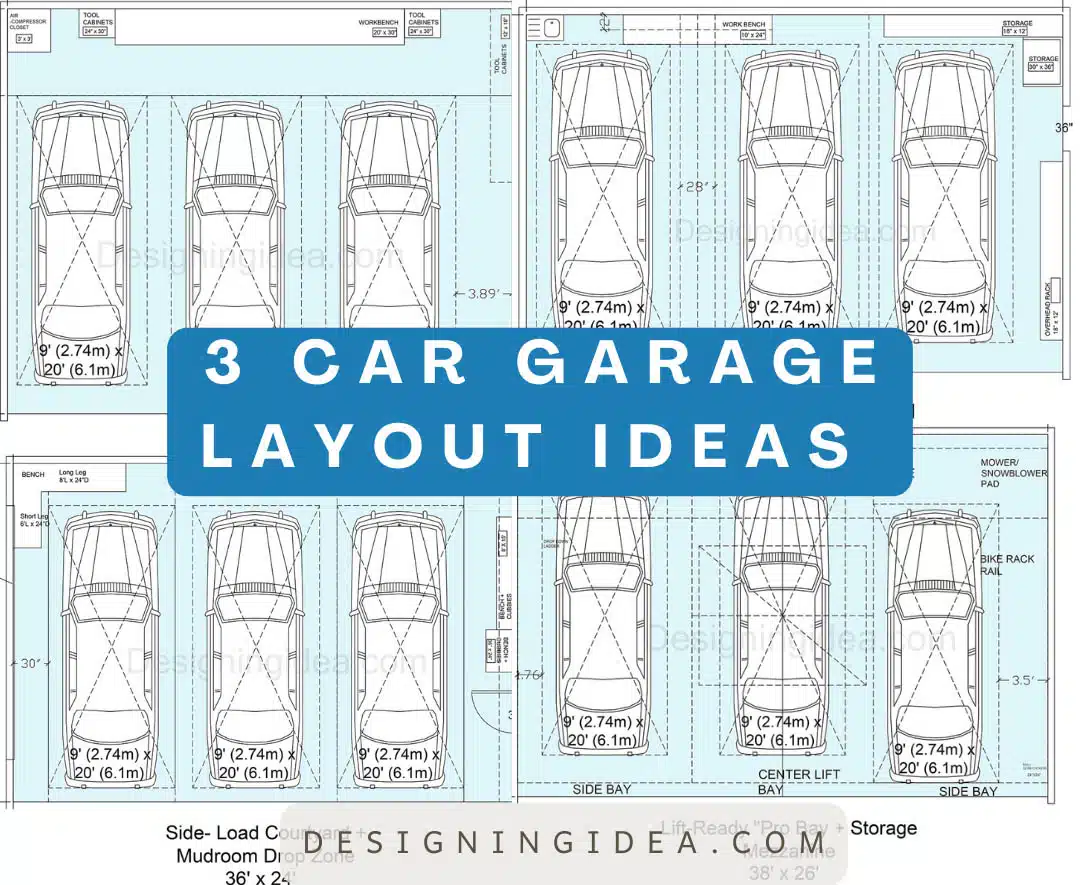
For most homeowners, a three-car garage represents the sweet spot in home design, with enough space to protect multiple vehicles and offering enough room for…