9 Common Mistakes When Laying Laminate Flooring
We’ve put together a gallery of common mistakes when laying laminate flooring, including inadequate protection, improper measurement, and starting in the wrong place.
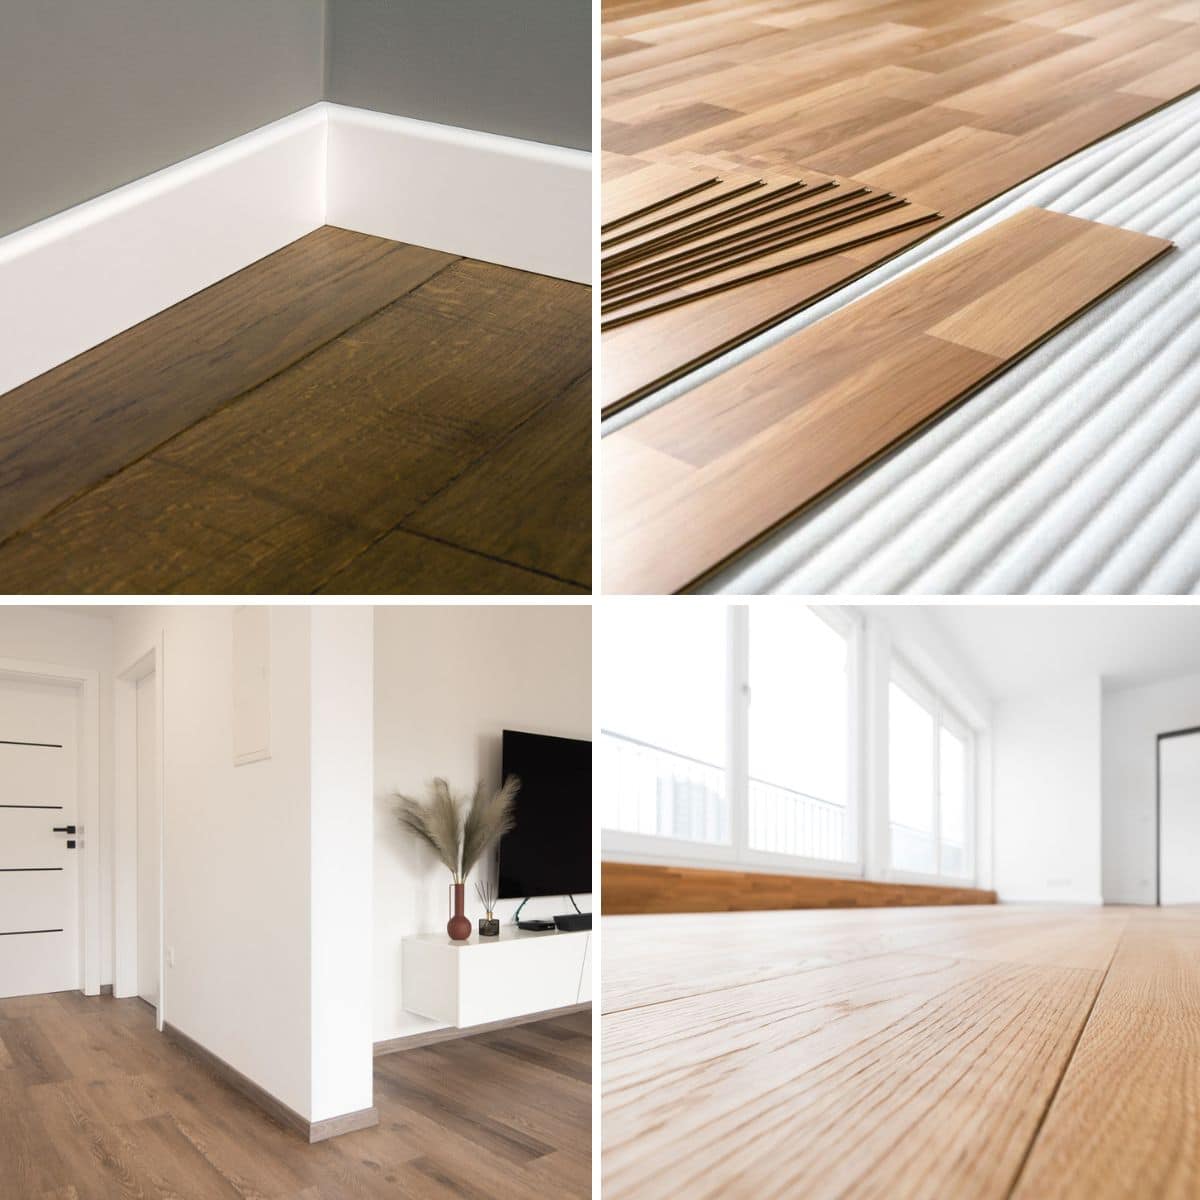
One of the best ways to upgrade the home without breaking the bank is by updating it with laminate flooring. Laminate floors are durably affordable, come with various color choices, and look bound to breathe fresh life into any interiors. And on the surface, they are easy to figure out.

Upload a photo and get instant before-and-after room designs.
No design experience needed — join 2.39 million+ happy users.
👉 Try the AI design tool now
Before you head on out for your first shopping haul of laminate flooring materials, though, there are a few things that you ought to know. For starters, it would be that laminate floors are a little tricky to accomplish if you don’t know the basics.
In this guide, we will attempt to map out the common mistakes in laying laminate flooring so that you can smoothly avoid them and save yourself from frustration. Whether you plan to take this project on yourself or entrust it to verified professionals, it would still be wise to know the common mistakes to approach the process with a bit more understanding and a little less intimidation at the end of the day.
Quick Look: Common Mistakes Homeowners Make When Installing Laminate Floors
| Installation Mistake | Description |
|---|---|
| Inadequate Preparation | Not preparing the subfloor correctly. |
| Not Measuring Properly | Incorrect measurements resulting in the wrong amount of materials. |
| Starting In The Wrong Place | Laying materials from the wrong starting point. |
| Ignoring Manufacturer’s Instructions | Not following installation guidelines. |
| Cutting Corners—Literally | Improperly cutting edges and corners. |
| Not Providing Room for Expansion | Failing to leave expansion gaps that can create buckling. |
| Rushing Through Installation | Fast, careless installation leading to problems. |
| Using the Wrong Tools | Utilizing inappropriate tools can cause damage. |
| Overlooking Finishing Touches | Skipping final steps like baseboard installation. |
Inadequate Preparation
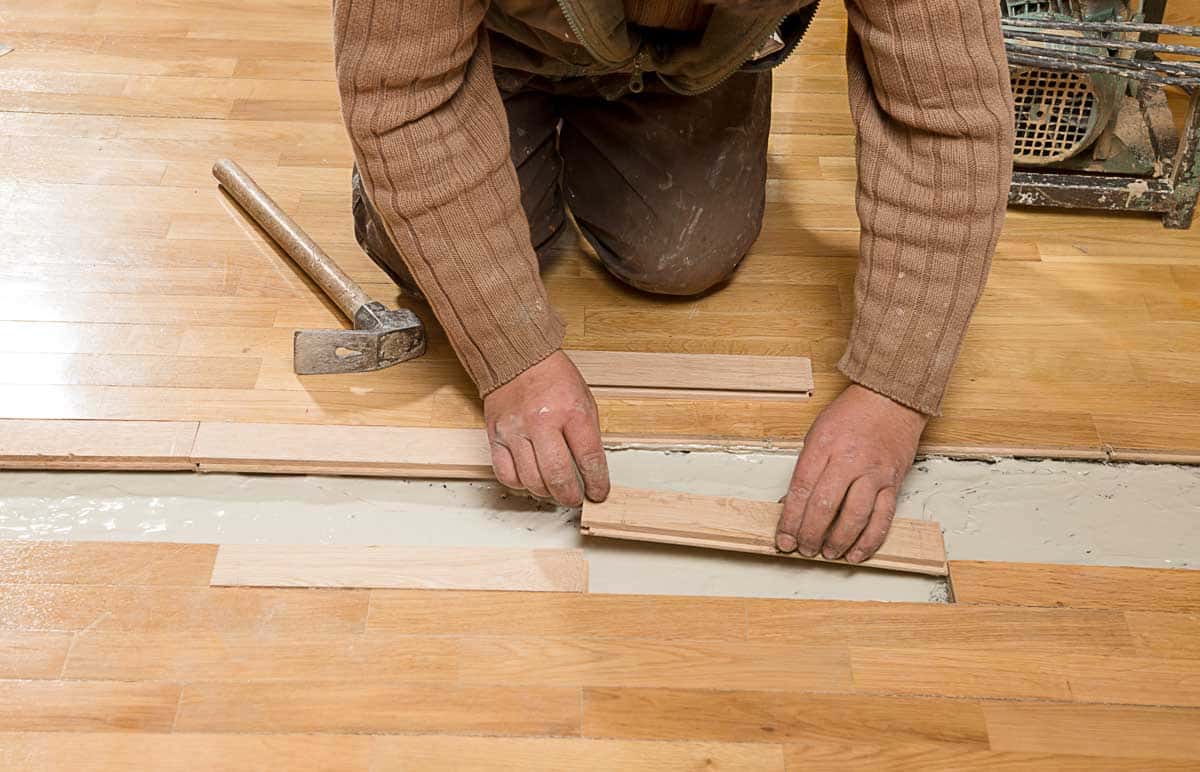
One important aspect of starting a laminate flooring project is that preparation needs to be meticulous and adequate. Meticulous preparation of your subfloors is key to any successful installation. This phase is often underrated and not given the amount of attention it deserves but when done right, it will alleviate the overall longevity and quality of your finished floors.
Not Leveling the Subfloor: Having uneven subfloors will give you gaps that could lead to moisture problems and eventual damage. It can cause you a myriad of issues such as your planks sitting unevenly, giving you unsightly gaps that are uncomfortable to walk on.
Moisture may also infiltrate between those gaps and eventually damage your laminate planks. To get ahead of the game, make sure that you keep an eye out for any uneven areas and use the leveling or spackling compound to even out the surfaces before the actual installation.
Not Acclimating the Flooring: Acclimation is a critical step in the preparatory phase. Your laminate flooring material must acclimate first to the area’s humidity and temperature so that you don’t get gaps or warping further down the road.
Laminate floor styles have improved dramatically over the past few years. The print laters have become much better and more realistic looking. – Construction Calculations Manual, Sidney M Levy
To do this, you need to ensure that your material is purchased a few days ahead of time and leave out the opened boxes in the area where you plan to install them. This way, your planks will be able to adjust to the room’s conditions, guaranteeing that you have a more durable and stabler floor surface.
Not Buying Enough For The Job: Another mistake brought on by inadequate preparation is when you don’t measure out the area you’re working on. You need to meticulously measure this out and account for the odd corners and irregular spaces as well to ensure that you get enough laminate types of flooring material.
Some online calculators can help you out with this or you can consult the professionals as well for you to determine the actual amount of material you will need properly. It’s always a good practice to purchase around 10% more if you have any on-the-spot design changes or installation errors.
Not Checking Materials For Damage: It’s quite common to occasionally have shipping-related damages or factory defects in the planks that you’re getting so it’s crucial that you carefully check every piece before you begin your installation process. Document it accordingly by taking high-resolution photos because documentation is key to an easy replacement process with the manufacturers.
Buying The Wrong Type For The Space: Interestingly, different areas of your home may have varying amounts of wear and tear, foot traffic, humidity, and other elements that they may be exposed to.
Not taking that into account could lead to your specific area going through wear and tear that may happen prematurely. High-traffic areas with bathroom and kitchen flooring may require sturdier planks compared to the other areas in your home. It would also be smart to get moisture-resistant materials for your floors to last longer.
Not Measuring Properly
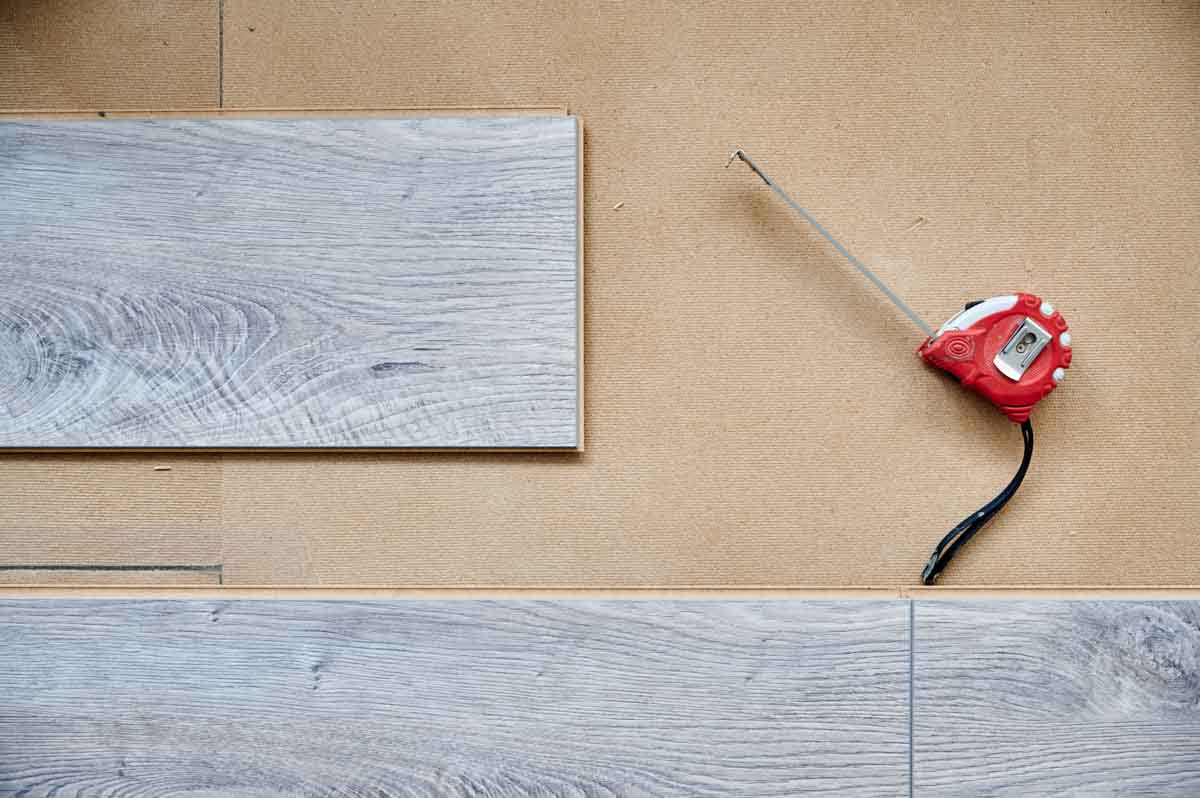
Missing out on proper and meticulous measurements of your work area could lead to various issues. You could buy way more materials than necessary, or you could end up with far fewer materials, resulting in multiple trips to the store, or you could end up with planks that don’t exactly match the original batch.
There may also be misalignment issues, especially in the odd corners and irregular areas that don’t fit perfectly together, resulting in gaps and unsightly seams. You can avoid this by calculating your actual square footage and consulting your manufacturer’s guidelines, especially for material calculations and installation requirements.
Of course, double-checking your measurements every step of the way will also help. This can save you from costly mistakes and headaches further down the road.
Starting In The Wrong Place
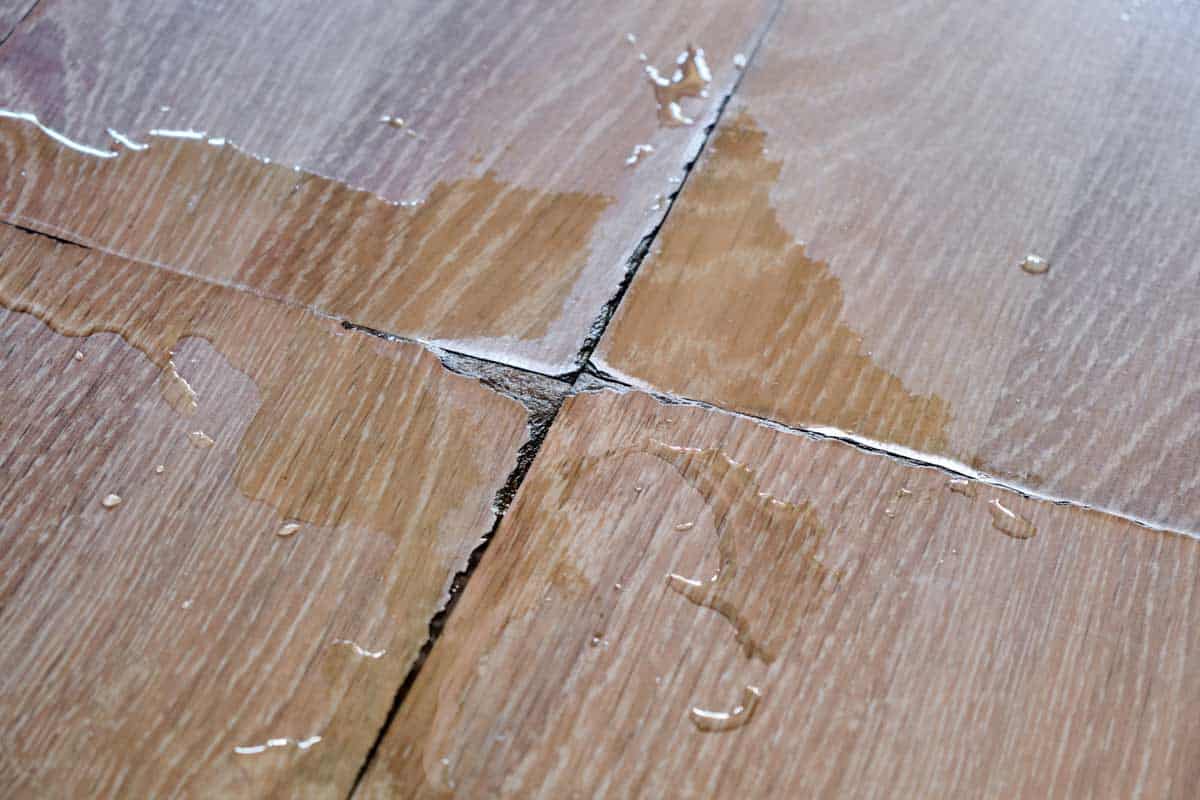
When you start your installation process in the wrong place, it could lead to a disjointed look that doesn’t appear seamless and smooth. You miss out on visually harmonizing the area, making the irregular shapes and cuts appear intentional, and missing out on the opportunity to optimize the look of finished floors overall.
You can start by assessing the space, taking in the dimensions and specific features such as corners, walls, doorways, etc. Then, you need to look out for the best sightline. A nifty trick would be to look for the longest sightline in the room, typically guided by the longest wall in the space.
This is usually the best starting point for your plank installation. And, of course, way before you begin, visualize how the planks will get laid out. See what will visually make sense for you and the project.
Ignoring Manufacturer’s Guidelines
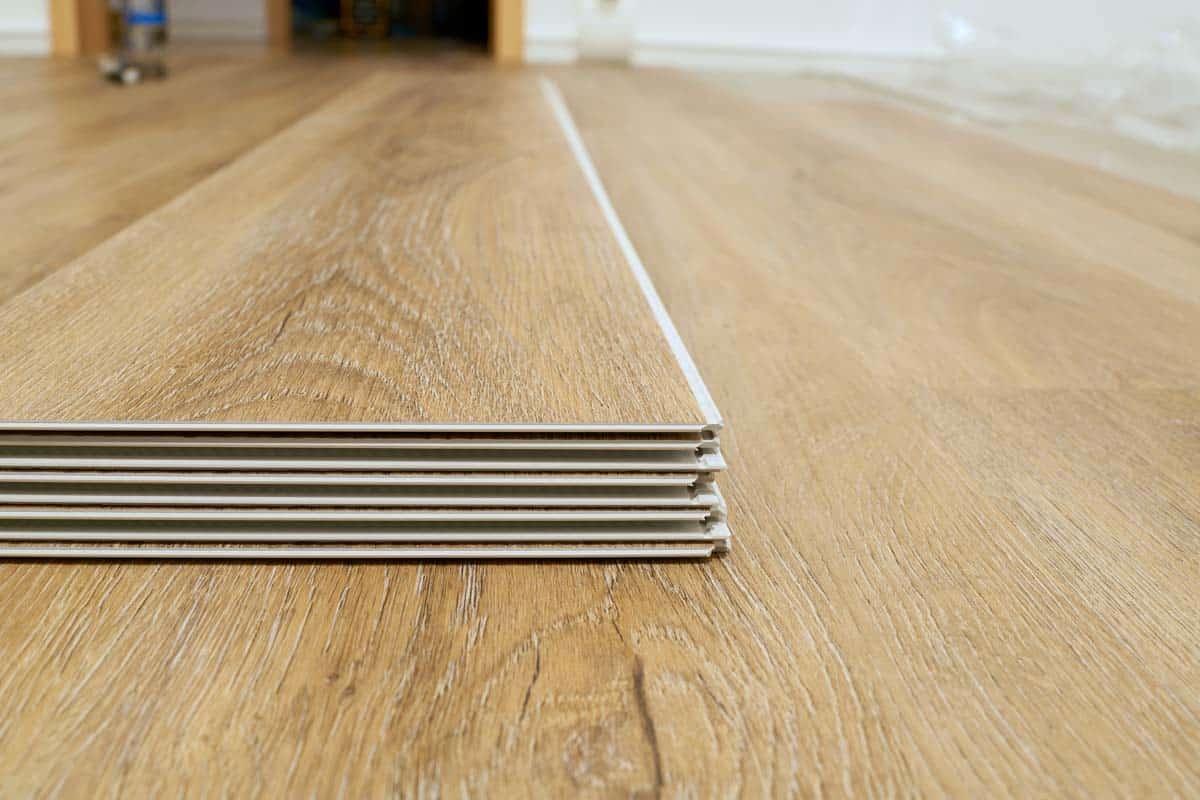
When you disregard crucial recommendations given by the laminate plank manufacturers, you could end up with problems with the overall structural integrity of your floors. These guidelines cover a wide variety of aspects, from the proper subfloor preparation requirements, what installation methods are recommended, what the proper acclimation procedures are, all the way up to the floor maintenance.
Not adhering to your manufacturer’s guidelines could give you problems down the road. These problems are easily avoidable and you could enjoy stronger and more durable laminate floors as the days go by if you just consider them.
Wrong Underlayment: The wrong underlayment for your flooring could lead to issues such as unnecessary noise when they get stepped on, unstable and unlevel footing, and perhaps even moisture damage.
You need to ensure that the underlayment for your laminate planks will adhere to the specific recommendations of the material as well as of the area’s overall environment. When you properly select the recommended underlayment, you get better sound dampening, better footing comfort, and better durability for your flooring.
Incorrect Installation Technique: The wrong installation technique could lead to joint separation in between your planks, uneven floor surfaces that could produce moisture problems, and of course, a much shorter lifespan for your investment.
To determine what the proper installation technique is to use, make it a point to consult the specific recommendations of your product manufacturer. This way, you get visually better-finished floors that are stabler and far more long-lasting.
Cutting Corners—Literally
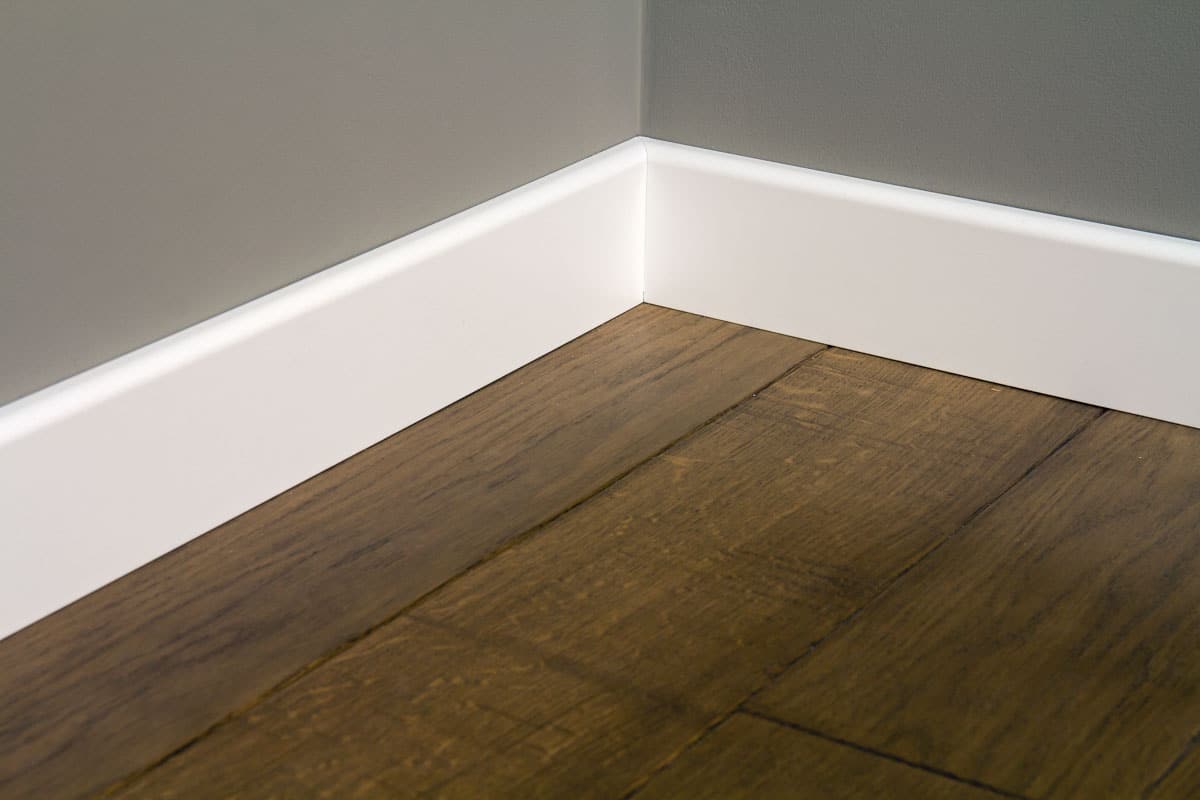
Cutting corners is a tricky procedure and accuracy and precision are necessary for when you cut your planks for these odds and ends of the room that you’re working on. Disregarding caution when you’re cutting corners could lead to planks that don’t fit well together or that don’t regularly align with the walls and the edges.
Tripping hazards can also be an issue for misaligned planks and this can compromise your flooring’s overall safety. And of course, this could lead to the dreaded material wastage, which can increase not just material costs but time and labor on your end as well.
Inaccurate Cutting: Inaccurate cutting is typically the main culprit for your planks not aligning properly against each other. You may end up with planks that not only fit well together but there may also be the off chance that they might overlap against each other.
This could lead to an unsightly floor appearance and could put your floor’s structural integrity at risk. Uneven surfaces can be uncomfortable to walk on and could cause creaking sounds.
Not Using Spacers: Uniformly spacing out your laminate planks is critical. Spacers can help you out with this. They ensure that the gaps between the planks are consistent with each other.
Failing to use these spacers could lead to issues such as irregular gaps in between the laminate planks, improper alignments for when your planks contract and expand due to temperature changes in the room, and of course, issues with alignment that make your floors not appear smooth and seamless.
Not Providing Room for Expansion
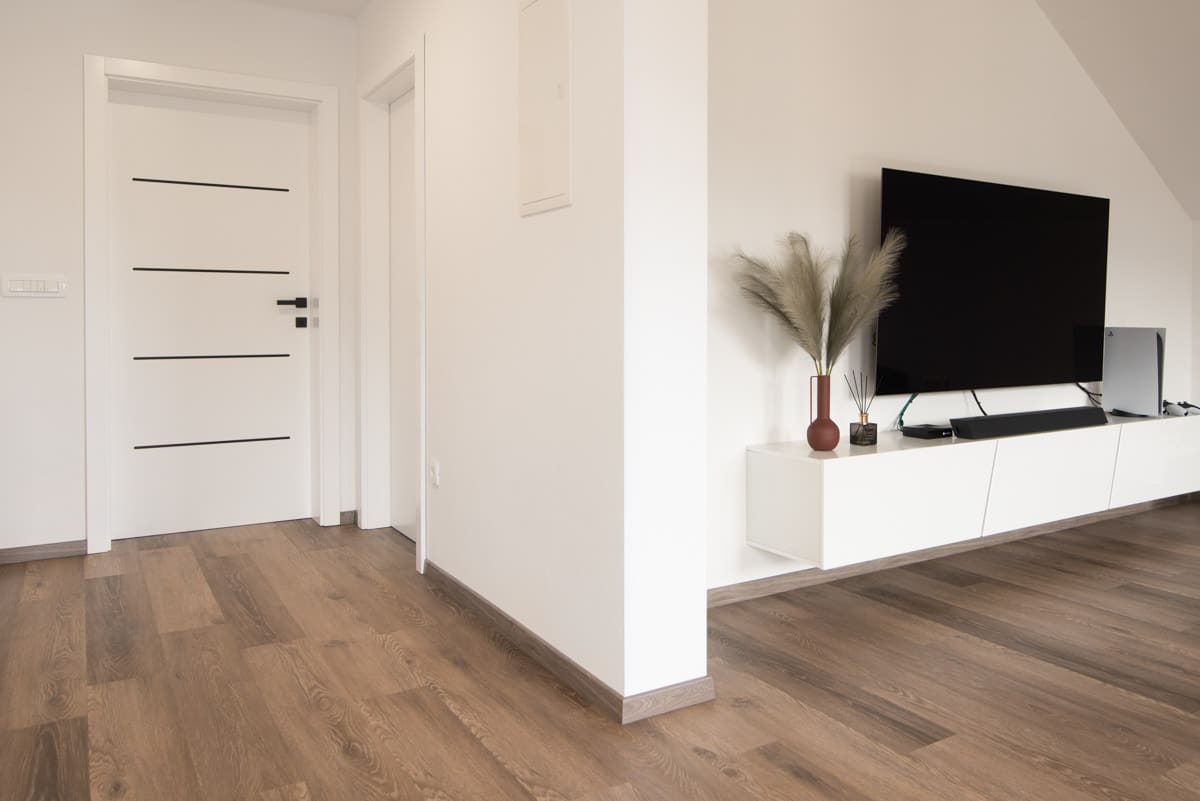
This common mistake is typically brought on when not enough space is allotted in between the laminate planks and they expand or contract whenever temperature shifts happen inside the room.
When laminate planks are not given adequate space for these movements, they may buckle, warp, or even eventually get structurally damaged. Leaving enough room for expansion may seem like a minor thing but when left out of the equation, they can affect the performance and longevity of your floors.
Rushing Through Installation
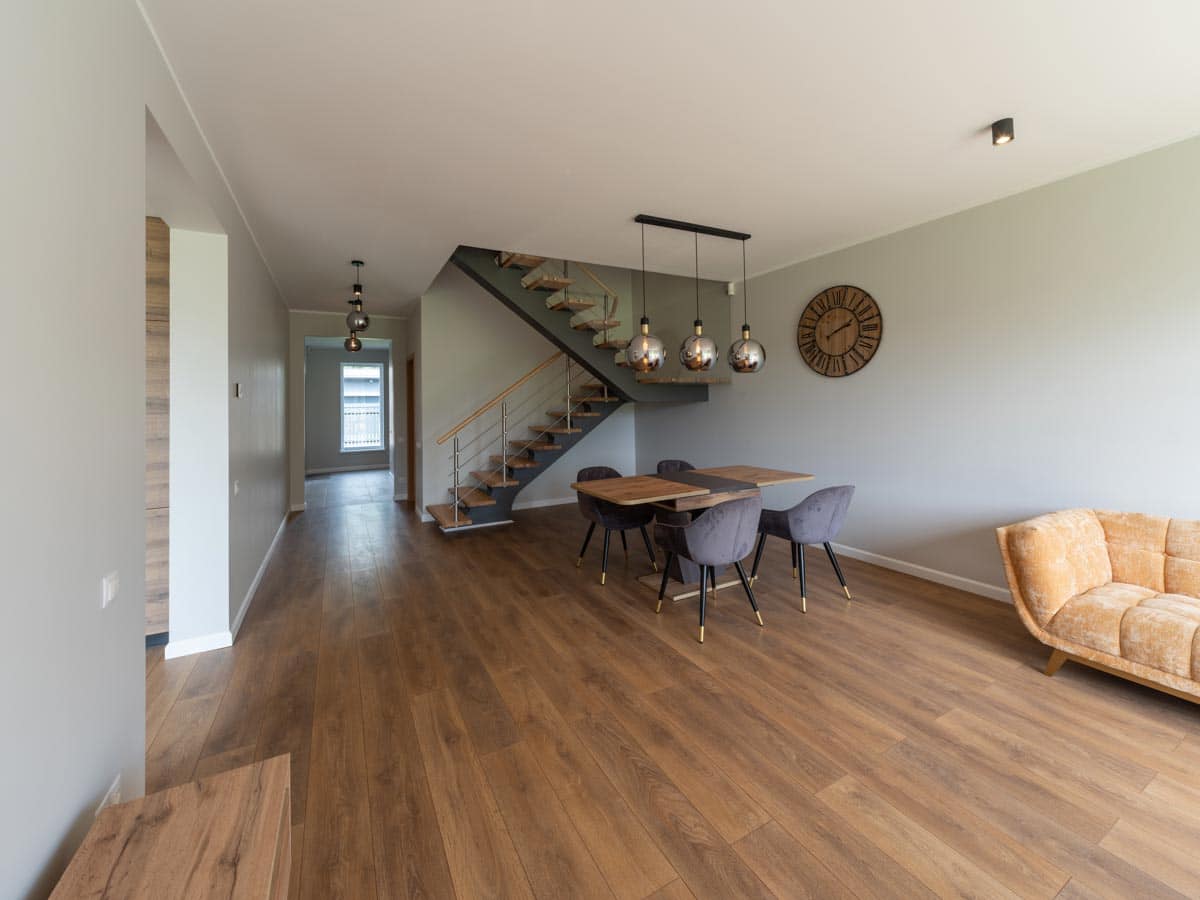
Another common mistake is rushing through the entire installation process of your laminate flooring. What this means is that not enough time is taken to go through the process correctly, and that involves everything from the preparatory phase to the actual installation to the finishing touches and maintenance.
This could result in your laminate planks misaligning, you ending up with uneven floor surfaces, moisture issues, and so much more. Take your time and make sure that you manage your schedule accordingly. Although laminate floors are much easier and faster to install compared to other materials, they still need enough time for you to get them installed correctly.
Not Checking for defects: You need to get your laminate planks thoroughly inspected, as we’ve detailed earlier. Not checking them individually could lead to visual problems, complications, and other delays with the actual installation of your laminate floors.
There may often be variations with the color, sizing, or even some damages on the edges brought on by factory-related processing or shipping and handling. You need to document each defect thoroughly and meticulously so that you can justify your replacement requests with the manufacturers.
Ignoring Staggering: Staggering is the practice of offsetting the starting row of your planks intentionally for structural integrity as it evenly distributes the joints and seams, minimizing the weak spots in your laminate floors.
It also accommodates expansion and contraction better, so your laminates can move and breathe without damage. Ignoring this technique could lead to less aesthetic finished results and weaker floors overall.
Using Wrong Tools
The mistake of using the wrong tools can lead to big problems that would’ve otherwise been avoidable had the proper tools been used accordingly. For example, they may result in getting your materials damaged, getting cuts that look jagged or unprecise, and just poor installation overall.
There may also be safety risks involved as incorrect tools could lead to injuries, accidents, and damage to other surfaces within the area. It could slow down your installation process and in some cases, might even end up with the need to rework your floors altogether.
Not Using a Tapping Block: One crucial tool you need to have when you’re getting laminate flooring materials installed is a tapping block. It’s a basic block that’s oftentimes made out of either rubber or wood
It plays a very vital role in ensuring that your laminate planks are laid out precisely and in the tongue and groove design that they’ve been made for so that they efficiently tap into each other. It is designed to make your installation process quick and easy, and it is done with absolute precision at the end of the day.
Lack of Finishing Touches
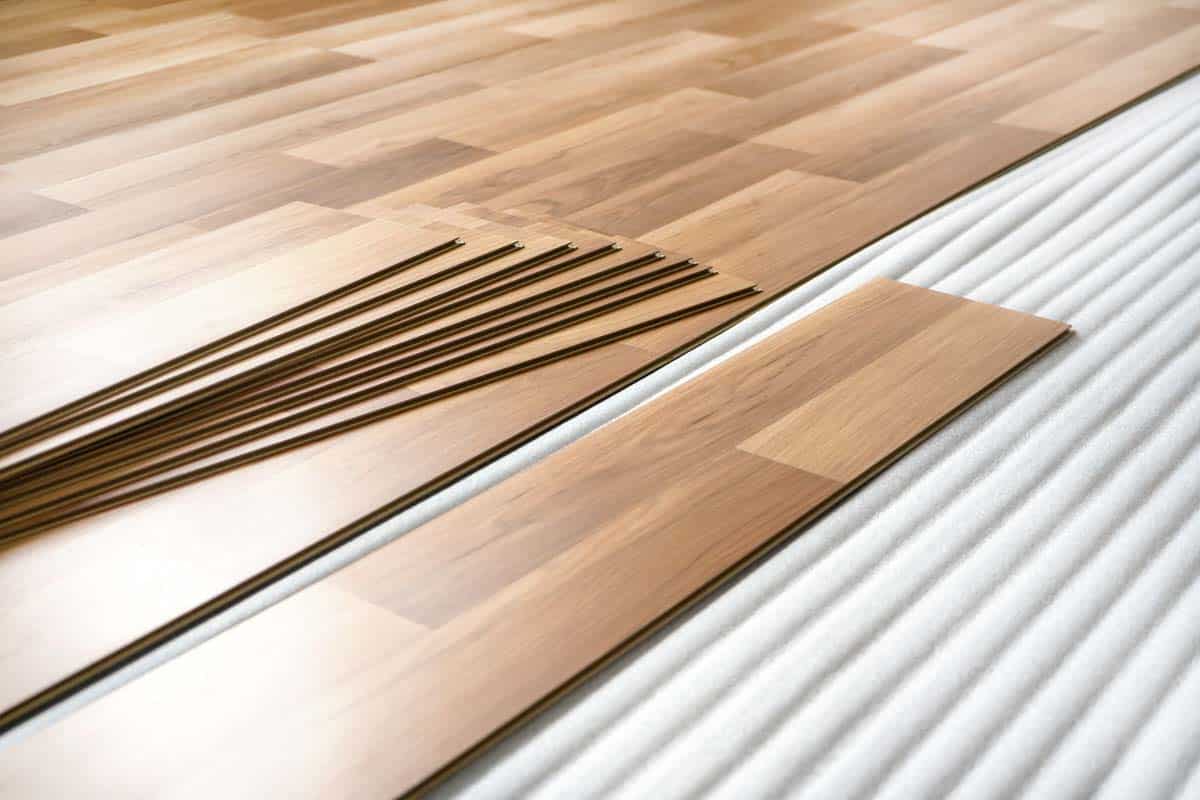
Neglecting the finishing touches means you’re shortchanging your floors and not allowing them to have that highly functional and polished appearance after all has been said and done. Apart from the aesthetics, safety and structural considerations are also involved.
Skipping Transition Moldings: Transition moldings make your area transitions smooth and visually appealing, especially when different rooms in your house are made of different flooring materials. They have both safety and aesthetic purposes from safeguarding the edges of your laminate planks, to minimizing tripping hazards when the floors get walked on.
Inadequate Sealing: Undercutting the sealing and maintenance of your laminate floors is also highly discouraged. You need to ensure that you get to properly seal and maintain your laminate floors at all times with a sealer or finishing product recommended by the manufacturers.
This can help greatly not only in the maintenance of its aesthetics but also provide other benefits such as easier cleaning, and even an extra layer of protection for moisture resistance. Skipping out on this step could result in less attractive-looking floors and a much shorter lifespan as the years go by. Think of it as an extra step for you to protect your investment.
Undercutting Door Jambs: If the space that you’re working on has the challenge of door jambs, take note of the fact that you should be undercutting them. This will allow your laminate planks to slide smoothly right underneath them. Skipping this step could lead to gaps right on the edges of your doors and it will hurt the appearance of a continuous and smooth flooring finish.
Baseboards and Trims: Baseboards and trim pieces surrounding the area or the room’s perimeter will give your laminate floors a more finished and well-put-together look. It is also a great way to ensure that any expansion spaces or gaps are well hidden. Trims are awesome when it comes to protecting the edges of your exposed planks and can also double over as transition materials when you’re in between spaces or in between rooms.
Knowing about these common mistakes and how to avoid them when you’re laying out your laminate flooring is crucial to getting those beautiful and durable floors that you’ve always wanted to get. Preparation, getting the proper tools ready, paying attention to the manufacturer’s instructions and guidelines, and getting all the finishing touches in are all part of the equation.
This will ensure that your laminate floors will not only meet but more than exceed your expectations by the end of the project. It’s also important to note that attention to detail is everything when it comes to taking on projects like this. Don’t rush through the process. Double-check and triple-check if you have to. Your floors are an investment worth making.
See more related content in our article about laminate wood flooring in bathroom on this page.


