Give Your Wall Character By Installing Shiplap Vertically (DIY Steps)
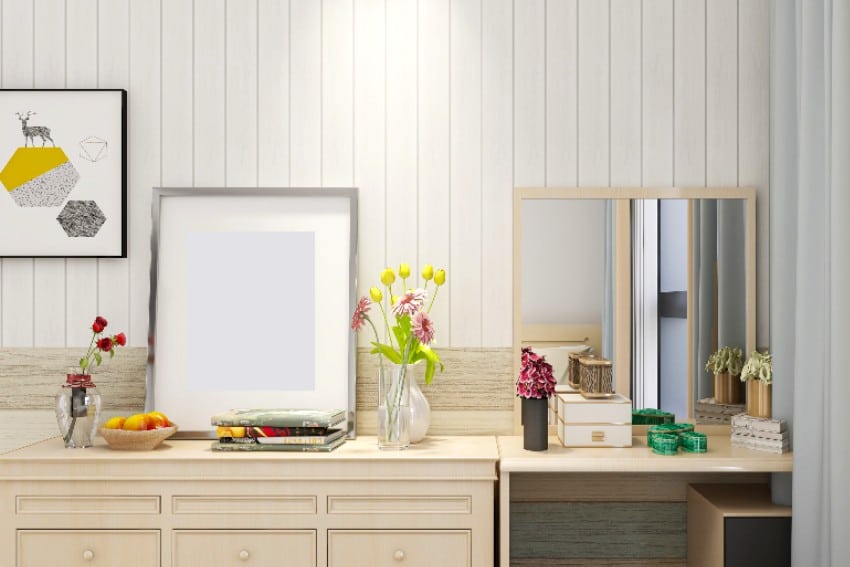
Add farmhouse flair or modern edge to any room with vertical V-joint paneling, commonly called shiplap. The unique, rustic planks make a stunning accent wall that instantly brings depth and texture. Installing shiplap may seem tricky, but follow this guide and you’ll nail professional-looking results.
If you are someone who often engages in do-it-yourself projects. In that case, you may already have the tools necessary to install this accent wall treatment.
Tools and materials needed for a vertical V-joint paneling installation:
- Caulk
- Brad and Liquid Nails
- Wood filler and furring strips
- Level, tape measure, and a stud finder
- Miter saw and jigsaw
- Screwdriver or Drill with Bits
- And, of course, your V-joint paneling boards
When you first begin work on your vertical tongue and groove panels project, you should measure the installation area to determine the approximate amount of supply that will be required. Start by choosing quality tongue & groove boards. Natural pine or cedar planks with at least 3⁄4-inch thickness deliver clean lines.
Prime the back of each board but leave the front natural for visual interest. Before mounting, lay out your design. Mixing wide and narrow pieces creates appealing dimension. Stagger seams randomly rather than lining them up for organic flow. Before installing your vertical panel boards, you should open them up and leave them in the room for at least forty-eight hours to become acclimated to the environment.
How to Install Shiplap Vertically
Use a stud finder to mark stud locations to firmly attach boards. Pre-drill holes to avoid splitting. A brad nailer speeds the process, but hand nailing works too. Apply construction adhesive between layers for durability. Take care to keep edges and seams tight. Continue checking alignment as you go to prevent rippling.
1. Make preparations for the wall. Take everything off the wall, and remove any furniture you can find. Take off the covers of the light switches and outlet covers, as well as the baseboards and crown molding.
2. Look for the studs in the wall by using the stud finder. Make a note of the location of each stud.
3. Create holes in the wall for the outlets. Identify the locations on the wall where you will need to cut holes to install outlets, light switches, and other components before installing the V-joint paneling boards.
First, draw a template for the openings on a piece of paper. Use a jigsaw to cut the boards per the template. If you are not using construction adhesive, attach furring strips horizontally every two feet. Start from the ceiling, working down to the floor.
4. Measure from the ground up to the top of the first board. Reduce the length of the board. Because the wall height may change at any point between every two and three feet, take measurements at regular intervals.
5. You can skip this step if you use furring strips instead of glue. Otherwise, apply construction adhesive to the back of the first board throughout its length.
6. Applying steady pressure to the board while pressed against the wall will ensure that it adheres to the wall completely, from the top down. Use the nailer to fasten the initial board to the furring strips if you are working with furring strips.
7. Place the vertical panel boards, utilizing spacers to produce a nickel-sized gap between the two sections of the assembly. Continue to move over the wall until the entire surface is covered.
8. You can use nails or construction glue When attaching the baseboard to the bottom of the tongue and groove panel boards. Replace any light switches or outlet covers you took off at the beginning of the project. We recommend using wood filler to fill the nail holes.
9. Apply caulk with a caulk gun along the top of the board planks where your tongue and groove panels wall meets the ceiling and along the margins of the wall where it meets the other walls. The caulk makes the edges watertight and contributes to the end product’s smooth appearance
10. Finally, protect your statement wall by sealing shiplap with polyurethane. You should use your desired color to paint the vertical tongue and groove panels. Eggshell is the color of choice for most people because of its lightness and neutrality.A matte sheen is modern; high-gloss goes glam. Add plank wainscoting below for a wall-to-wall look. With sharp lines and luxe texture, your shiplap feature will elevate any space.
DIY Shiplap Installation Video
Did we miss anything, or did you try doing this yourself? Let us know your comments below to share with others.

